Sharing Common VisualGDB Settings with Team Settings Engine
This tutorial shows how to simplify sharing common VisualGDB settings across multiple development machines in your team using VisualGDB Team Settings (available in the Custom edition and higher). We will create a basic project utilizing a cross-toolchain on a remote Linux machine, commit it to a git repository and open it from a different development machine, showing how to automatically import all shared settings and avoid manual setup.
Before you begin, install VisualGDB 5.3 or later.
- Start Visual Studio and open the VisualGDB Linux Project Wizard:
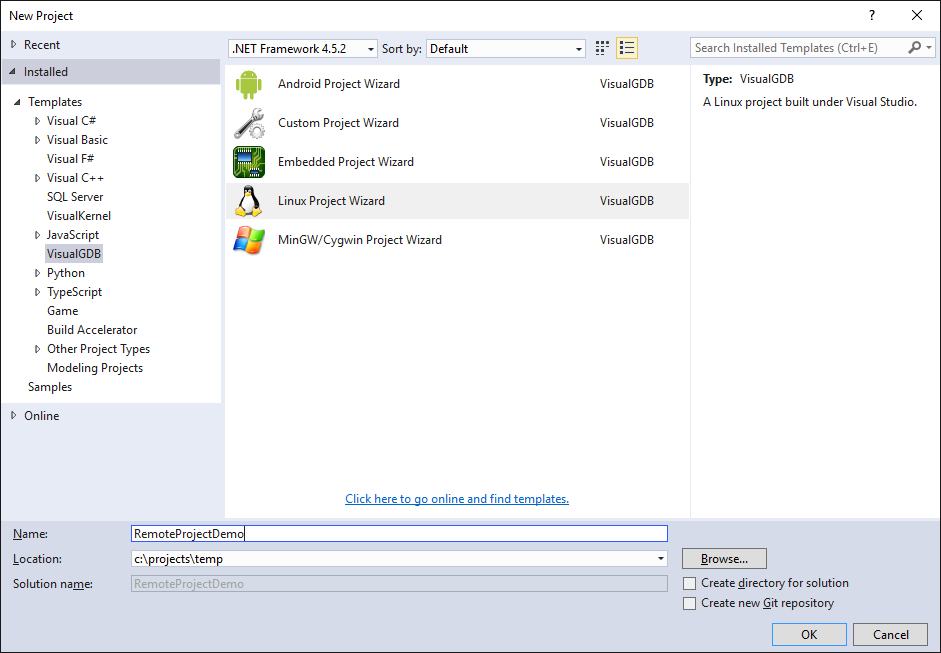
- On the first page select “Create a new project” -> “Application”:

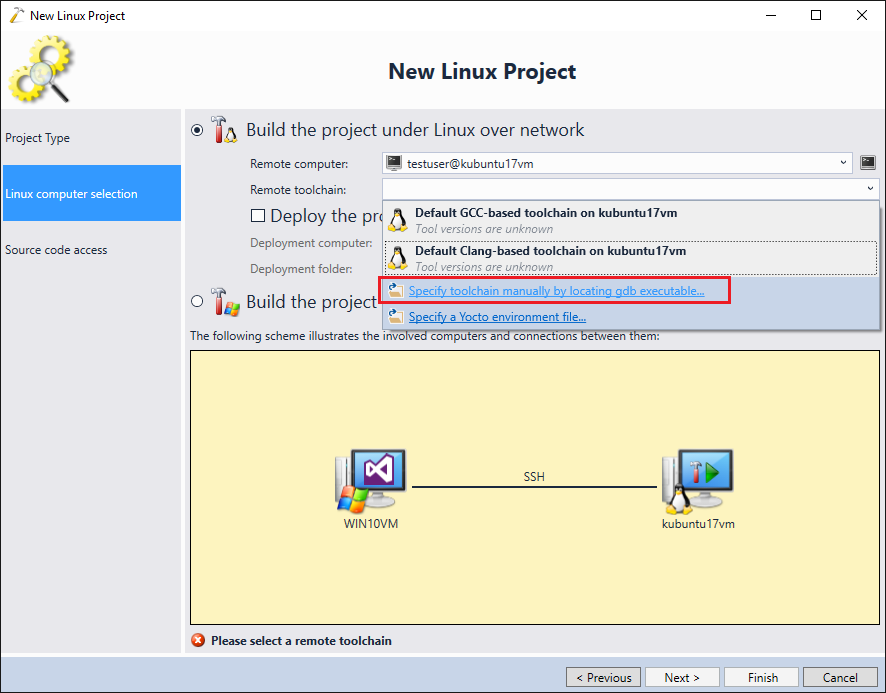
- Select the Linux machine you want to use for building. To demonstrate quick sharing of settings across different machines, we will use the ARM Linux cross-toolchain that needs to be explicitly selected on the build machine. You can also use any other toolchain on your Linux machine (or proceed with the default toolchain and use Team Settings to share other settings). Click “Specify toolchain manually by locating gdb executable”:
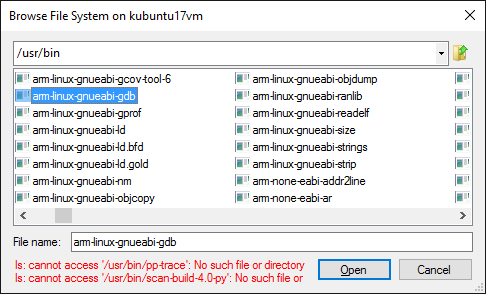
- Then locate the gdb executable from the toolchain:
- VisualGDB will let you confirm or edit the locations of specific tools in the toolchain. The settings will be saved under the %LOCALAPPDATA%\VisualGDB directory so that you won’t need to reenter them next time you create another project. We will show how to easily share those settings via the Team Settings Engine later in this tutorial:

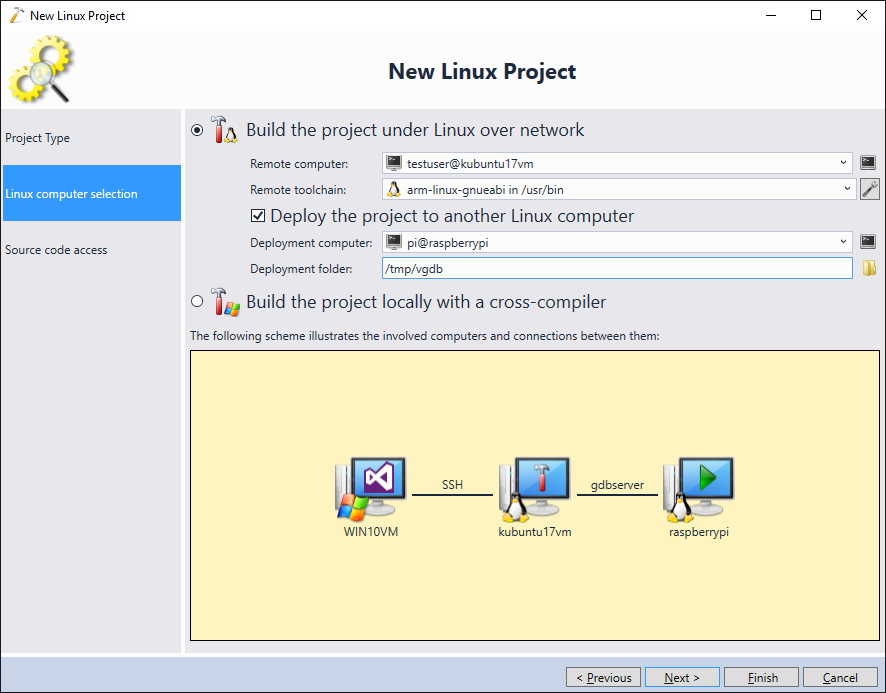
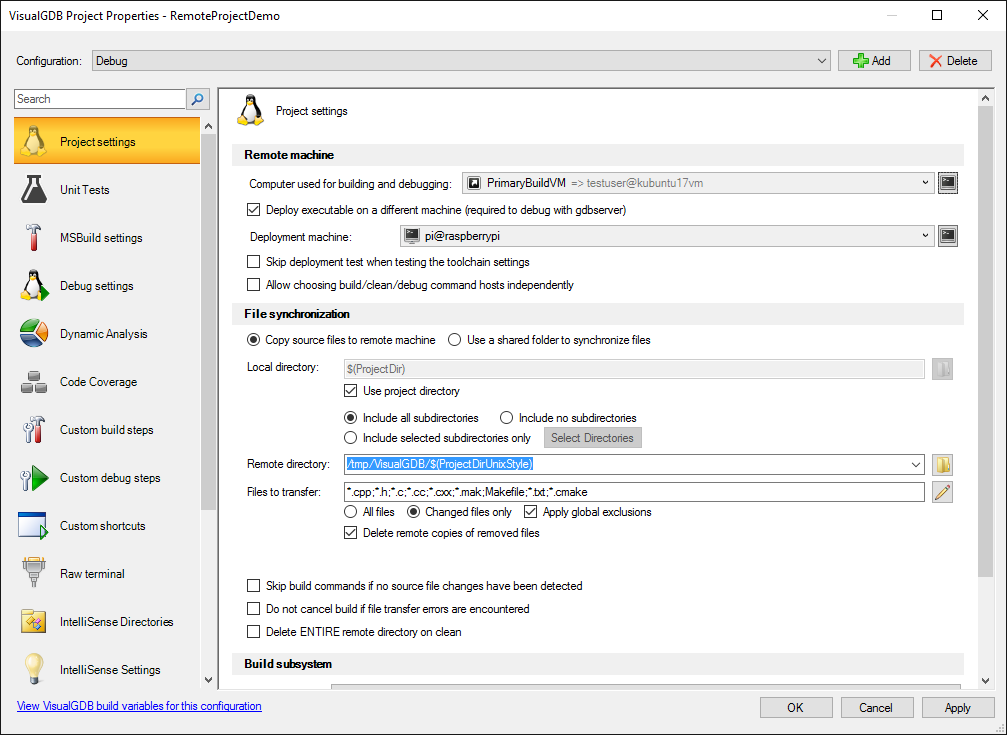
- Click “Deploy the project to another Linux computer” and select the deployment machine and path:
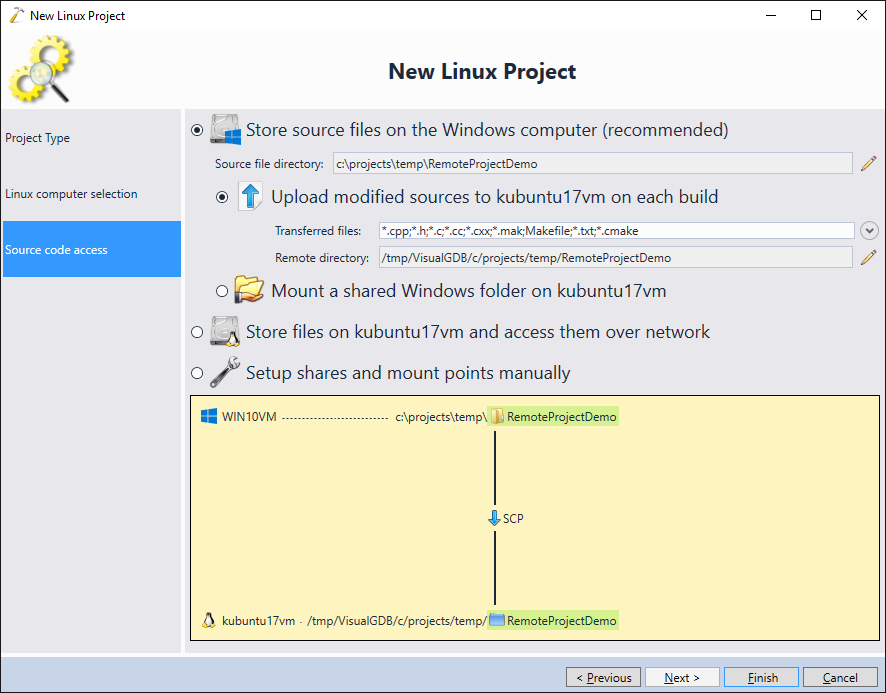
- Finally proceed with the default source code disposition settings and click “Finish”:
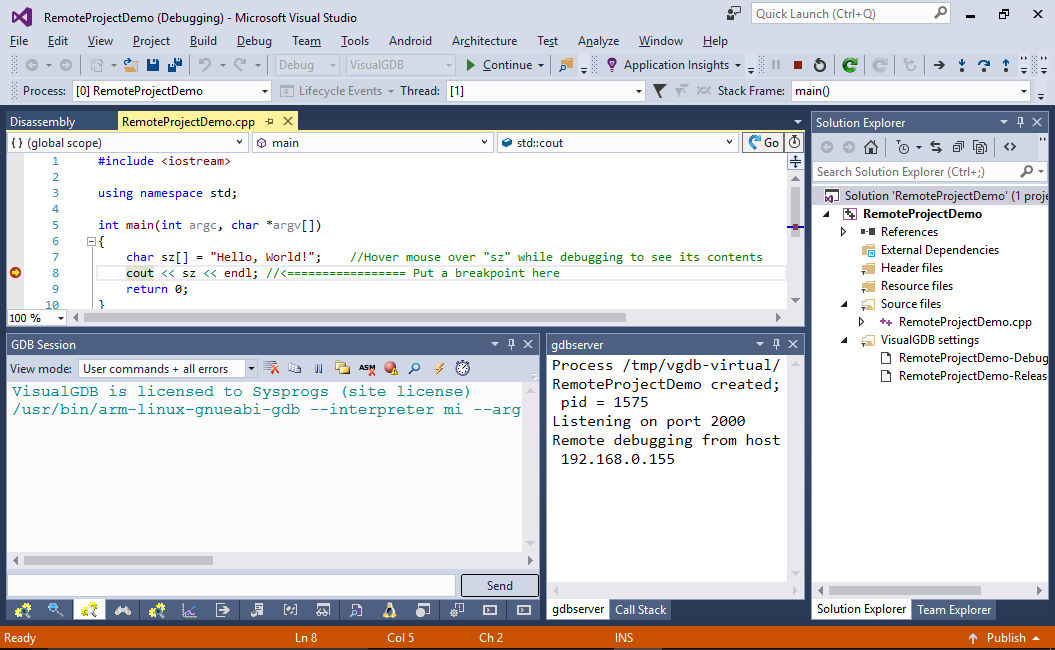
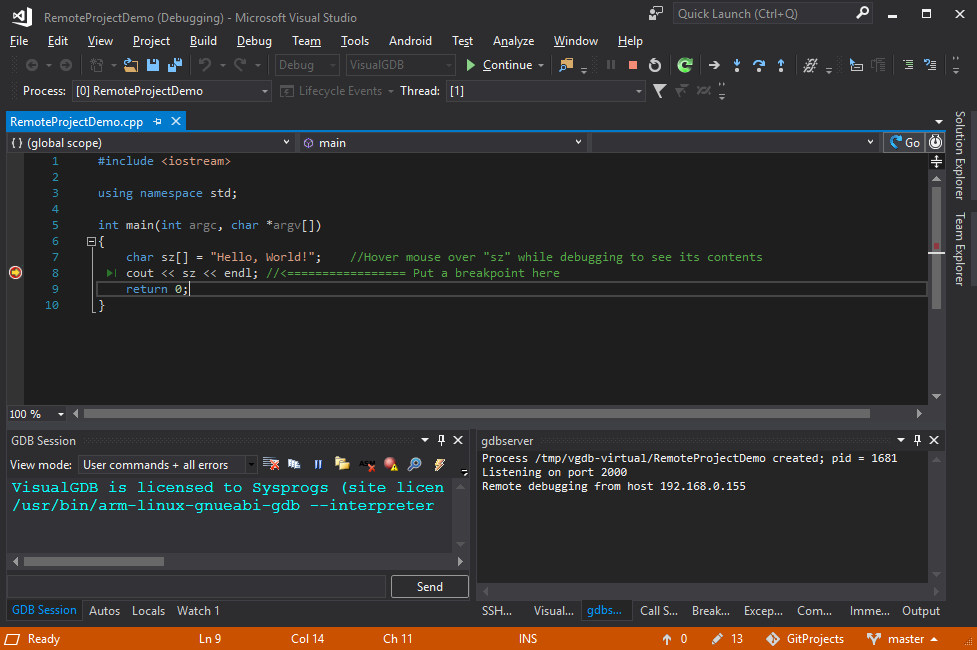
- VisualGDB will create a basic project. Ensure you can build and debug it:
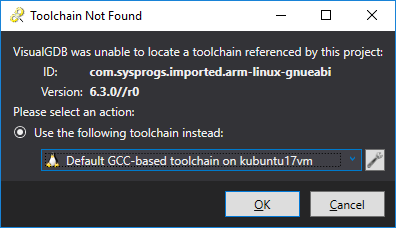
- Commit the project to a Git repository and clone it on a second development machine. Try opening it in Visual Studio. As we have not configured settings sharing yet, VisualGDB will ask for the toolchain location:
 For convenience, this tutorial uses the blue color theme on the first machine and the dark theme on the second one.
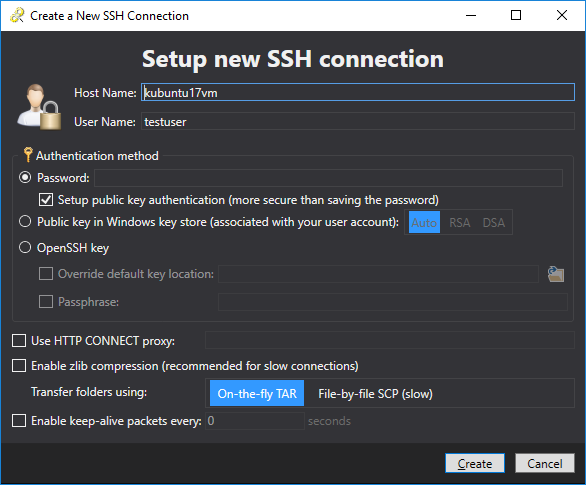
 - If you try to locate it manually, you would also need to create a new SSH connection:
 The Team Settings Engine allows avoiding those steps by automatically sharing common settings between different machines.
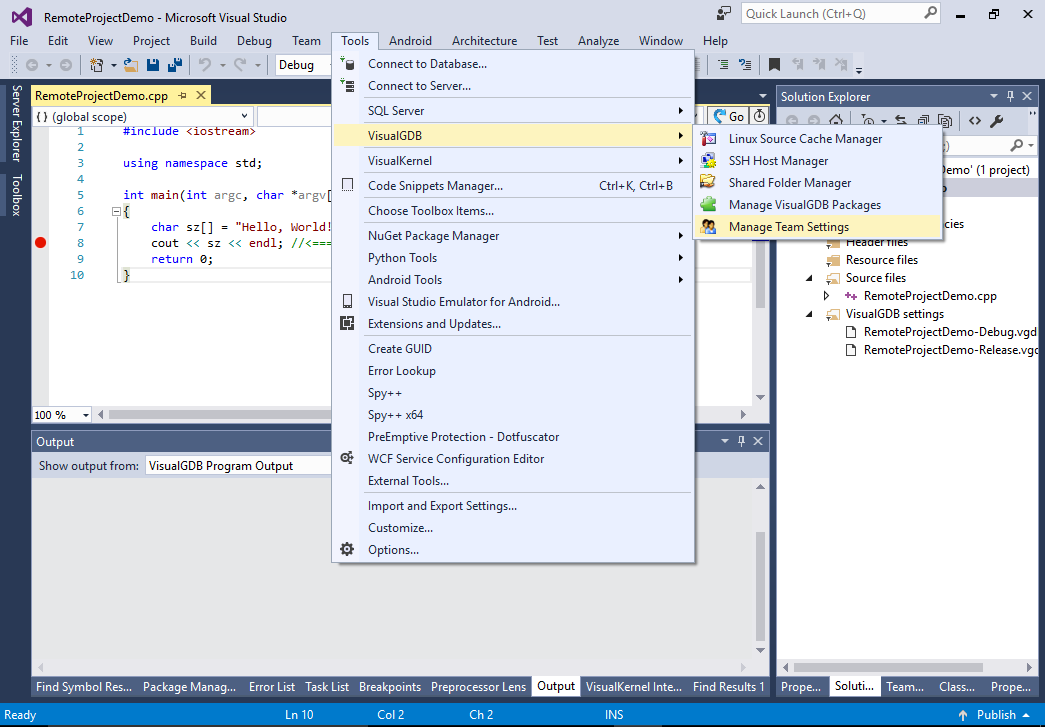
 - Get back to the first machine and open Tools->VisualGDB->Manage Team Settings:
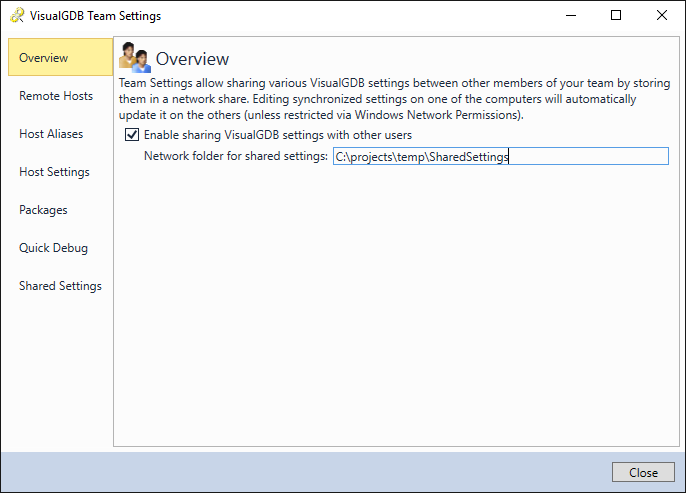
- Enable settings sharing and pick a network folder accessible from both machines:
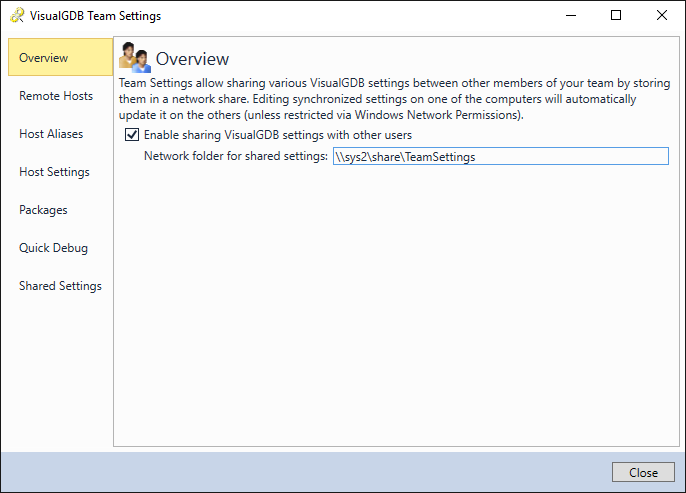 You can use Windows Security Settings to choose between read-only and read-write access for different users. If the folder is shared in a read-only mode, VisualGDB will still apply the shared settings, but won’t allow changing them unless it confirms read-write access.
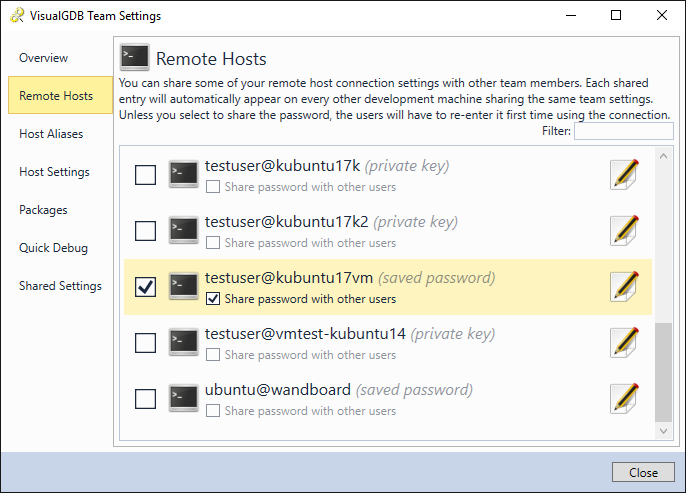
 - Go to the Remote Hosts page and share both the build machine and the deployment machine connections. If you are using saved passwords, you can automatically share the password as well (note that this will make it available to anyone with access to the shared settings folder):
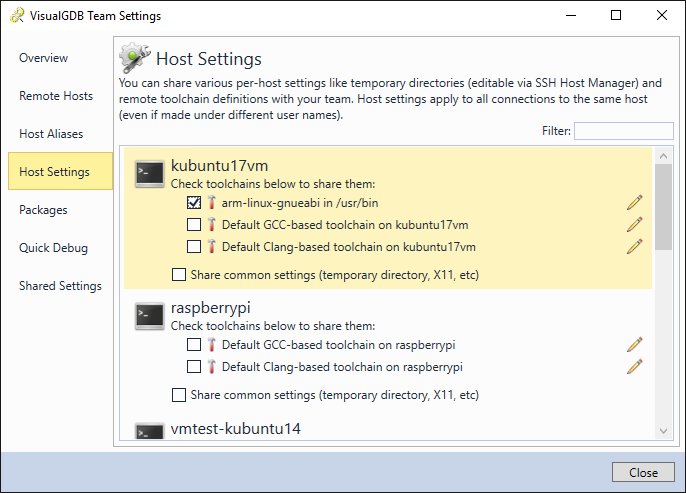
- Open the Host Settings page and share the custom toolchain selected in the wizard while creating the project:
- Go to the second machine and open VisualGDB Team Settings. Enable settings sharing and specify the same network folder:
 Once you close the Team Settings window, VisualGDB will immediately import the shared remote host settings and the toolchain definition.
 - Now you can open the project from the git repository again. The toolchain settings and the remote host settings will now be automatically located and VisualGDB will suggest regenerating the MSBuild rule files:
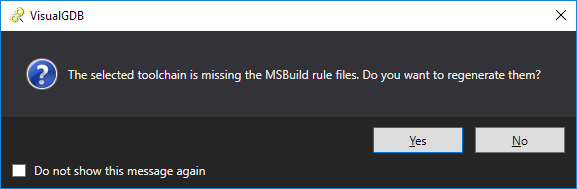
- Press “Yes” and you will be able to build and debug your project on the second machine without any further setup steps:
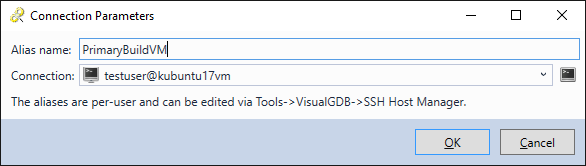
- Now we will demonstrate how to share connection aliases using VisualGDB Team Settings. Go back to the first machine, open the “Computer used for building and debugging” selector and click “Define a new global alias”:

- Enter the alias name and configure it to resolve to the build machine used earlier:
- The project will now refer to the alias rather than the build machine directly, allowing you to easily change it later without manually editing all related projects:
 We will now use the Team Settings window to share the newly created SSH host alias. We will also demonstrate how to store the shared settings in your source control system.
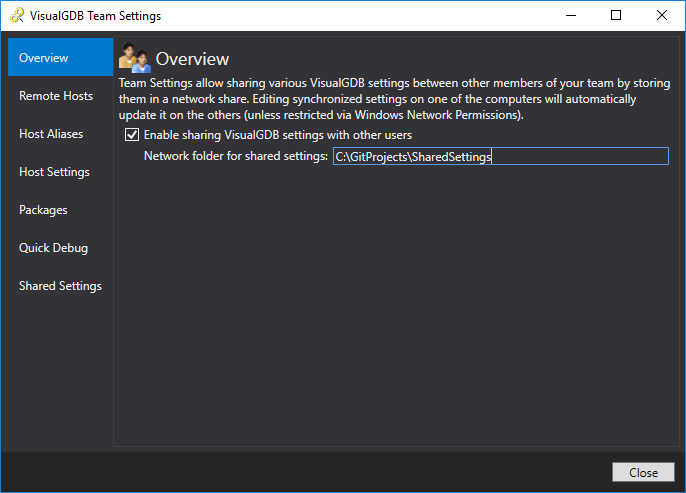
 - Create a new folder under your source control checkout and configure VisualGDB to store the shared settings there:
- As you are detaching VisualGDB from the current shared settings folder, it will ask if you want to automatically remove the shared settings available through it:
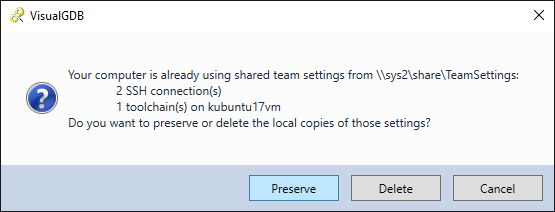 Click “Preserve” to keep them.
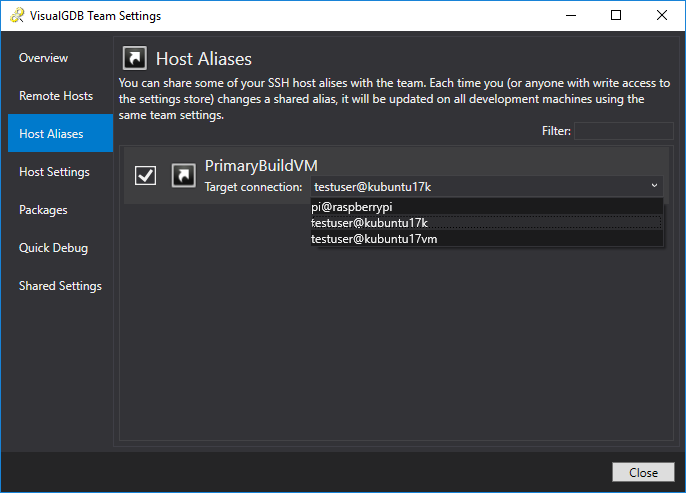
 - Go to the Host Aliases page and share the newly created alias:
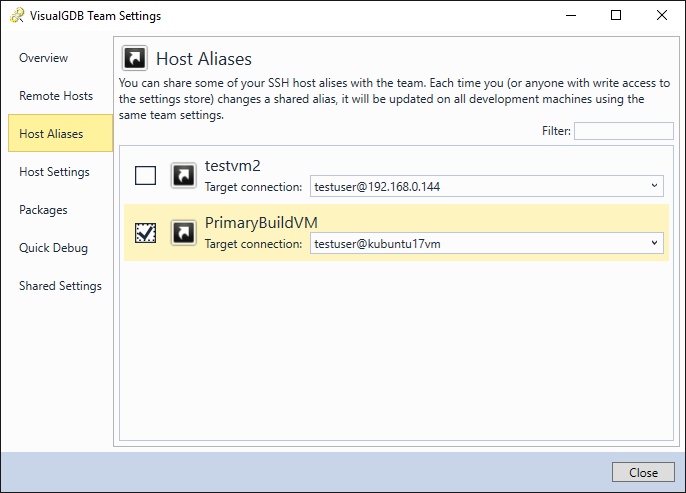 Don’t forget to re-share remote hosts and toolchain definition after changing the shared settings folder.
 - Commit the folder to your source control system and check it out on the second machine. Then configure VisualGDB Team Settings to look for shared settings in that folder:
 VisualGDB will automatically import the newly created alias.
 - As the shared settings are stored in simple XML files, you can easily use the Source Control GUI to track the related changes. E.g. try changing the alias target to another machine:
- Then open the Changes view of the VS Team Explorer and see how the change affected the VisualGDBTeamSettings.xml file:
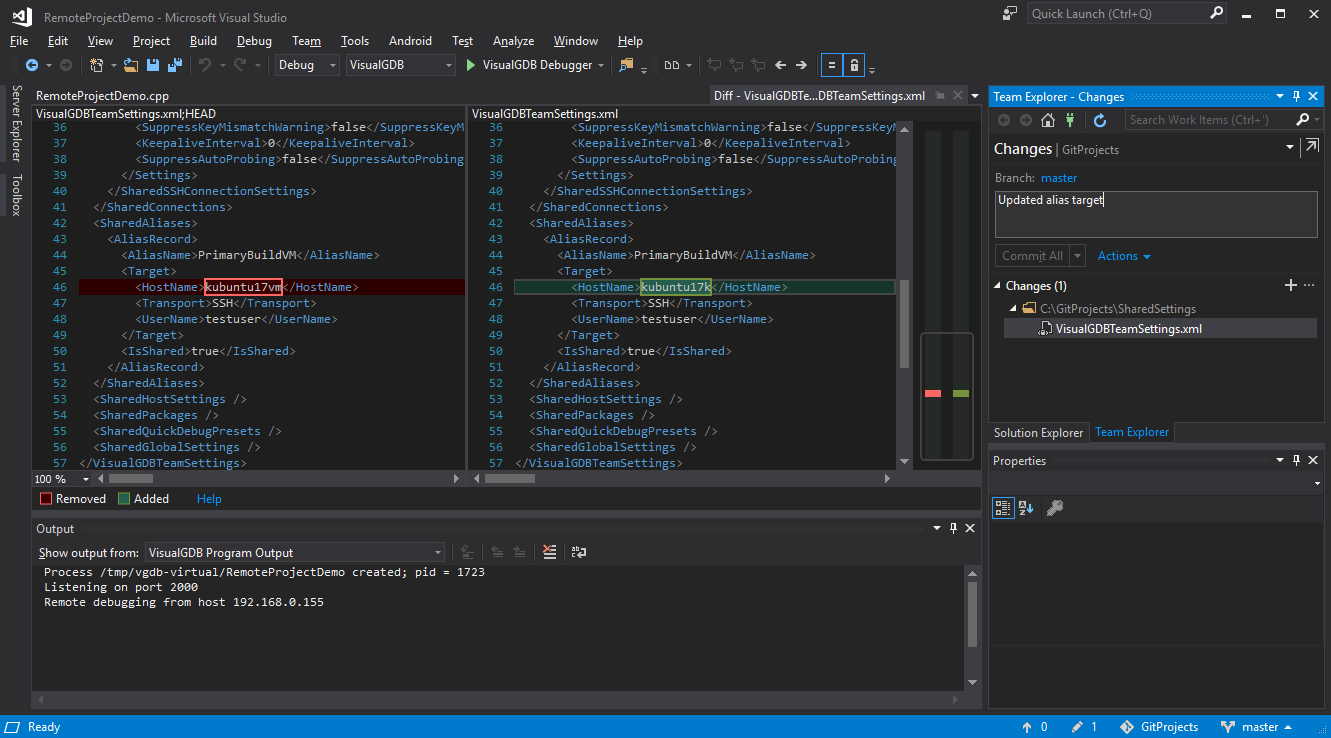 Once you commit that file to your repository (and update it on all other development machines), VisualGDB will automatically pick up new settings from it, updating the alias on all machines using the same shared settings.