Debugging the OpenAMP example on the STM32MP2 device
This tutorial shows how to build and debug the OpenAMP example on the Cortex-M33 core of the STM32MP2 device. OpenAMP allows exchanging messages between the Cortex-A core running Linux and the Cortex-M33 core running a separate embedded firmware.
Before you begin, make sure you can boot your STM32MP2 device into Linux (see this tutorial for instructions on building Linux images for STM32MP1 devices, and this page for differences between STM32MP1 and STM32MP2).
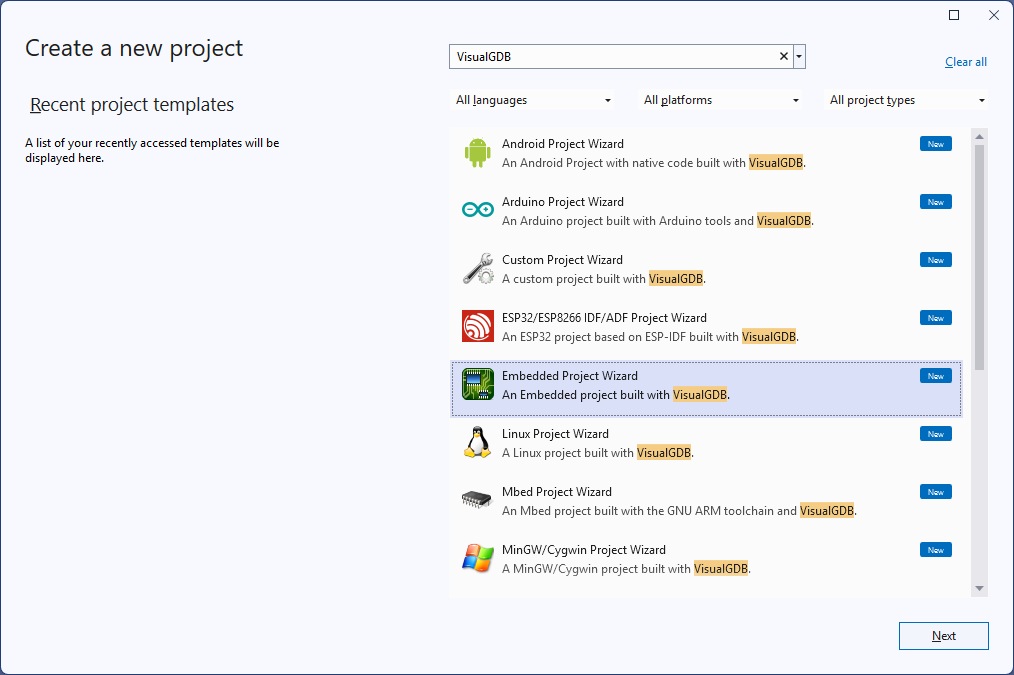
- Start Visual Studio and locate the VisualGDB Embedded Project Wizard:
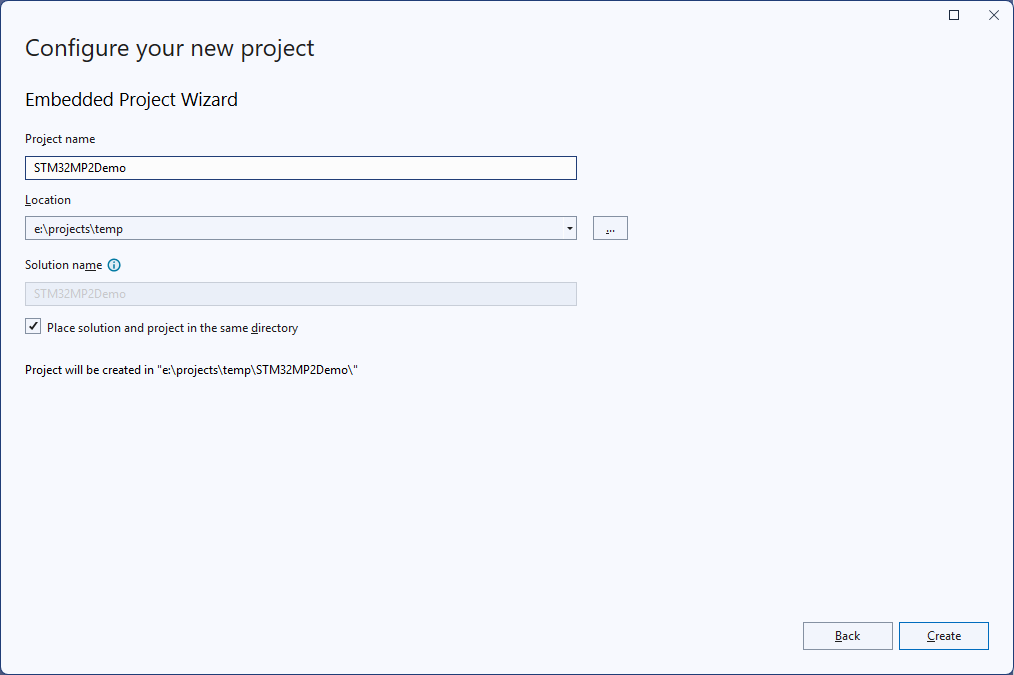
- Enter the name and location for your project:
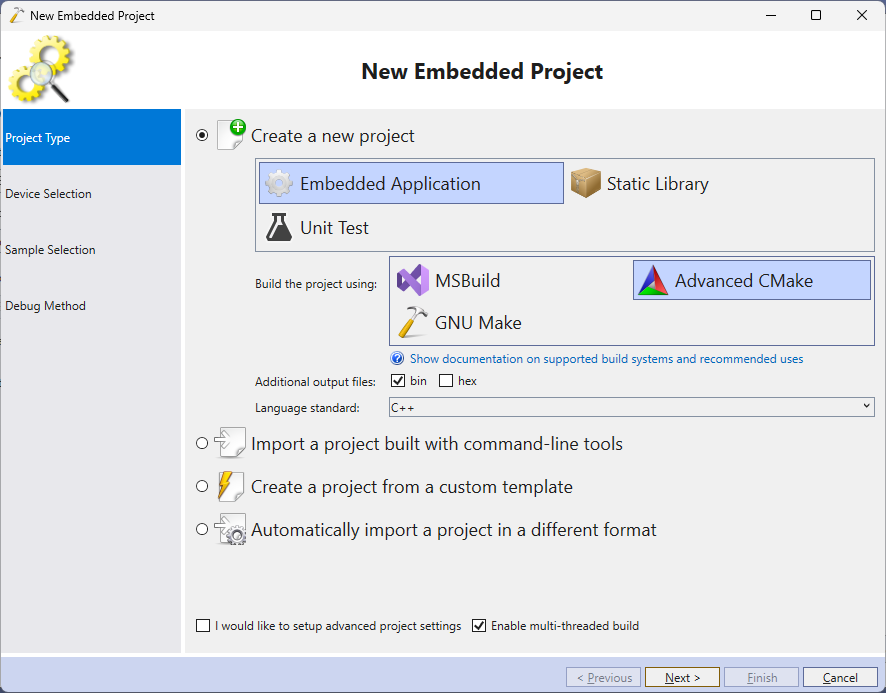
- Select New Project -> Embedded Application -> Advanced CMake:
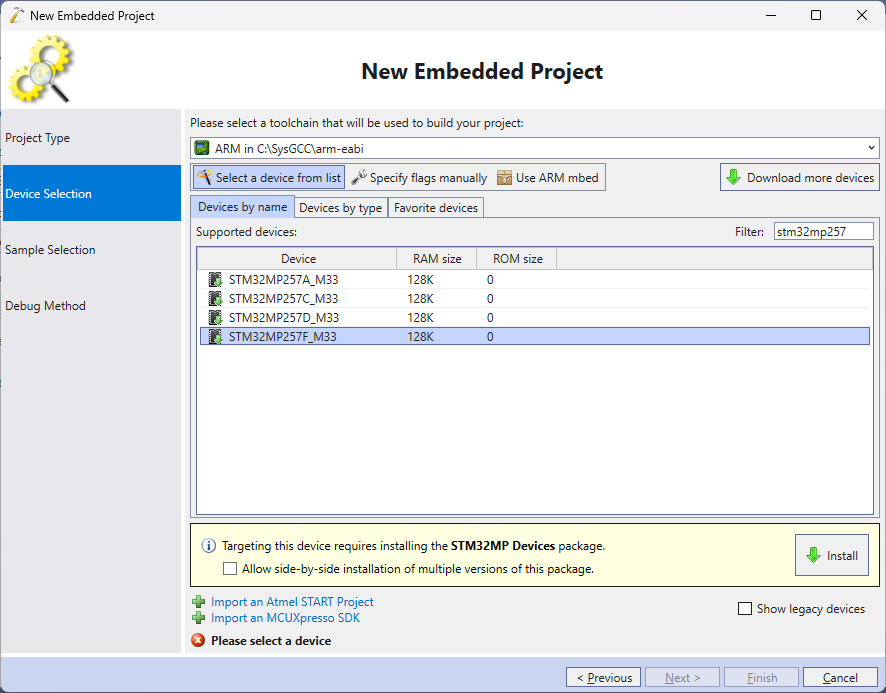
- On the next page select your STM32MP2 device. If this is the first time you are targeting STM32MP2, VisualGDB will suggest installing the STM32MP2 BSP:
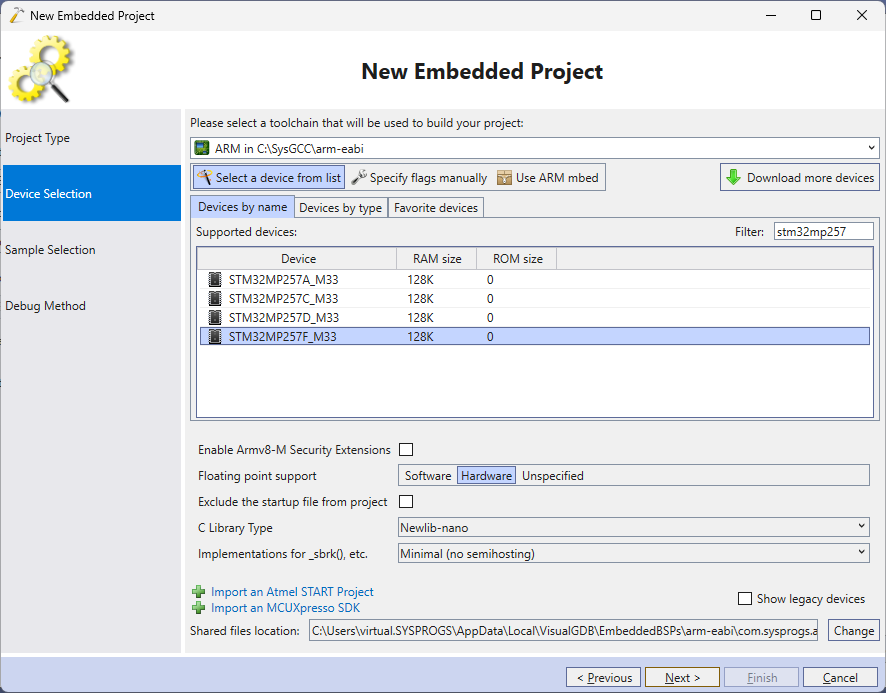
- Once the BSP is installed, proceed with the default settings:
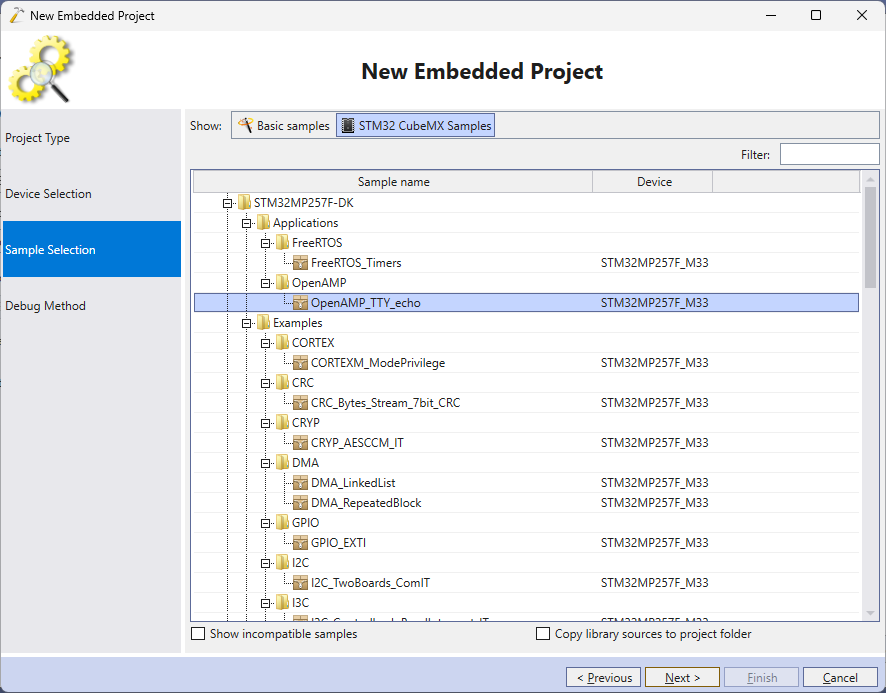
- On the next page, select STM32CubeMX Samples -> OpenAMP_TTY_echo:
- Connect your ST-Link probe to the board and make sure the Cortex-M33 core is started by running “echo start > /sys/class/remoteproc/remoteproc0/state” from the Linux terminal on STM32MP2:

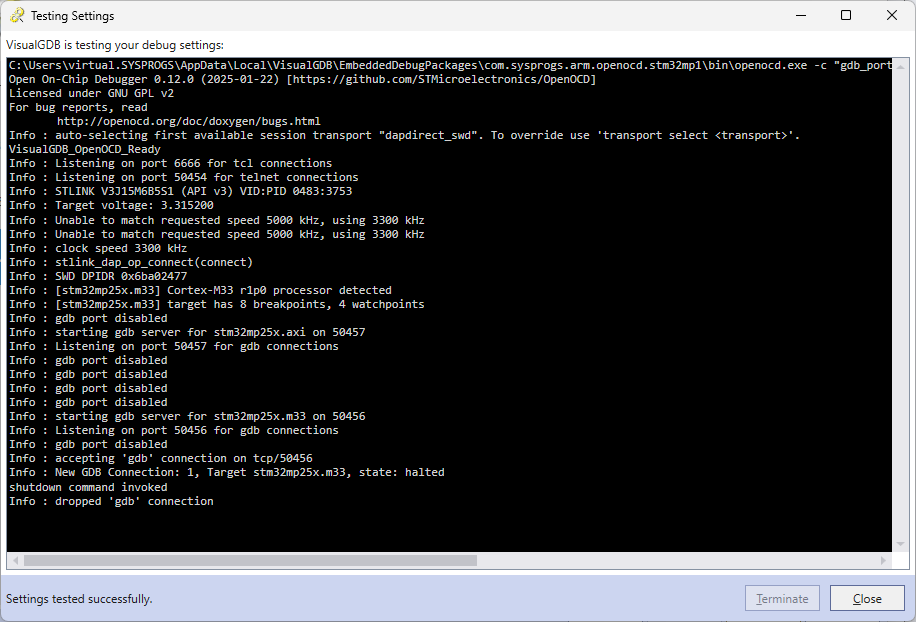
- Once the M33 core is running, you can test the debugging connection by pressing the Test button :
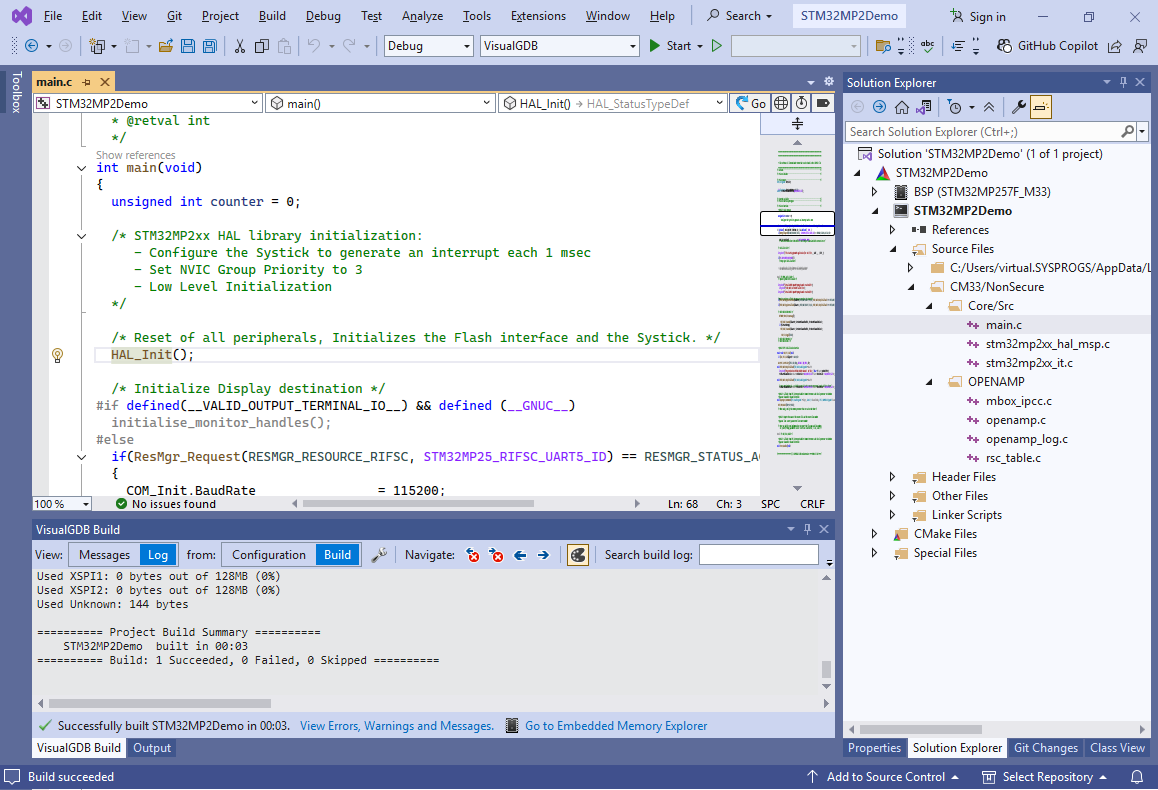
- Click “Finish” to complete the wizard. Then build the project by pressing Ctrl-Shift-B:
- Running the OpenAMP example on the Cortex-M33 core requires special steps:
- The M33 firmware must include the OpenAMP descriptor table (included in this example)
- The firmware (ELF file) must be uploaded to /lib/firmware in the Linux system
- The M33 core must be started by writing “start” into the /sys/class/remoteproc/remoteproc0/state file
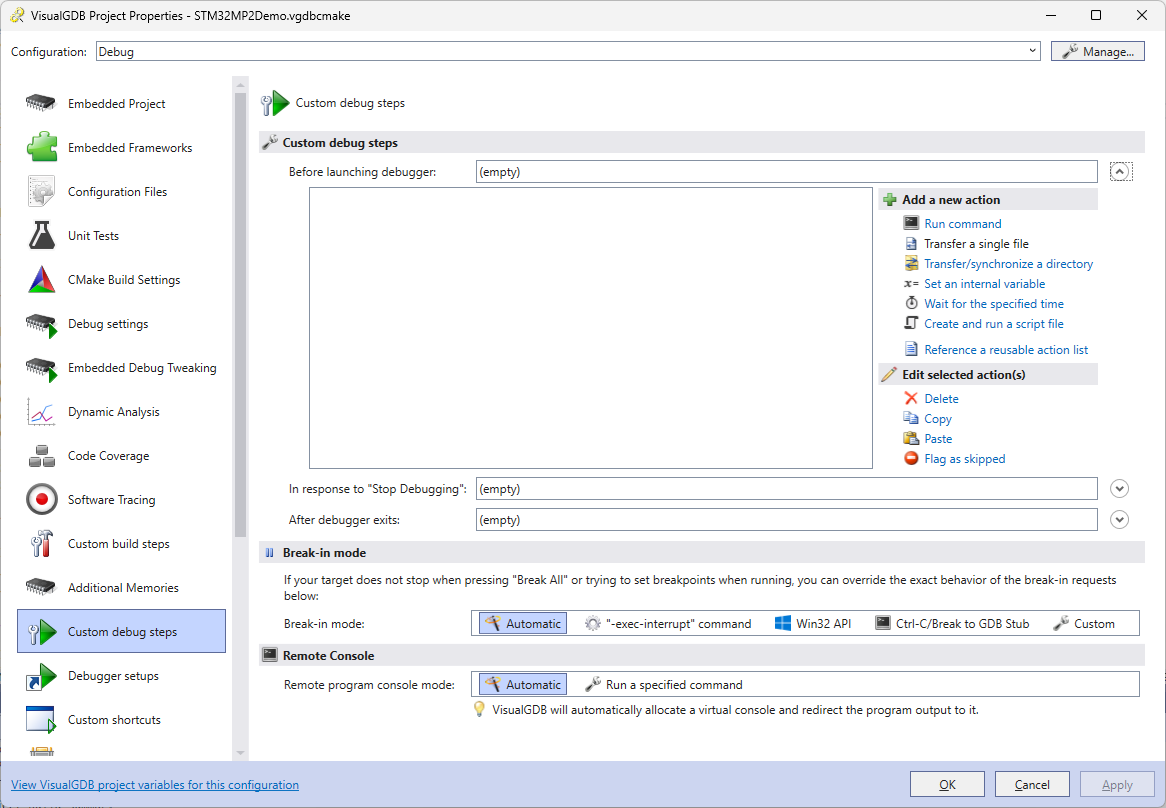
You can configure VisualGDB to automate these steps via the Custom Debug Steps page of VisualGDB Project Properties:
- First, add a file transfer action:
File $(TargetPath) Remote path /lib/firmware/$(TargetFileName) Remote machine (hostname for the STM32MP2 device) -
Then add another action to run the following script:
#!/bin/sh
echo stop > /sys/class/remoteproc/remoteproc0/state
echo $(TargetFileName) > /sys/class/remoteproc/remoteproc0/firmware
echo start > /sys/class/remoteproc/remoteproc0/state
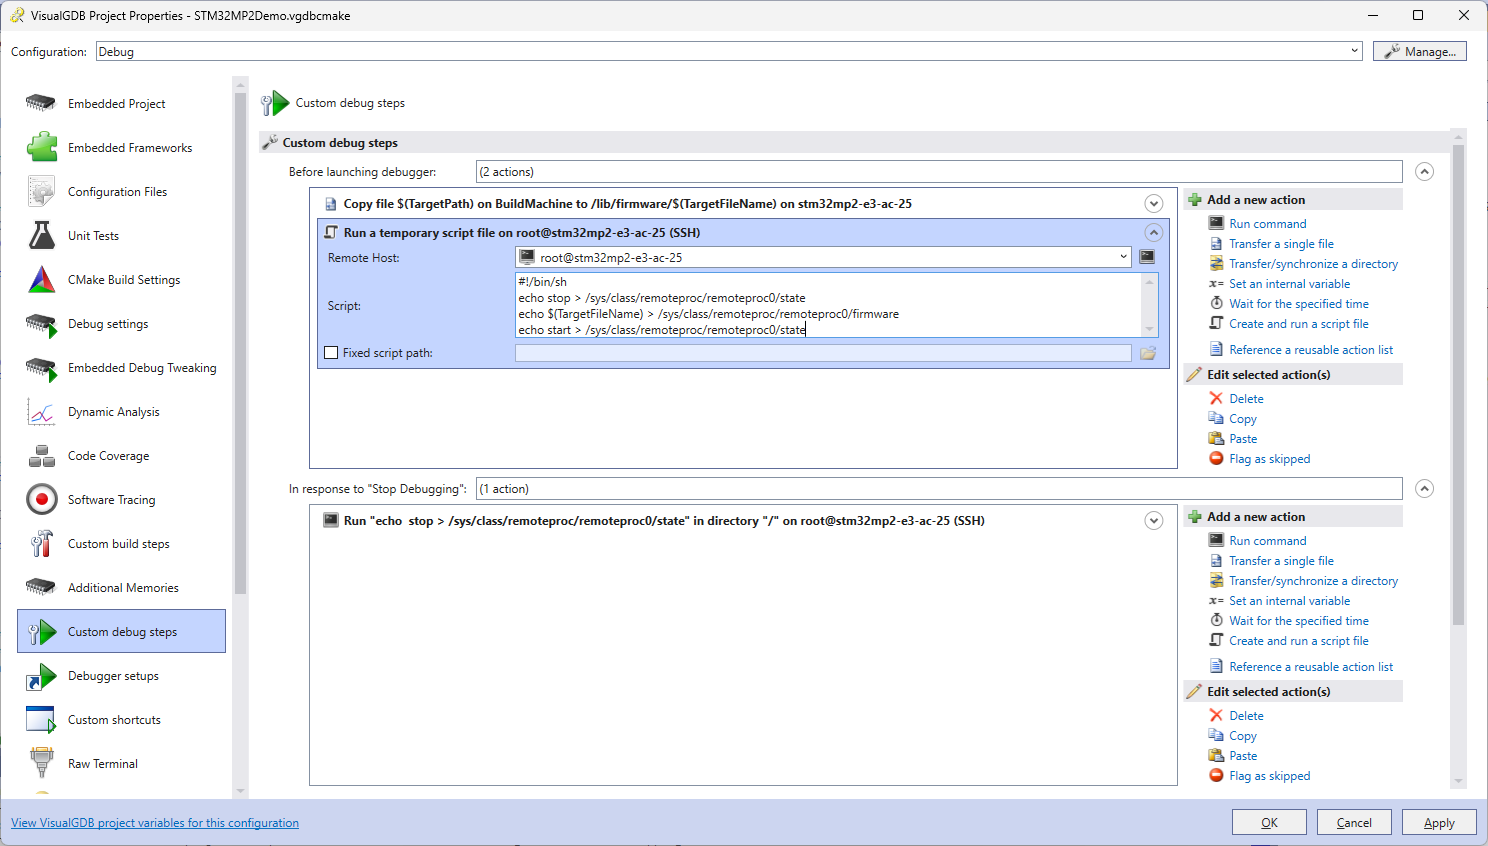
You can also add a step to run “echo stop > /sys/class/remoteproc/remoteproc0/state” to the post-debugging steps to automatically stop the M33 core after you finished debugging it.
- Change the FLASH programming mode to Never because the Linux kernel will already load the firmware into the M33 core for you:
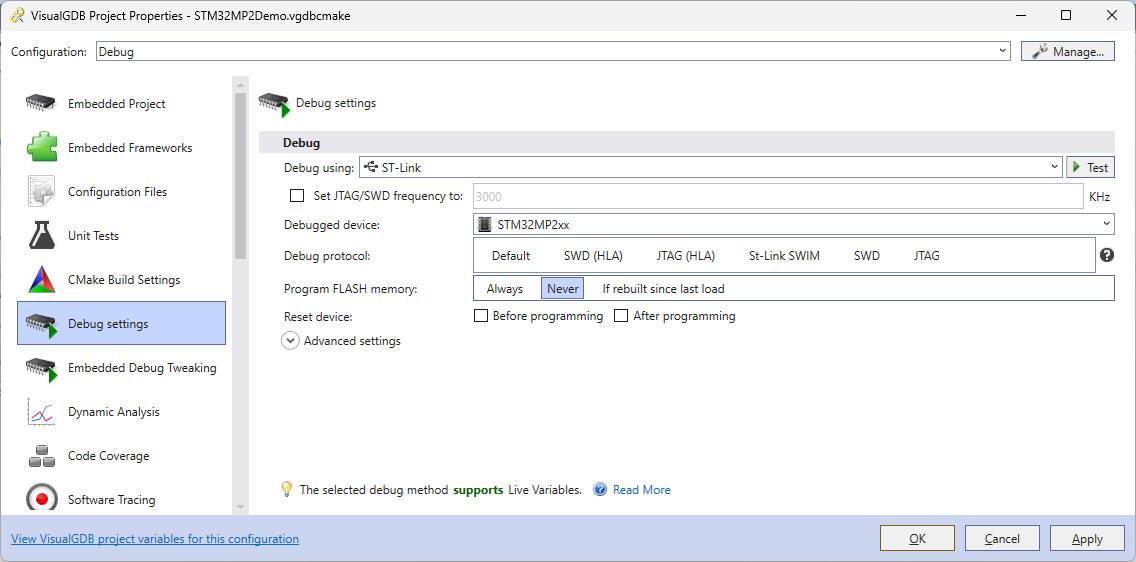 Note that keeping the default FLASH programming mode may work for some projects, but will cause OpenAMP to lose synchronization between the Linux and the Cortex-M33 sides (OpenAMP will be stuck in initialization code after VisualGDB resets the M33 core).
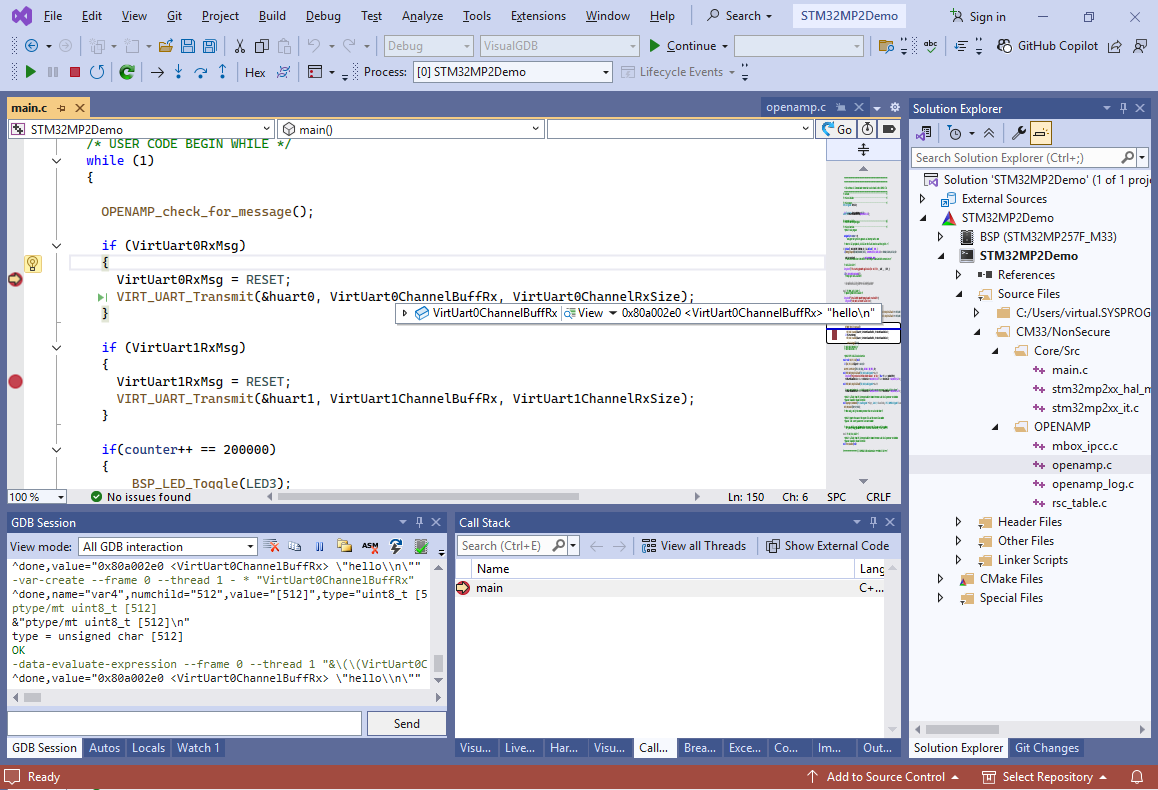
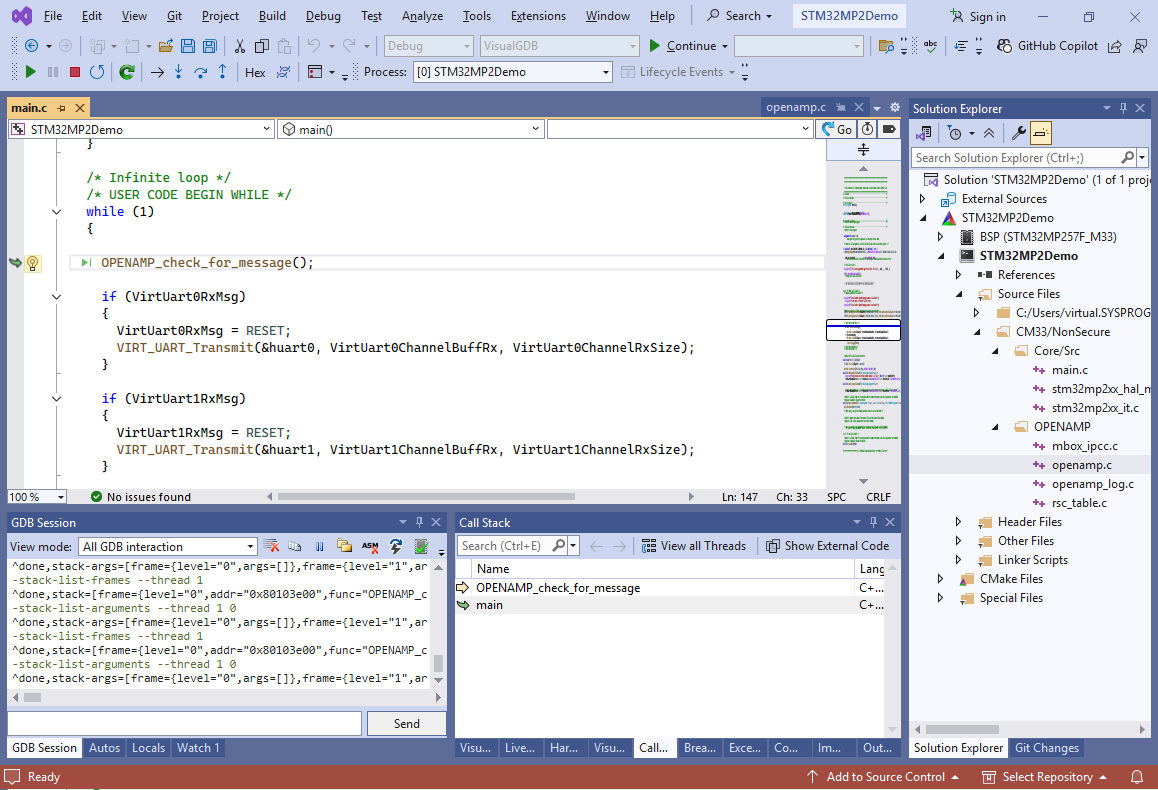
 - Press F5 to start debugging. You can then use Debug->Break All to see what code is running currently. Normally, it should be looping inside OPENAMP_check_for_message():
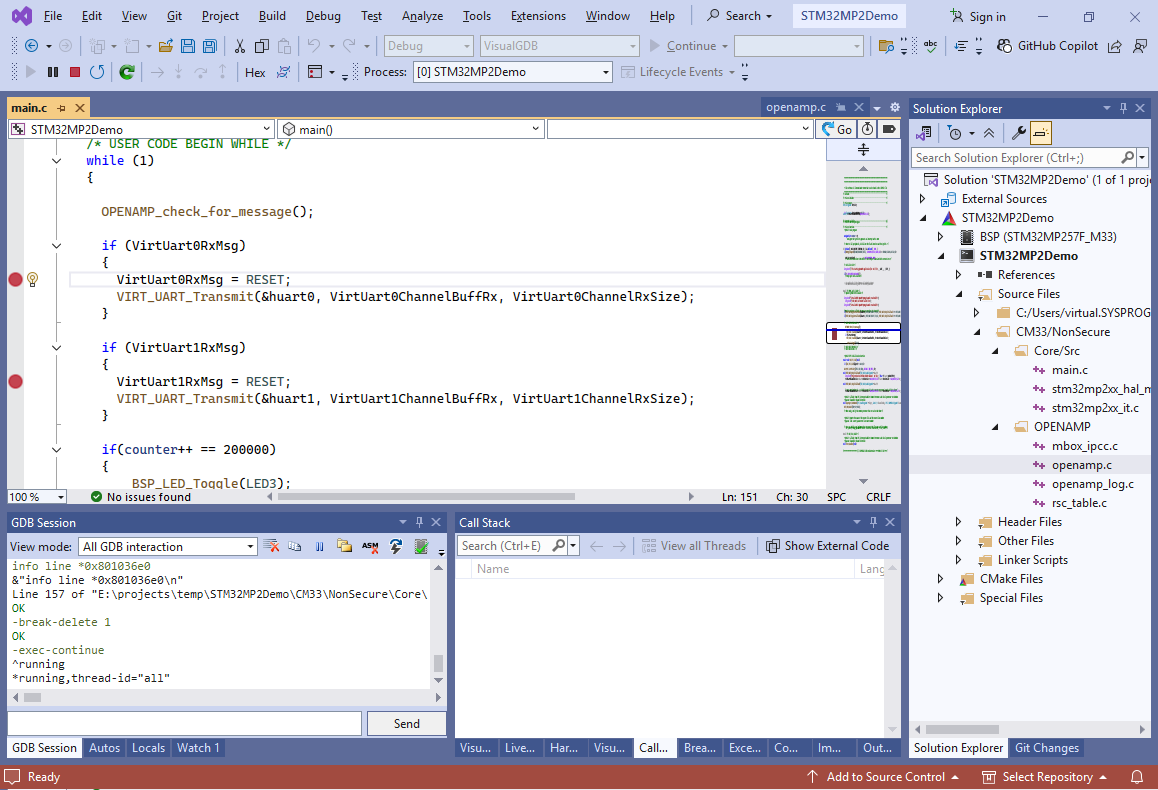
- Set breakpoints on the lines setting VirtualUartNRxMsg:
- Verify that the /dev/ttyRPMSG0 was created on the Linux side (check the dmesg output it it hasn’t) and then try running “echo hello > /dev/ttyRPMSG0” in the Linux terminal. The branch responsible for reading the channel #0 will trigger a breakpoint, showing the message that got received: