Using STM32CubeMX Startup Code Generator with VisualGDB
This tutorial shows how to use the STM32CubeMX startup code generator with VisualGDB version 5.3 or later. We will use the STM32CubeMX tool to generate a basic project and then import it into VisualGDB to build and debug it.
WARNING: This tutorial describes an outdated workflow. For better integration with STM32CubeMX, please use the new STM32CubeMX Project Wizard.
Before you begin, ensure you are using VisualGDB 5.3 or later as it supports importing STM32CubeMX projects automatically.
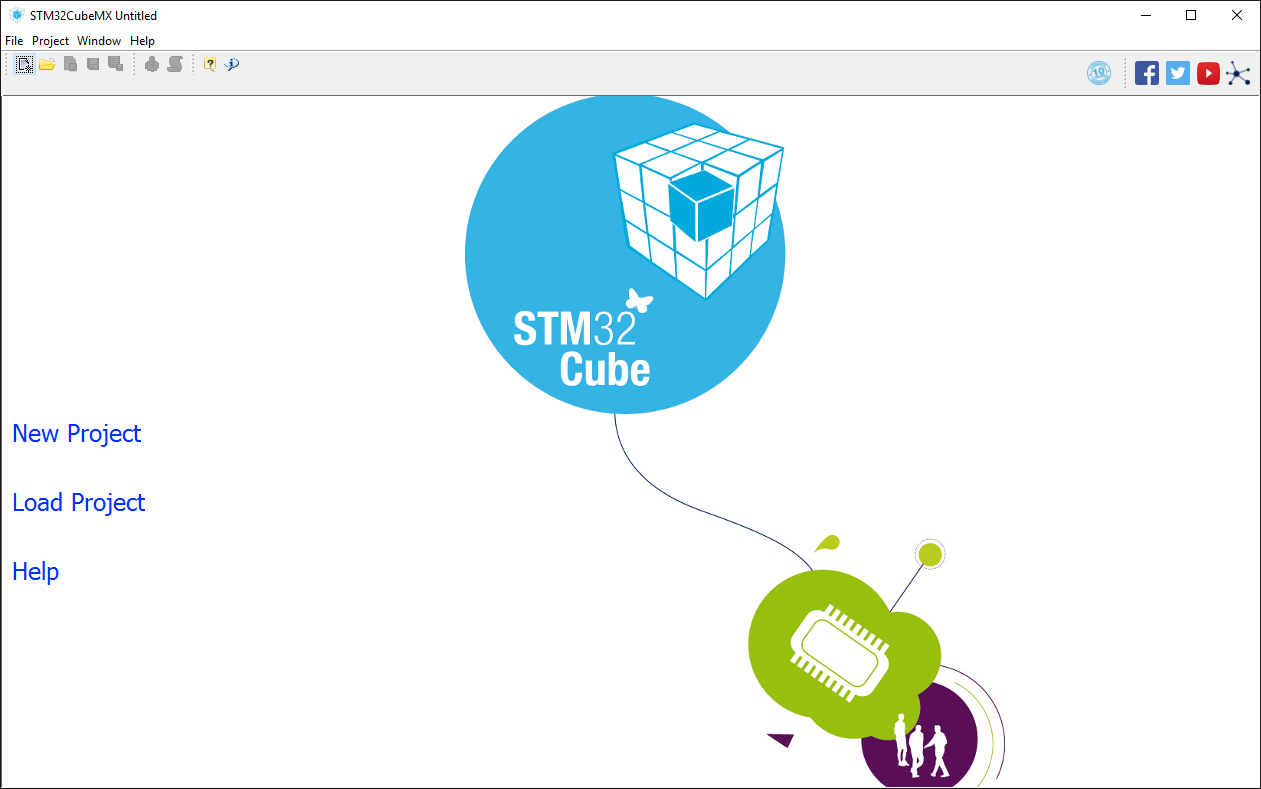
- Start the STM32CubeMX tool and click on “New Project”:
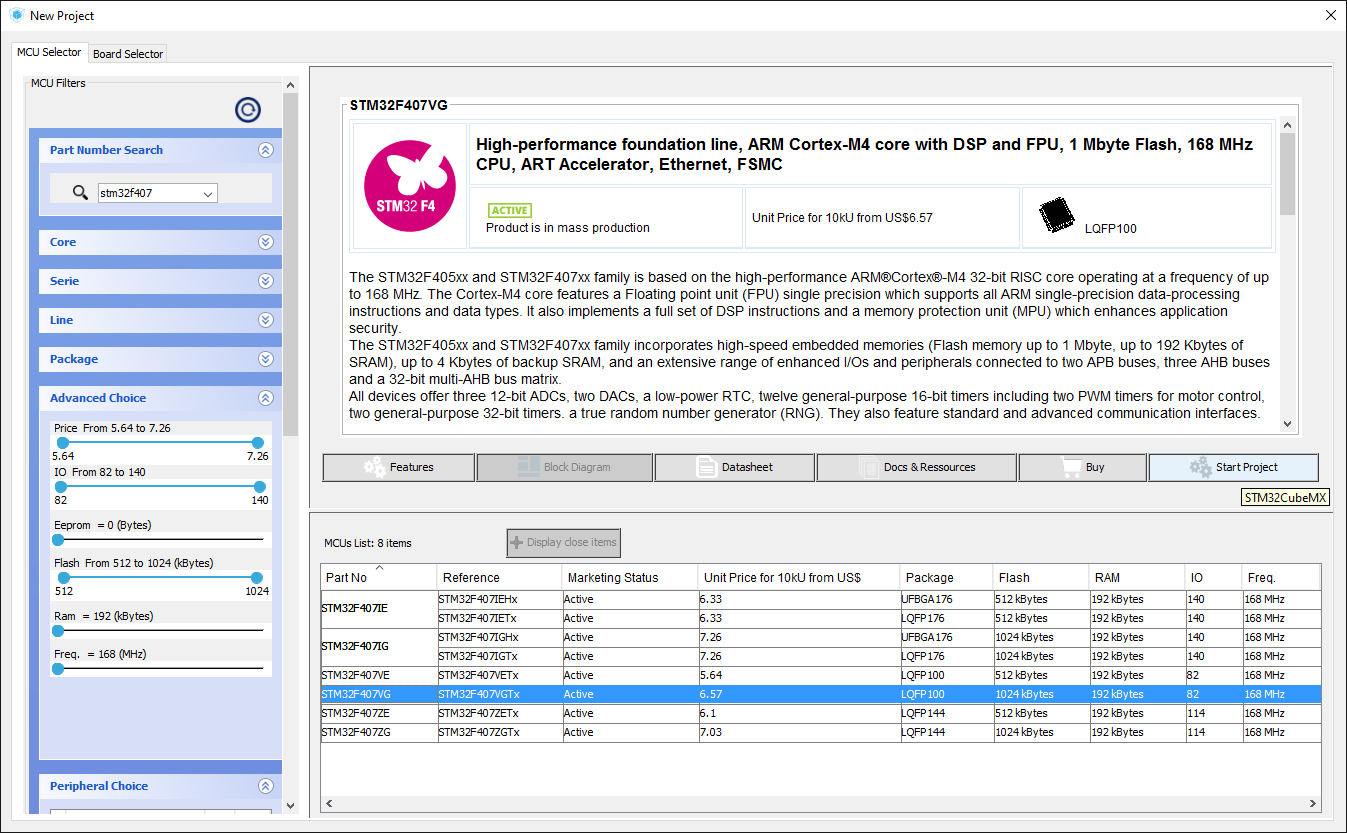
- Select your device in the device list and click “Start Project”. In this tutorial we will use the STM32F4Discovery board with the STM32F407VG device:
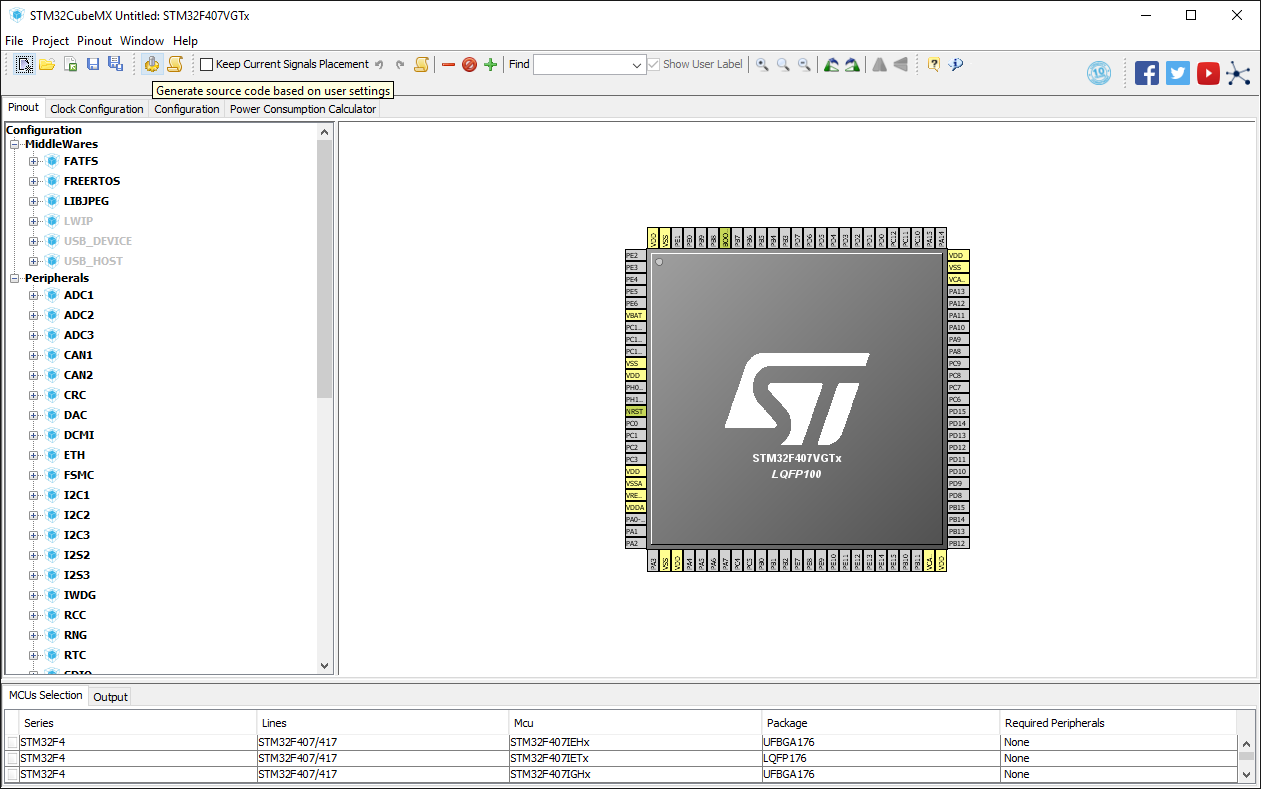
- STM32CubeMX will create a new basic project template. Before we can import it into VisualGDB, we need to generate the actual project. Click the “Generate source code” button:
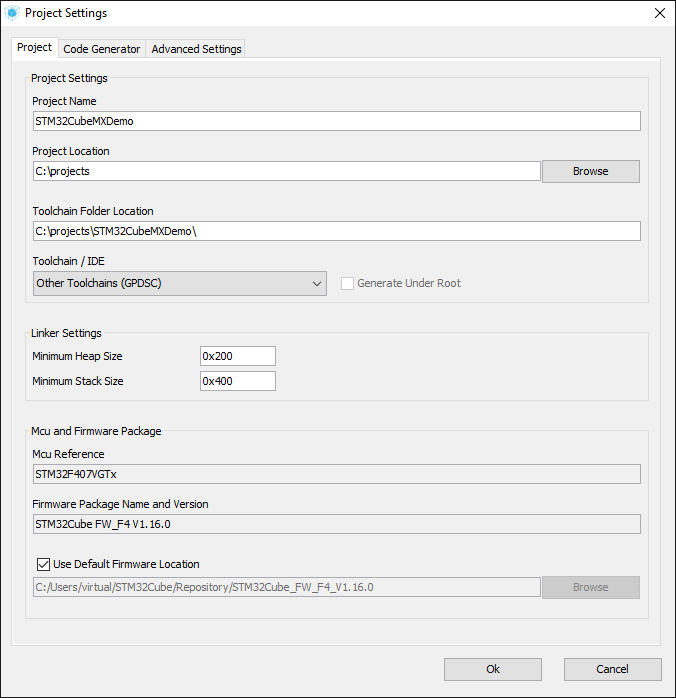
- In the project settings select enter the location where you want to save the project and select “Other Toolchains (GPDSC)” as the toolchain/IDE:
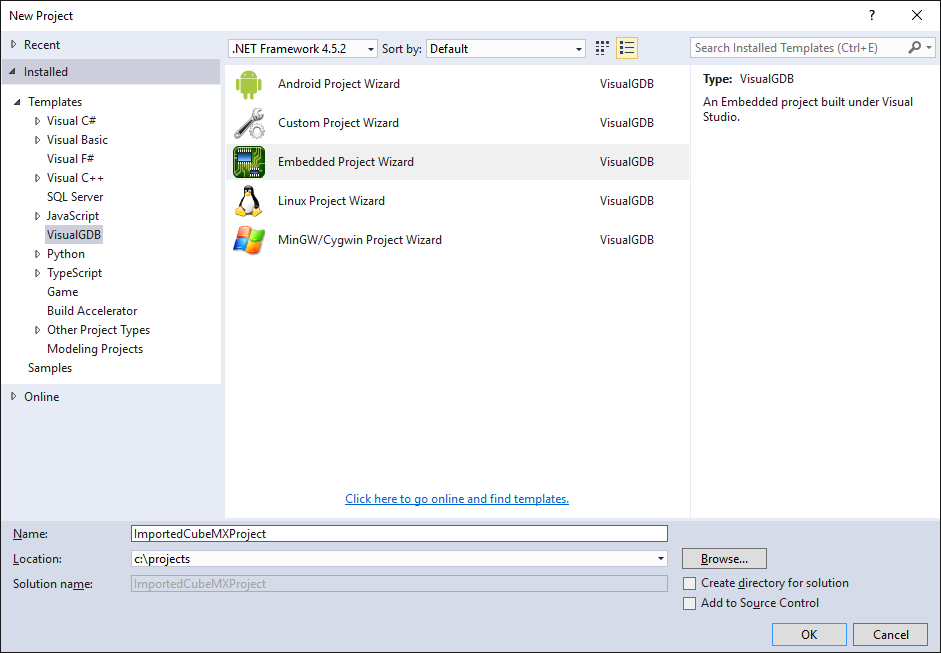
- Start Visual Studio and open VisualGDB Embedded Project Wizard:
- On the first page of the wizard select Automatically import a project in a different format -> Import an existing STM32CubeMX Project and enter the location of the gpdsc file generated by STM32CubeMX:
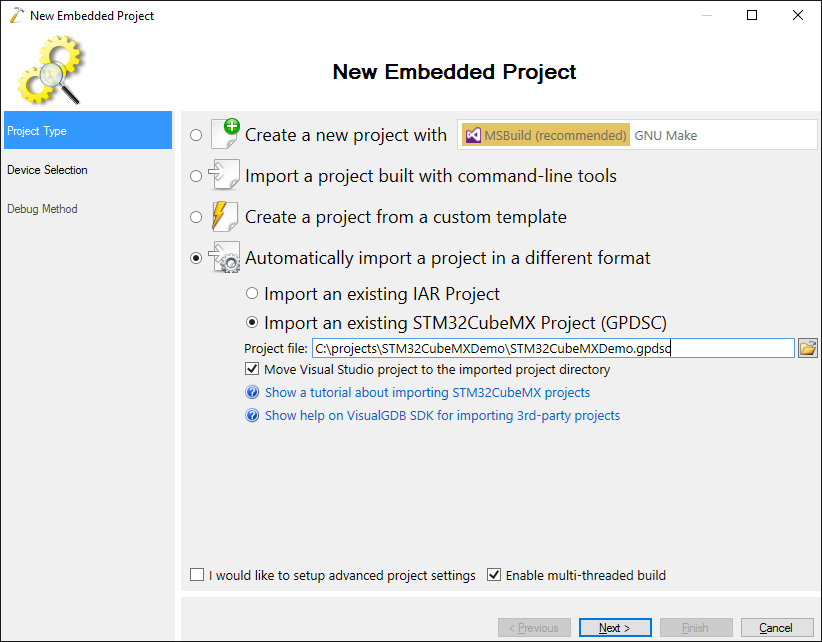 We recommend checking the “Move Visual Studio project to the imported project directory” checkbox to create your VS project into the directory containing the rest of the files generated by STM32CubeMX:
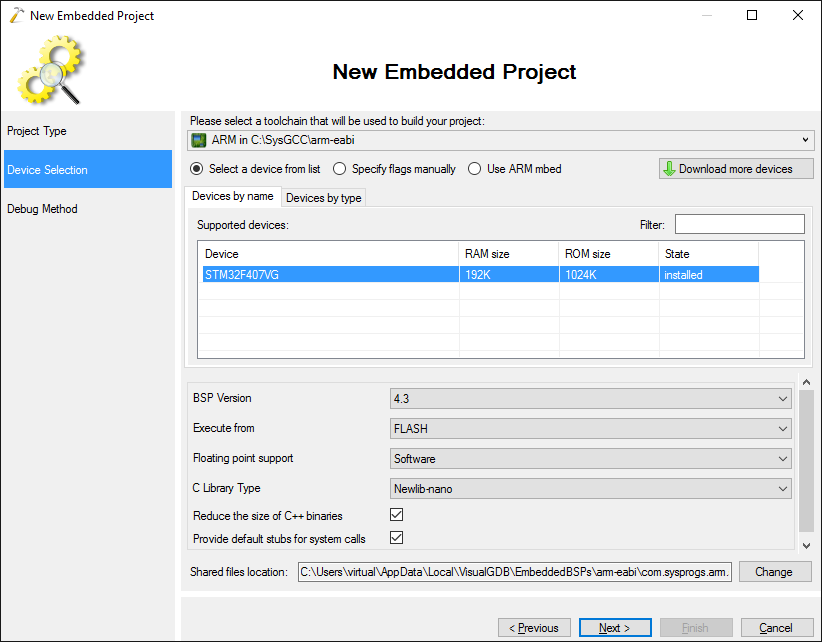
 - Click “Next”. VisualGDB will automatically pick up the device type from the generated project, so simply click “Next” again to confirm it:
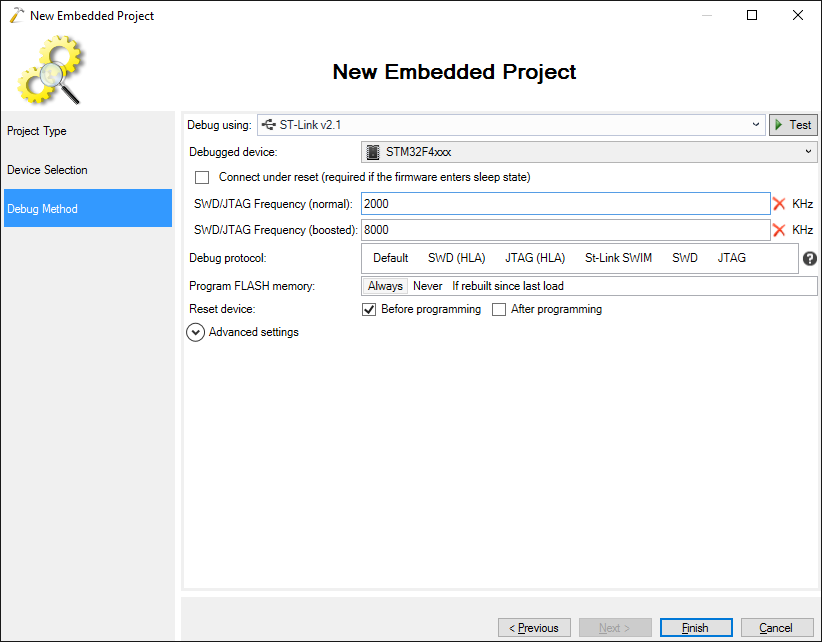
- Ensure your board is connected to your computer. VisualGDB will automatically locate the on-board ST-Link debug interface and will install the necessary drivers if they are missing. Click “Finish” to create the project:
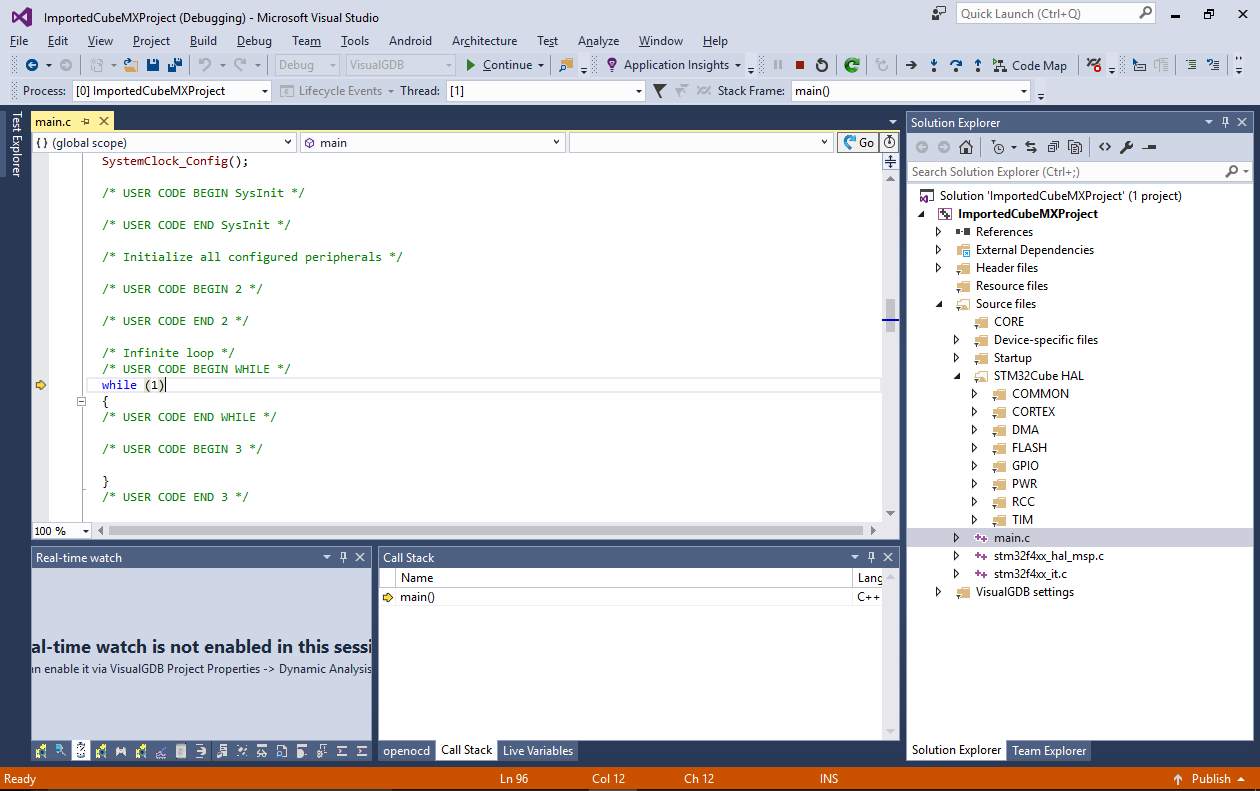
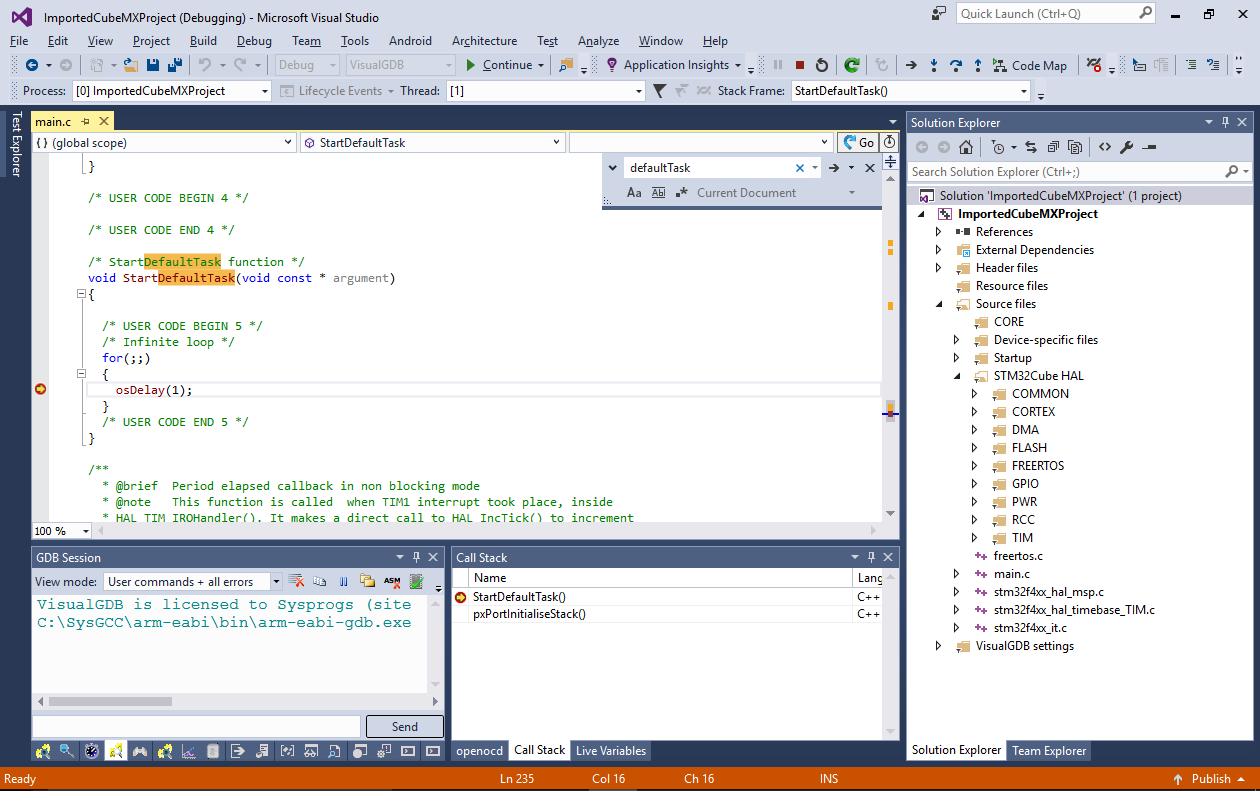
- Press F10 to build the project and step into it. Ensure that you can debug it:
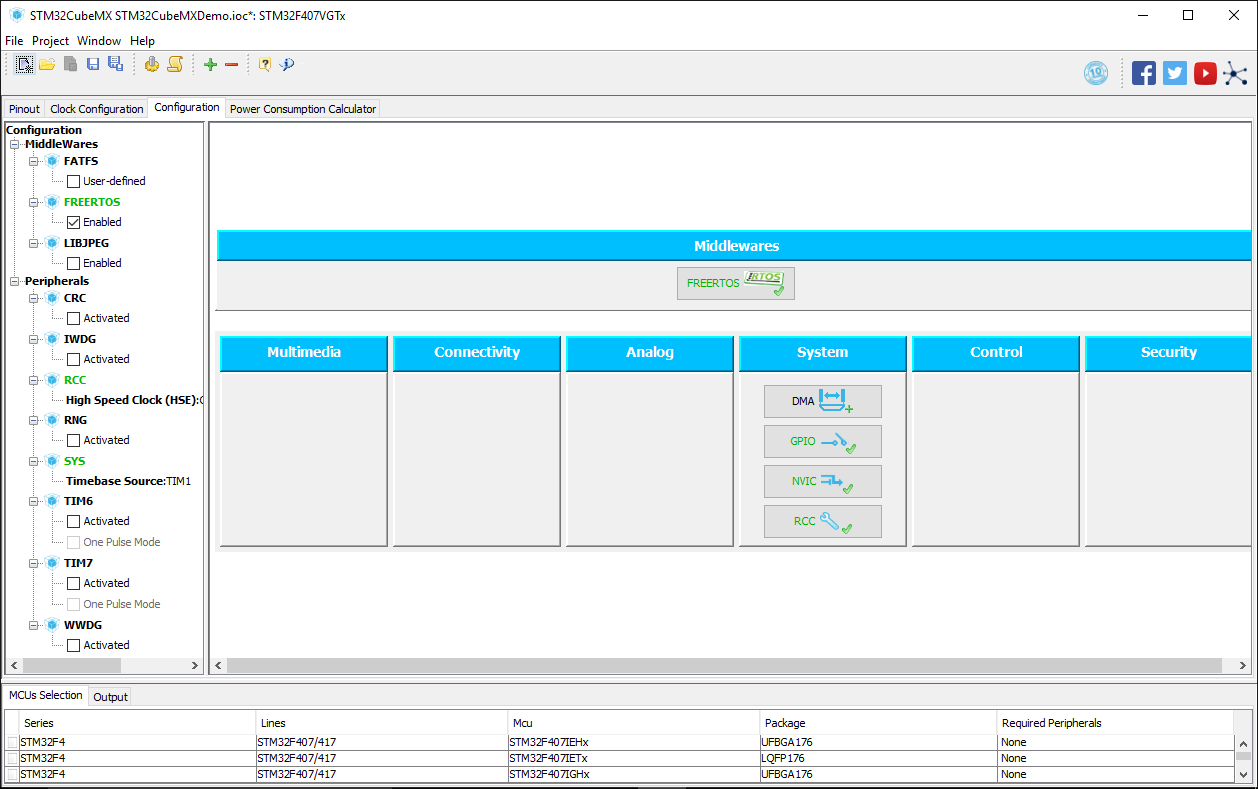
- Now we will modify the project settings in the STM32CubeMX tool. Enable the external clock, specify the input frequency to match the oscillator on your board and ensure all the generated clocks have correct values (STM32CubeMX will highlight the incorrect values if it finds any):

- We will also show how to quickly enable FreeRTOS. Click the “Enabled” checkbox under MiddleWares -> FreeRTOS:
- Click “Generate Code” to generate the project again:

- Close the Visual Studio solution and re-open it. VisualGDB will detect that the gpdsc file has changed and will suggest updating the project:
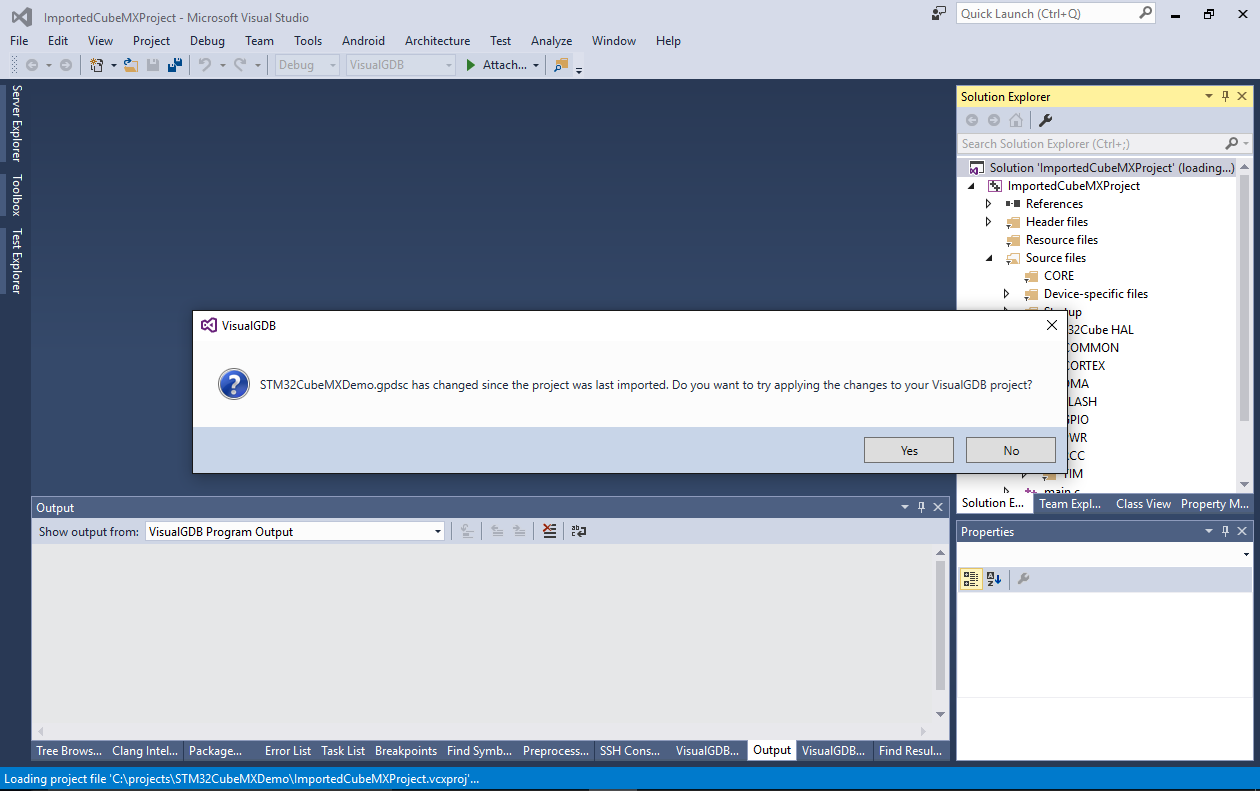 Click “Yes”. VisualGDB will automatically detect the changes between the old and the new configuration and will apply them. Any files or settings that were previously a part of the STM32CubeMX project, but are no longer referenced, will be removed. Any files that were previously not referenced and were added now will be added. This will ensure that any changes made by you to the Visual Studio project (e.g. extra source files or include directories) will be preserved.
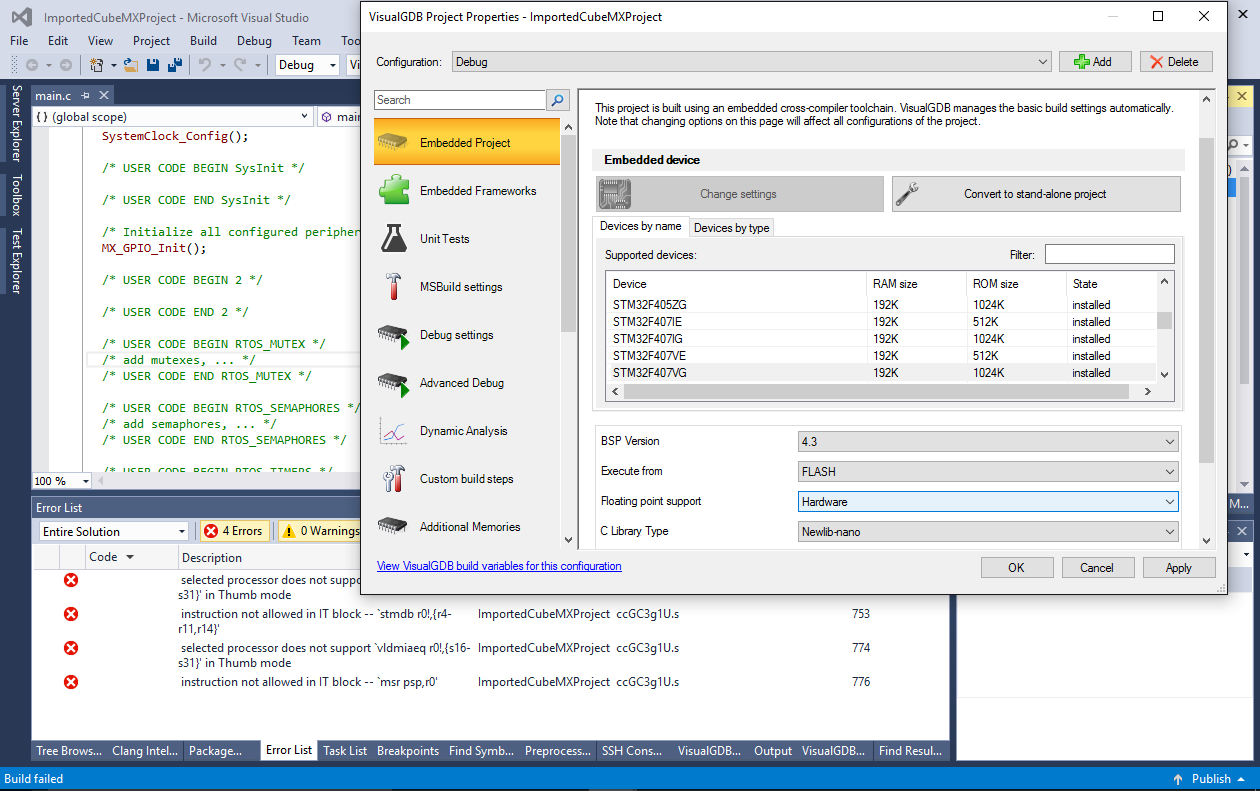
 - If you try building the project now, you will get several build errors related to FreeRTOS. This happens because FreeRTOS expects the hardware floating point support, while VisualGDB uses software FP by default. Open VisualGDB Project Properties to change it:
- Now the project should build and you should be able to debug it:
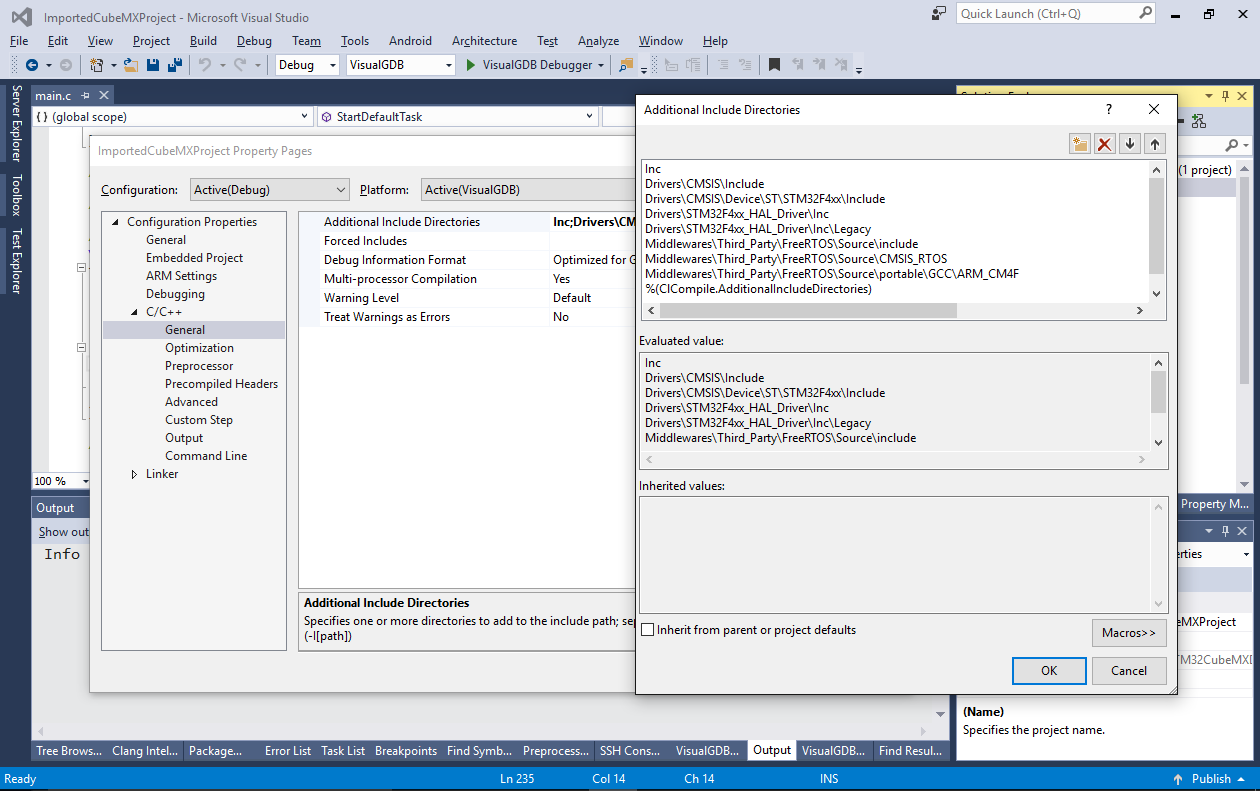
- VisualGDB automatically detects the build settings (e.g. include directories) from the STM32CubeMX project. If you want to change them, simply use the Visual Studio project properties (or VisualGDB Project Properties). VisualGDB will preserve any manually made changes when updating the project next time:
- The VisualGDB framework for importing 3rd-party projects is open-source and extremely easy to use. If you would like to import a project in a format that is not directly supported by VisualGDB, you can use our STM32CubeMX importer source as a reference. Simply place your plugin under <VisualGDB>\ProjectImporters directory and VisualGDB will show it in the Embedded Project Wizard.