Creating Qt-Embedded Projects for Beaglebone
Warning: This tutorial explains how to create a basic Qt project for the Beaglebone Black board running Angstrom Linux that is deprecated. Follow this tutorial for instructions on cross-compiling Qt5 applications for Beaglebone running Debian.
Note that Qt Embedded described in this tutorial is different from the normal Qt distribution and requires several extra setup steps in order to setup a project.
Alternatively you can setup Qt-X11 on your Beaglebone board by following the Qt-X11 tutorial, however its current support is less stable than for Qt-Embedded.
Before you begin ensure that you have the following tools installed:
- VisualGDB 4.1 or later
- Qt 4.x libraries for MinGW
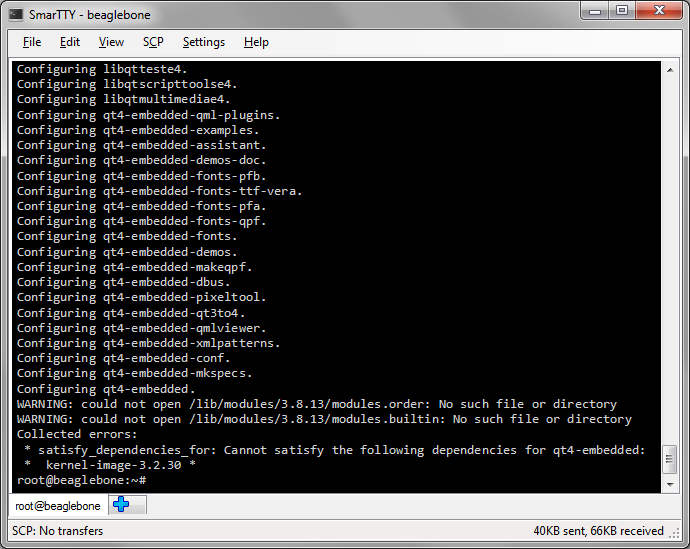
- First of all you need to install Qt on the Beaglebone device as it is not included in the default image. Connect to the device over SSH (e.g. using SmarTTY) and run the following commands:
opkg update
opkg install qt4-embedded --force-depends
opkg install libqtcoree-dev libqtguie-dev
Although you might get a message about the missing kernel image, it should not stop Qt from working:
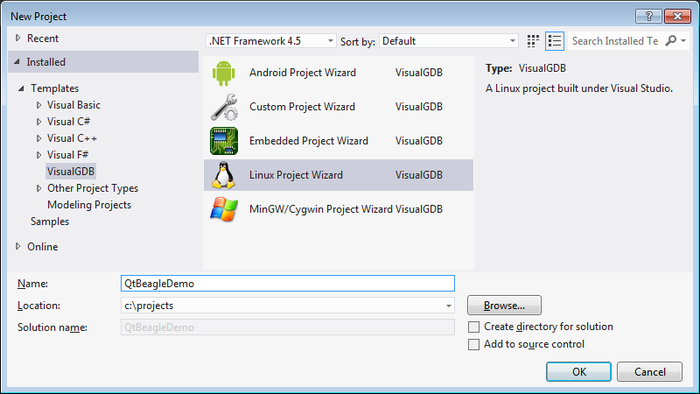
- Start Visual Studio. Start creating a new project with VisualGDB wizard for Linux:
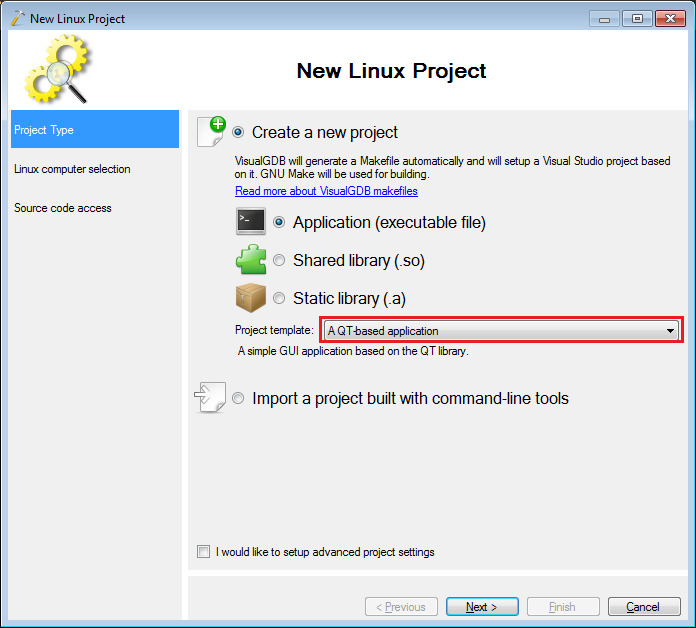
- Select “A Qt-based Application” as the project template:
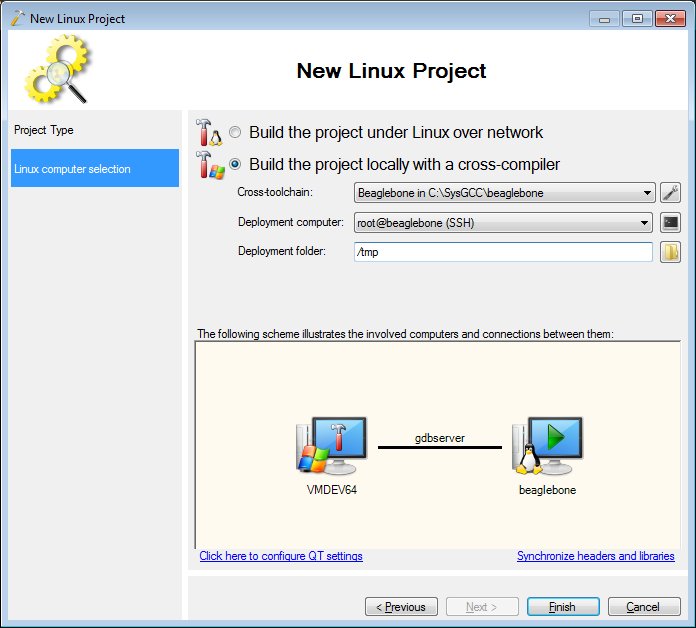
- As building your project on the board itself could be very slow, we will use a cross-compiler and modify it to support Embedded Qt used on Beaglebone boards. Select “Build the project locally” and ensure you have selected the Beaglebone toolchain:
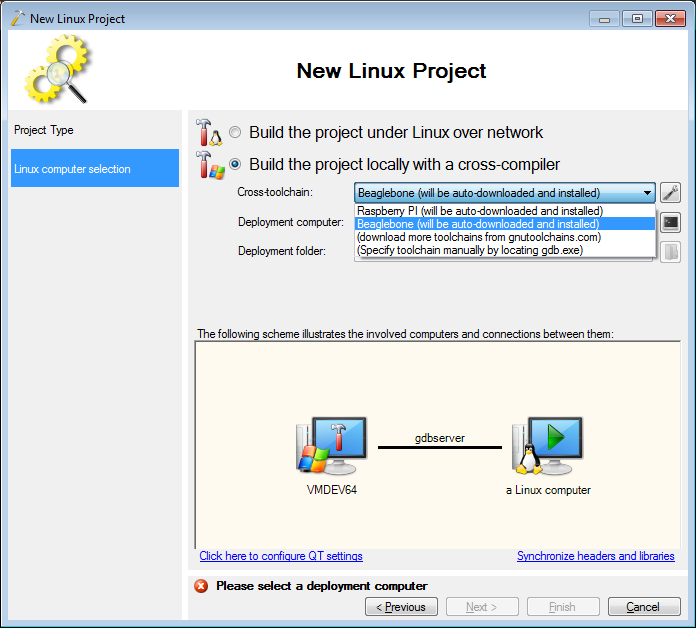
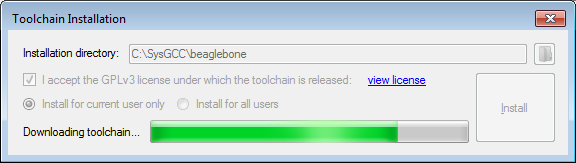
- If you don’t have the toolchain installed, VisualGDB will download and install it automatically:
- Select your Beaglebone board in the Deployment Computer field. If you have not connected to it with VisualGDB before, select “Create a new SSH connection” and enter the connection details (‘root’ username with empty password):
- Click on “Configure Qt Settings” link. Select the following on the Qt Configuration page.
- Qt version: Specify mkspecs location manually
- Mkspecs directory: /usr/share/qtopia/mkspecs
- Binary directory: the ‘bin’ directory of your separate Qt-MinGW installation.
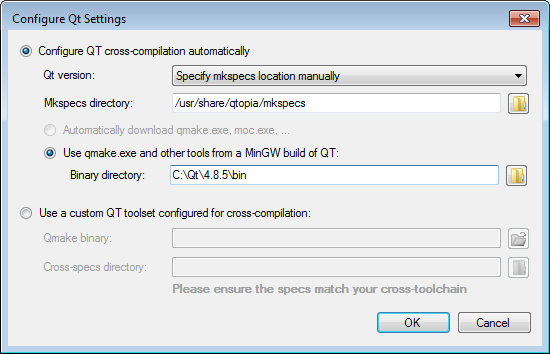 Note that the Embedded Qt installed on the Beaglebone board uses a different mkspecs path compared to the normal desktop editions and thus needs to be specified manually.
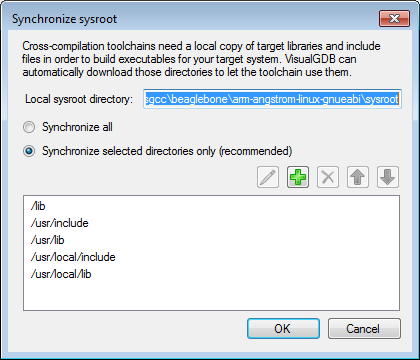
 - If this is the first time you are creating a project with this cross-toolchain (or you have recently added/updated some libraries on your Beaglebone board), you need ensure that the headers and libraries on your board match the ones in the toolchain directory. Click “Synchornize headers and libraries” and proceed with the default settings:
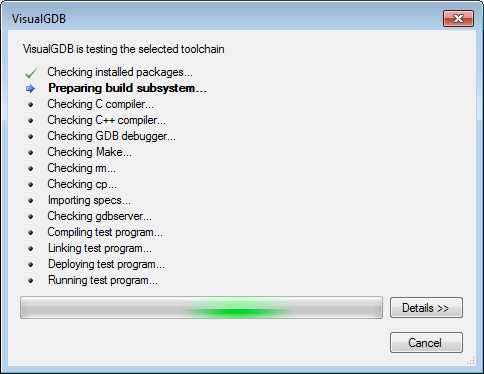
- Once the sysroot is synchronized, press Finish to complete the wizard. VisualGDB will start checking the build tools and preparing the toolchain to build Qt applications:
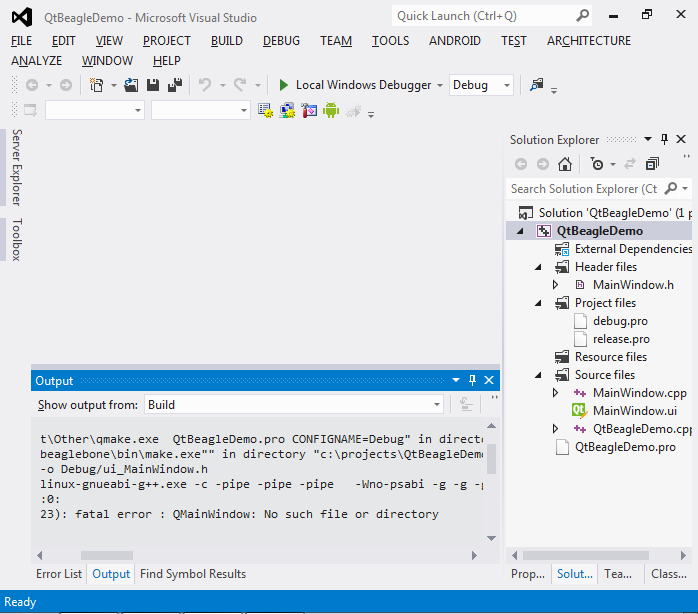
- Once your project is generated build it by pressing Ctrl-Shift-B. You will get an error stating QMainWindow is not found:
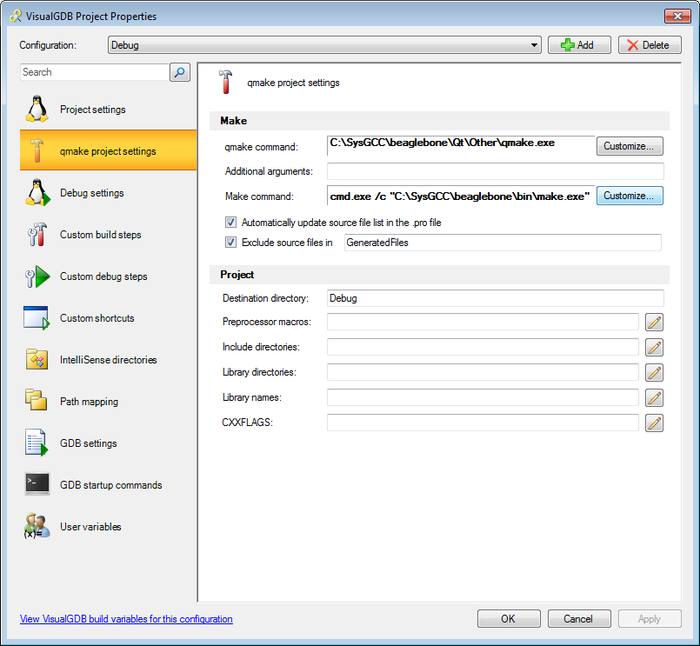
- The error is shown because Embedded Qt headers are different from the normal Qt headers and need to be specified via certain environment variables. If you open the Makefile generated in the project directory you will see references to variables starting with OE_QMAKE_. In order to fix the build process we need to use those variables to specify locations of Qt headers and libraries. To do it right-click on your project in Solution Explorer, select “VisualGDB Project Properties” and go to the Qt page:
- Click “Customize” near the Make command field (don’t confuse it with QMake command). Click the edit button in the Additional Environment field and add the following variables:
OE_QMAKE_INCDIR_QT <toolchain>\arm-angstrom-linux-gnueabi\sysroot\usr\include\qtopia OE_QMAKE_LIBDIR_QT <toolchain>\arm-angstrom-linux-gnueabi\sysroot\usr\lib 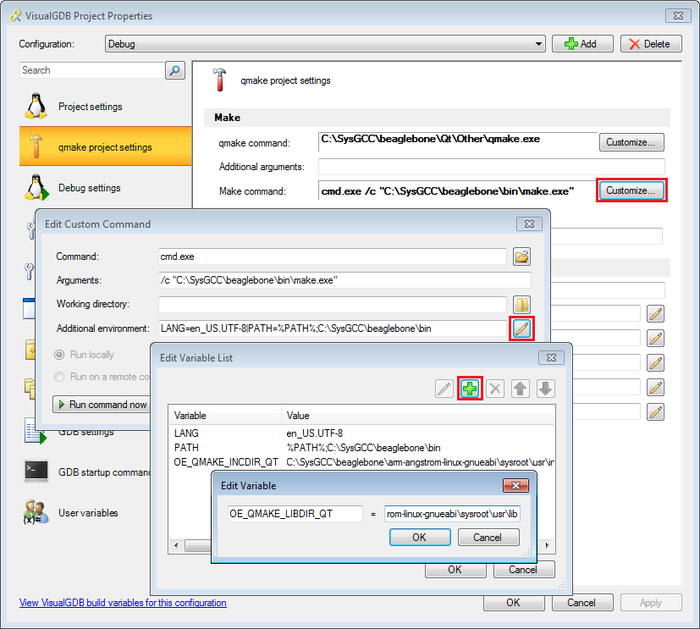
- Build your project again. Now the compilation will succeed but the linker will complain about missing libQtCore and libQtGui libraries:
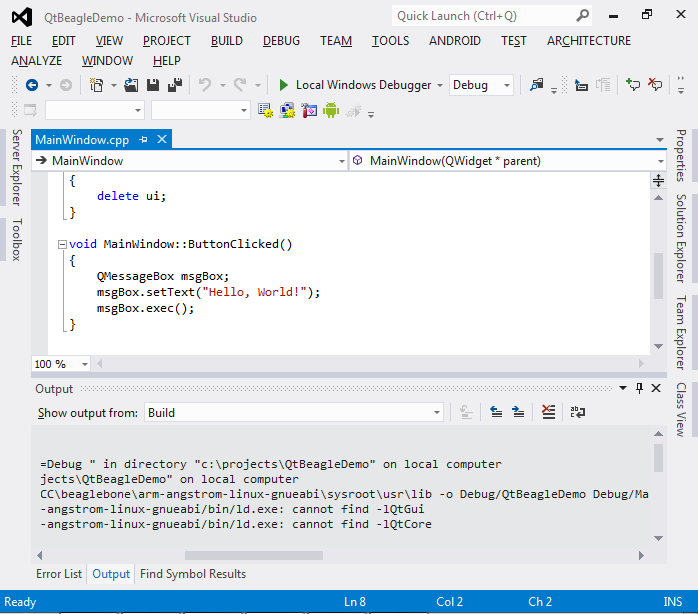
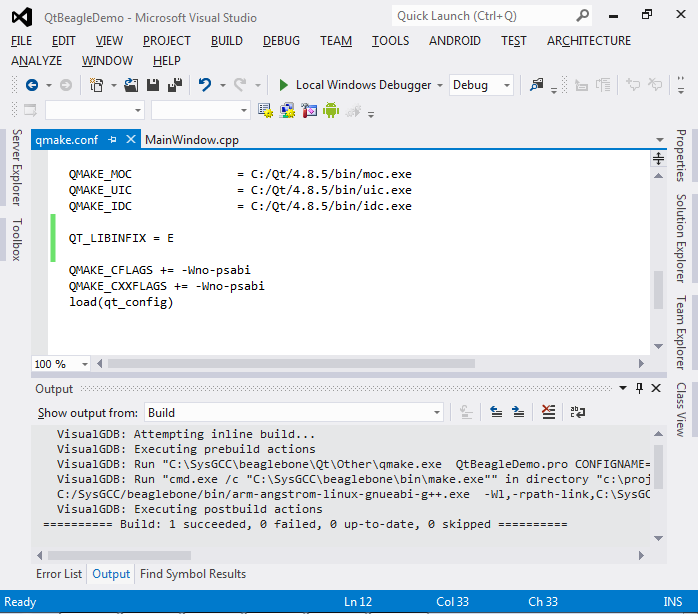
- This happens because the Qt Embedded libraries on Beaglebone have the ‘E’ suffix (e.g. libQtGuiE). To fix it open the <toolchain>\arm-angstrom-linux-gnueabi\sysroot\usr\share\qtopia\mkspecs\arm-angstrom-linux-gnueabi\qmake.conf file and add the following line before QMAKE_CFLAGS:
QT_LIBINFIX = E
Build your project again:
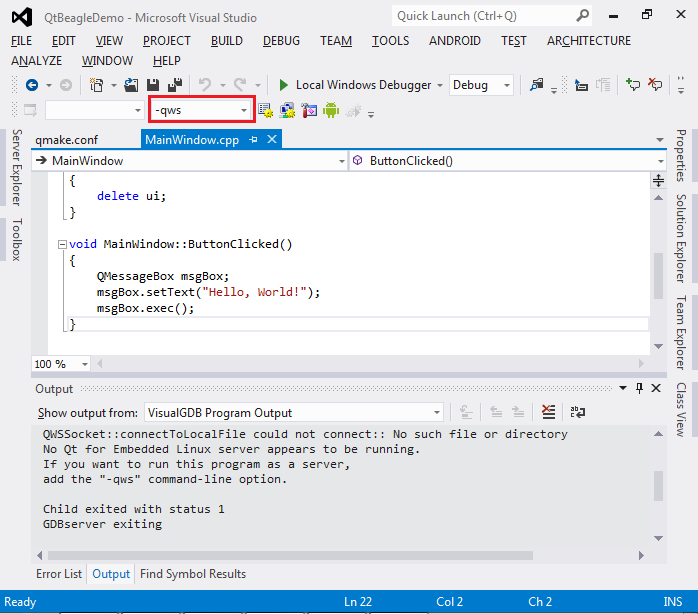
- If you try to debug your application now it will complain about missing QWS server:
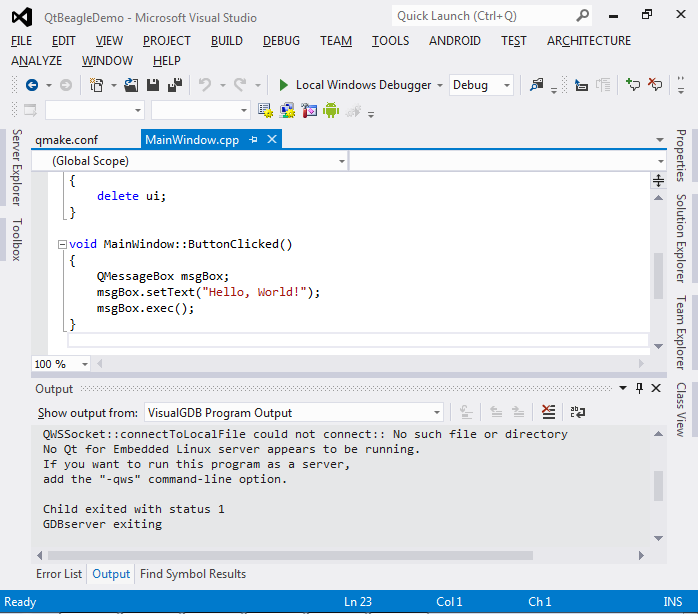
- QWS is a window server similar to X11 that works independently from it. Unlike X11, QWS windows cannot be forwarded to your Windows machine and will be displayed by your board directly. Before we proceed with starting our application in QWS mode ensure that your board is showing the text terminal and not the X11 session (press Ctrl-Alt-F1 to switch to it):
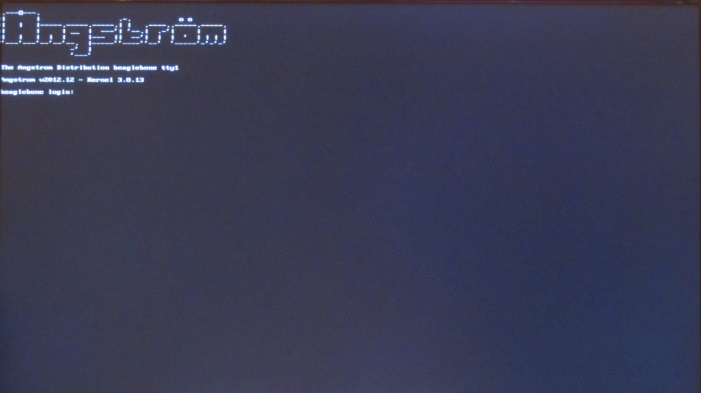 Note that you might need to connect your keyboard, mouse and display to the board before you start it, as the current hotplug support is not very reliable.
 - Specify “-qws” in the Program Arguments box on the VisualGDB toolbar (or use the VisualGDB Project Properties window to set it):
- Start debugging by pressing F5. The Beaglebone board will show the QWS server running your app:
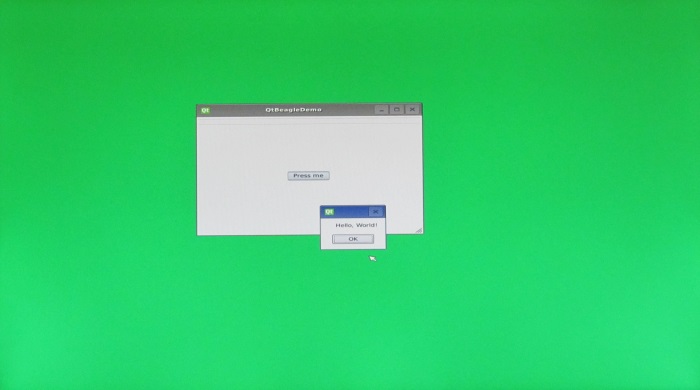 Note that the keyboard won’t work as you have not launched the app from the physical console. Use your mouse to exit the app.
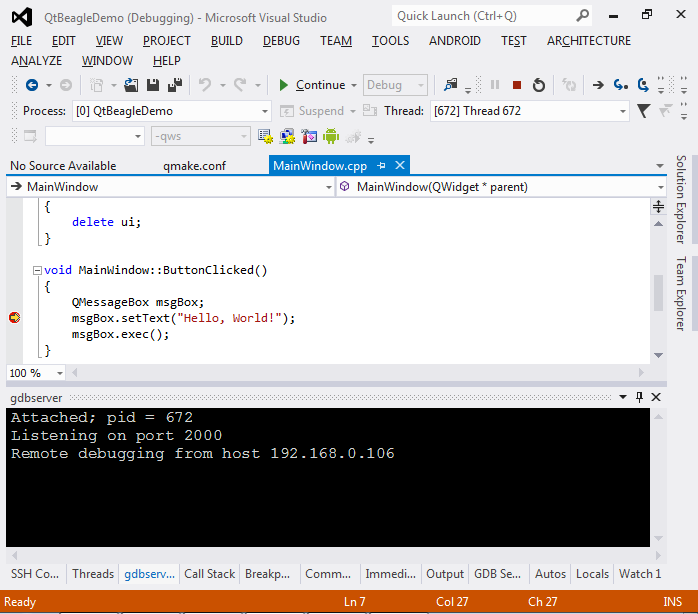
 - To get the keyboard working simply logon to the text-based console on the device (using a physically attached keyboard) and run /tmp/<YourProjectName> -qws from the shell. Then go to Visual Studio, open VisualGDB Project Properties dialog, go to the Debug page and specify “Attach” as the debug method:

- Set a breakpoint inside the click handler and press F5 to attach to the app. Then click on the button and ensure that the breakpoint is triggered:
- Normally VisualGDB will deploy the executable just before debugging, however as we want to launch it manually we can change it to be transferred during build. Go to Custom Build Actions page in VisualGDB Project Properties window and add a file transfer action:
Action type Transfer files from one computer to another Source computer Local computer Source file $(TargetPath) Target computer: <your beaglebone connection> Target file $(DeployPath) 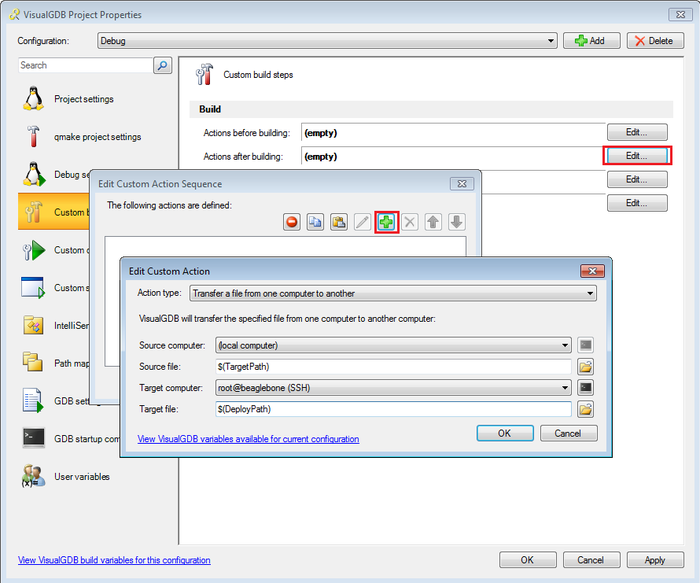 Then go to the Debug settings page and enable the “Don’t auto-deploy” checkbox to disable automatic deployment before debugging:
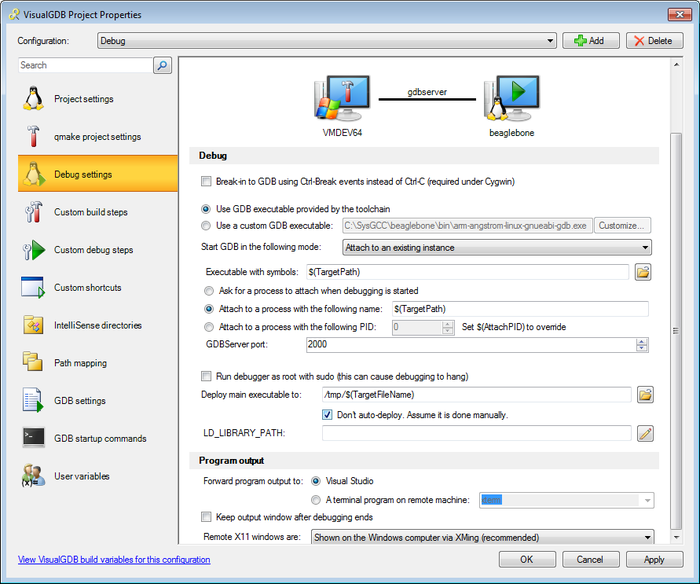
- The last step is to get IntelliSense parse the Qt headers correctly. As they are located in a custom location, VisualGDB did not detect them automatically. To specify them manually simply go to the IntelliSense Directories page and add the <toolchain>\arm-angstrom-linux-gnueabi\sysroot\usr\include\qtopia directory and the QtCore and QtGui subdirectories to the directory list:
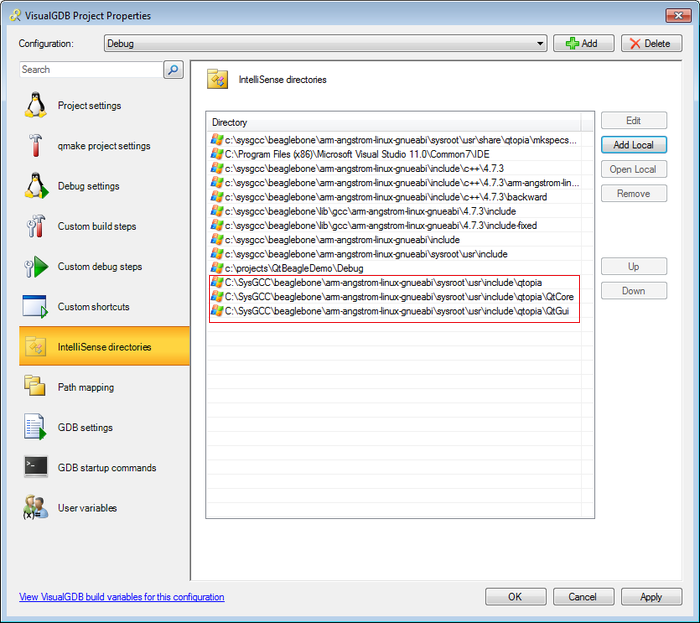
- Once you click OK, Visual Studio will rescan your include directories and start recognizing the Qt classes correctly.


