Creating a basic 6LoWPAN HTTP server with Nordic IoT SDK
This tutorial shows how to create a basic HTTP server that will run via the 6LoWPAN (IPv6 over Bluetooth LE) protocol on the Nordic nRF52 device.
Before you begin, follow our basic Nordic IoT tutorial to connect your nRF52 device to your network and configure the necessary routing.
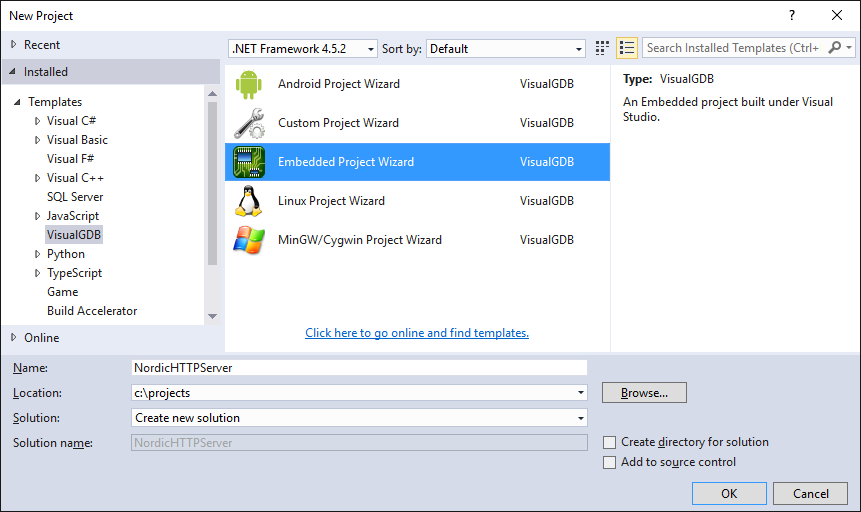
- Start Visual Studio and open the VisualGDB Embedded Project Wizard:
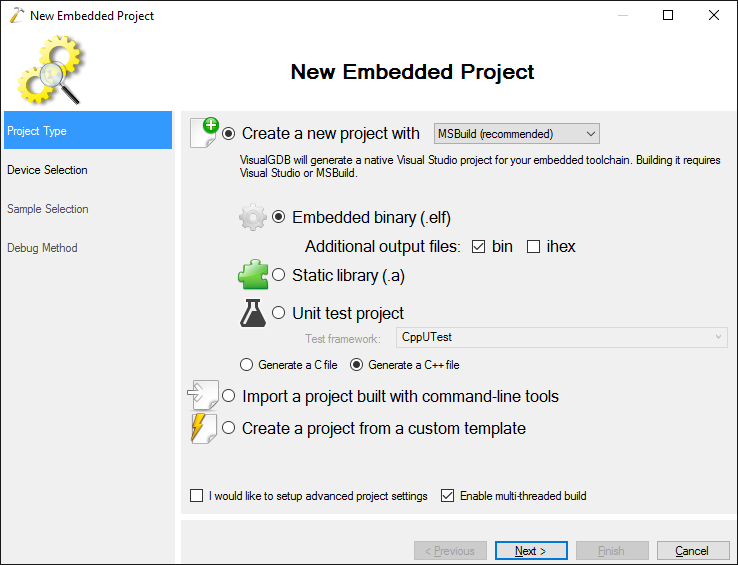
- Proceed with the default settings on the first page:
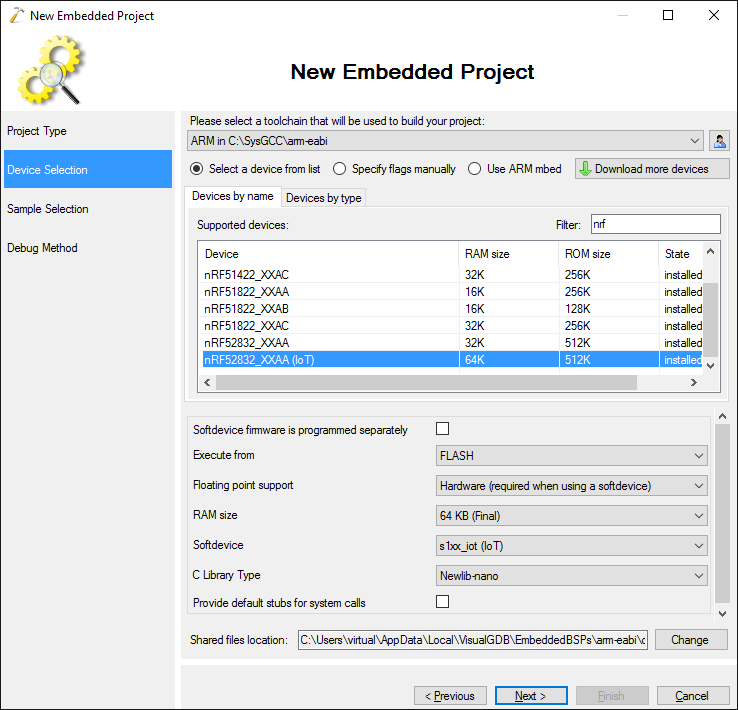
- Select the IoT version of your Nordic device so that VisualGDB can use the Nordic IoT SDK:
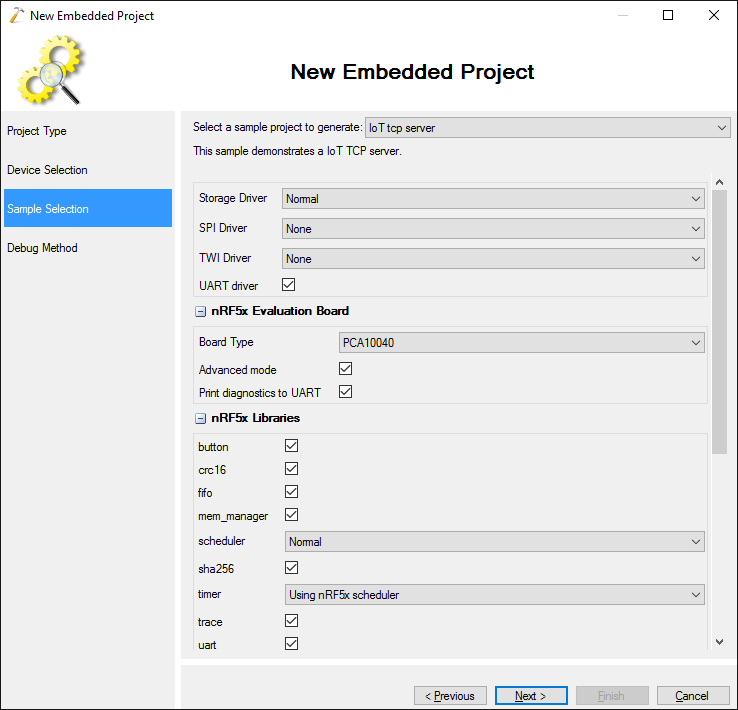
- On the next page select the IoT TCP Server sample:
- On the last page select the debug method. We recommend debugging nRF52 devices with Segger J-Link:

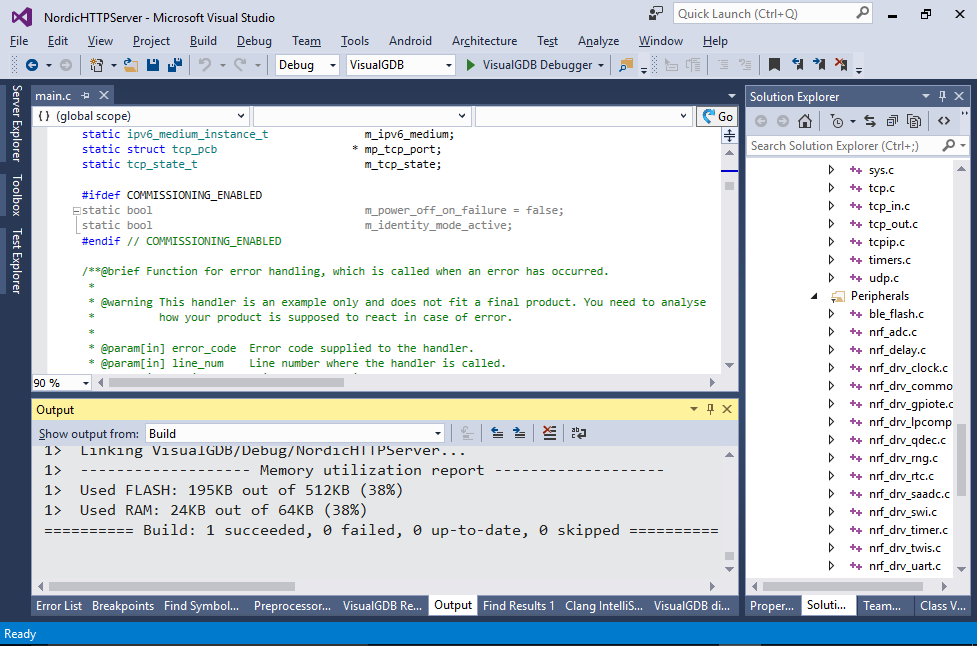
- Press “Finish” to generate the project and ensure it builds successfully by pressing Ctrl-Shift-B:
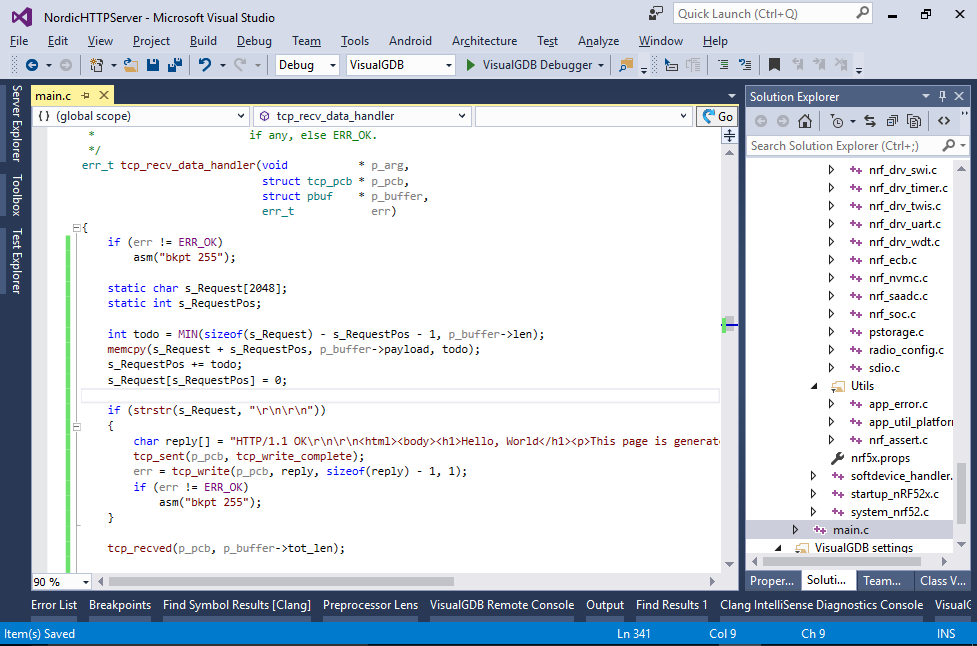
- The TCP server example will expect special binary packets to be sent to port 9000, so we will modify it to support very basic HTTP requests. First of all, locate the tcp_recv_data_handler() function and replace its contents with the following code:
    if (err != ERR_OK)
        asm("bkpt 255");

    static char s_Request[2048];
    static int s_RequestPos;

    int todo = MIN(sizeof(s_Request) - s_RequestPos - 1, p_buffer->len);
    memcpy(s_Request + s_RequestPos, p_buffer->payload, todo);
    s_RequestPos += todo;
    s_Request[s_RequestPos] = 0;

    if (strstr(s_Request, "\r\n\r\n"))
    {
        char reply[] = "HTTP/1.1 OK\r\n\r\n<html><body><h1>Hello, World</h1><p>This page is generated by your nRF52 device</p></body></html>";
        tcp_sent(p_pcb, tcp_write_complete);
        err = tcp_write(p_pcb, reply, sizeof(reply) - 1, 1);
        if (err != ERR_OK)
            asm("bkpt 255");
    }

    tcp_recved(p_pcb, p_buffer->tot_len);

    return ERR_OK;
It will read the entire HTTP request and respond with a very basic fixed response:
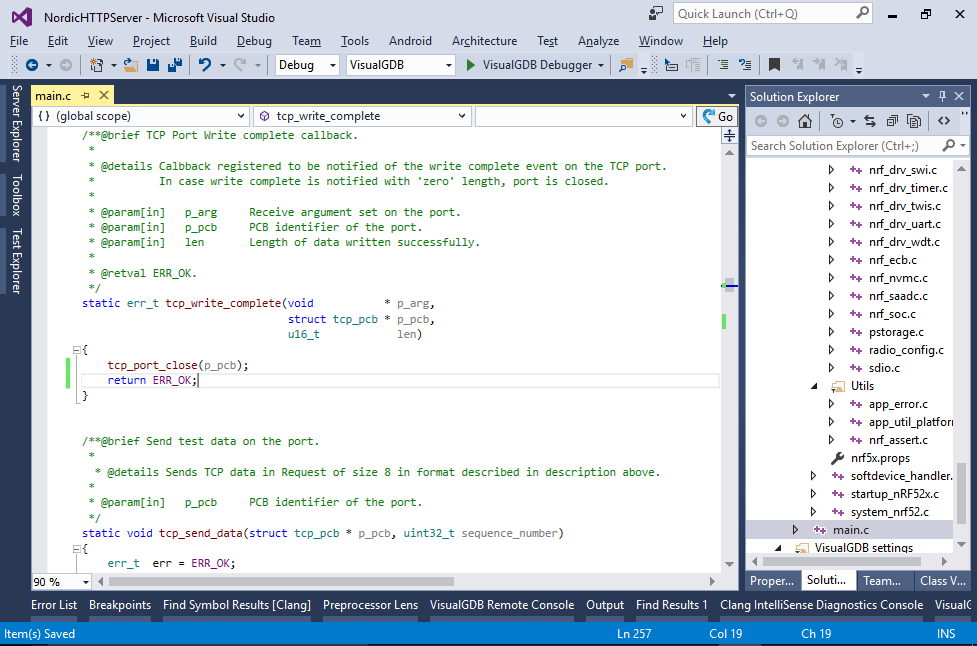
- Now modify the tcp_write_complete() function to simply close the connection:
    tcp_port_close(p_pcb);
    return ERR_OK;
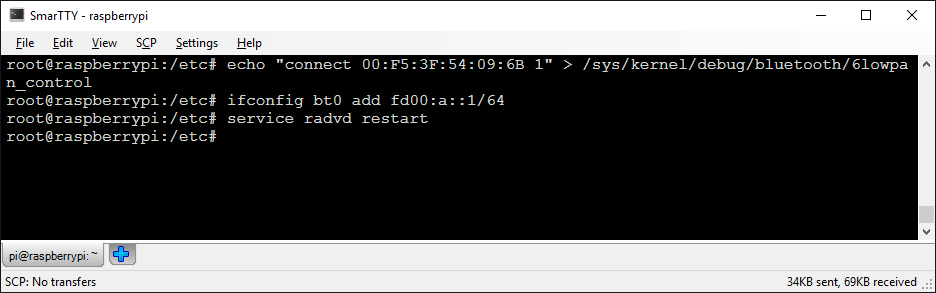
- Press F5 to build and start debugging your program. Then go to your Raspberry Pi and reconnect to the nRF52 via Bluetooth (see the basic Nordic IoT tutorial for the explanation on the rolte of Raspberry Pi):
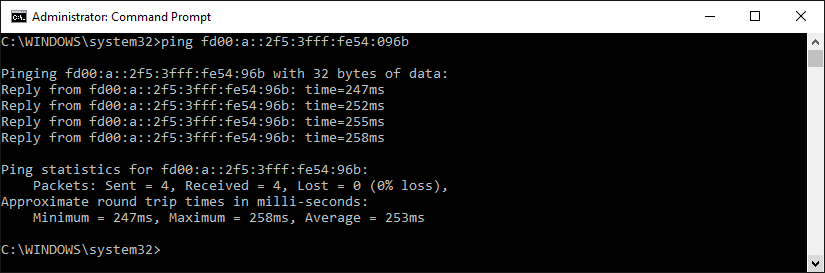
- Ensure that the board responds to pings:
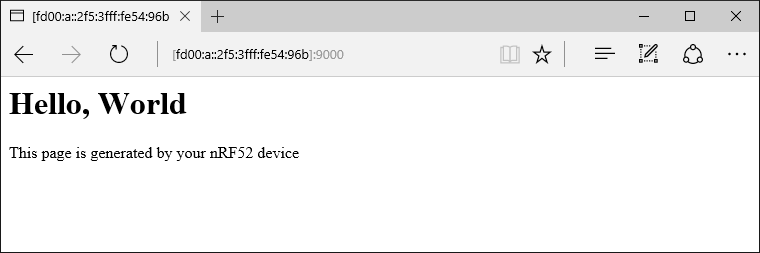
- Now you can check the connection to the board by opening http://[IPv6 address in square brackets]:9000/ in your browser (e.g. http://[fd00:a::2f5:3fff:fe54:96b]:9000/):