Importing CMake-based Android Studio projects in VisualGDB
This tutorial shows how to import CMake-based Android Studio projects into VisualGDB using the new Advanced CMake Project Subsystem. VisualGDB will fully understand the structure of your CMakeLists.txt files and map the changes made in Visual Studio GUI back to them. It will also automatically configure the Clang IntelliSense based on the precise configuration reported by CMake.
Before you begin, install Android Studio 3.0 or later and VisualGDB 5.3R8 or later.
- Start Android Studio and begin creating a new project:
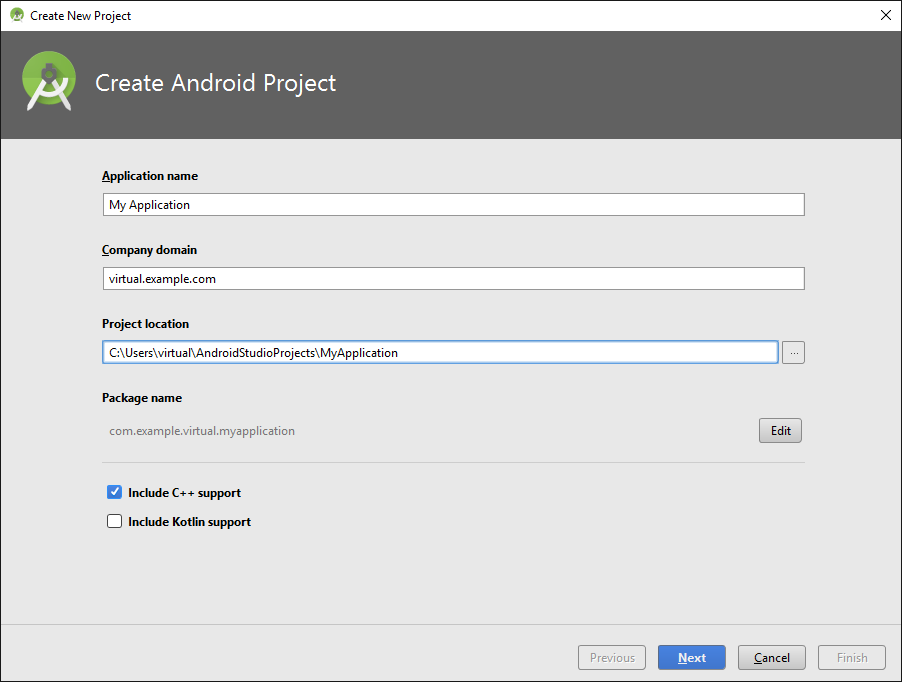
- Select the location for your project and enable the “Include C++ Support” checkbox:
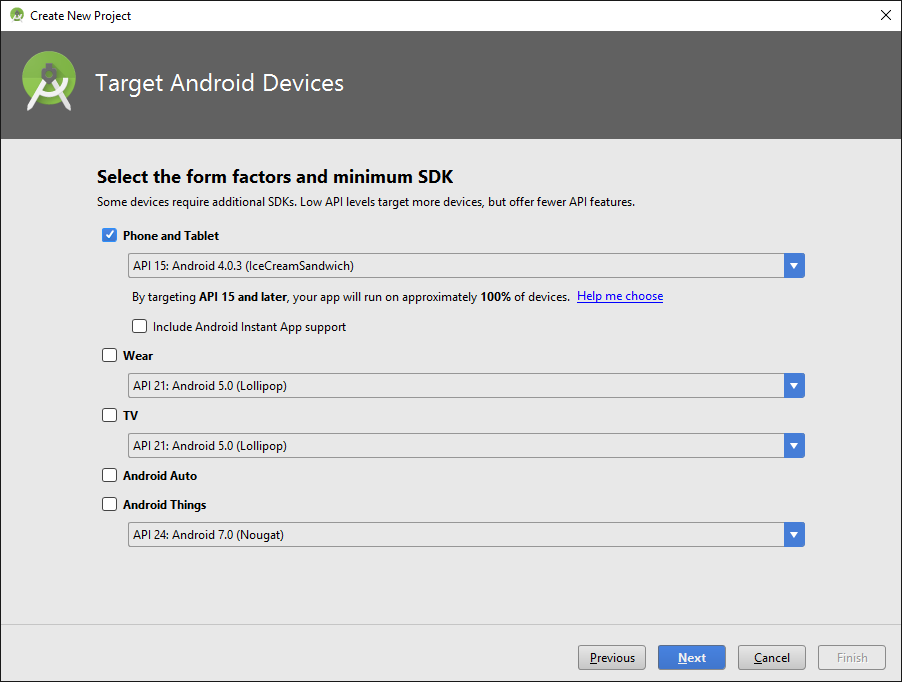
- Select the SDK versions you want to target:
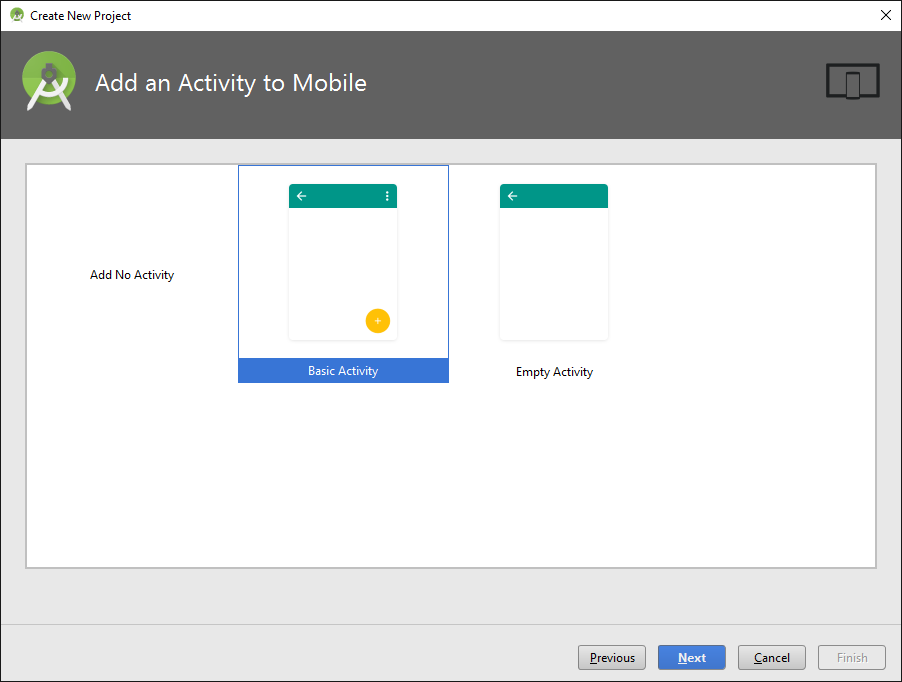
- Select to add a basic activity to the project:
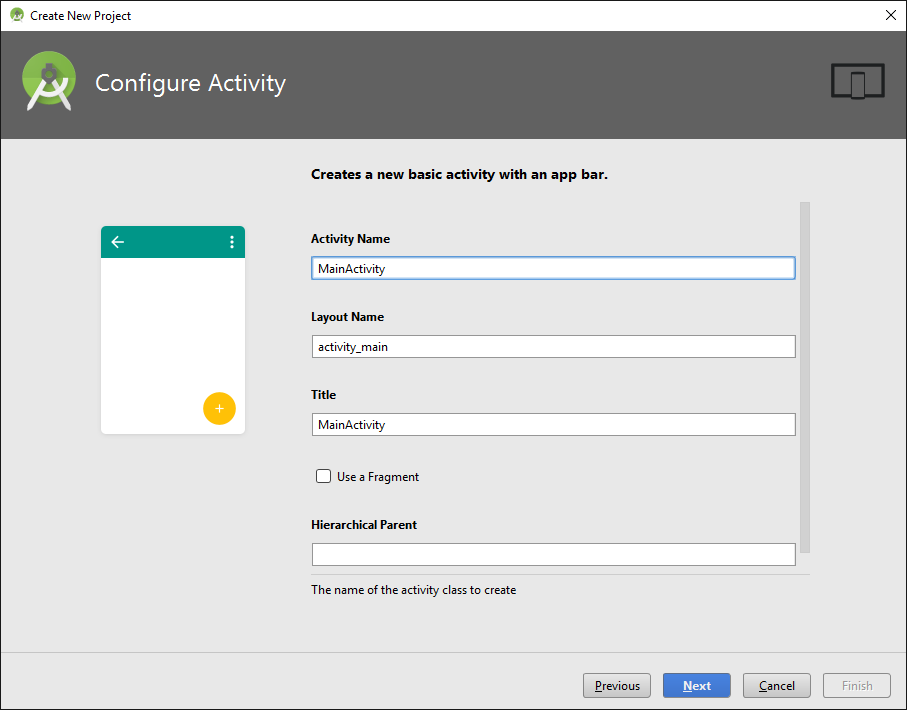
- Proceed with the default activity name:
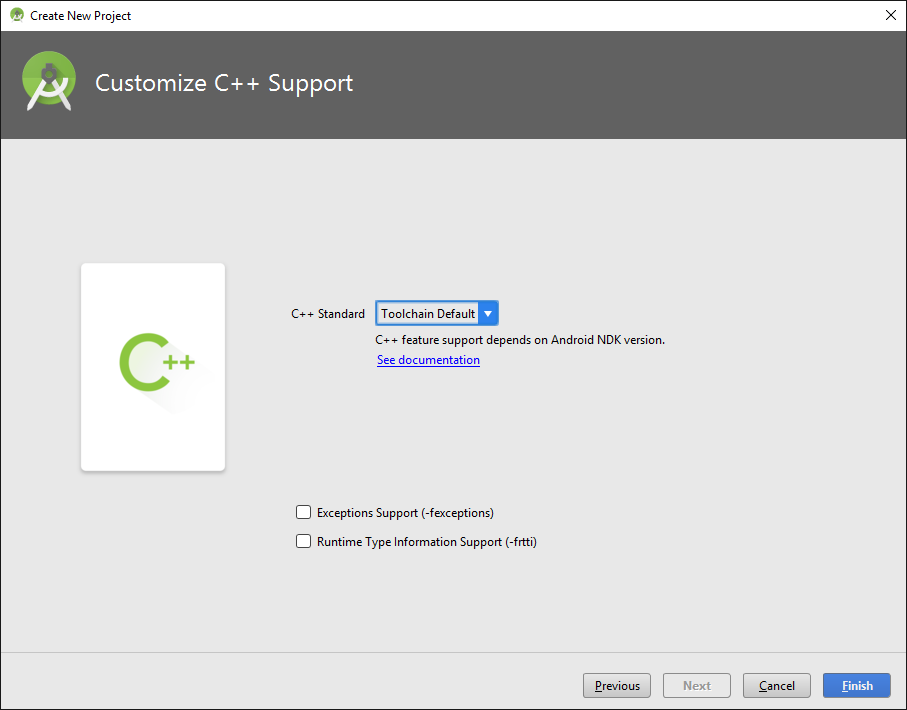
- Finally press “Finish” to create the project:
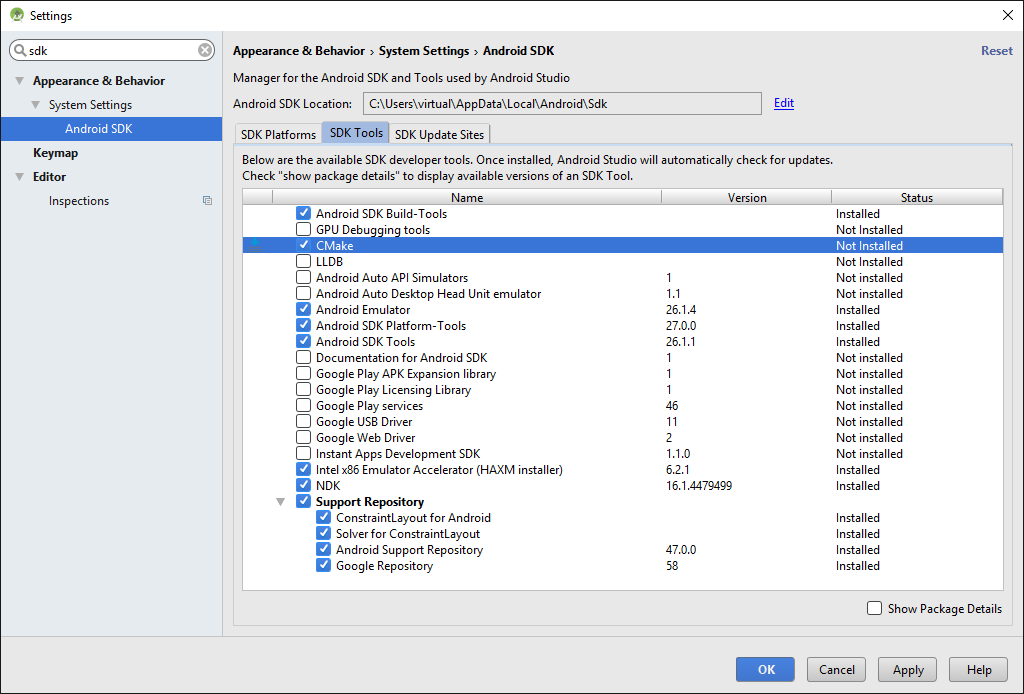
- If you have just installed Android Studio, ensure to install CMake via File->Settings->Android SDK->SDK Tools->CMake:
- Build the project and ensure it doesn’t report any errors:

- Now we will show how to import the project into Visual Studio with VisualGDB. Start Visual Studio and open the VisualGDB Android Project Wizard:
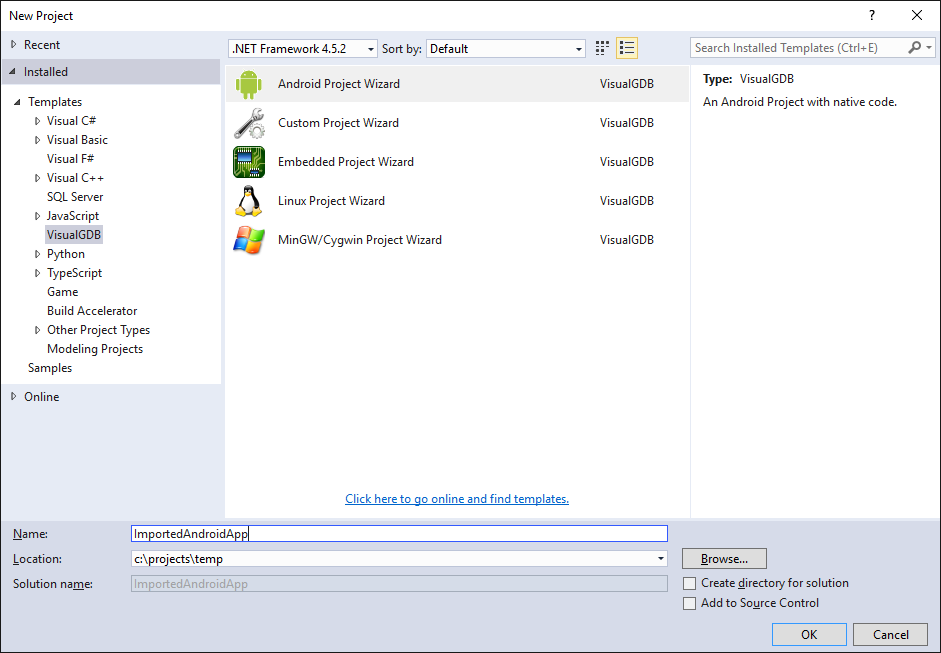
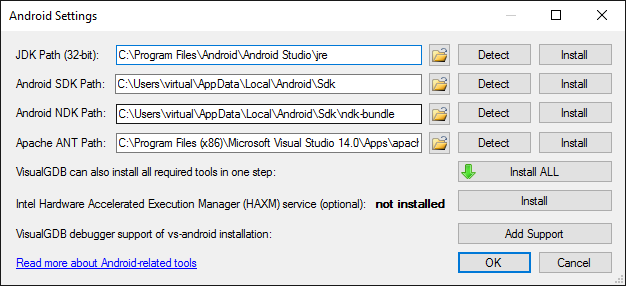
- If you are importing your first project, click “Configure SDK/NDK locations” and specify the locations of the Android tools. It is recommended to use the SDK/NDK versions installed by Android Studio to maximize compatibility:
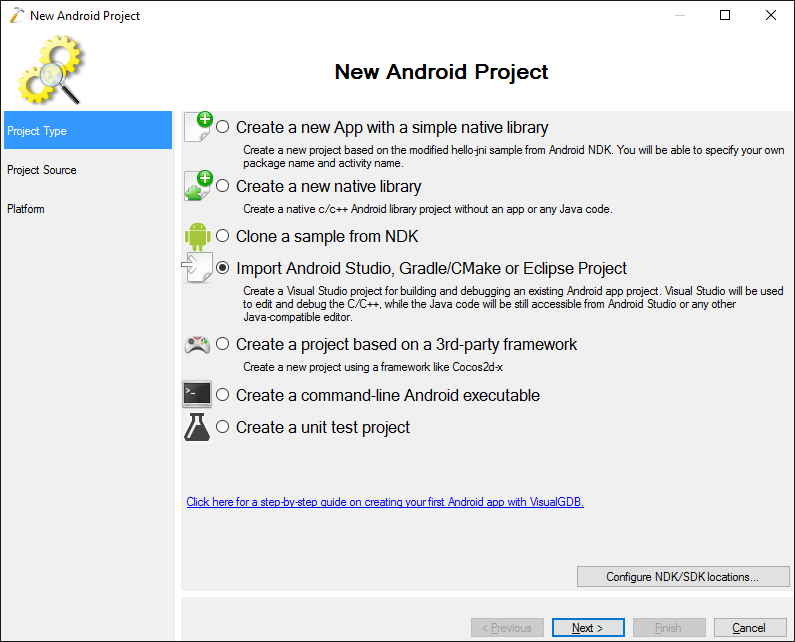
- In the wizard select “Import Android Studio, Gradle/CMake or Eclipse Project”:
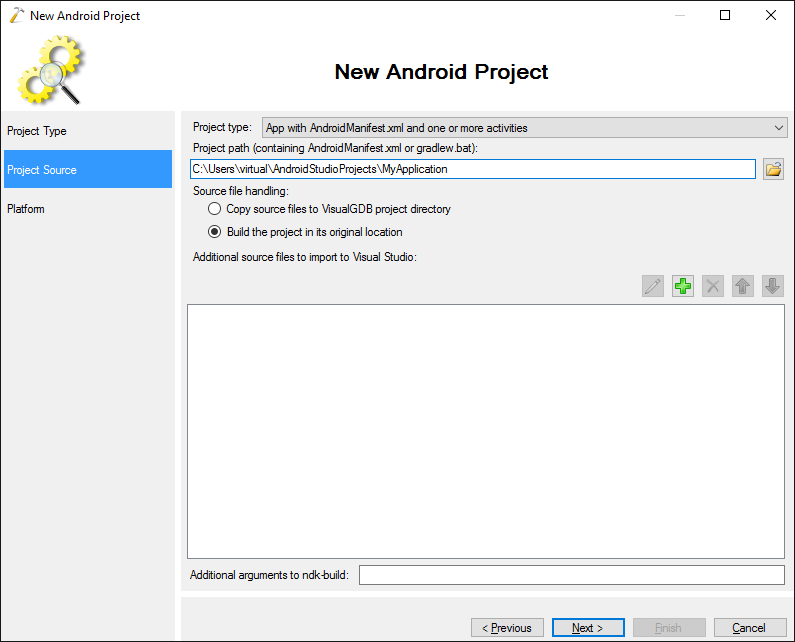
- Specify the directory where the imported project is located:
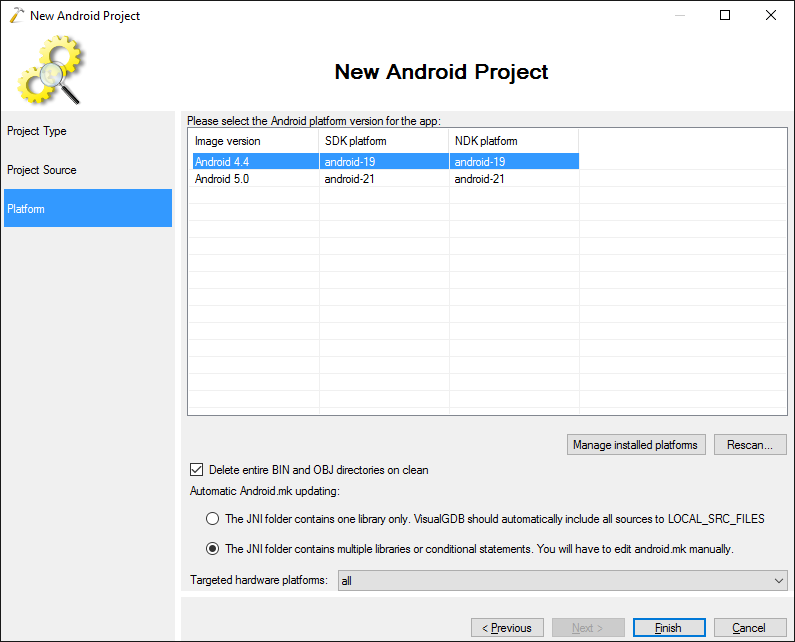
- Select the Android platform you would like to use:
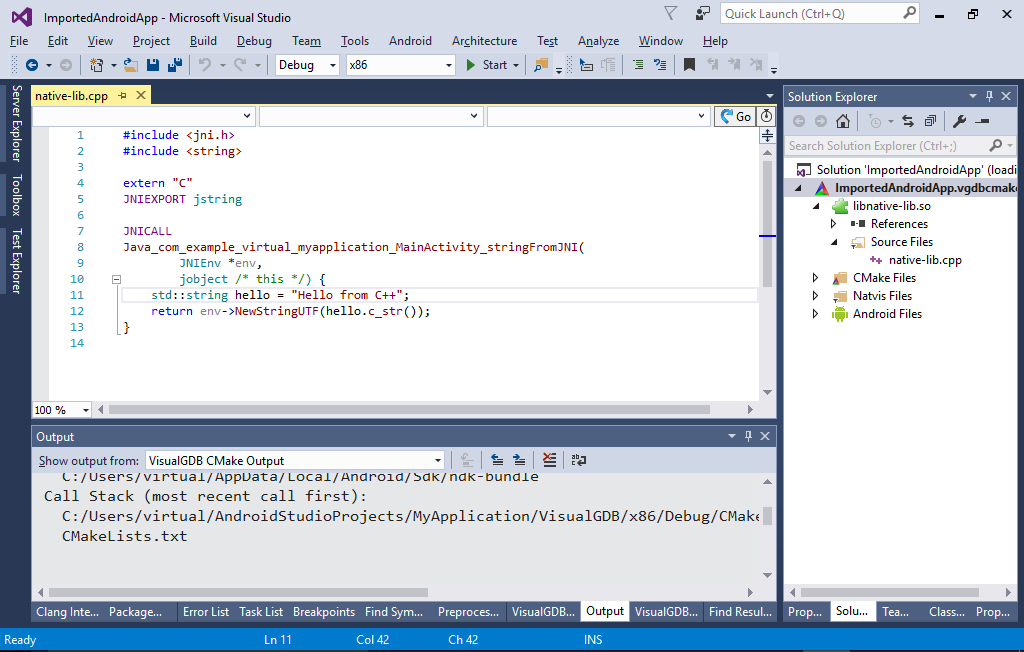
- Press “Finish” to create the project. VisualGDB will automatically recognize that the imported project is using CMake and will import it using the Advanced CMake Project Subsystem (the project icon in Solution Explorer should be the CMake icon):
- Advanced CMake projects integrate the Solution Explorer view with CMakeLists.txt files. E.g. right-click on libnative-lib.so and select “Go To Definition”:
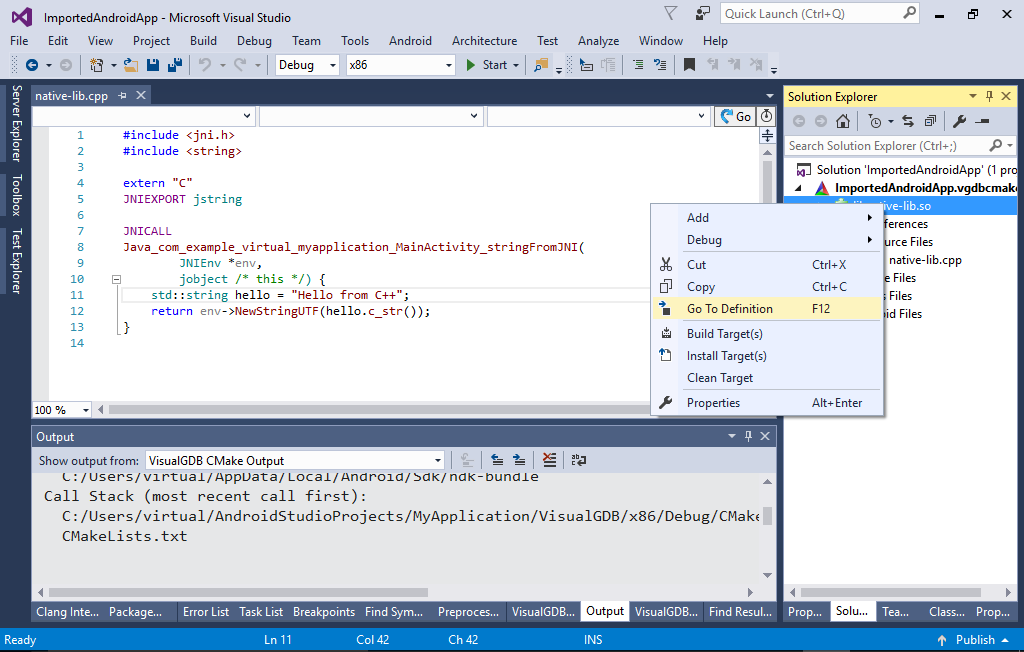 VisualGDB will open the CMakeLists.txt file defining the library.
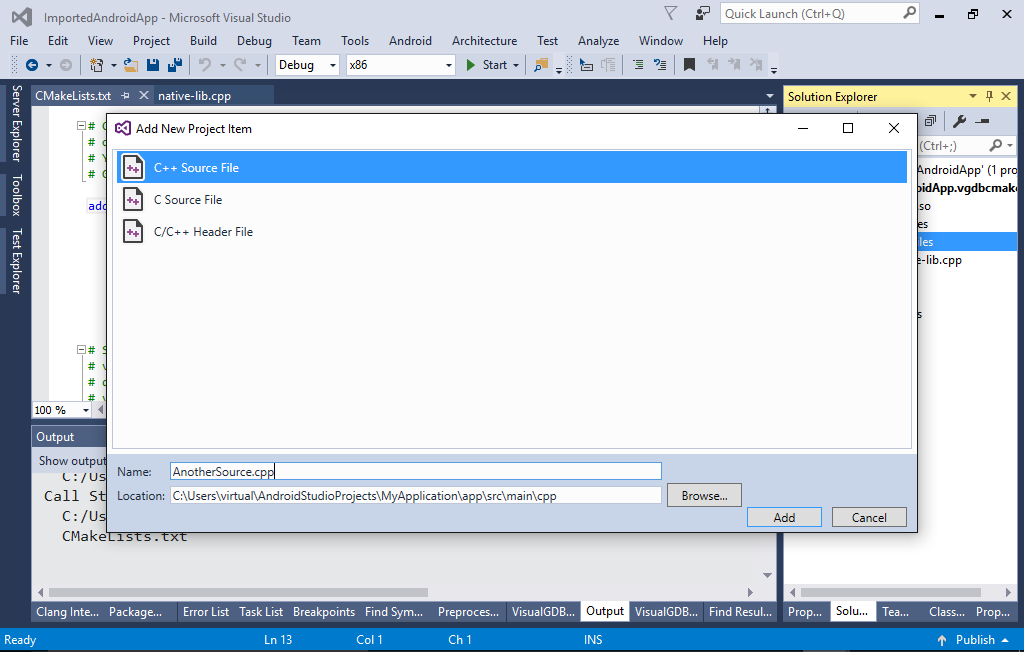
 - Try adding a new source file to the library:
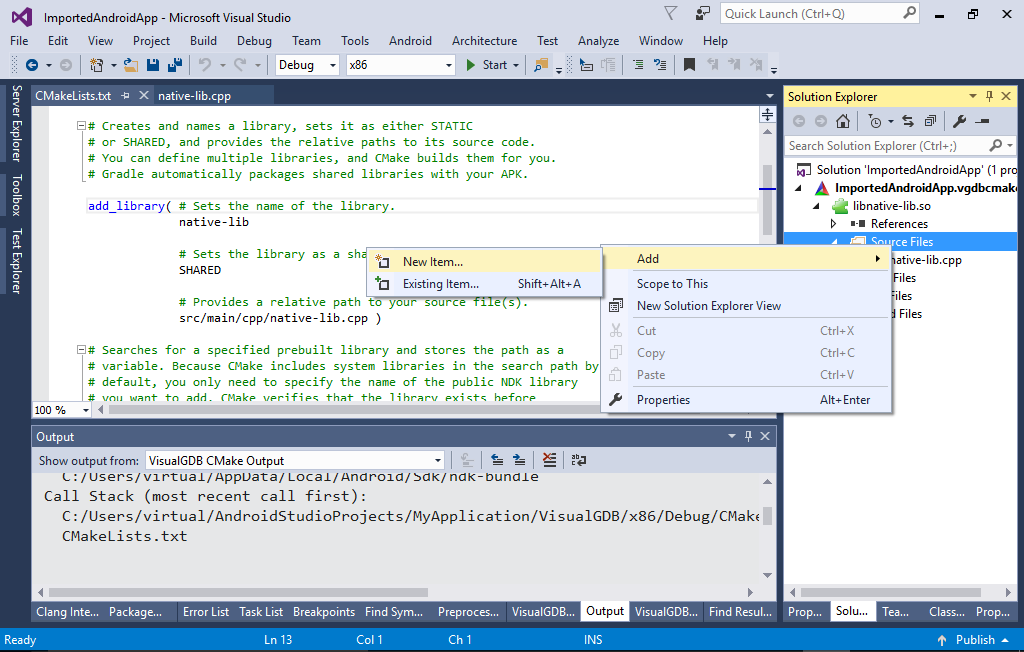
- Proceed with the default file location:
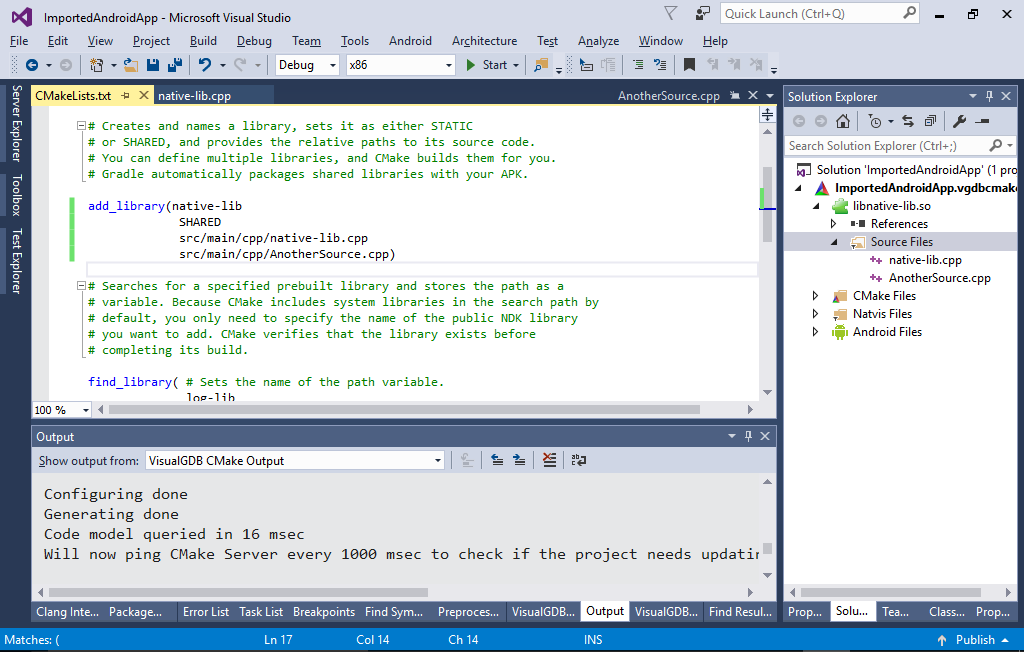
- VisualGDB will automatically edit the CMakeLists.txt file for you reflecting the changes you made via Solution Explorer:
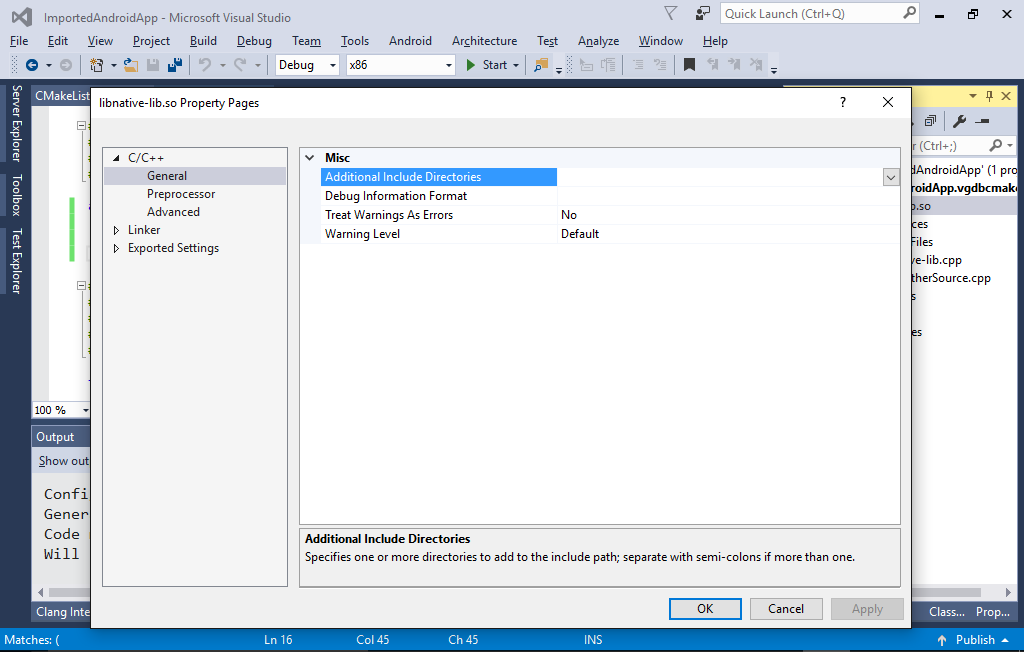
- VisualGDB will also map VS Project Properties to CMakeLists.txt contents. E.g. set the “Additional Include Directories” value to automatically create or update the target_include_directories() statement:
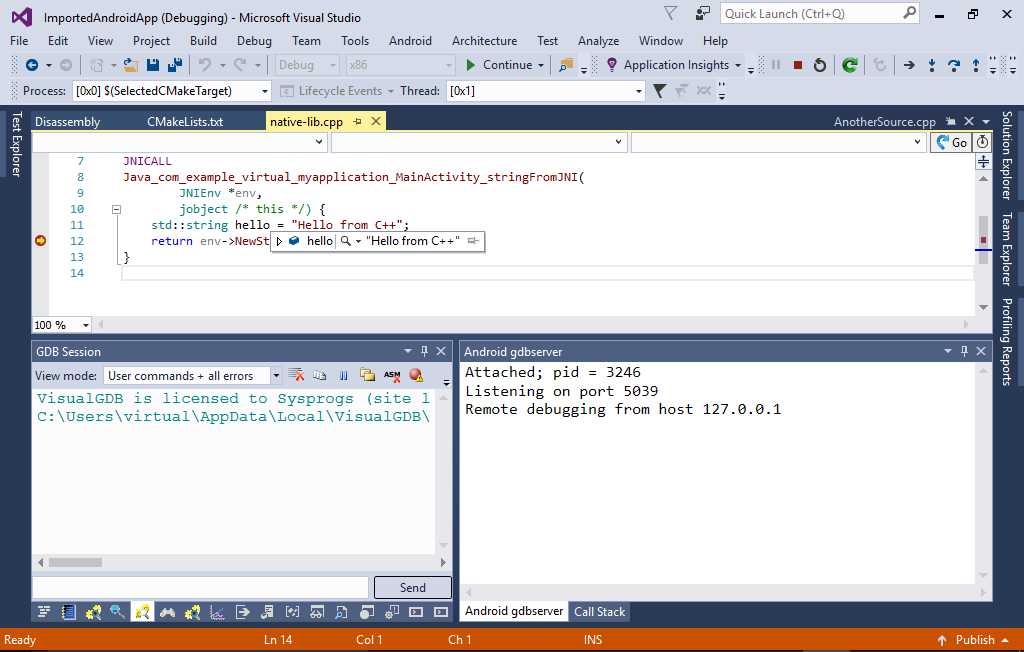
- Ensure the startup debugging is enabled. Then connect your Android device, set a breakpoint in the function and press F5 to begin debugging:

- VisualGDB will stop at a breakpoint, letting you examine the program state: