Importing mbed-cli Projects using Project Importer SDK
This tutorial shows how to automatically import 3rd-party projects in custom formats into VisualGDB. We will use mbed-cli to create a project using the ARM mbed framework, export it to a Makefile and then show how to use a VisualGDB importer plugin to extract the build settings from the Makefile and let VisualGDB create a project based on them.
Before you begin, install VisualGDB 5.3 or later.
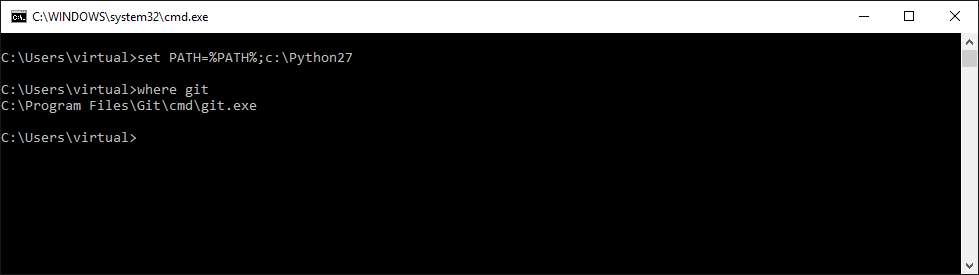
- Install Python 2.7 (not 3.x) and Git. Open a command prompt and ensure both Python and Git are on the PATH variable:
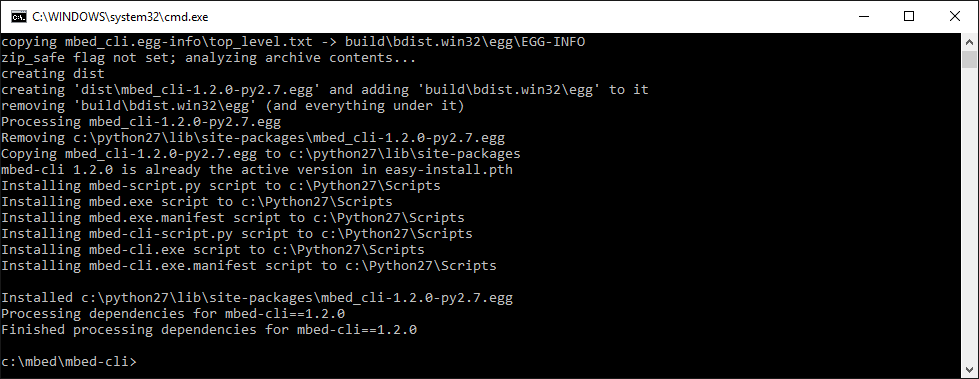
- Clone the mbed-cli git repository, build and install mbed-cli:
git clone https://github.com/ARMmbed/mbed-cli.git
cd mbed-cli
python setup.py install
- Add the <python>\scripts directory to PATH and ensure mbed.exe is can be located:

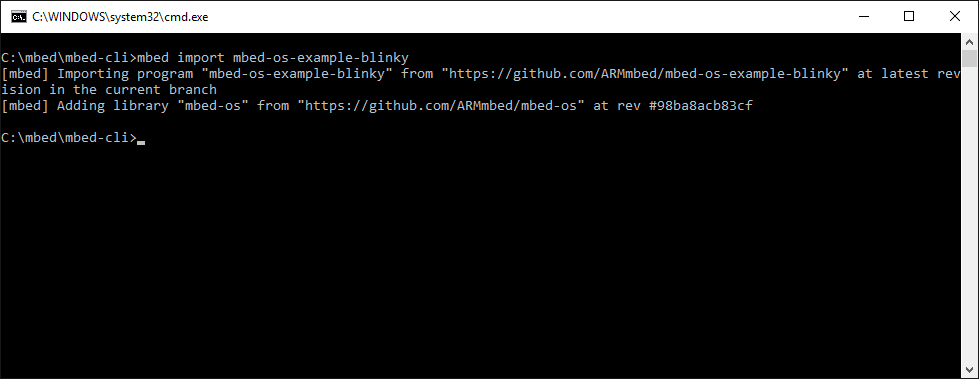
- Now we will import the mbed-os-example-blinky project using mbed-cli. Run the following command:
mbed import mbed-os-example-blinky
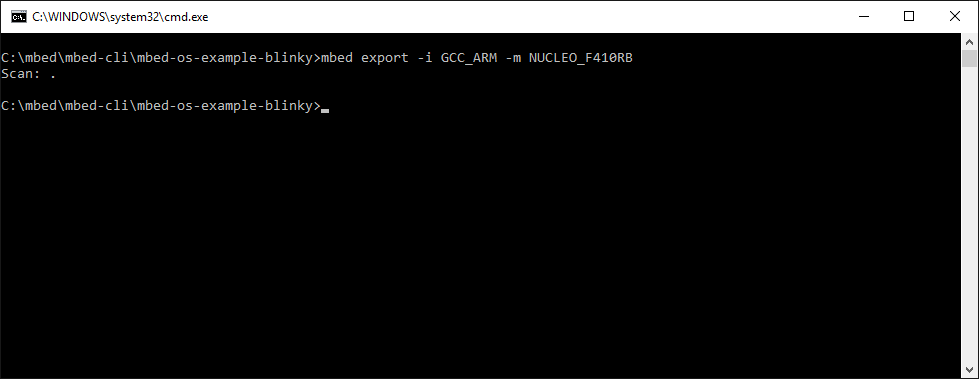
- Go to the mbed-os-example-blinky directory and export the project to a Makefile:
mbed export -i GCC_ARM -m <target name>
- The export command should create a Makefile in the project directory. Locate it and open it in a text editor:
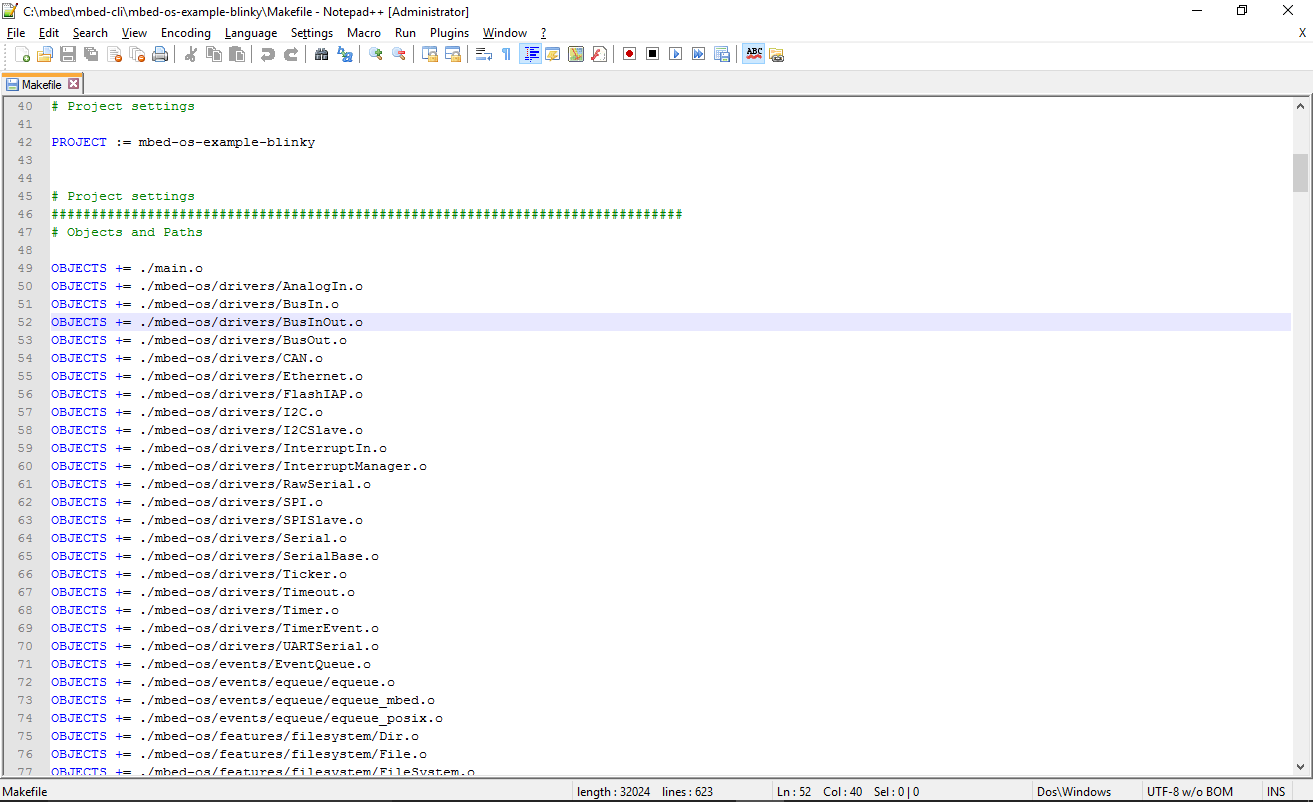 The Makefile should contain a list of object files, include directories and compilation flags listed in a common format. The project importer will use basic regular expressions to extract those values and pass them to VisualGDB so that VisualGDB can create a new project based on that information.
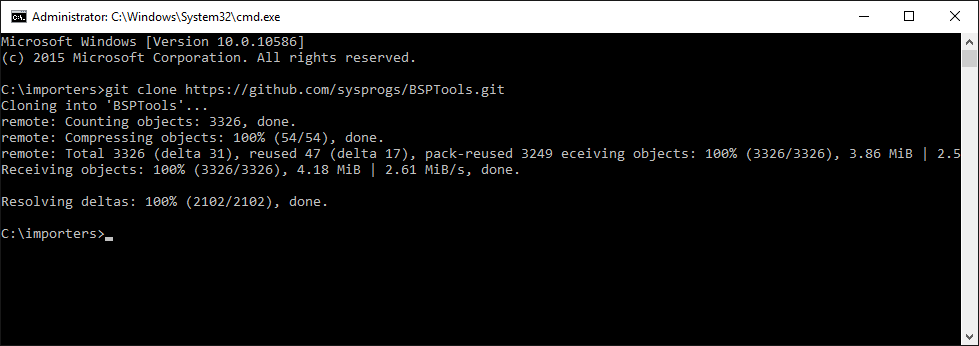
 - Clone the Sysprogs BSPTools repository:
https://github.com/sysprogs/BSPTools
- Locate and open the ProjectImporters\MbedProjectImporter\MbedProjectImporter.sln file, then build it:

- The MbedProjectImporter.dll is a VisualGDB plugin that parses mbed-generated Makefiles and returns structured information to VisualGDB. We will first show how to install and use it and then give an overview of its internals. Copy the built .dll file to C:\Program Files (x86)\Sysprogs\VisualGDB\ProjectImporters:

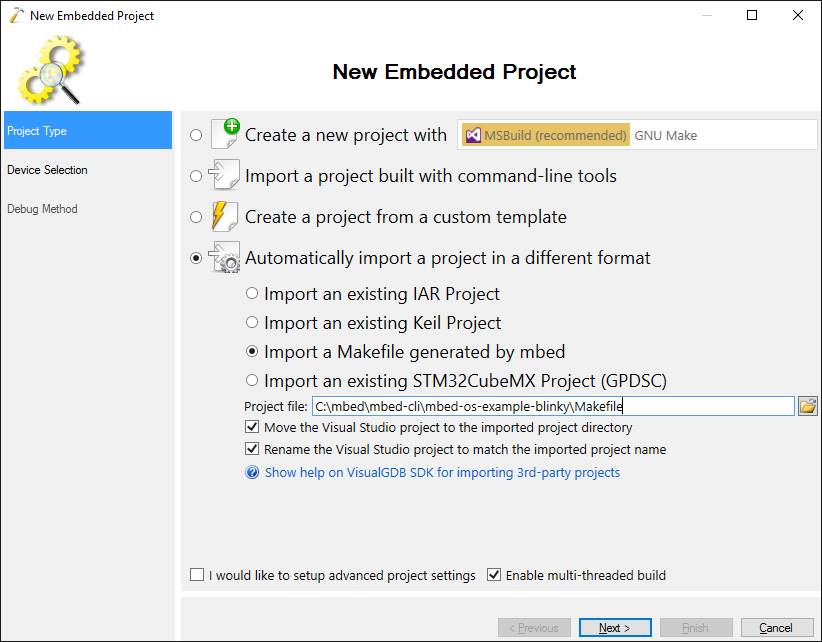
- Start another instance of Visual Studio and open VisualGDB Embedded Project Wizard:

- Select Automatically import a project in a different format -> Import a Makefile generated by mbed:
- On the next page select the device matching your target. Do not select “Use ARM mbed” as it would reference another copy of mbed sources that are shipped with VisualGDB.
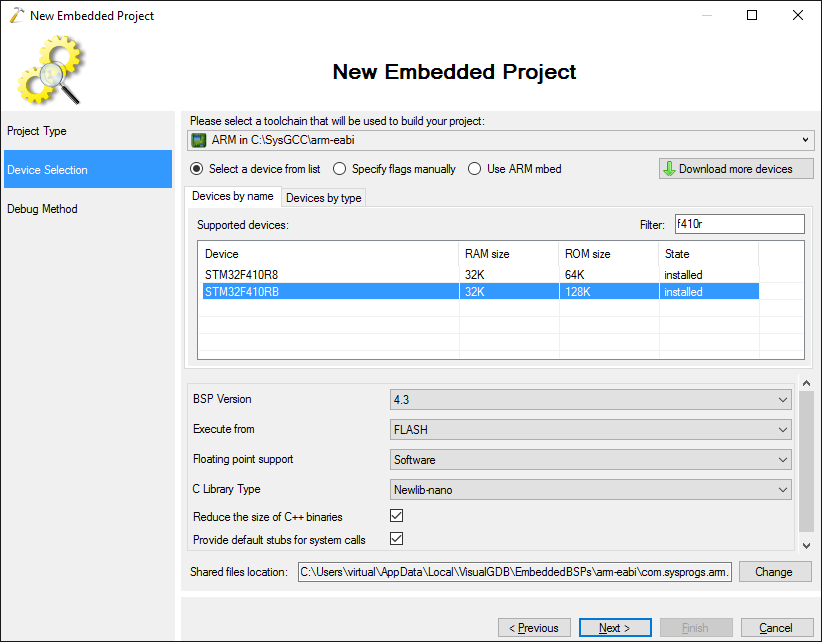 If you are targetting a device that is not supported by VisualGDB, select “Specify flags manually” and leave all fields empty. All relevant build flags will be automatically imported from the mbed Makefile, so selecting the device here is only needed for automatic debugger configuration and memory size display in Memory Explorer.
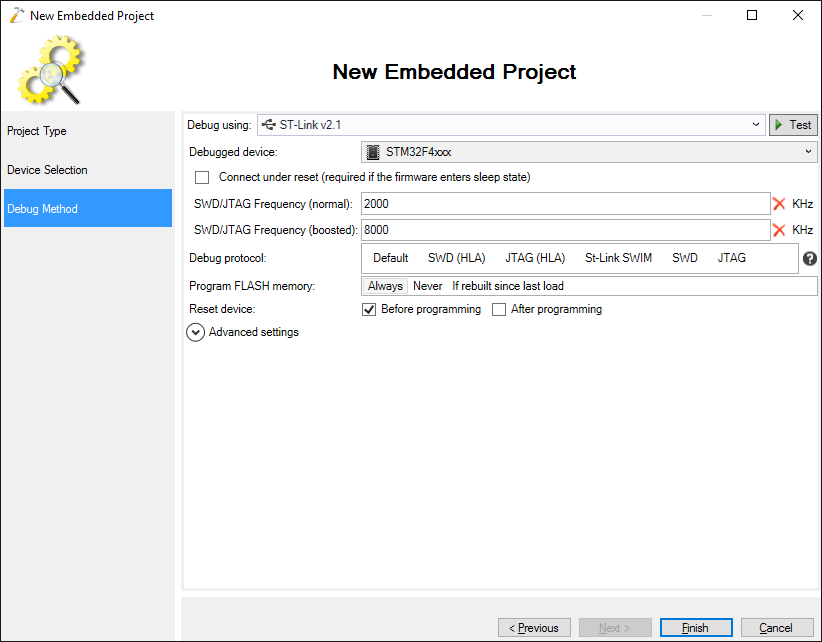
 - On the next page configure your debug settings. VisualGDB will recognize most of the popular USB programmers and install the drivers automatically:
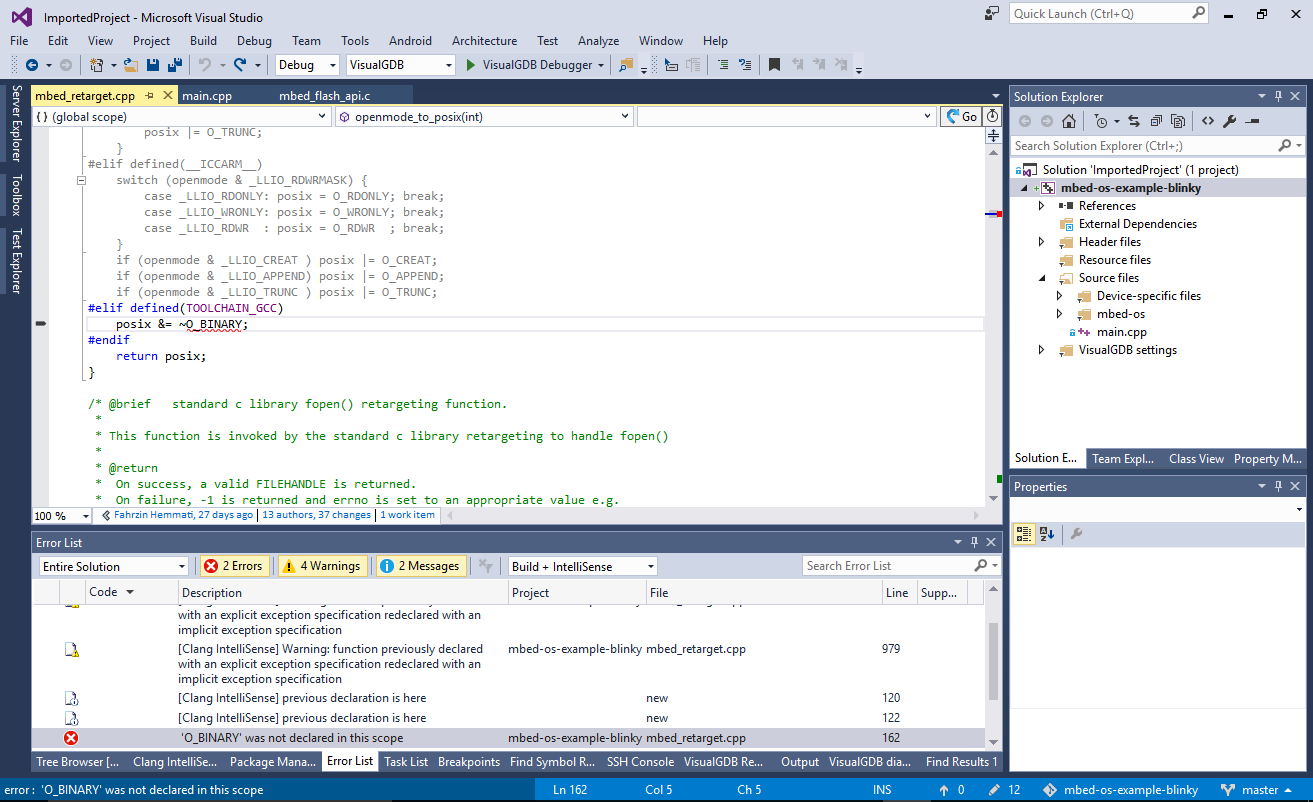
- Press “Finish” to generate the project. Build it with Ctrl-Shift-B. If the build fails at the O_BINARY line, simply comment it out:
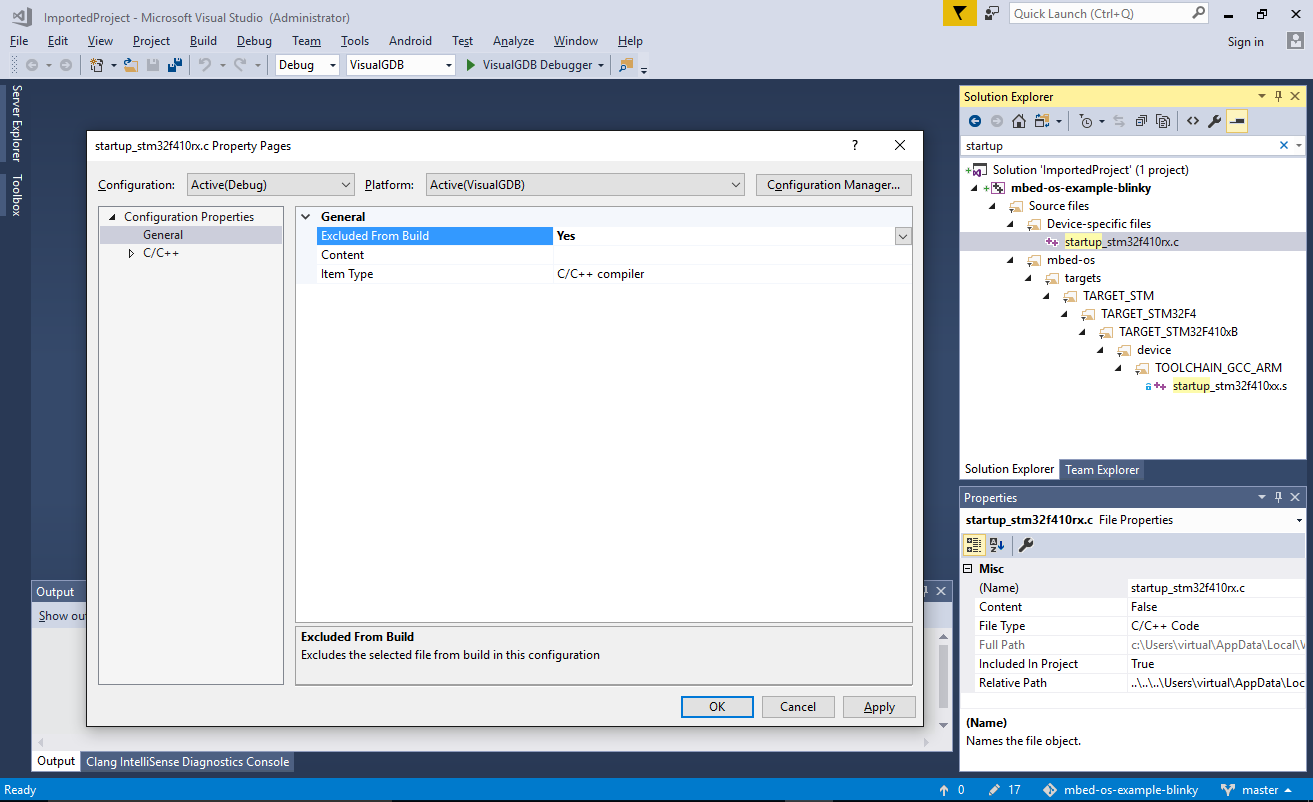
- If you have selected the device in the VisualGDB project wizard, you may get a conflict between the mbed startup file and VisualGDB startup file. This will lead to error messages like “multiple definition of …”:
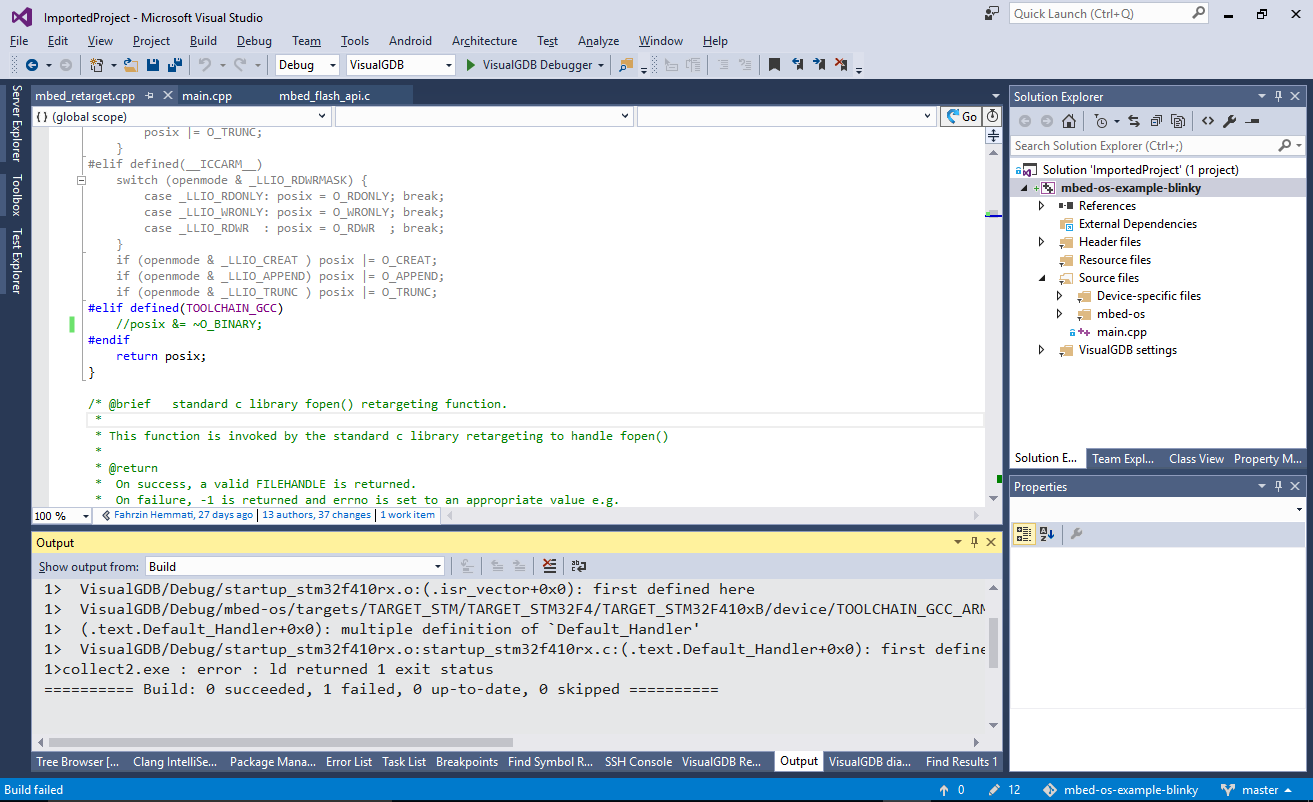
- Locate the VisualGDB startup file and exclude it from build:
- Now the project should build successfully. Set a breakpoint on the wait() line and press F5 to start debugging:
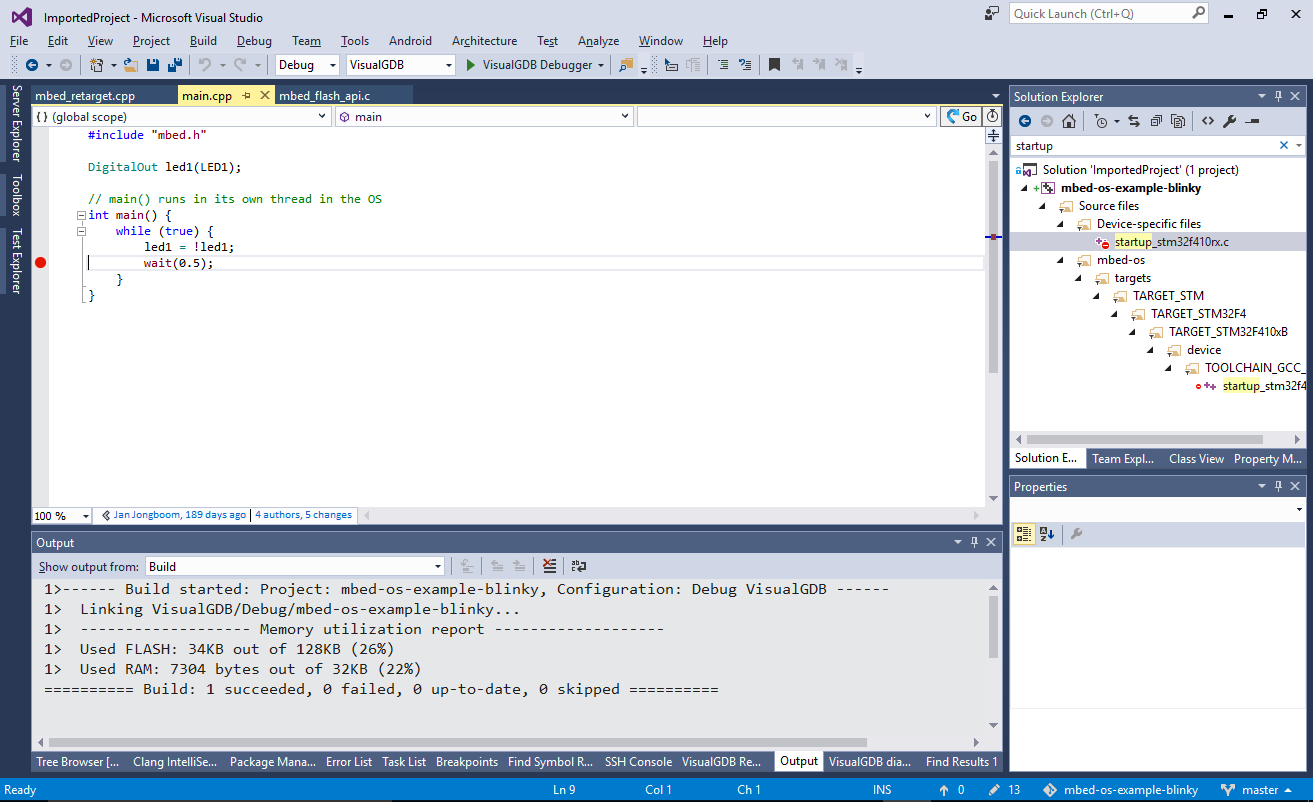
- Once the breakpoint hits, ensure you can debug the project:

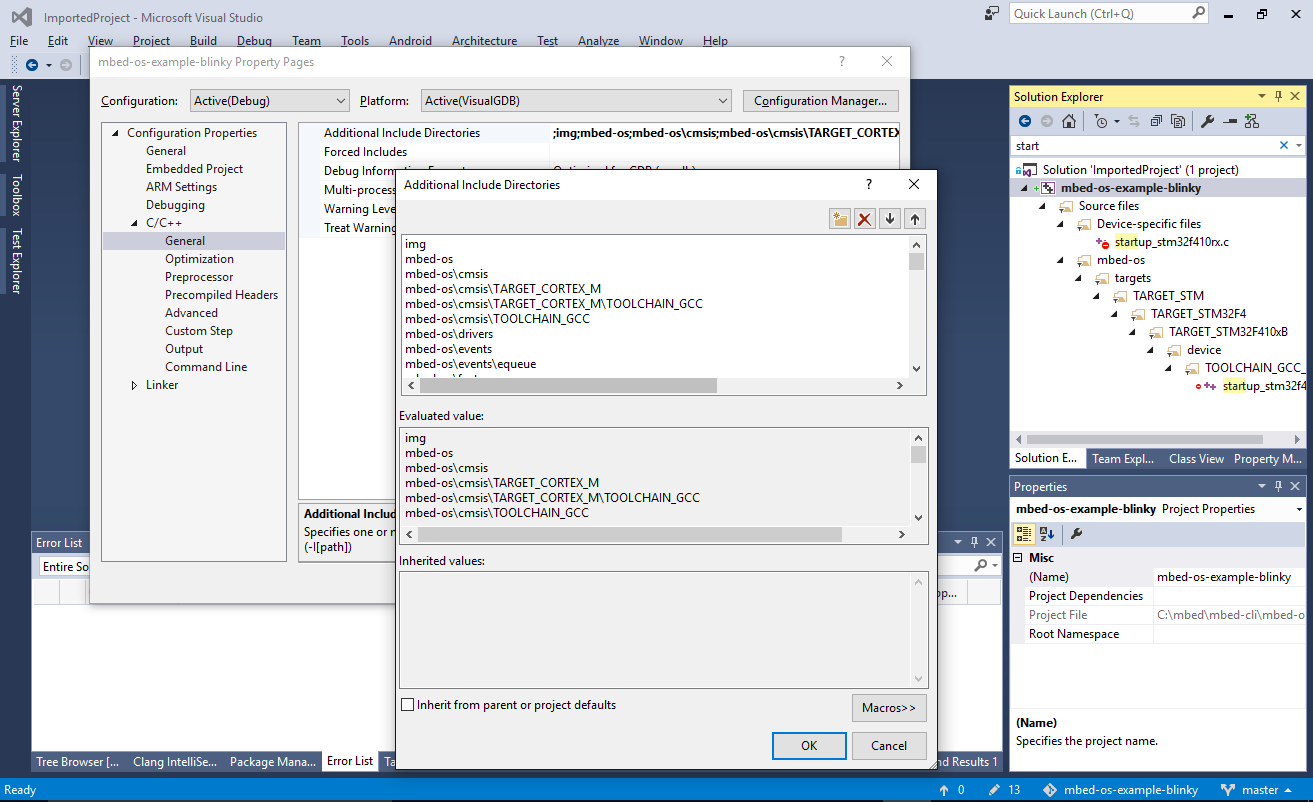
- VisualGDB has automatically converted the settings from the Makefile to regular Visual C++ project settings. You can use the regular Visual Studio GUI to edit them:
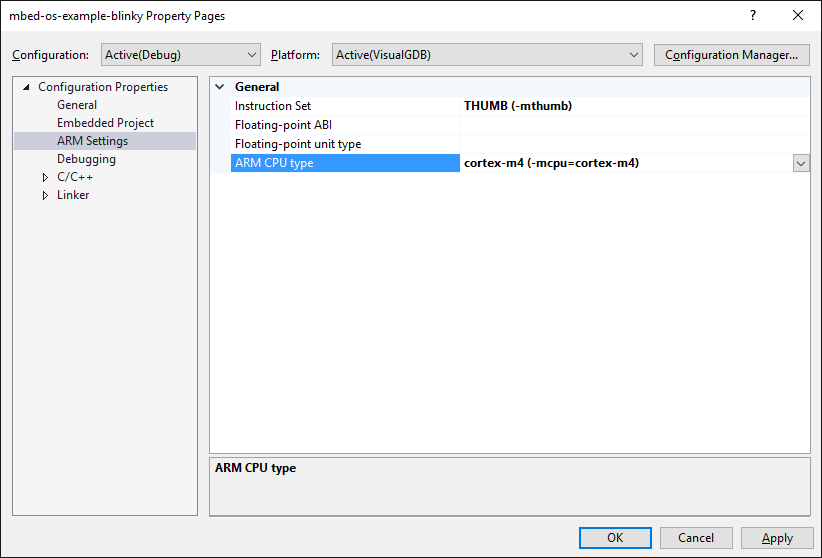
- If you get IntelliSense errors related to unknown core, set the ARM instruction set and CPU type manually via the ARM Settings page of Visual Studio Project Properties:
- Another source of errors could be linker scripts. For some mbed targets the linker scripts expect the build system to preprocess them before running the linker. As of v5.3, VisualGDB does not support this, so you would need to manually modify the linker script expanding any preprocessor-related statements.
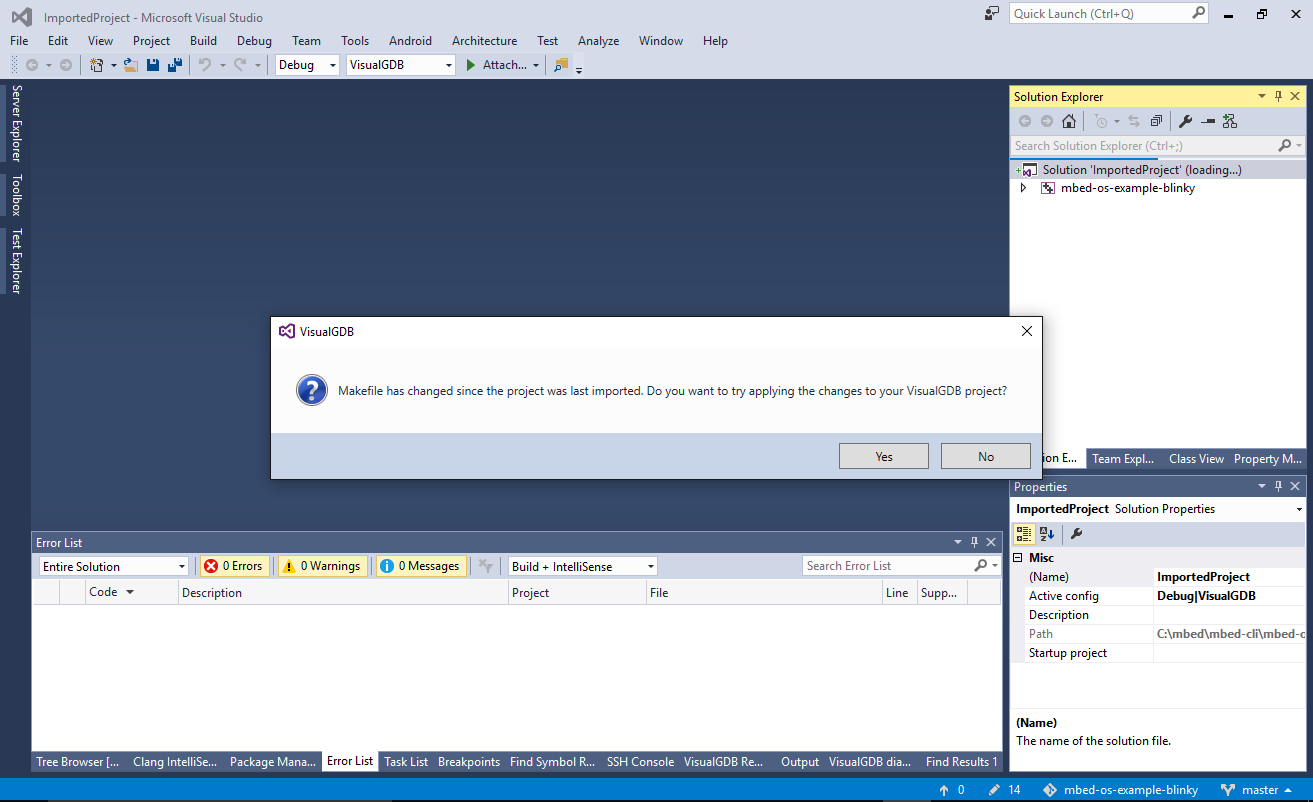
- Now we will give a quick overview of the importer plugin internals. Close the solution and modify the Makefile (e.g. add an empty line). Once you reopen the solution, VisualGDB will suggest updating the project accordingly:
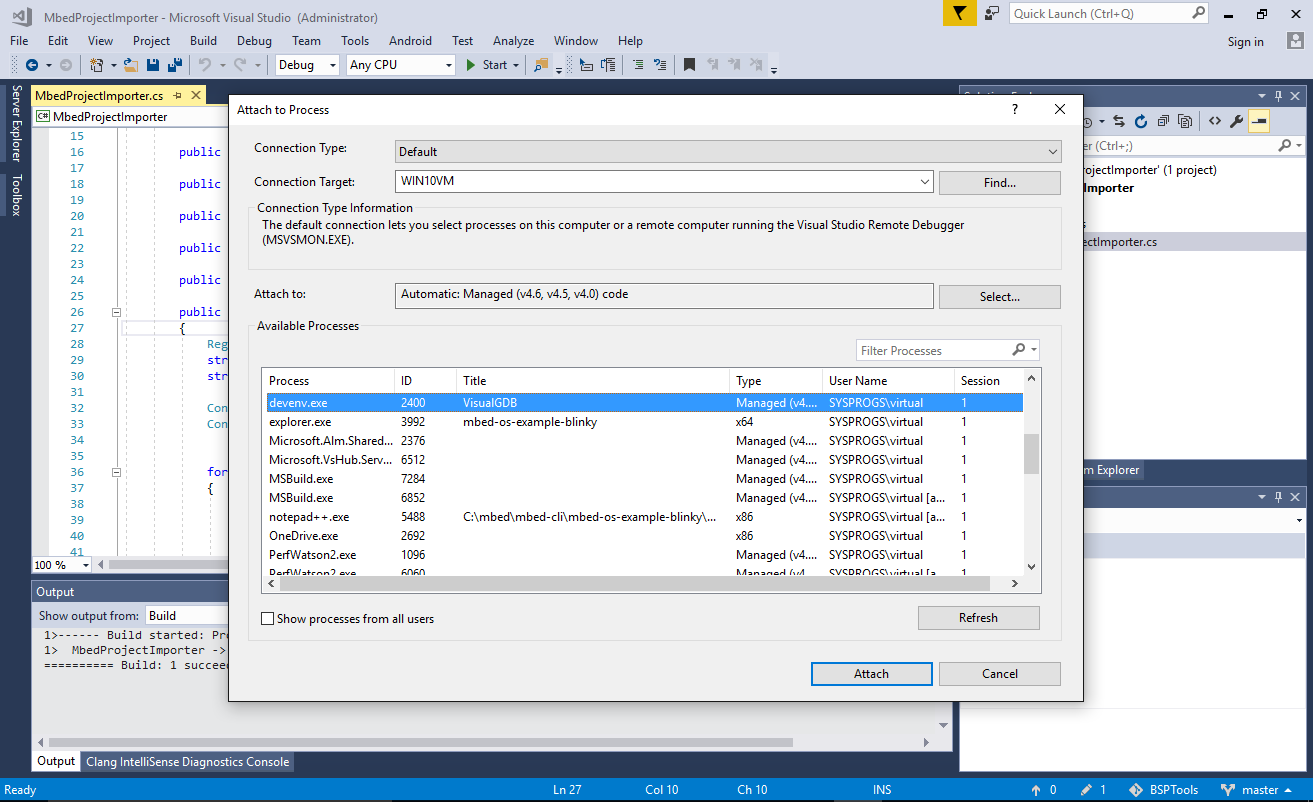
- Switch to another instance of Visual Studio that has the importer project open and attach it to the instance running VisualGDB:
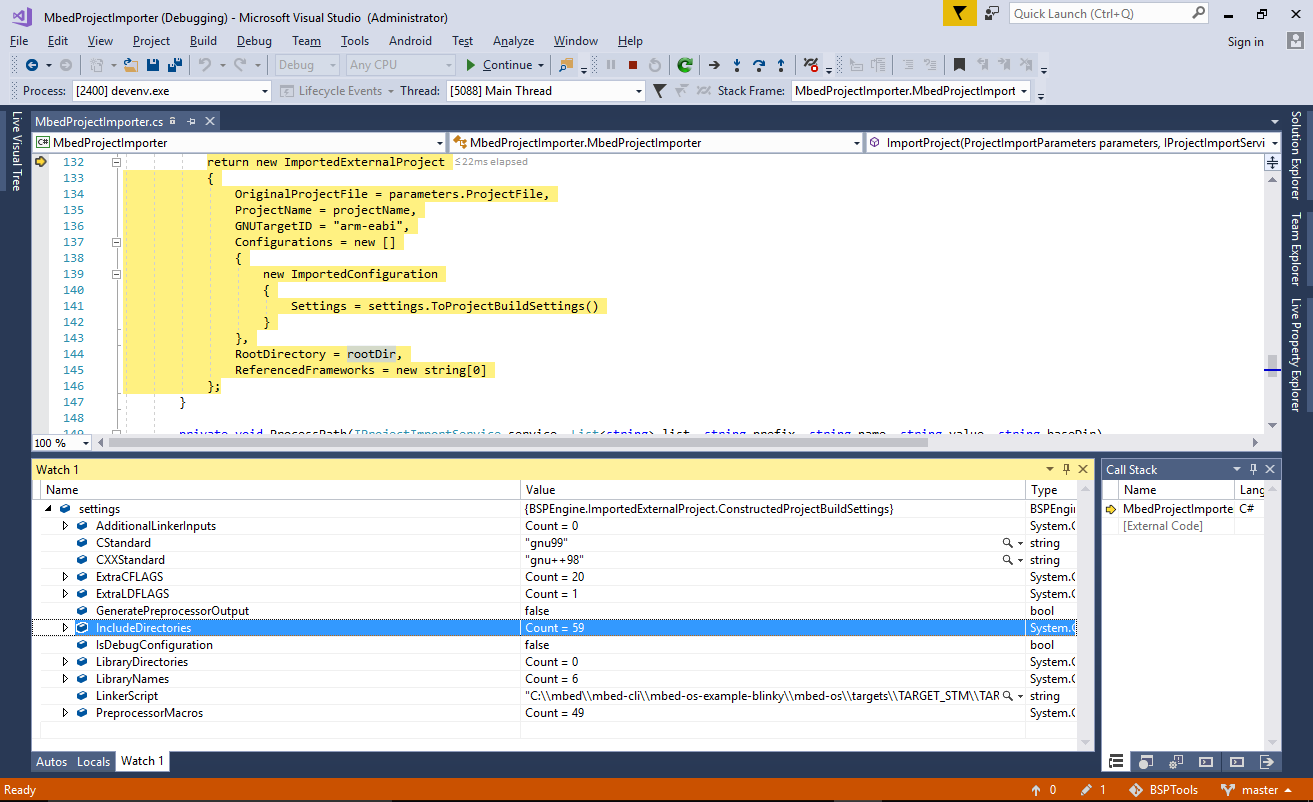
- Set a breakpoint in the ImportProject() method and press “Yes” in the project updating prompt. Then set a breakpoint in the line returning an instance of ImportedExternalProject and let the importer run:

- The importer plugin returns 2 major types of information about the project: virtual directories for Solution Explorer and build flags (e.g. include directories). The virtual directory object is defined as follows:
        public class ImportedFile
        {
            public string FullPath;
            public bool IsHeader;
            public string ObjectFilePath;
            public List<FileConfiguration> Configurations;
        }

        public class VirtualDirectory
        {
            public string Name;
            public List<VirtualDirectory> Subdirectories;
            public List<ImportedFile> Files;
        }
Virtual directories don’t have to follow the physical directory layout and will correspond to the virtual nodes in Solution Explorer.
- Build flags are defined in structure shown below:
        public class InvariantBuildSettings
        {
            public string[] IncludeDirectories;
            public string[] PreprocessorMacros;

            public string CStandard;
            public string CXXStandard;

            public string[] ExtraCFLAGS;    //Will also be added to CXXFLAGS

            public bool GeneratePreprocessorOutput;

            public string[] LibraryDirectories;
            public string[] LibraryNames;
            public string[] AdditionalLinkerInputs;

            public string LinkerScript;
            public bool IsDebugConfiguration;
            public string[] ExtraLDFLAGS;
        }
Normally each imported project should return a single configuration containing an instance of the InvariantBuildSettings object describing the build settings (all paths should be absolute; VisualGDB will automatically convert them to relative as needed):
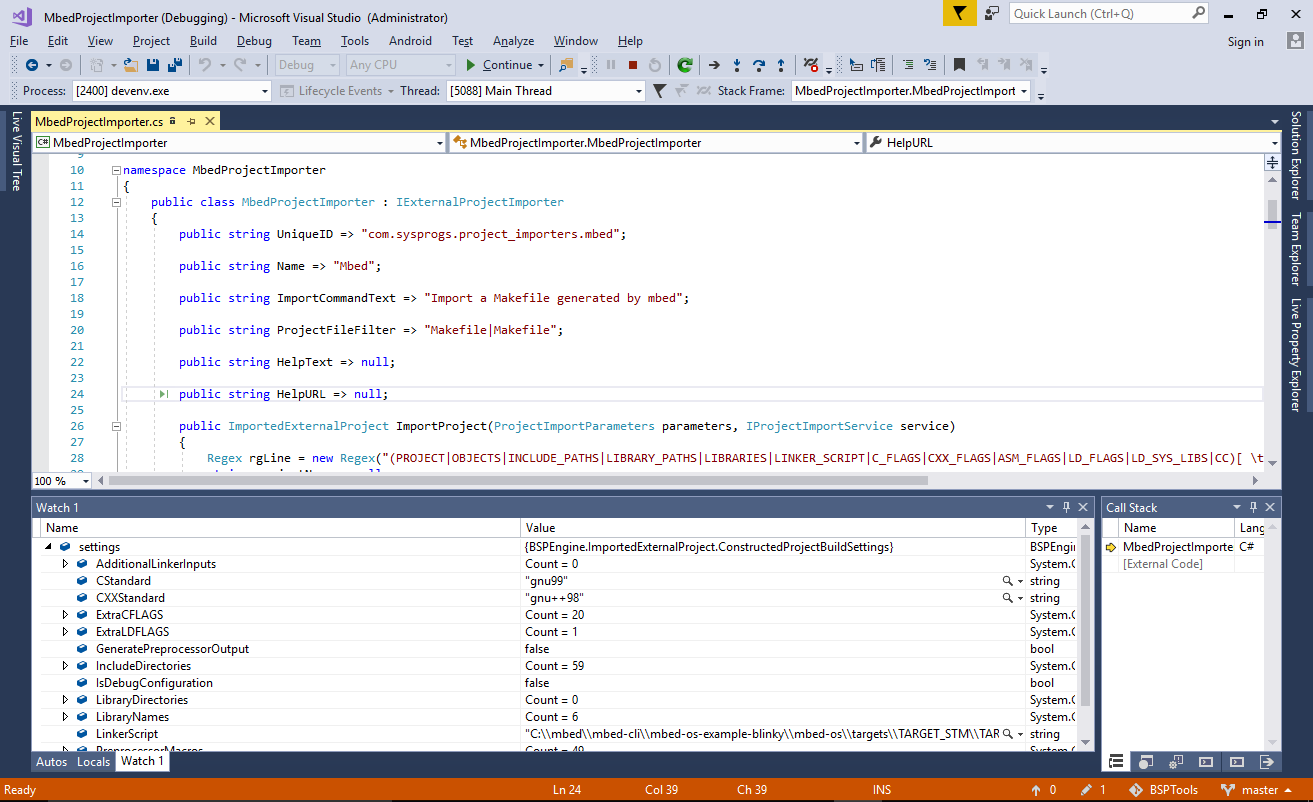
- If you want to create a new importer, create a C# class library project, reference the BSPEngine.dll file and add a public class implementing the IExternalProjectImporter interface. As soon as your place your library into the “ProjectImporters” subdirectory under VisualGDB installation directory, VisualGDB will recognize it and will show it on the first page of the VisualGDB Embedded Project Wizard:
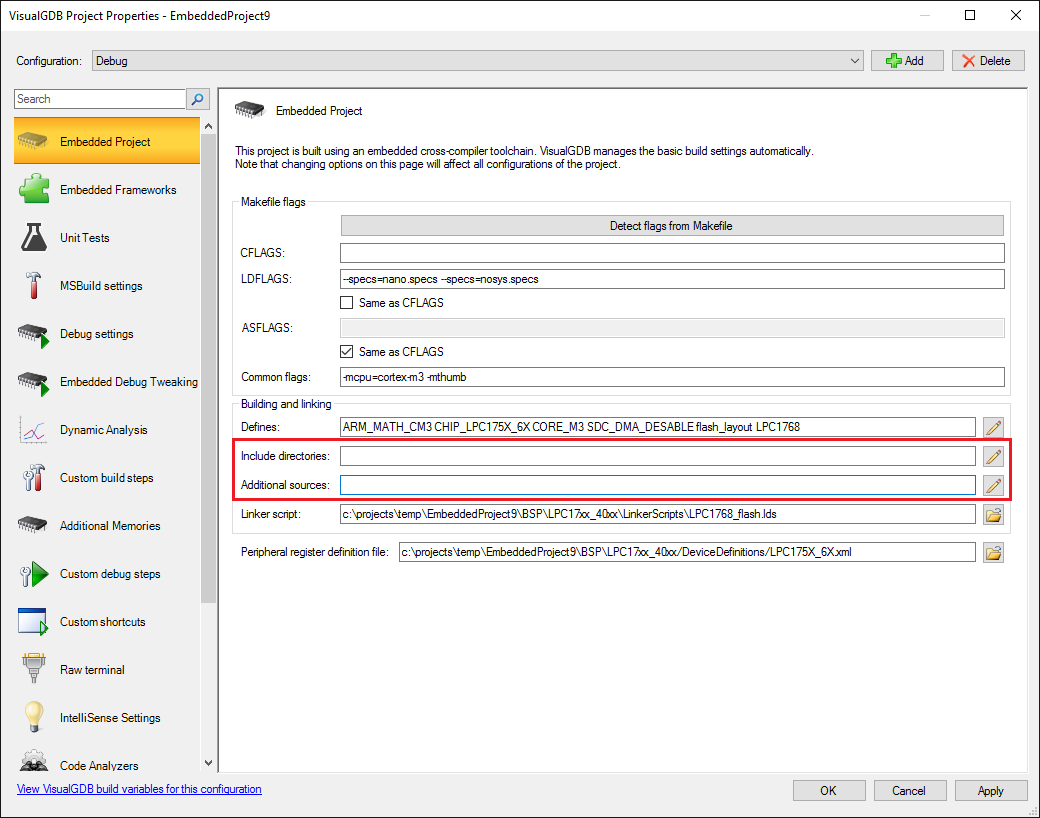
- For some targets (like LPC NXP devices) the files imported from mbed may conflict with the files from the regular SDK. If you encounter strange build errors, try removing the <AdditionalIncludeDirectories> definition in the <mcu>.props file in the project directory and remove all .c and .cpp files inside the “Device-specific files” folder in Solution Explorer. if you are using a Custom edition or higher, you can also convert your project to a stand-alone one and remove the MCU-specific include directories and additional sources via VisualGDB Project Properties: