Using Visual Studio to Develop Native Android Code
This tutorial shows how to build and debug a simple Android App with a native library with Visual Studio.
Before you begin, please install VisualGDB (ensure that “Android Edition” is checked in the installer).
You will also need to install Java JDK, Android SDK, NDK and Apache ANT.
Step-by-step tutorial
- Start Visual Studio. Select File->New project->VisualGDB->Android App Wizard.
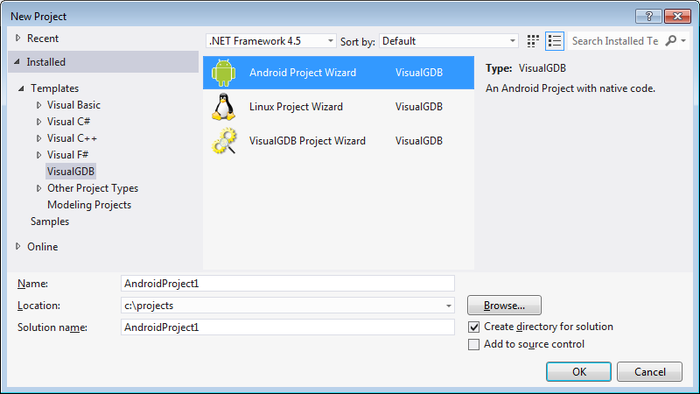
- Specify your project name and location (please avoid spaces in file path). Press OK to start the wizard.
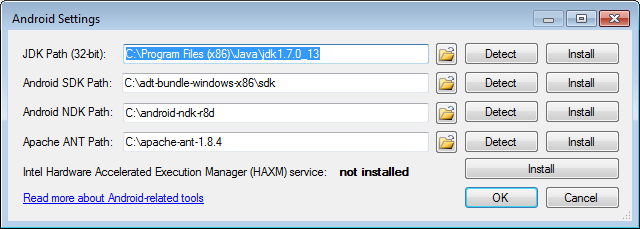
- If you are running VisualGDB Android wizard for the first time, please press the “Configure NDK/SDK locations” button to tell VisualGDB the locations of your Android-related tools. If you don’t have any of the tools installed, simply press the “install” button.
 WARNING! After installing Android SDK please run the SDK manager as Administrator and install the Tools (SDK tools/Platform tools) and all required Android APIs (at least Android 1.5 and 2.3.3).
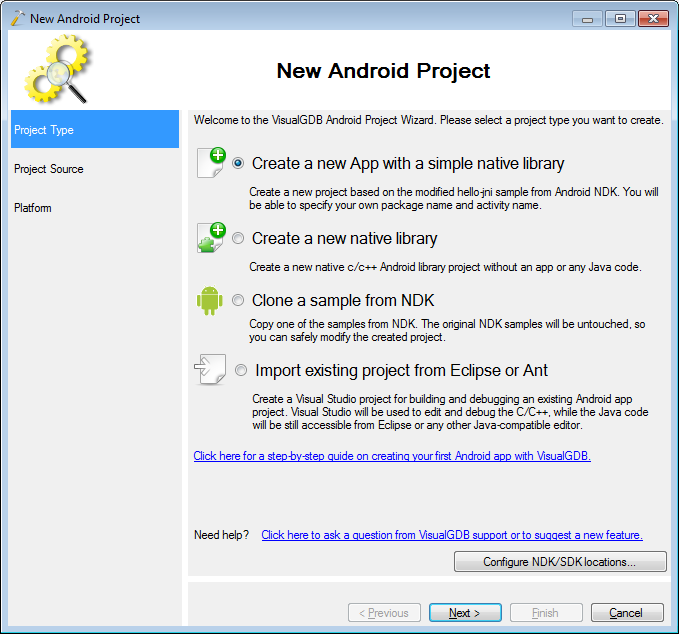
 - In this tutorial we’ll go the easiest way and simply create a new application from scratch. To do it, please select the first option in the wizard:
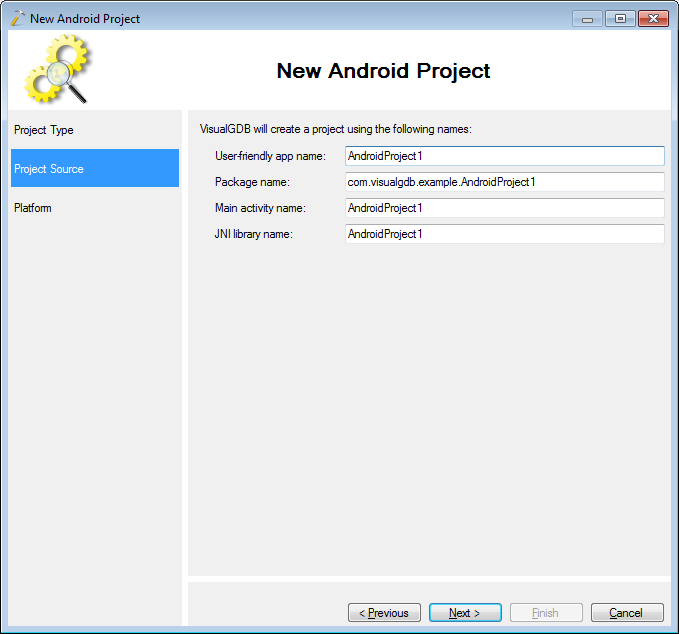
- On the next page you can customize the project name or leave the default names.
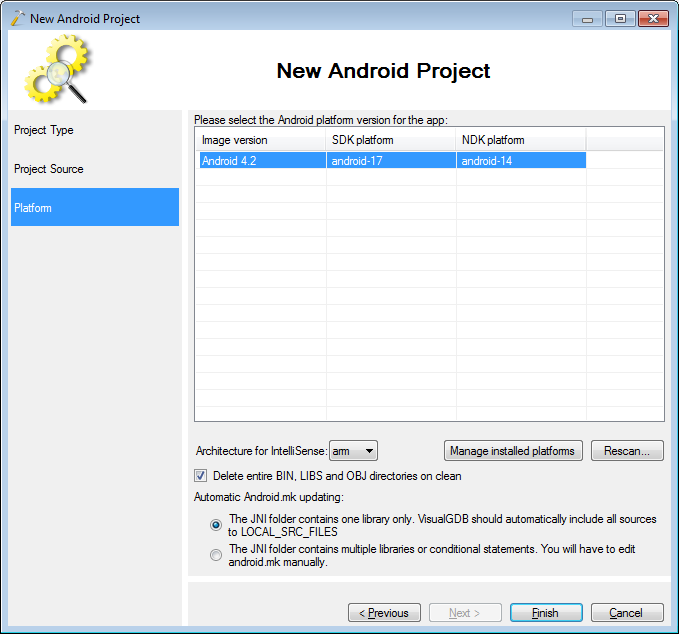
- Finally you can select the Android platform. If you see not platforms in the list, please press the “Manage installed platforms” button and install the required platforms. Please select “Android 1.5” as the app platform.
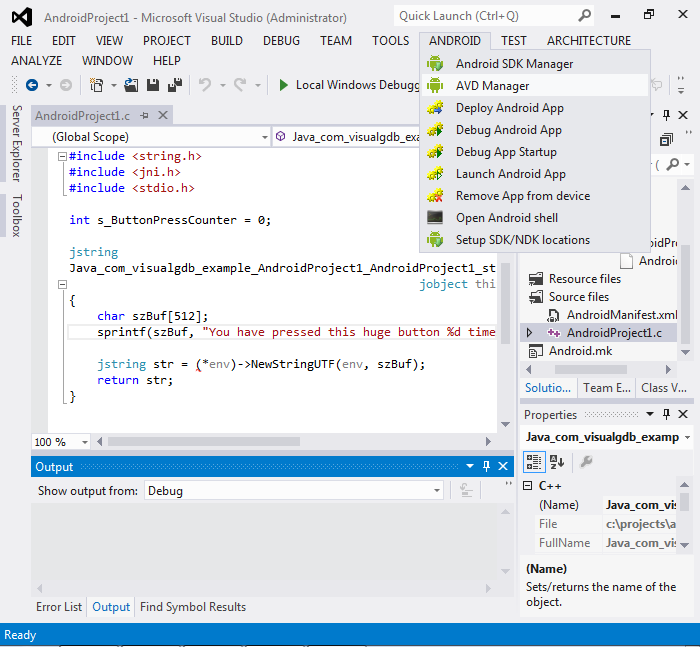
- When you press “Finish”, VisualGDB will create a new Android App project for you. If you have an Android phone or a tablet, you can enable USB debugging on it and connect it to your PC. If not, please start the Android simulator (AVD Manager) by selecting “Android->AVD Manager” in Visual Studio:
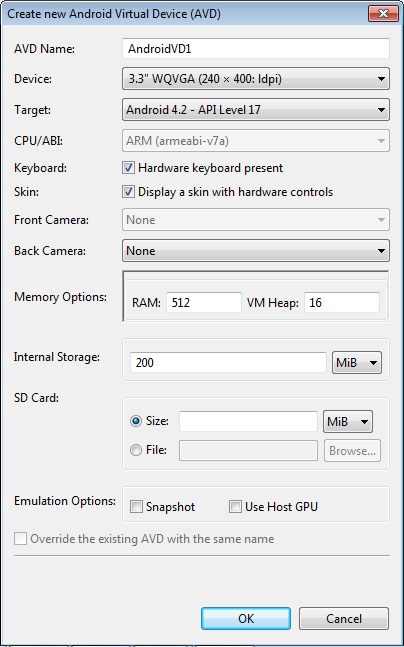
- If you have no virtual devices defined by now, please create one. It is recommended to specify at least Android 2.3.3 as the simulator platform:
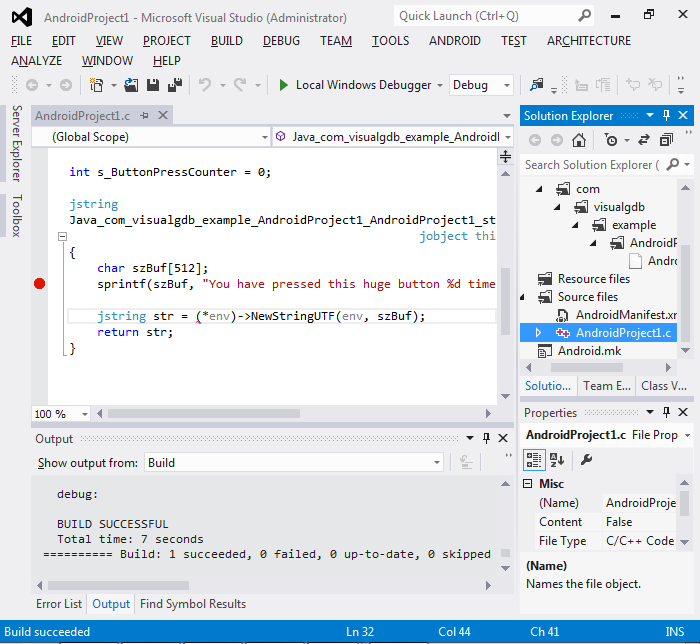
- Start the virtual device. While it is booting, go to Visual Studio, set a breakpoint on the sprintf() line inside the main C file and and select Build->Build Solution.
- Once the solution has been built, please ensure that the virtual Android device has been started.
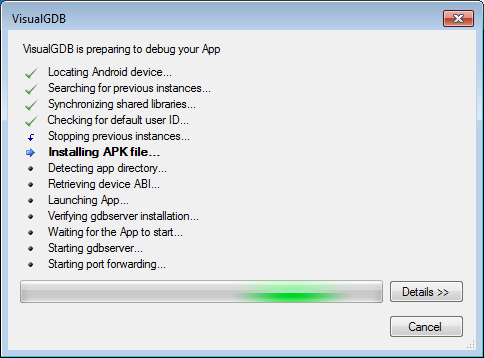
- Once the device is ready, press F5 to start debugging. VisualGDB will deploy the APK file automatically and will start a debugging session.
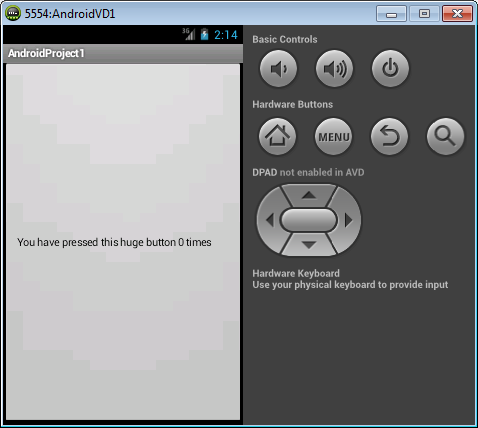
- Please go to the simulator and click on the huge full-screen button.
- Clicking the button will trigger the sprintf() breakpoint in Visual Studio:
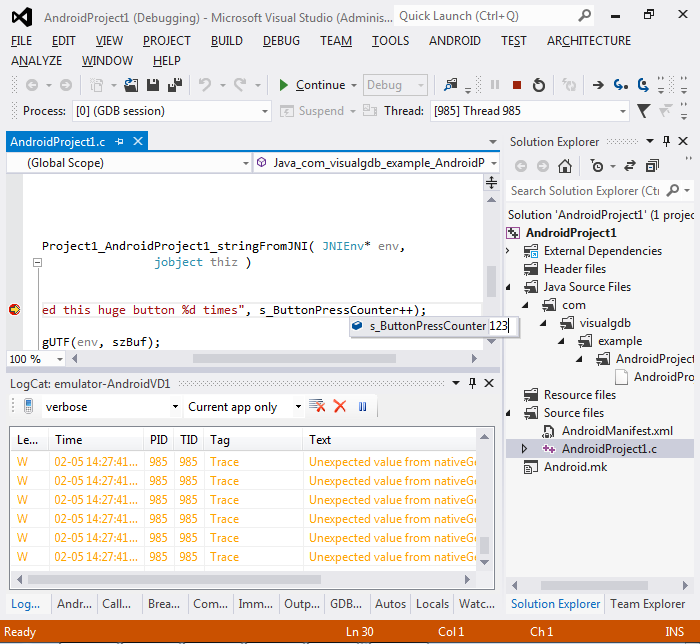
- Hover the mouse over s_ButtonPressCounter, click on “0”, change the value to “123” and press ENTER.
- Press F5 to continue running the app. Go back to the simulator and ensure that the label indicates 123 hits.

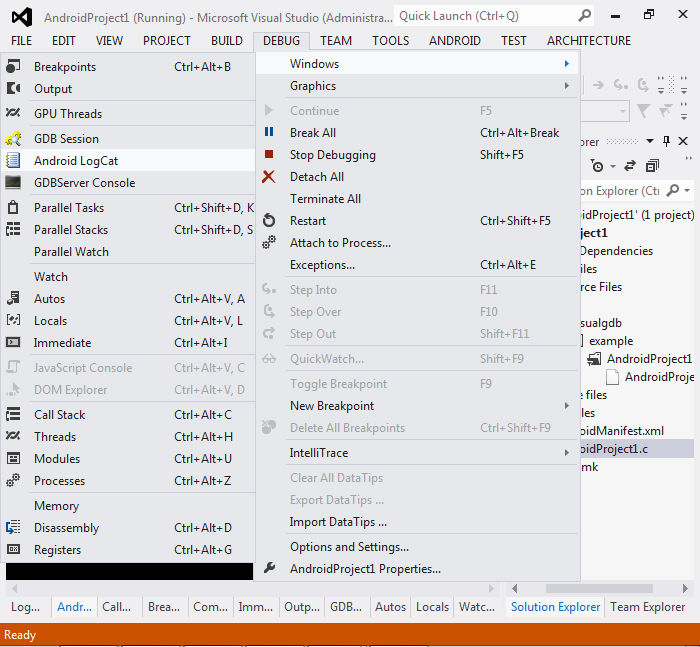
- Have a look through the main debugging windows provided by VisualGDB using the Debug->Windows command:
- The GDB Session window allows sending arbitrary commands to the GDB debugger
- The Android LogCat window shows additional logging information provided by Android
- The GDBServer Console window shows various NDK debugging information.
- Press Shift+F5 to stop debugging.
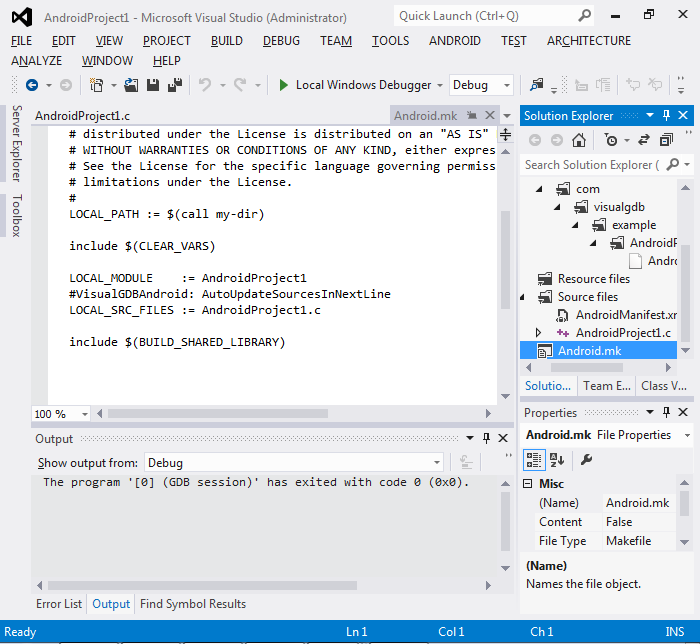
- As VisualGDB uses the Android NDK build system in the background, you can modify various build flags and settings by editing the Android.mk file. Note that VisualGDB will automatically update the LOCAL_SRC_FILES for you when you add/remove source files in the solution:


Now that you have managed to debug a basic project, you can follow the tutorials below for more advanced examples: