Creating native Android Libraries with Visual Studio
This tutorial explains how to create a Native Android Library project with Visual Studio and use it from an App project.
- Before you begin, please follow this tutorial to create and debug a simple Android app with Visual Studio.
-
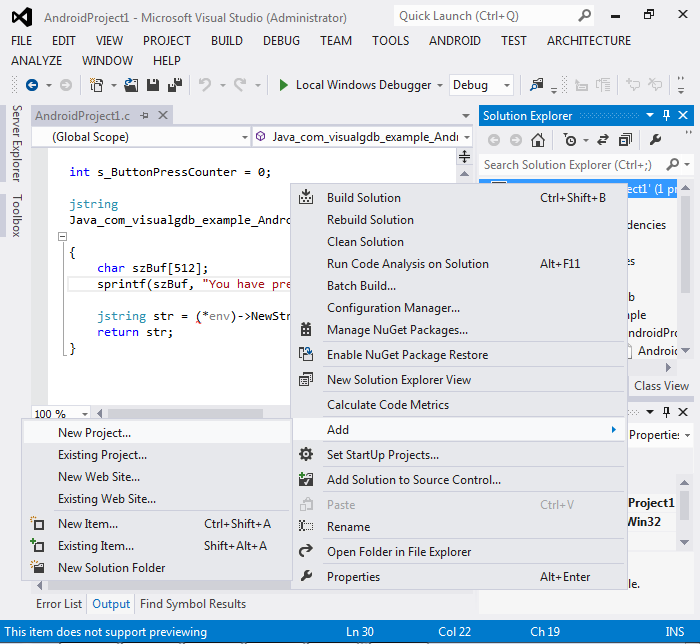
Open your previously created app project. Right-click on the project node and select “Add->New Project”:
-
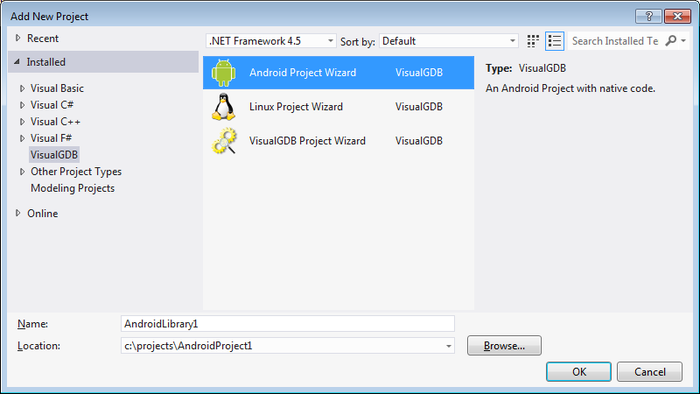
Select VisualGDB->Android Project Wizard:
-
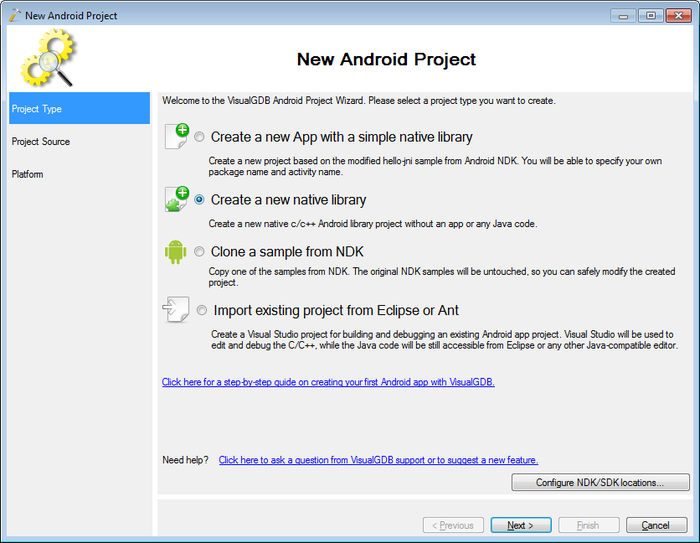
On the first wizard page select “Create a new native library”:
-
On the next page specify the library name or leave the default name:

-
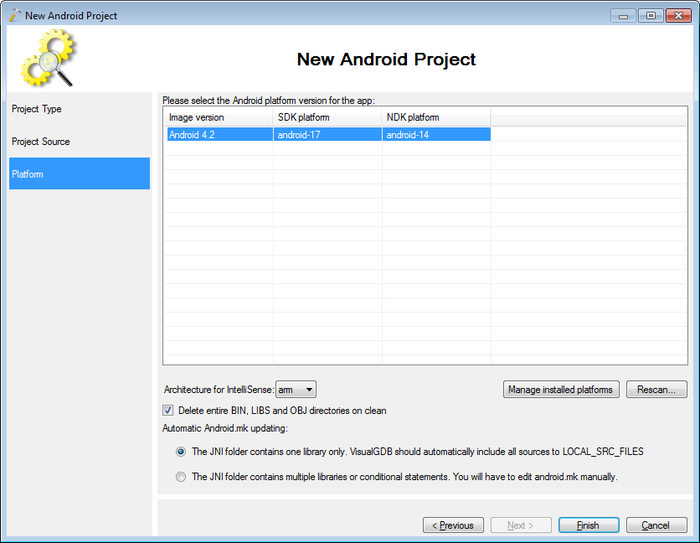
Select the library platform that will be passed to NDK build scripts:
-
When you press Finish, VisualGDB will create the new library project for you. Now we need to reference it from the app project. First of all, go to the Project Dependencies and set a checkbox for the library project:
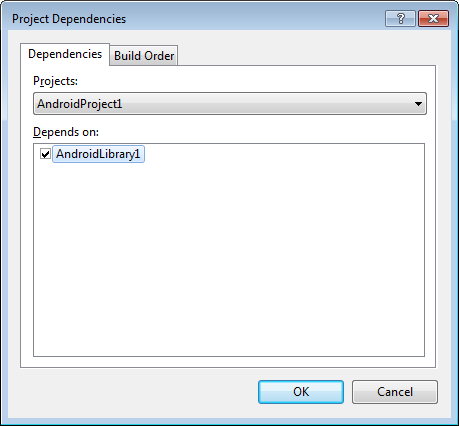 VisualGDB will update the Android makefile of the app project automatically during building based on project dependencies.
 -
Next open the AndroidProject1.java file and modify the library loading at the end of the file to the following:
static {
    System.loadLibrary("AndroidLibrary1-shared");
    System.loadLibrary("AndroidProject1");
}
The library load statements should be in reverse order of inclusion, meaning that as AndroidProject1 uses AndroidLibrary1, AndroidLibrary1 needs to be loaded first. The load library statements use file names without the lib prefix and .so suffix, e.g. libAndroidLibrary1-shared.so becomes AndroidLibrary1-shared.
-
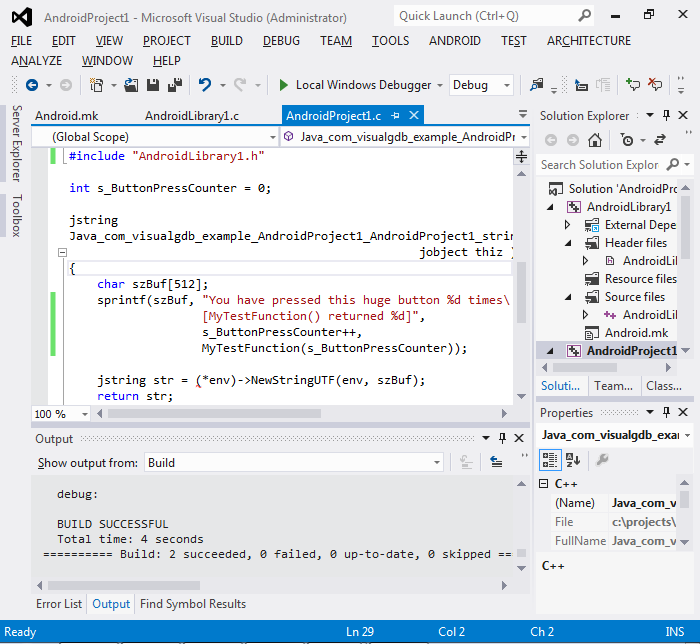
Modify the main app file so that it includes your library header and calls a function from the library. Then build the solution:
-
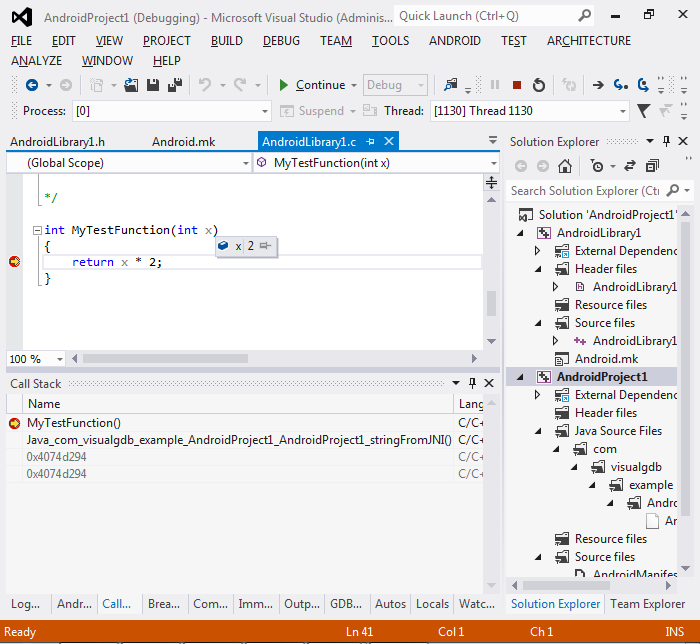
Set a breakpoint on the MyTestFunction() function inside the newly created library. Start debugging by pressing F5 and click at the large button inside the app:
-
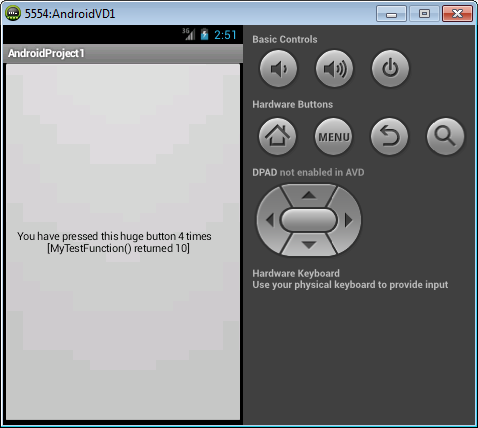
When the breakpoint is hit you can use the Call Stack window to see how the function was called from the code inside the main app project. Press F5 to continue. The text on the large button inside the App will be updated accordingly:
- Open the file Android.mk of AndroidProject1. It shows how VisualGDB added the dependency to the library. As the library project Android.mk specifies two targets – a static and a dynamic library based on the same code, VisualGDB needs to choose which dependency to add. By default the shared library dependency is preferred, but you can change it manually to depend on the static library instead.
include $(CLEAR_VARS)
LOCAL_MODULE := AndroidProject1
...
LOCAL_STATIC_LIBRARIES :=
LOCAL_SHARED_LIBRARIES :=AndroidLibrary1-shared-prebuilt
...
include $(BUILD_SHARED_LIBRARY)

include $(CLEAR_VARS)
LOCAL_MODULE := AndroidLibrary1-shared-prebuilt
LOCAL_SRC_FILES := ../../AndroidLibrary1/obj/local/$(TARGET_ARCH_ABI)/libAndroidLibrary1-shared.so
LOCAL_EXPORT_C_INCLUDES := $(LOCAL_PATH)../../../AndroidLibrary1/jni
include $(PREBUILT_SHARED_LIBRARY)

include $(CLEAR_VARS)
LOCAL_MODULE := AndroidLibrary1-static-prebuilt
LOCAL_SRC_FILES := ../../AndroidLibrary1/obj/local/$(TARGET_ARCH_ABI)/libAndroidLibrary1-static.a
LOCAL_EXPORT_C_INCLUDES := $(LOCAL_PATH)../../../AndroidLibrary1/jni
include $(PREBUILT_STATIC_LIBRARY)


