Running C++ Unit Tests on Android devices
This tutorial shows how to run C++ unit tests on your Android devices. We will create a basic unit test based on the CppUTest framework that will check that the device has an accelerometer.
Before you begin, install VisualGDB 5.2 or later.
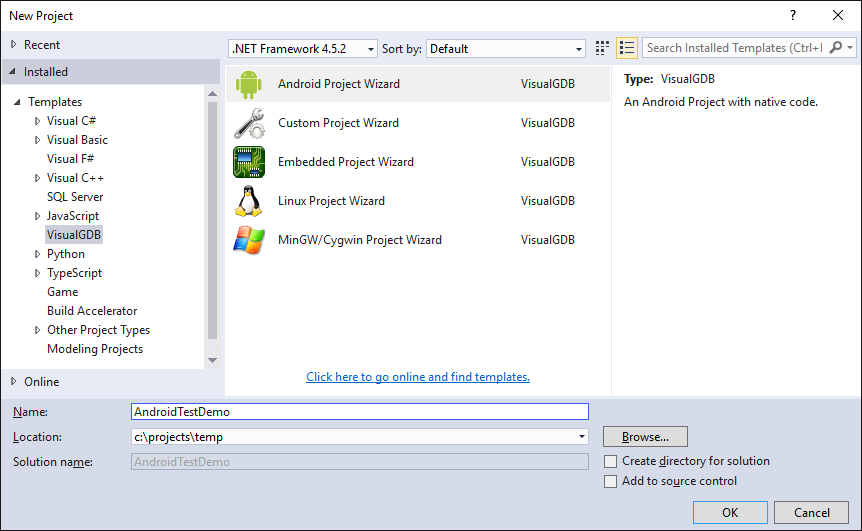
- Start Visual Studio and open the VisualGDB Android Project Wizard:
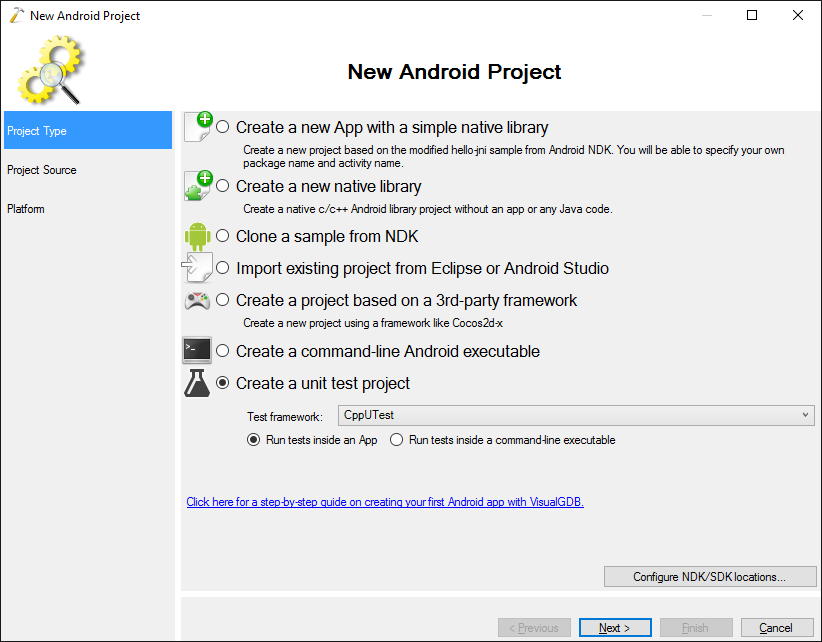
- On the first page of the wizard select “Create a unit test project” and pick a framework. VisualGDB supports CppUTest and Googletest out-of-the-box and provides an extensibility interface to support any other 3rd-party framework:
 Normally VisualGDB will create Java app with C++ code that will run the unit tests inside a separate thread. If you don’t need the App context, you can select “Run tests inside a command-line executable” to create a stand-alone command-line Android binary.
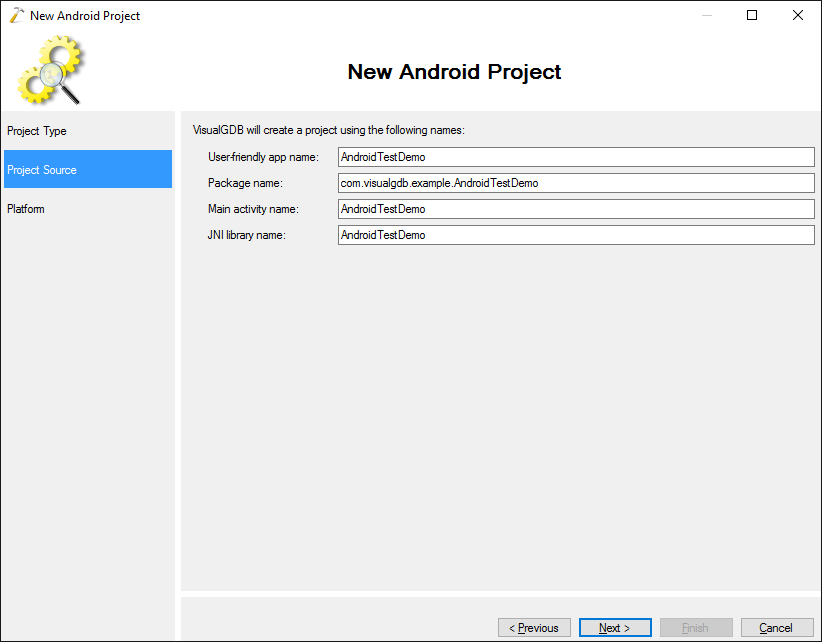
 - Proceed with the default settings on the “Project Source” page:
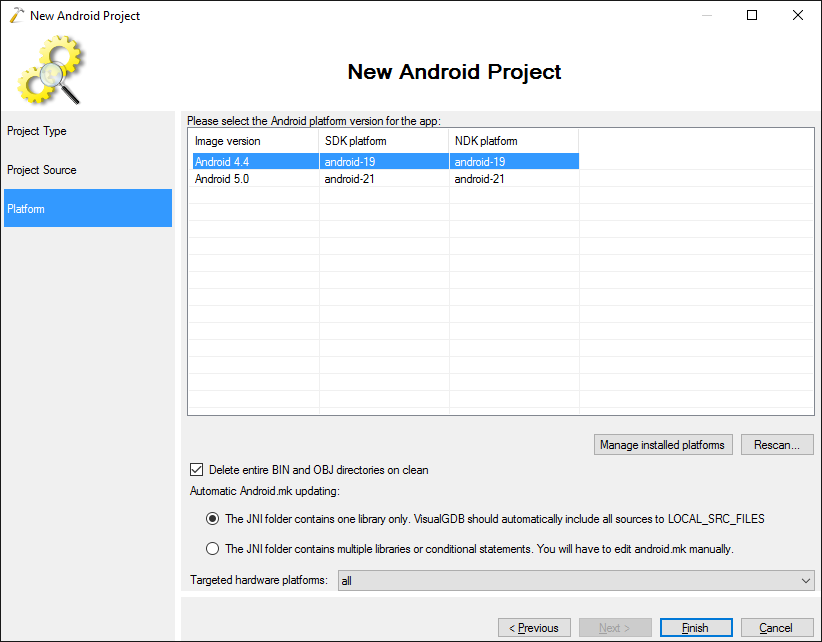
- On the last page of the wizard select the platform you would like to target and the hardware platforms:
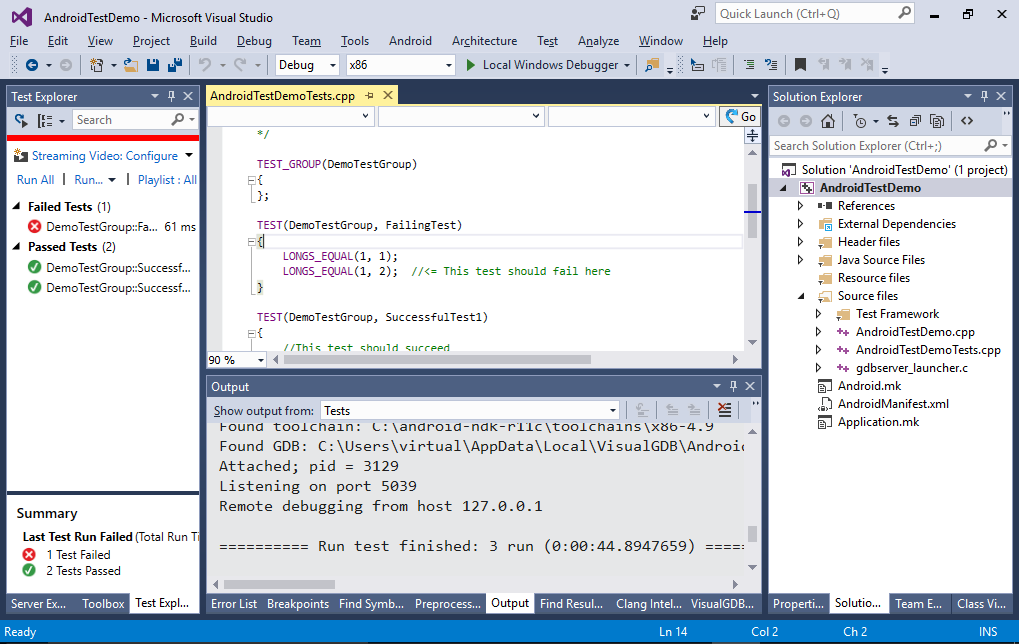
- Press “Finish” to generate the project. Build it with Ctrl-Shift-B and open the Test Explorer to see the example unit tests detected by Visual Studio:

- Select Test->Run All to launch them on your device. The FailingTest should immediately fail, while the others should succeed:
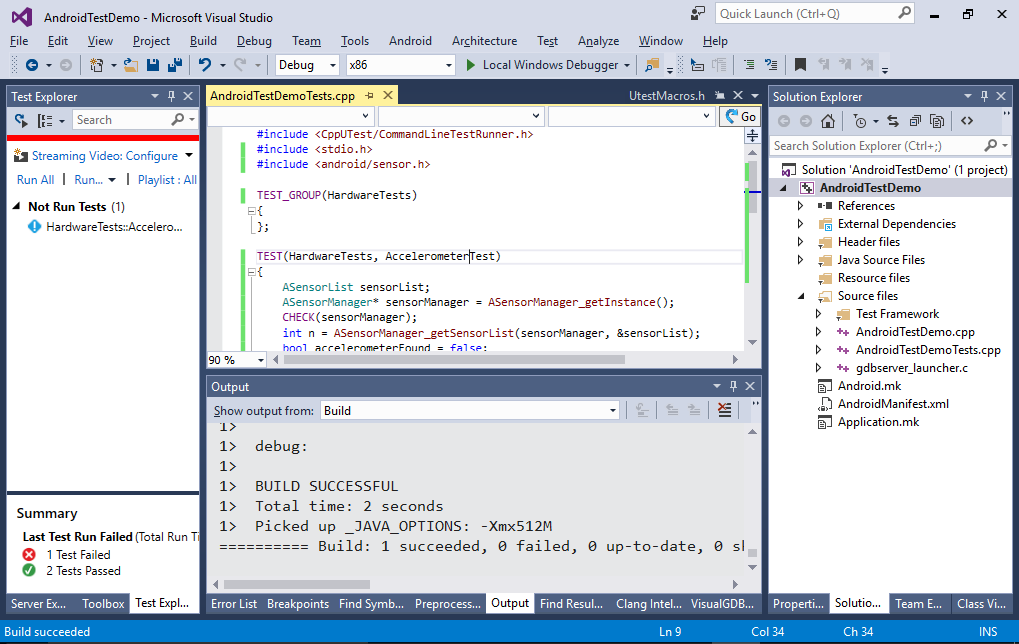
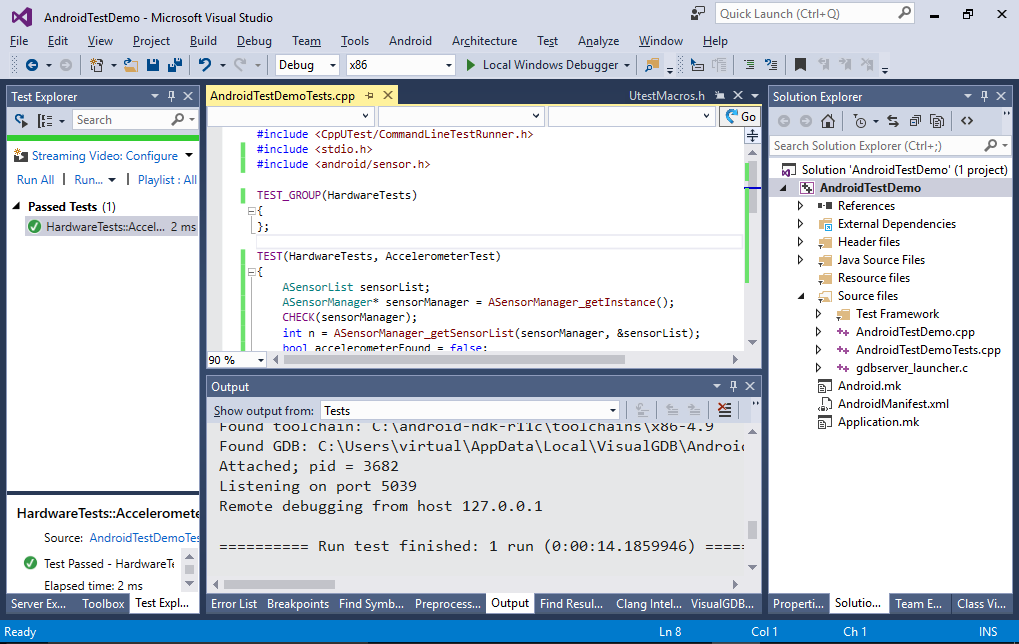
- Now we will add a basic tests that ensures that your device has an accelerometer. Replace the code in the tests file with the following:
#include <CppUTest/CommandLineTestRunner.h>
#include <stdio.h>
#include <android/sensor.h>

TEST_GROUP(HardwareTests)
{
};

TEST(HardwareTests, AccelerometerTest)
{
    ASensorList sensorList;
    ASensorManager* sensorManager = ASensorManager_getInstance();
    CHECK(sensorManager);
    int n = ASensorManager_getSensorList(sensorManager, &sensorList);
    bool accelerometerFound = false;
    for (int i = 0; i < n; i++)
    {
        const ASensor* sensor = sensorList[i];
        if (sensor == NULL)
            continue;
        if (ASensor_getType(sensor) != ASENSOR_TYPE_ACCELEROMETER)
            continue;

        const char* name = ASensor_getName(sensor);
        const char* vendor = ASensor_getVendor(sensor);
        printf("Found accelerometer: %s %s\n", vendor, name);
        accelerometerFound = true;
    }

    CHECK(accelerometerFound);
}
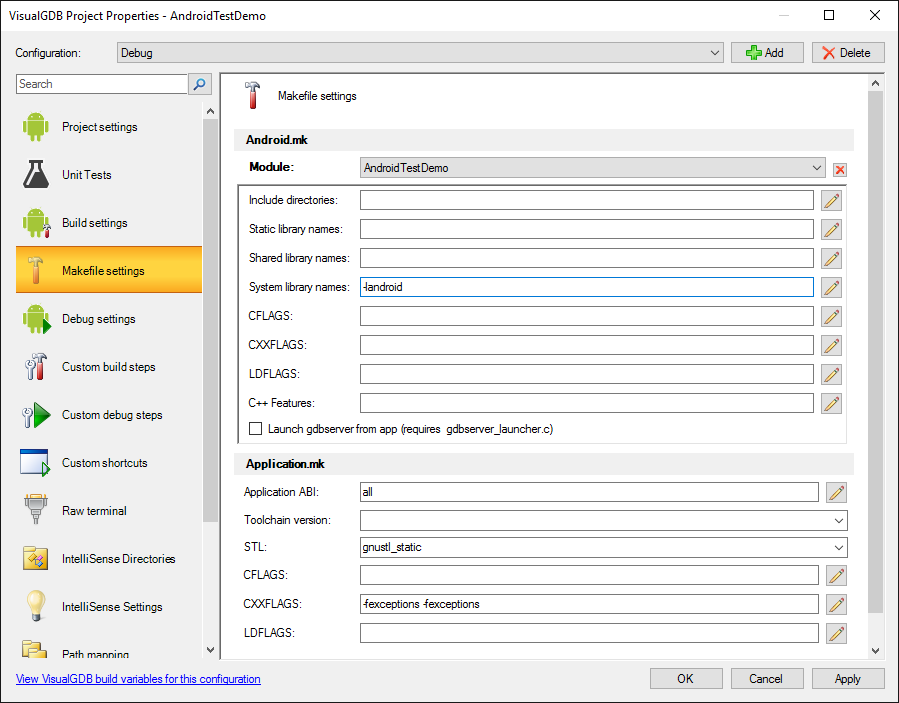
- Add “-landroid” to the System Library Names field in VisualGDB Project Properties so that your project can use the ASensor_xxx() functions:
- Build the project. The Test Explorer window will show the newly added test:
- Start it via Test->Run All Tests or by right-clicking on it and selecting “Run Selected Tests”:
- If your device has an accelerometer, the test should succeed. If it does not, you can easily debug it by right-clicking on it in Test Explorer and selecting “Debug selected tests”:
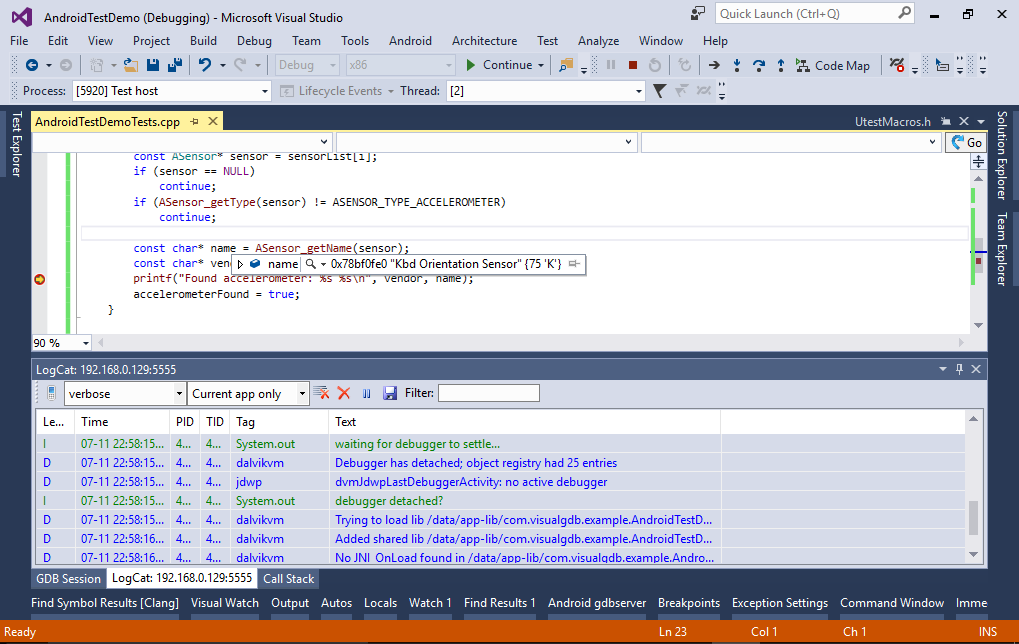
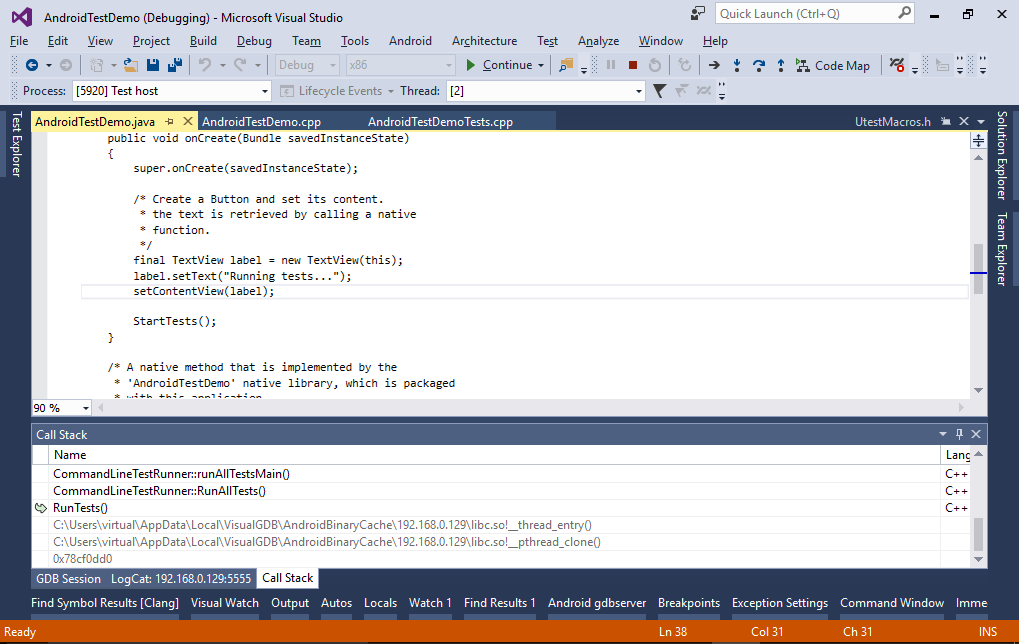
- You can use the Call Stack window to understand the context in which the test is run. VisualGDB creates a separate thread using the pthread_create() function and passes control to the CppUTest framework. VisualGDB automatically selects the tests to run and interprets the information about successful and failed runs:

- VisualGDB also generates a very basic Java source file that creates a simple activity and invokes the StartTests() function so that the native tests can be started: