Developing a Cubieboard App with Visual Studio
This tutorial demonstrates how to build and debug a simple Cubieboard application using Visual Studio. Cubieboard devices are shipped with an Android image in the internal FLASH memory. Alternatively, you can download a Linux image from cubieboard.org and program either the internal memory or an SD card.
For steps on creating a basic Android app, follow the Android tutorial.
Here we will show how to make a basic app for the Linux image.
We will use the Cubieboard2 in this tutorial, however the steps
below are valid for all boards of the same family given that a
correct SD card image is used.
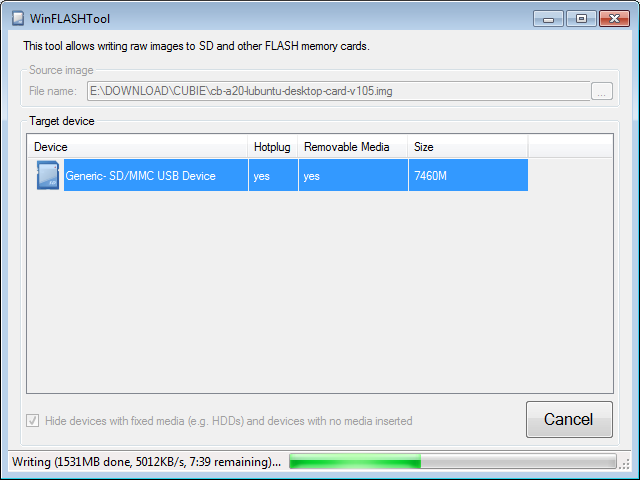
- Download a Cubieboard Linux image for SD cards (don’t confuse it with images for the internal memory), download WinFLASHTool and use it to write the image to the SD card:
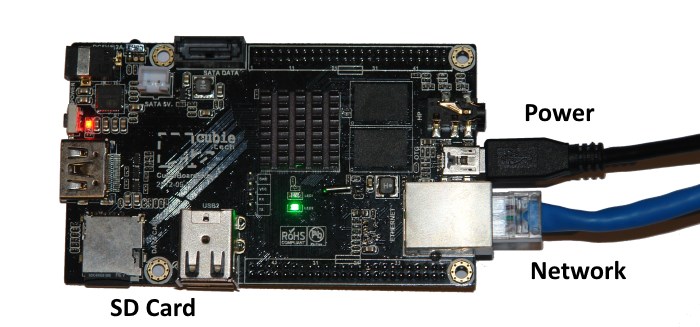
- Insert the SD card into the board, connect the network cable and the power cable:
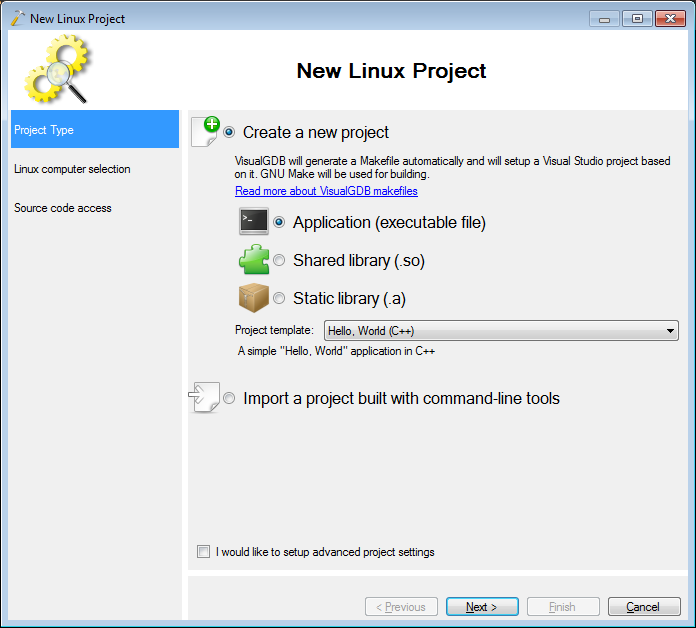
- Start Visual Studio. Create a new Linux project with VisualGDB Project Wizard:

- Proceed with the default settings on the first page of the wizard:
- On the second page select “Create a new SSH connection”, then enter the host name, user name and the password for your Cubieboard. The default settings are listed below:
Host name cubieboard2 User name linaro Password linaro 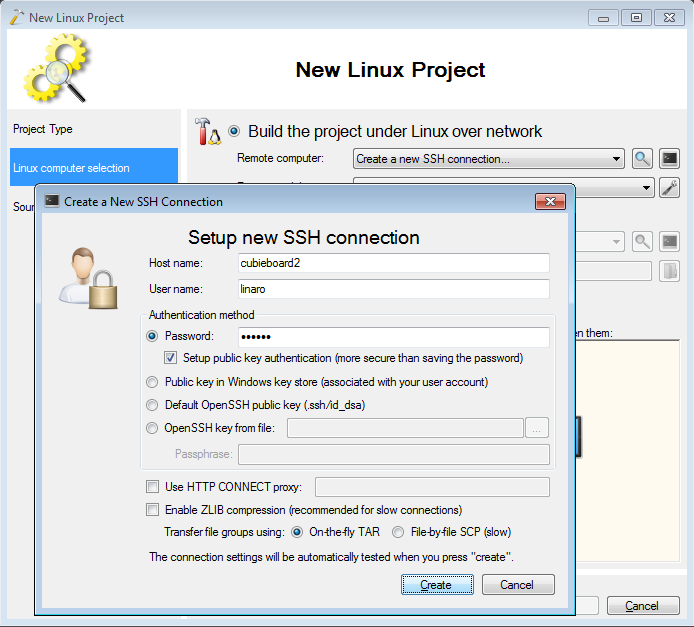
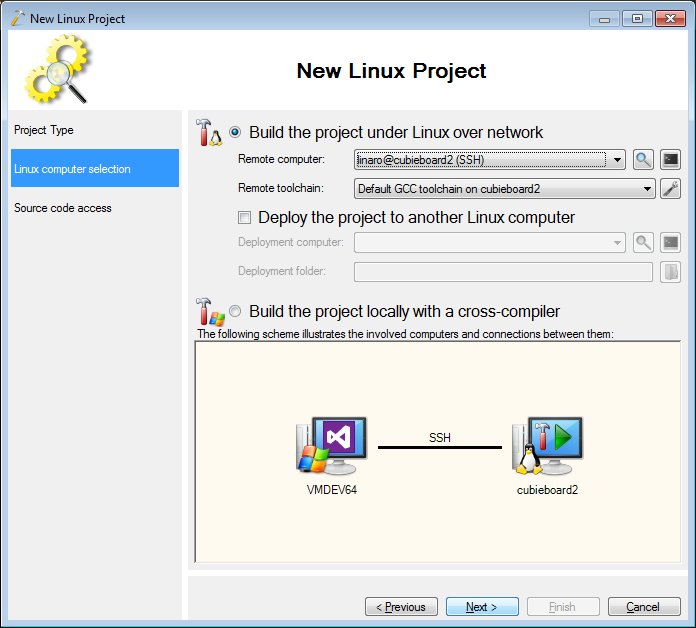
- The simplest way to proceed would be to build the code directly on Cubieboard. This is slower than using a cross-toolchain, but requires fewer setup. Proceed with the default toolchain:
- When you press “Next”, VisualGDB will detect that the image is missing the gdb debugger and will install it automatically:
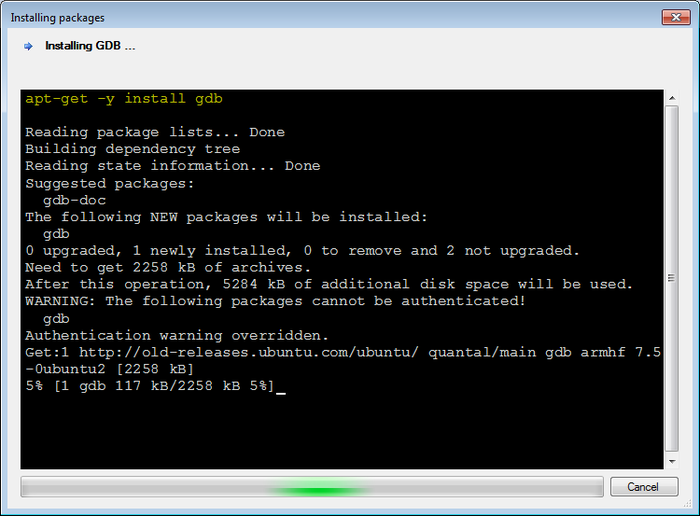 If you encounter 404 errors during the package downloading, ensure that your /etc/apt/sources.list contains the following lines:
deb http://old-releases.ubuntu.com/ubuntu/ quantal main universe
deb-src http://old-releases.ubuntu.com/ubuntu/ quantal main universe
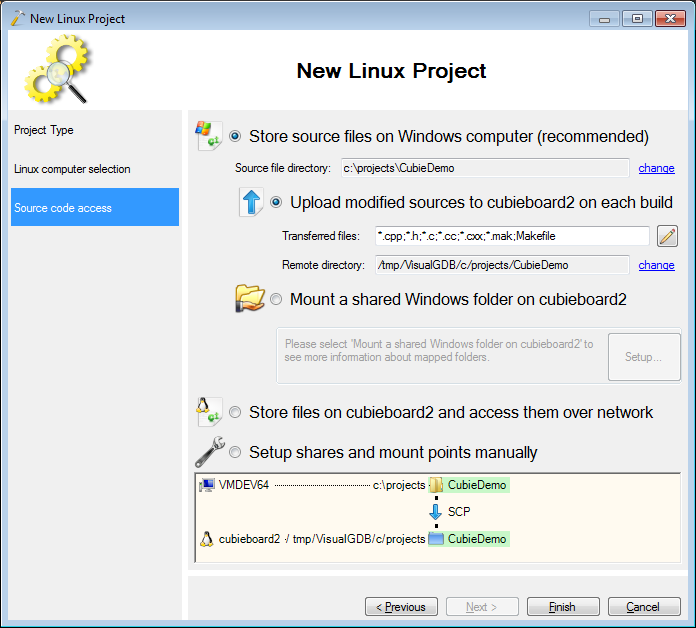
- By default VisualGDB will keep the source files on your Windows machine and will transfer them to Cubieboard for building. Keep this setting for now:
- Once you press Finish, your project will be generated. Press Ctrl-Shift-B to build it:
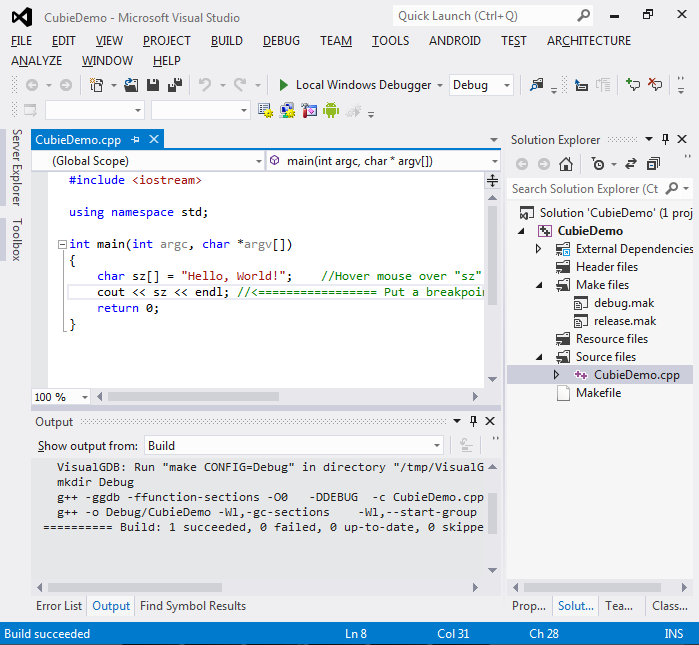
- Press F10 to step into your program. You can now use the normal Visual Studio debugging techniques to debug your program.
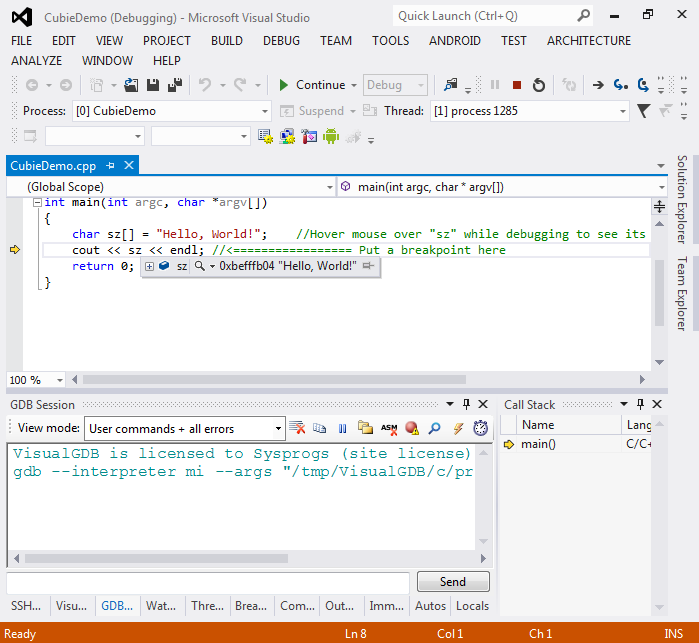


Once you get direct building/debugging to work, you can switch to using a cross-compiler for better performance.