Developing Firmware for the Teensy board with Visual Studio
This tutorial shows how to target the Teensy board with Visual Studio.
We will show how to install support for Teensy targets into the existing Arduino IDE installation and how to use VisualGDB to create and analyze advanced projects for the Teensy platform.
Although we will not use the Arduino IDE to create the projects, the Teensy platform installer requires it before it can unpack the Teensy specific files. Hence, ensure you have it installed before following this tutorial.
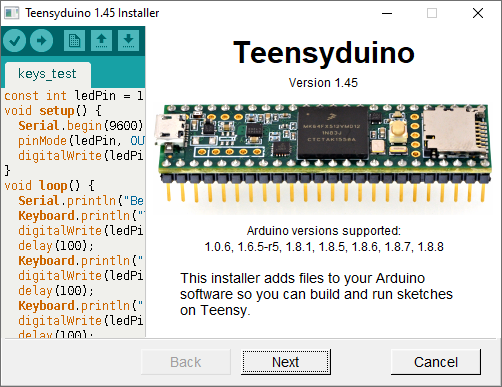
- Download and install the Teensy Package for Arduino. If it cannot find the Arduino directory, specify it manually in the installer:
- Start Visual Studio and open the VisualGDB Arduino Project Wizard:

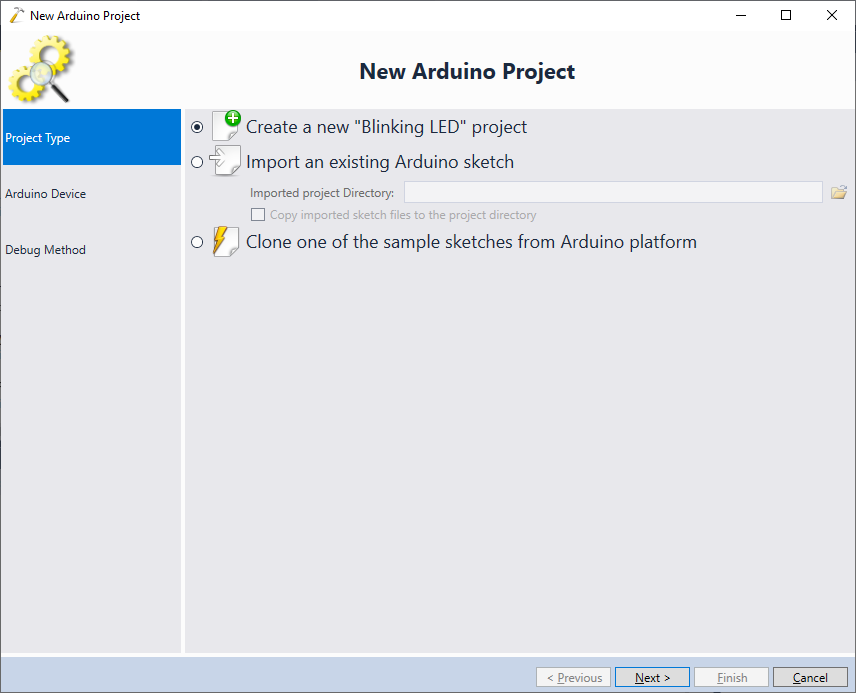
- Proceed with the default “Blinking LED” mode:
- On the next page select the Teensy board you are using. In this tutorial we will use the Teensy 3.6 board, hence we choose it in the target selector:
 If the Teensy boards to not appear in the VisualGDB wizard, click “Configure locations of Arduino tools and packages” and ensure the Arduino IDE directory is specified there. Do not select any COM port at this stage, as the Teensy boards use their own programming mechanism.
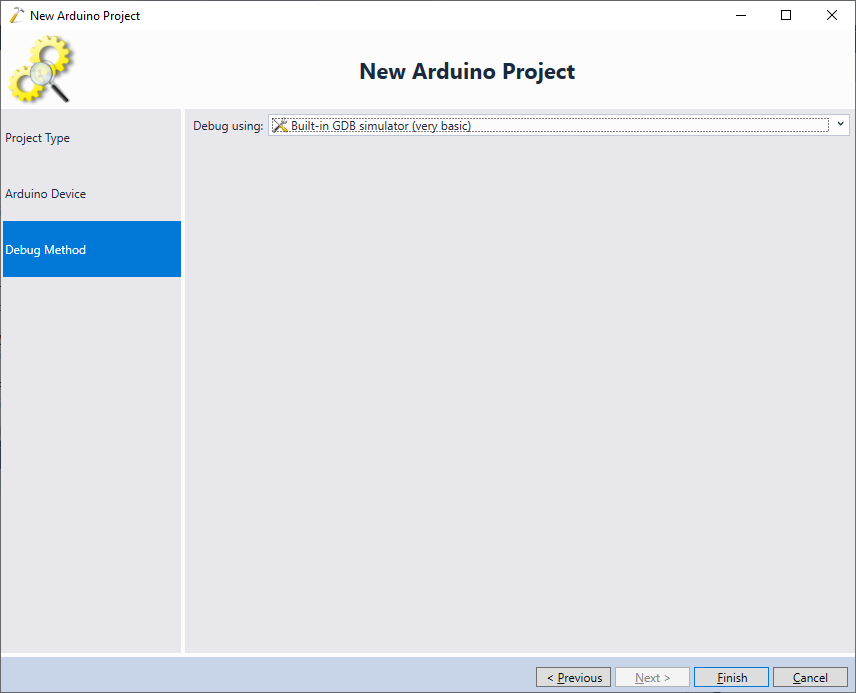
 - The Teensy board does not include a JTAG debugger, hence we will not be able to step through the code, although we can use IntelliSense and various code analysis functionality. Select “Debug Methods -> Built-in GDB simulator” on the Debug Methods page:
 Note that as of June 2019, the gdb simulator does not support enough instructions to do a meaningful simulation of the Teensy board.
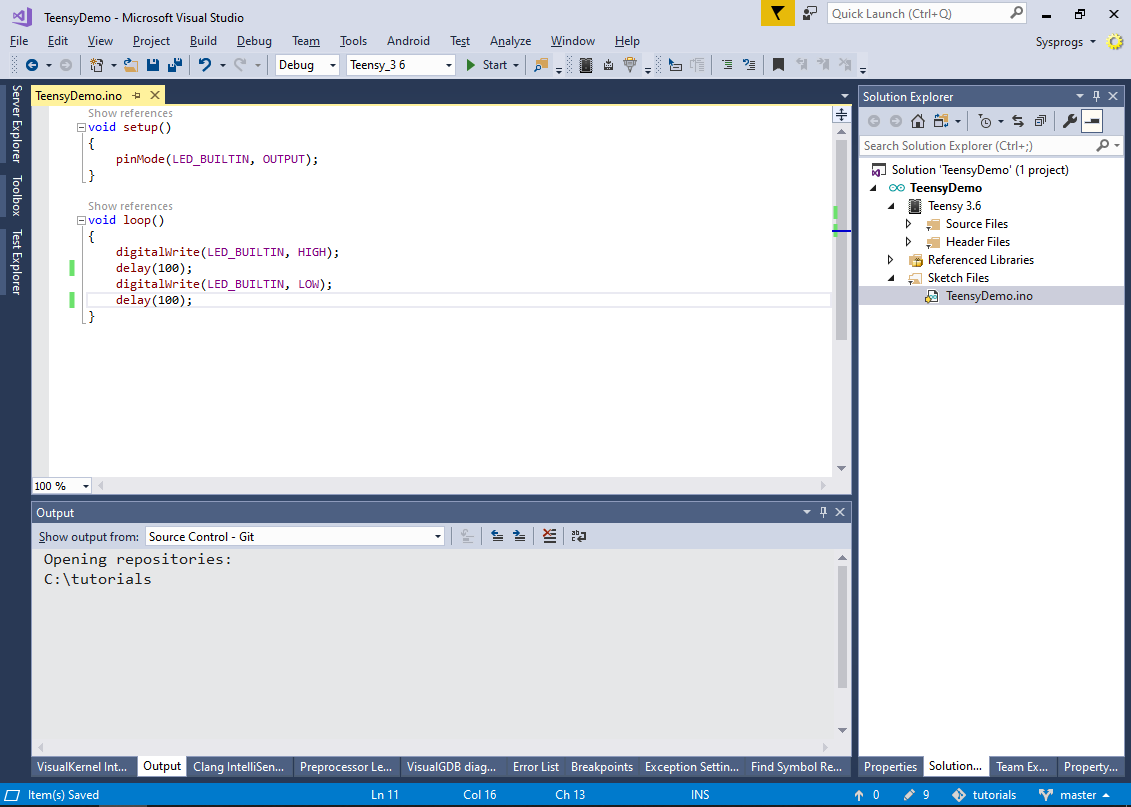
 - Press “Finish” to create the project. Once it is created and loaded, reduce the LED blinking delay to 100 milliseconds:
- Build the project by pressing Ctrl-Shift-B. The Arduino builder invoked by VisualGDB will automatically launch the Teensy programming tool:
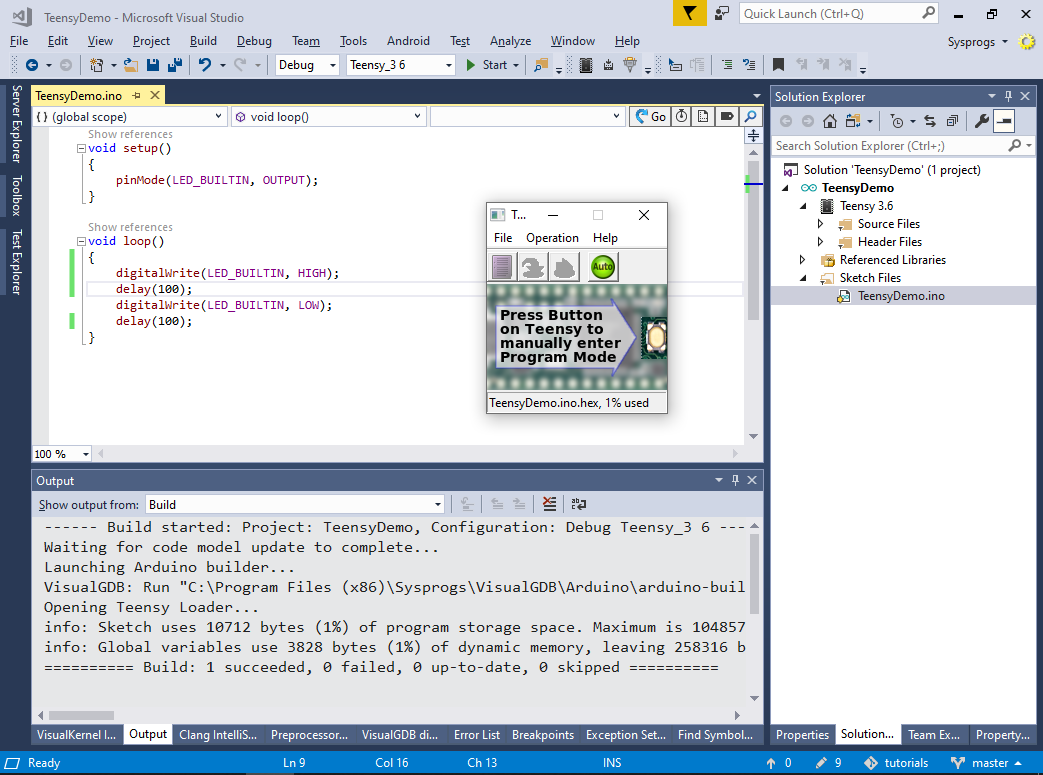 If the tool does not start automatically, you can launch it manually from <Arduino IDE directory>\hardware\tools\teensy.exe.
 - Ensure the board is connected and the “Auto” mode is enabled in the Teensy programming tool. Then press the programming button on the board (do not unplug the board from the USB before pressing it):

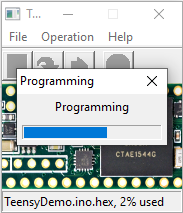
- The programming tool will automatically detect that the button was pressed and will start programming the board:
- Once the programming is complete, the on-board LED will begin blinking as expected:

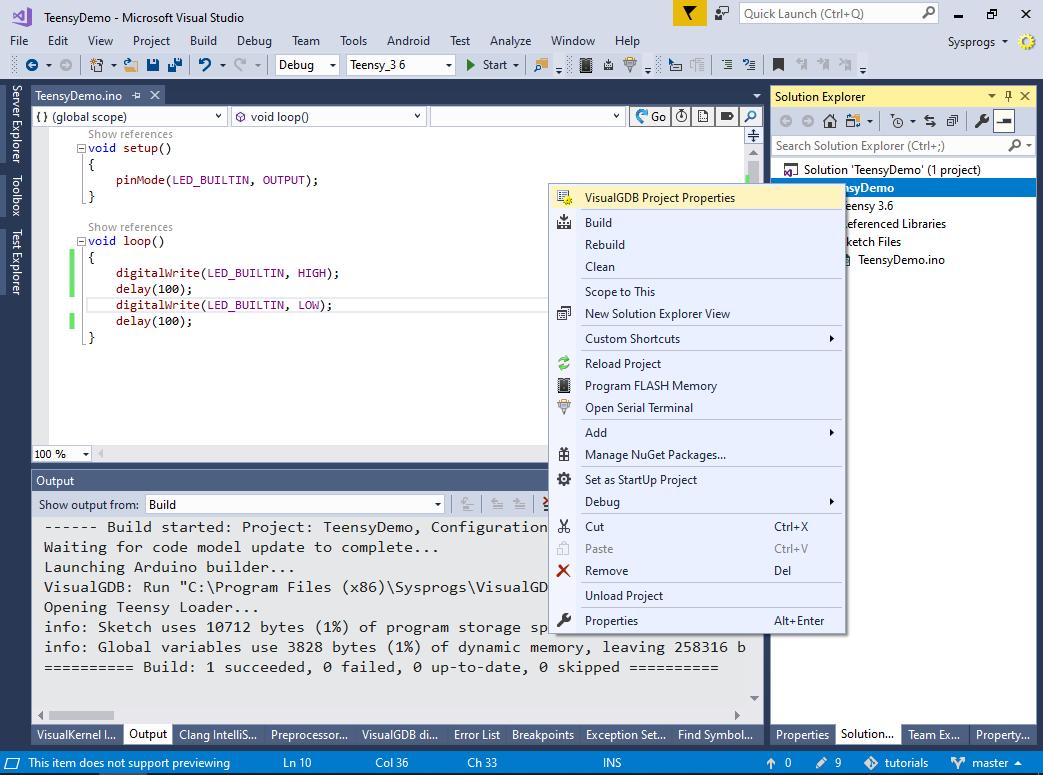
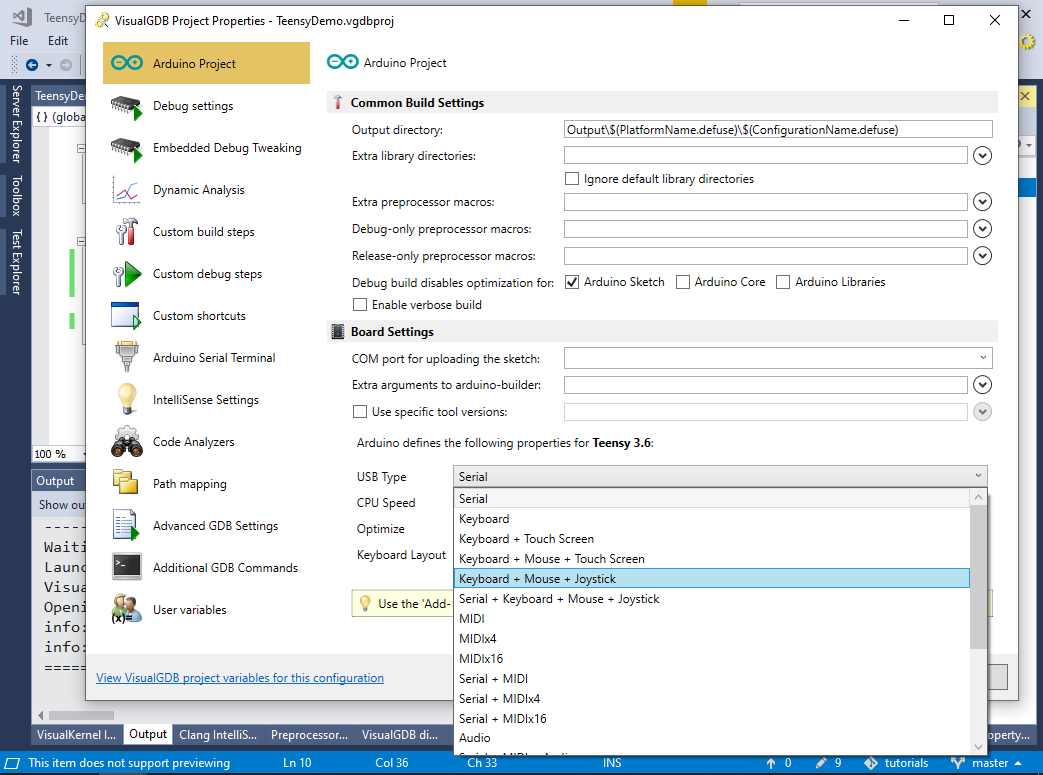
- The Teensy board is very useful for emulating various USB peripherals and includes ready-to-use code for many of them. We will now demonstrate how to use the board to emulate a USB mouse. Right-click in Solution Explorer and open VisualGDB Project Properties:
- Go to the Arduino Project page and switch USB Type to Keyboard + Mouse + Joystick:
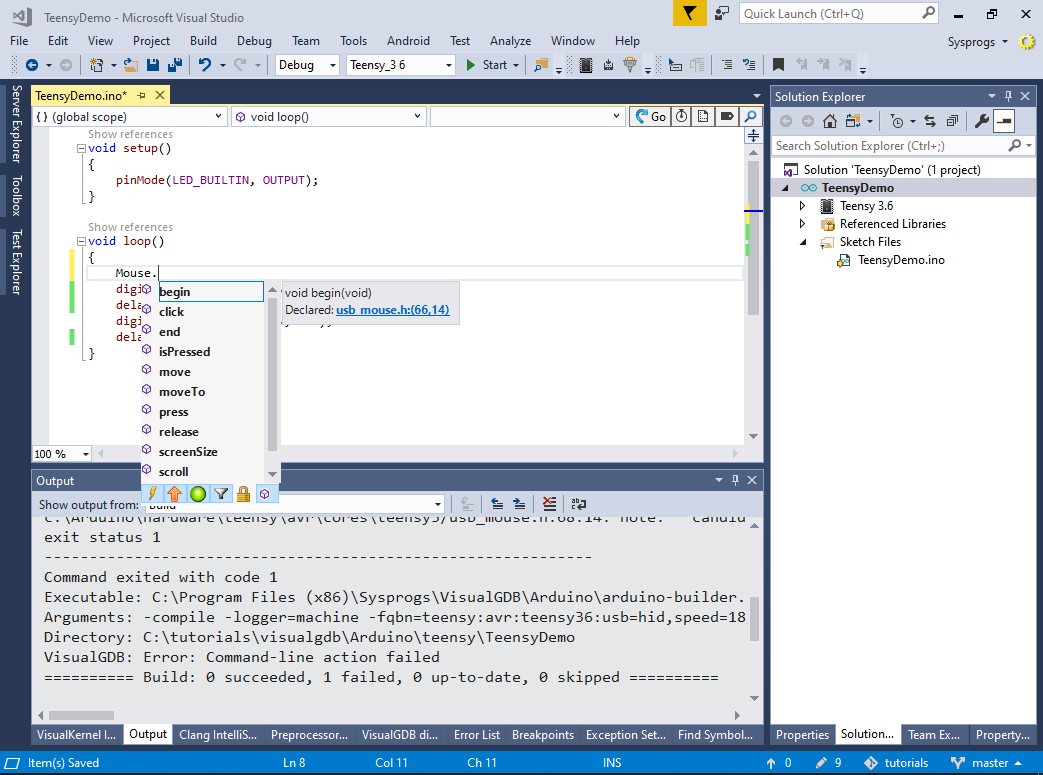
- Save the project and wait for VisualGDB to query the new code model from the Arduino tools. Once this is completed, VisualGDB’s IntelliSense will fully recognize all mouse-related APIs:
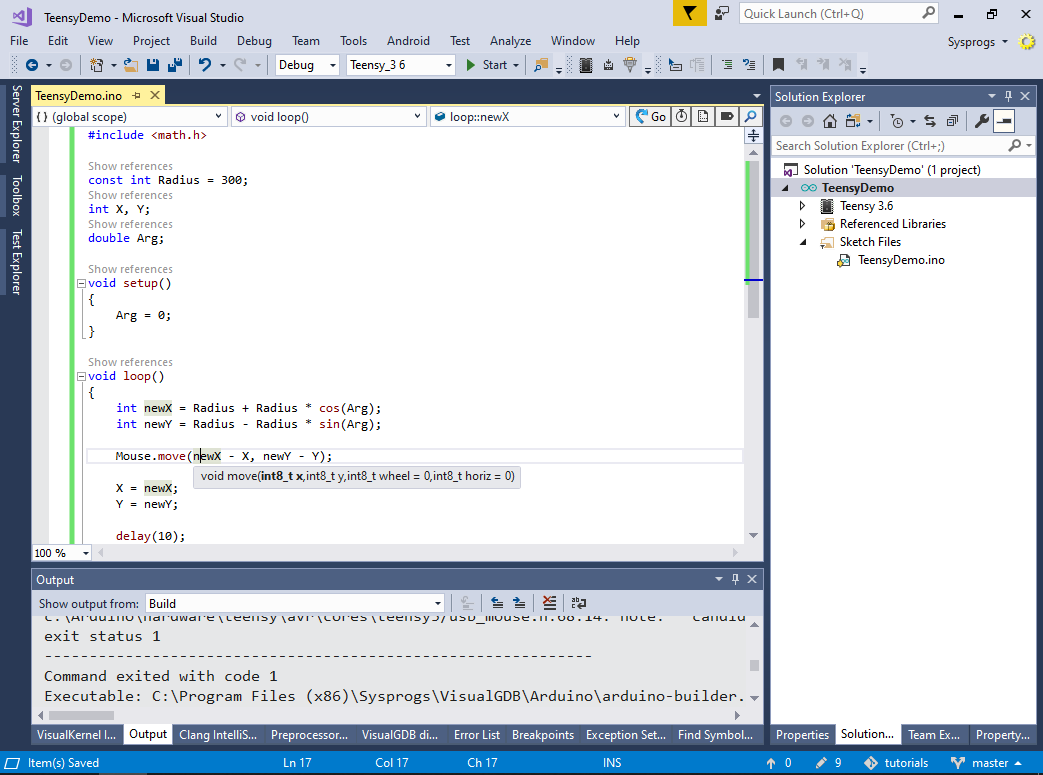
- As the Teensy Arduino core is using the regular ARM GCC compiler, you can use many normal C/C++ functions in your Arduino code. E.g., we will now use the sin() and cos() functions to move the mouse pointer in circles. Replace the contents of your main sketch file with the following code:
#include <math.h>

const int Radius = 300;
int X, Y;
double Arg;

void setup()
{
    Arg = 0;
}

void loop()
{
    int newX = Radius + Radius * cos(Arg);
    int newY = Radius - Radius * sin(Arg);

    Mouse.move(newX - X, newY - Y);

    X = newX;
    Y = newY;
    Arg += 0.01;

    delay(10);
}
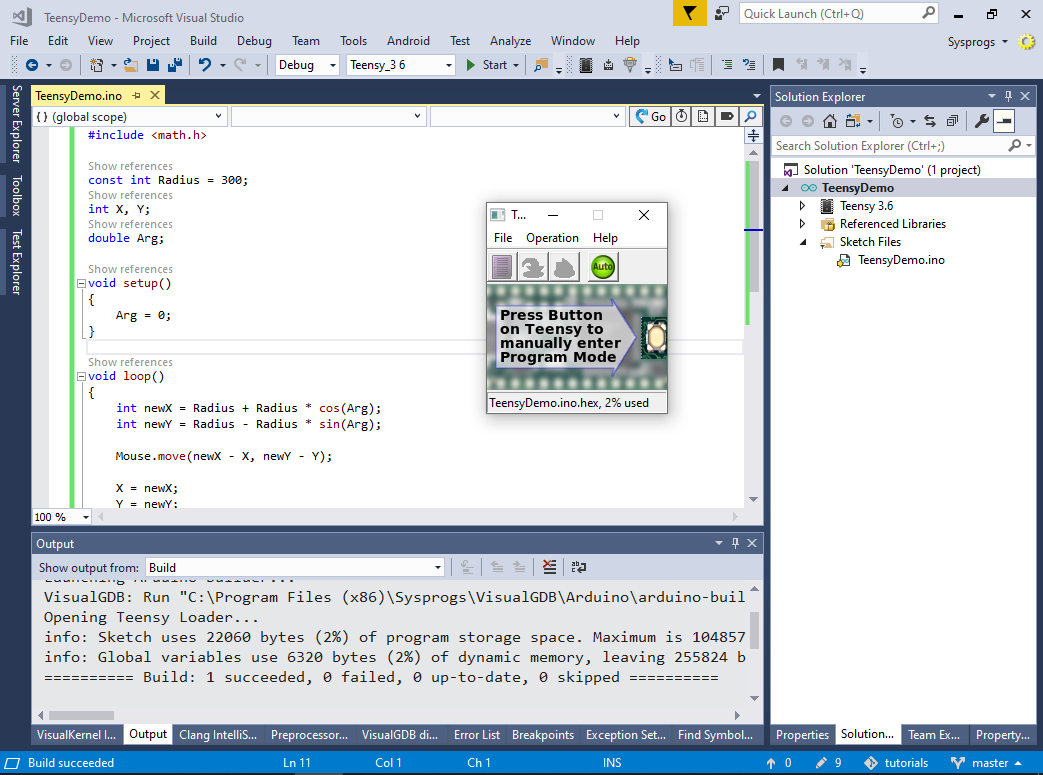
- Build the project and press the programming button on the board once the build is complete. The Teensy programming tool will automatically load the firmware into the board and the mouse pointer will begin making circles:
 To stop the mouse pointer from moving, close the programming tool and press the program button on the board. The board will stop running the mouse emulator and will wait for the Arduino tools to launch the programming tool again.
 - VisualGDB automatically indexes both your code and the Teensy core. Hence you can use the Go-to-Definition, Find References, CodeJumps and other functionality to conveniently navigate the code and understand the relations between various components:

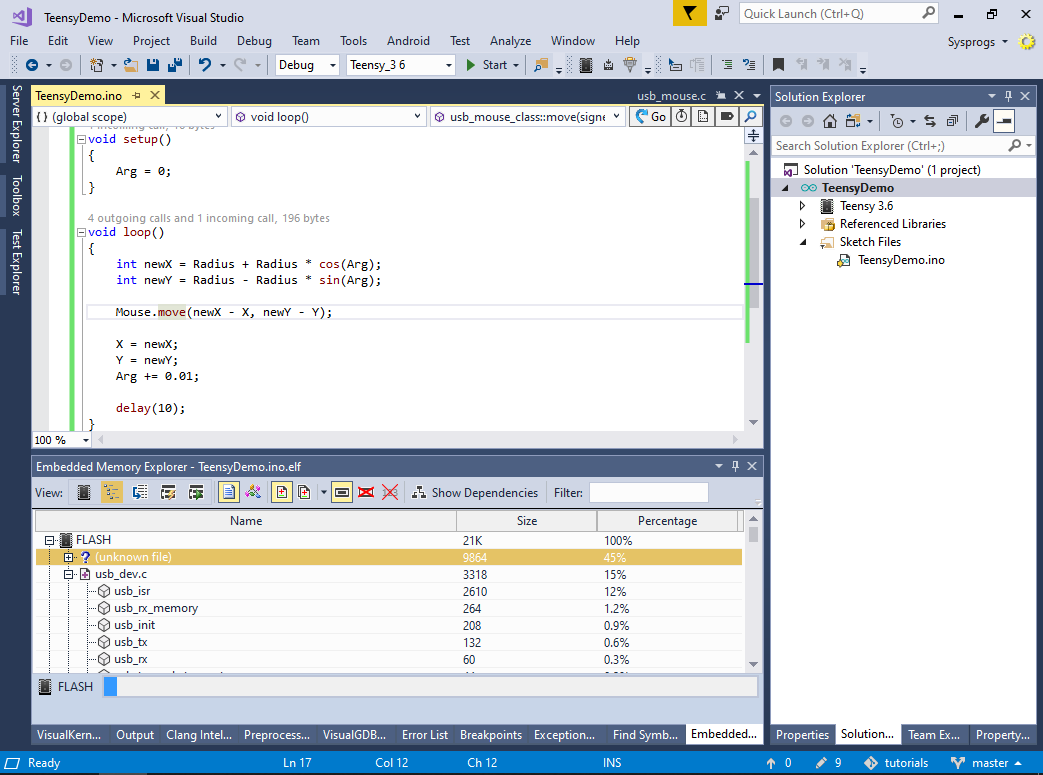
- If you are concerned about the memory footprint of your program, use the View->Embedded Memory Explorer window to see how much each file or function contributes to the memory use and to compare different versions of the code. E.g. in this example, almost half of the FLASH memory is used by the gcc’s math functions and a large portion of the remaining part is occupied by the USB driver: