Creating Unit Tests for IAR-based Projects
This tutorial shows how to create, manage and debug unit tests for projects built with the IAR compiler for ARM with Visual Studio and VisualGDB. We will create a basic project containing multiple tests and will show how to run them individually and observe the results via the Visual Studio test GUI.
Before you begin, install VisualGDB 5.5 Preview 3 or later.
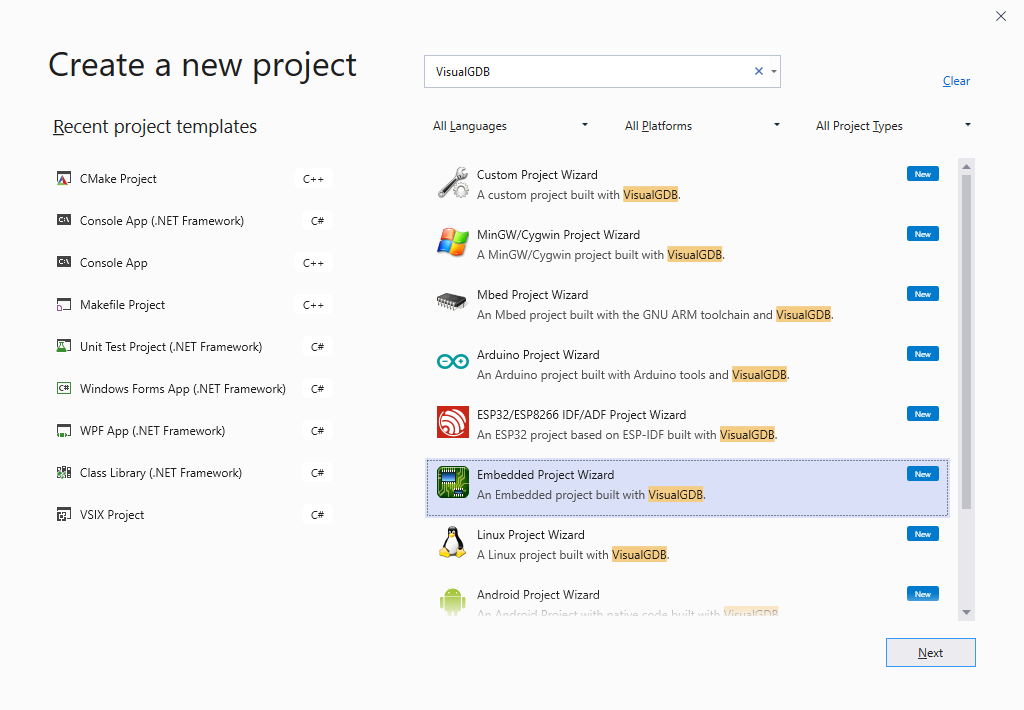
- Start Visual Studio and open the VisualGDB Embedded Project Wizard:
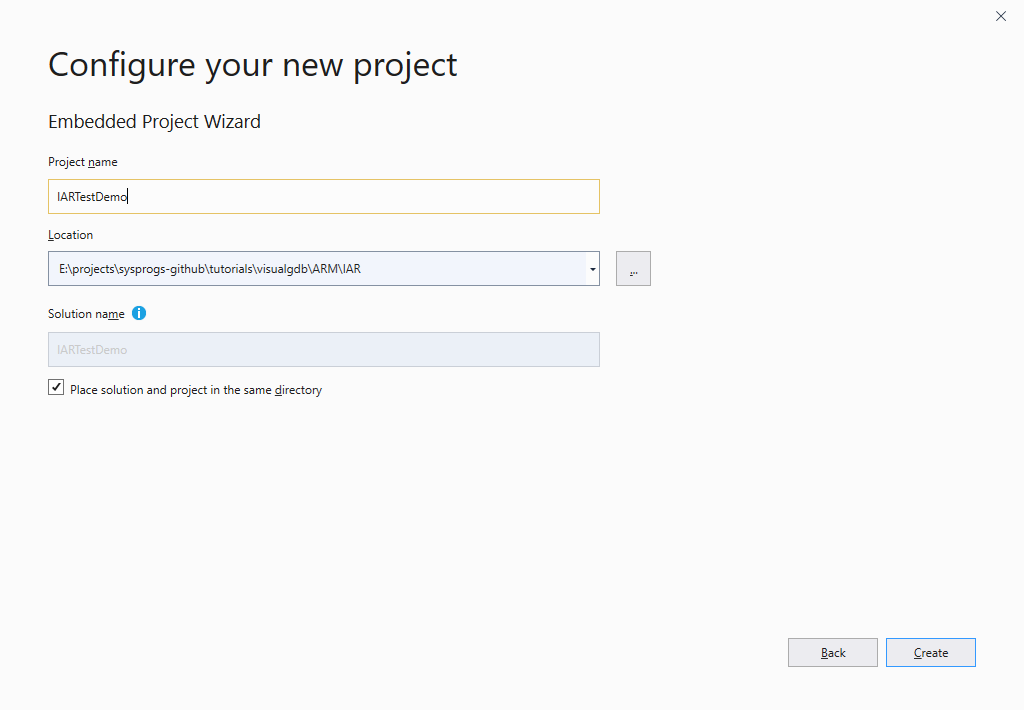
- Specify the name and location for the project, then press “Create” to launch the VisualGDB’s portion of the wizard:
- Unlike GCC-based test projects that can be created directly based on templates shipped with VisualGDB, IAR-based projects are created empty. Hence, instead of creating a unit test project, we will create a regular project by selecting “Create a New Project -> Embedded Binary -> MSBuild”:
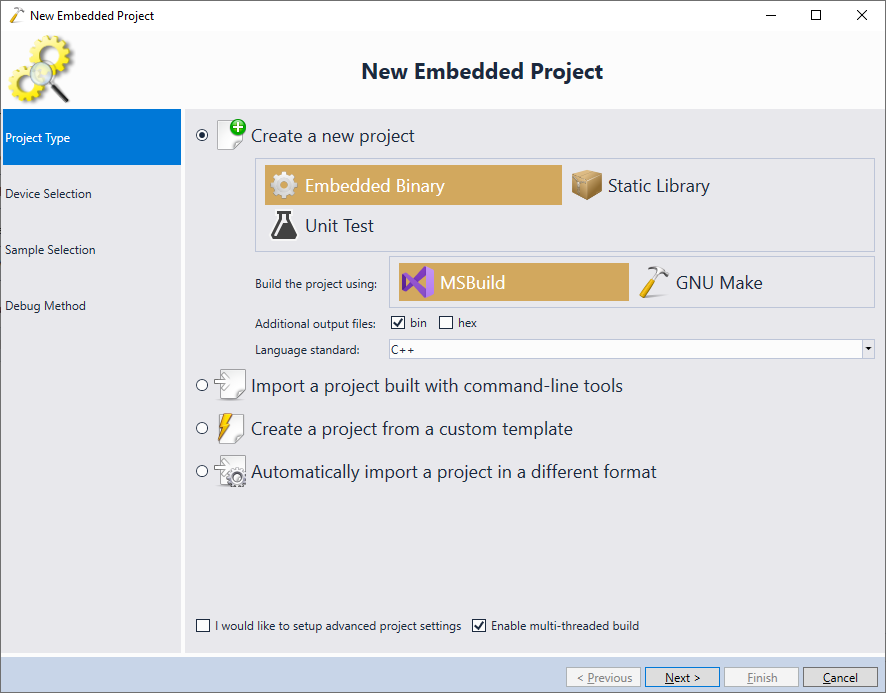 We will add the unit test support to this project after we complete the wizard.
 - On the next page select the IAR toolchain and pick your device from the list:

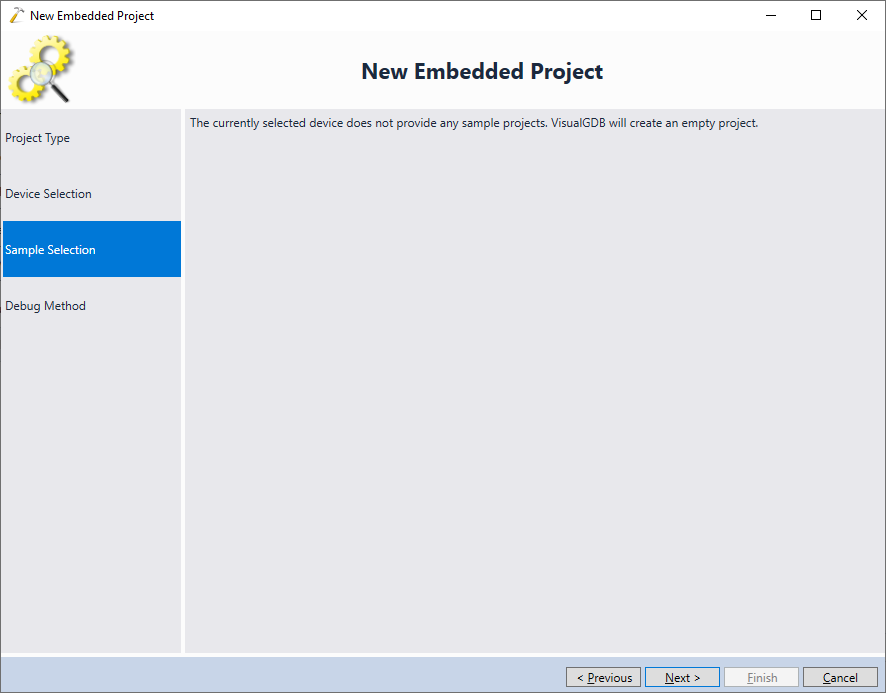
- Press “Next” on the Sample Selection page to skip over it:
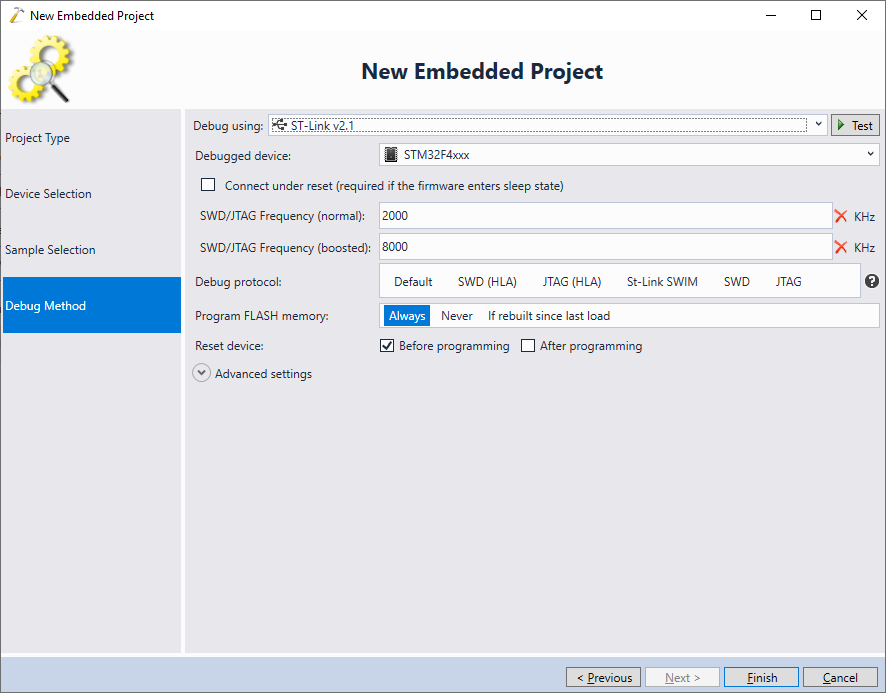
- On the Debug Method page specify the settings that work with your setup and press “Finish” to complete the wizard:
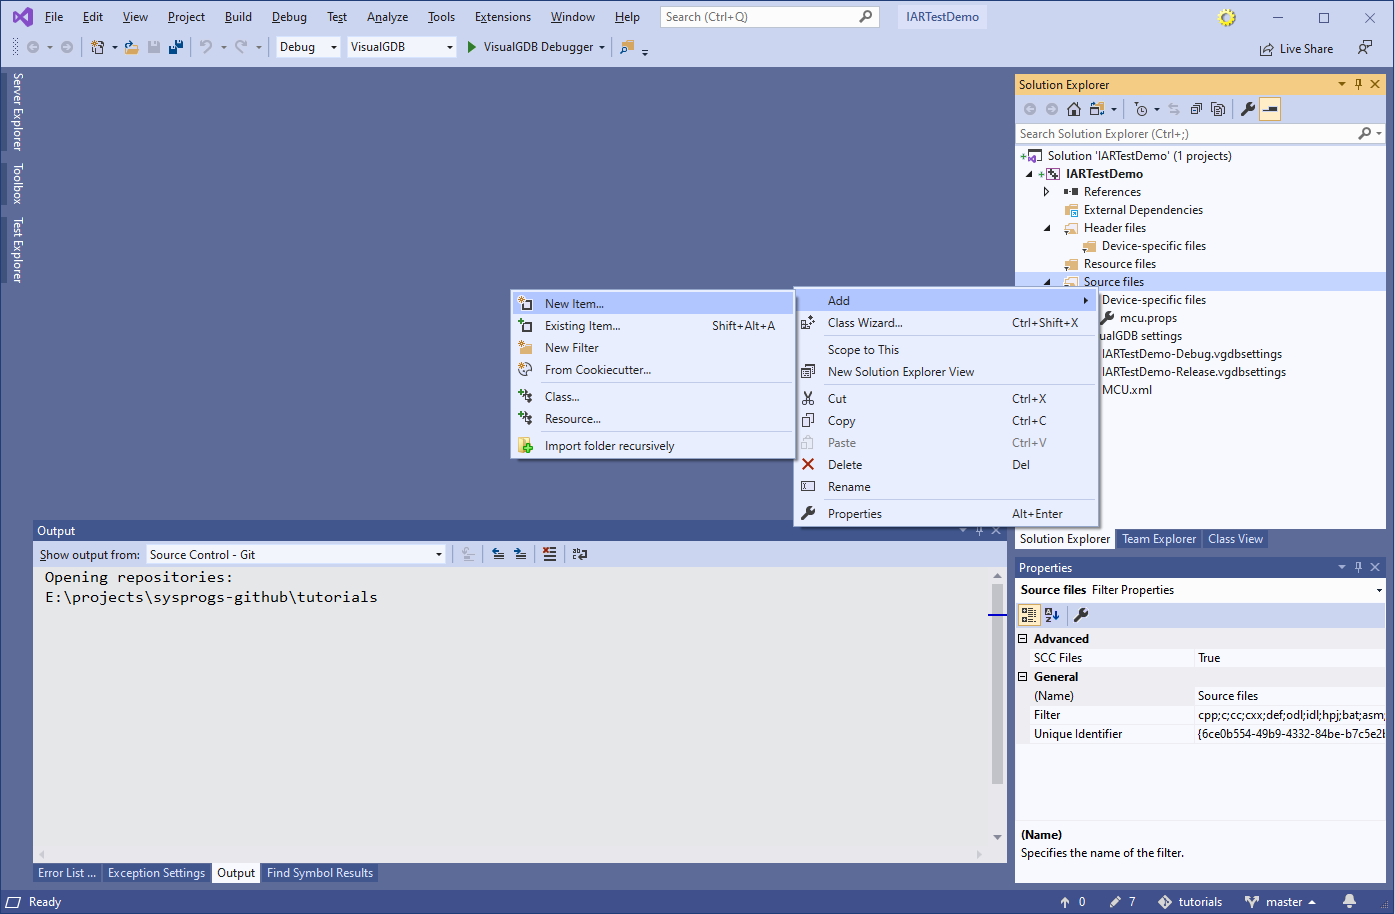
- VisualGDB will create an empty project based on the IAR compiler. Add an empty C++ source file to the project and copy this sample code into it:
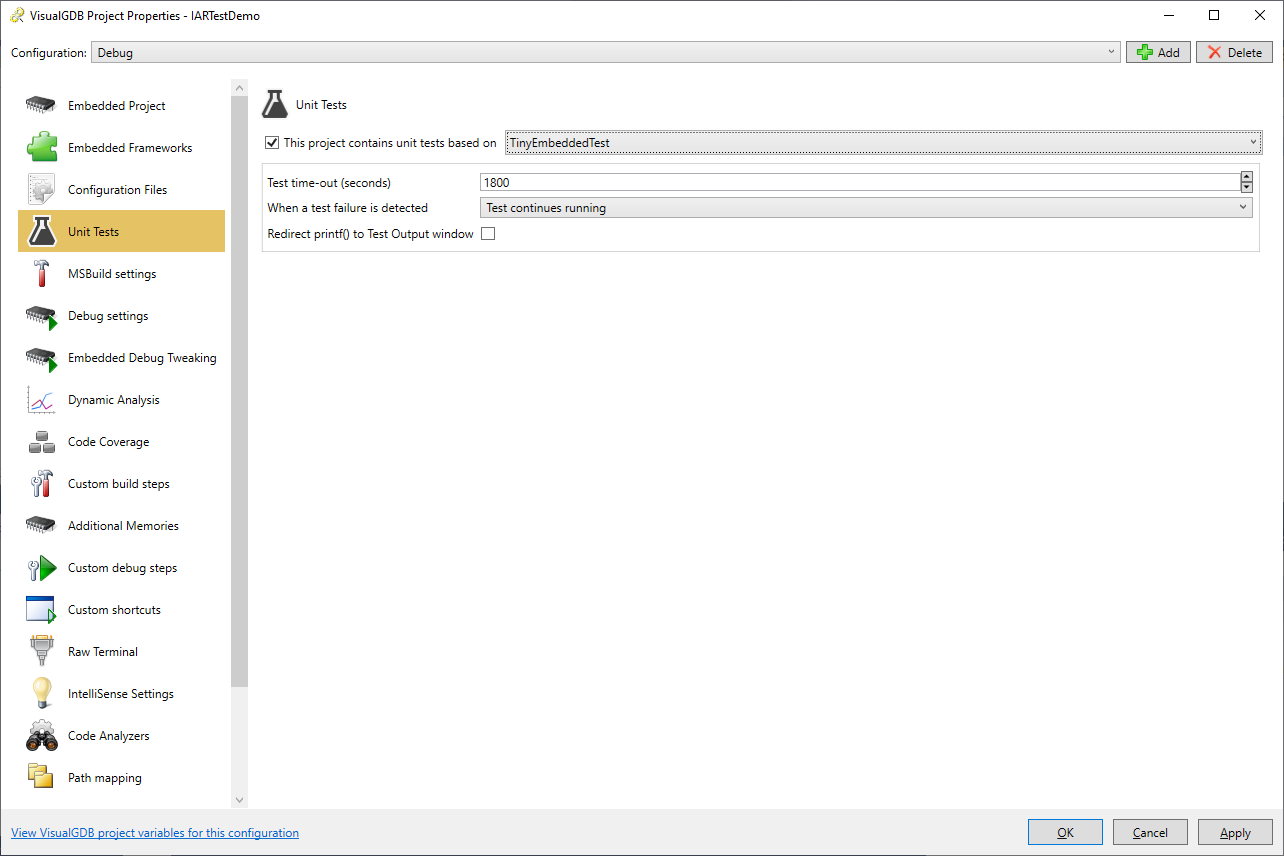
- The sample code used in the previous step is based on the TinyEmbeddedTest framework – a very lightweight unit test framework for embedded devices. In order to include it in the project, open VisualGDB Project Properties on the Unit Tests page and select TinyEmbeddedTest from the list:
 VisualGDB also supports the CppUTest and GoogleTest frameworks, however they have never been tested with IAR and may require porting before you can use them.
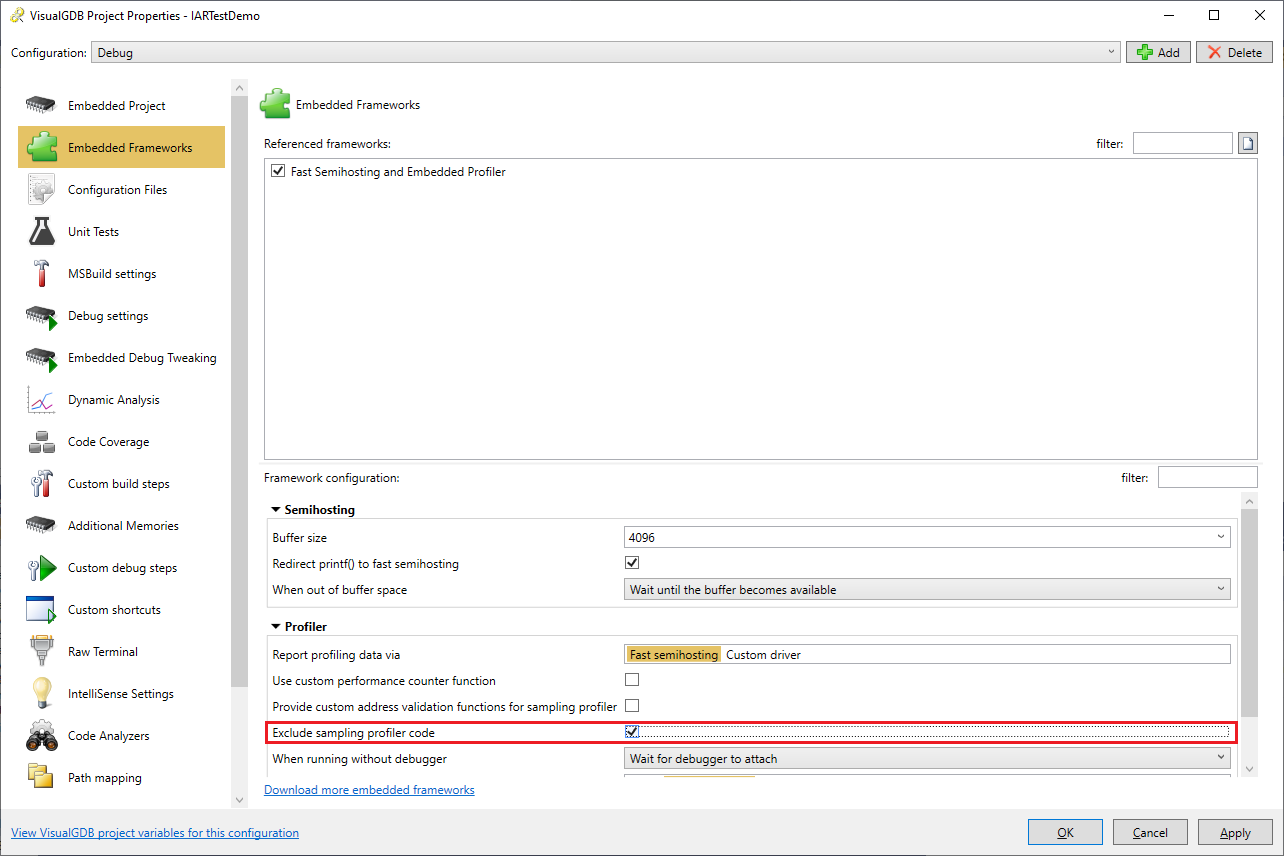
 - Go to the Embedded Frameworks page of VisualGDB Project Properties and reference the Fast Semihosting and Embedded Profiler framework. Make sure you check the “Exclude Sampling Profiler Code” checkbox:
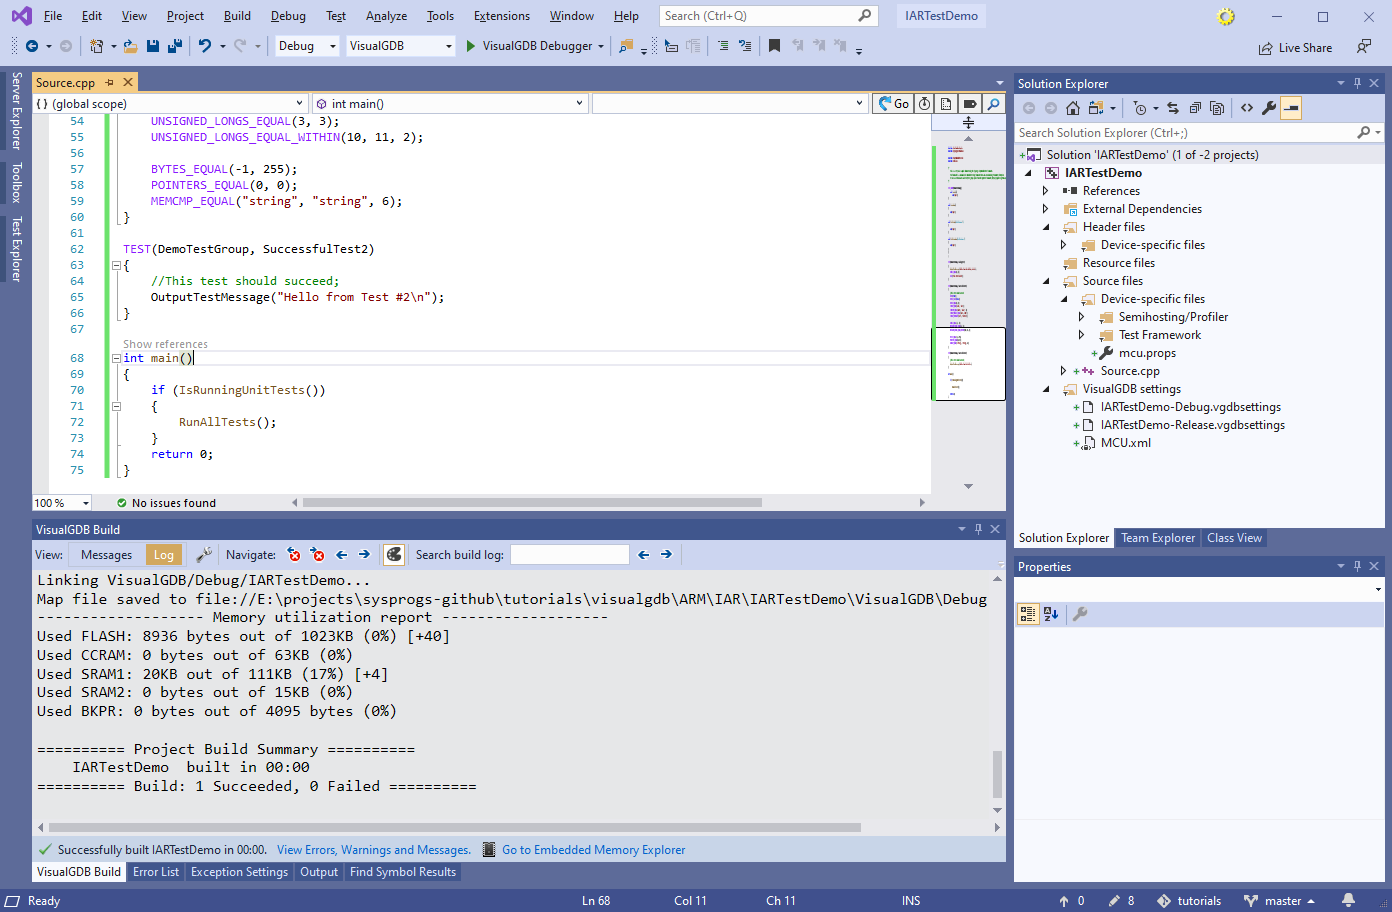
- Now you can build the project by pressing Ctrl-Shift-B:
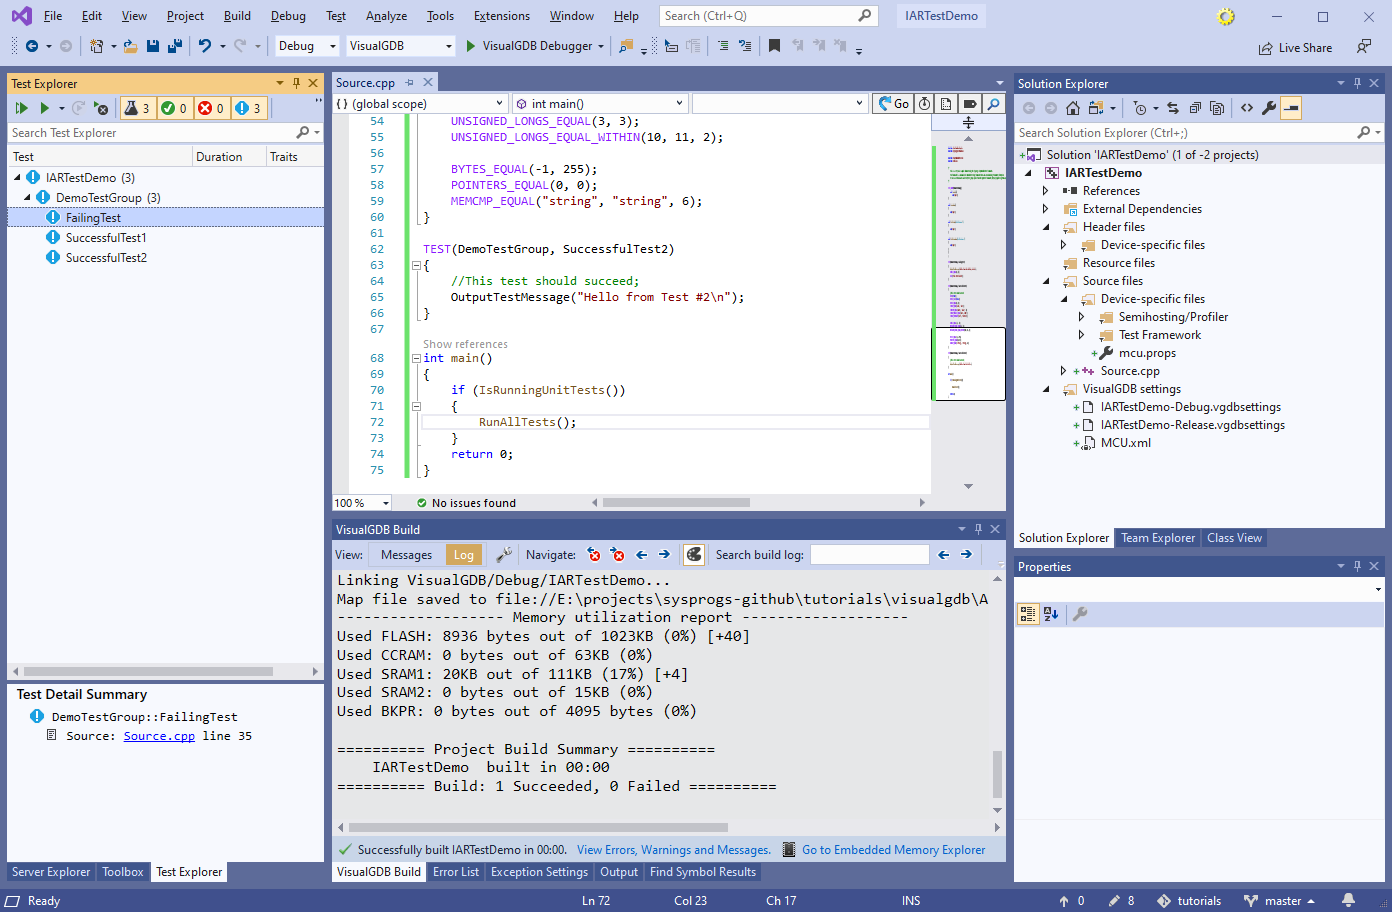
- Once the project is built, open the Test Explorer window in Visual Studio. It will show all test methods defined in the project:
- You can run either all tests using the Test->Run -> All Tests command, or select individual tests in the Test Explorer, right-click on them and click “Run”. VisualGDB will automatically program the test firmware into the FLASH memory, will run the tests and display the results in the Test Explorer window:
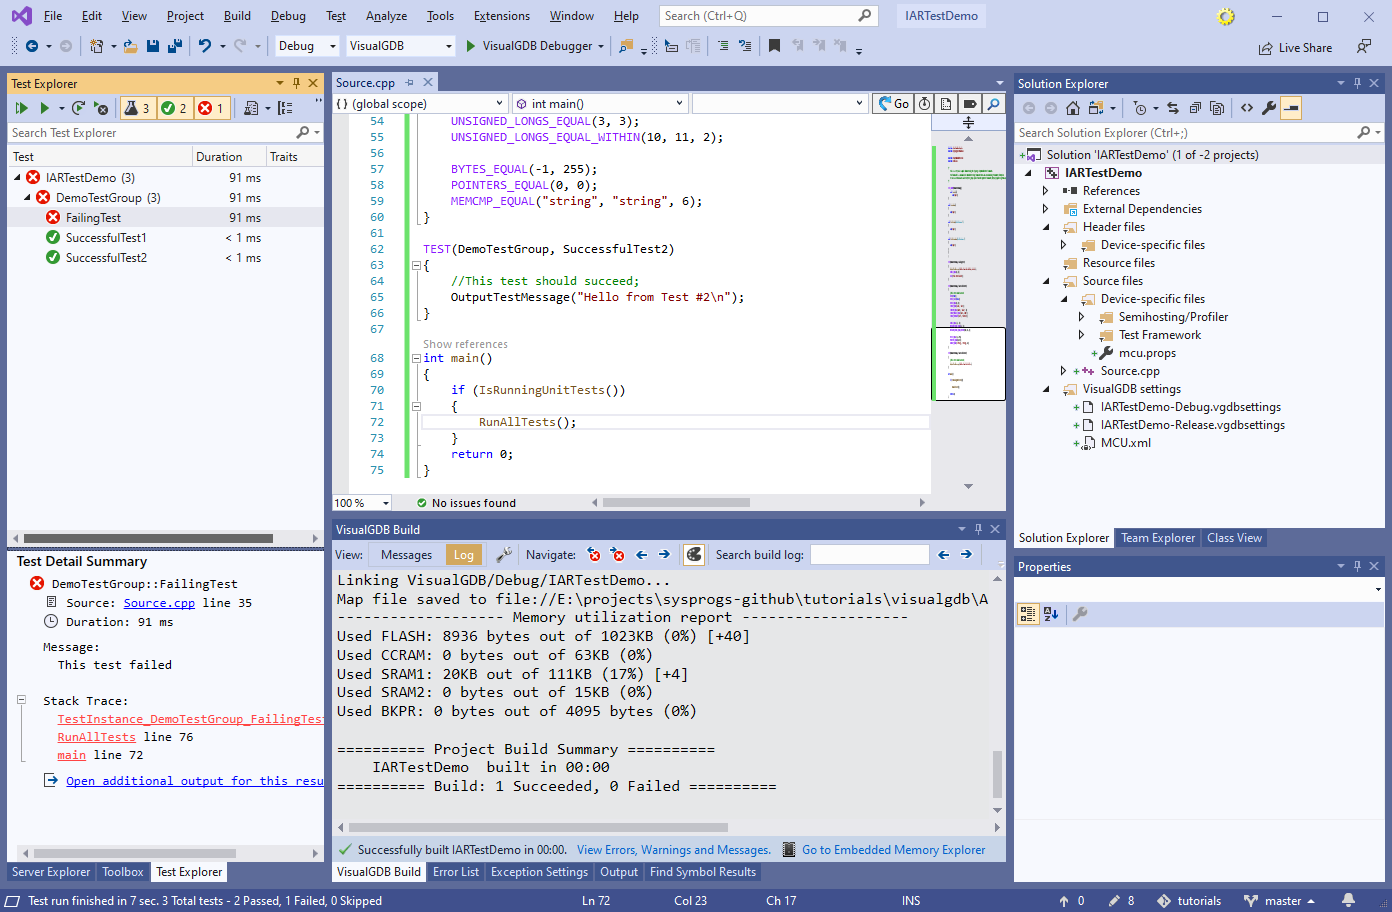 Note that VisualGDB uses fast semihosting (reading of the target’s memory while the target is running) in order to report the test results to Visual Studio. This works very fast compared to using a COM port and does not require any additional hardware other than a JTAG/SWD debugger.
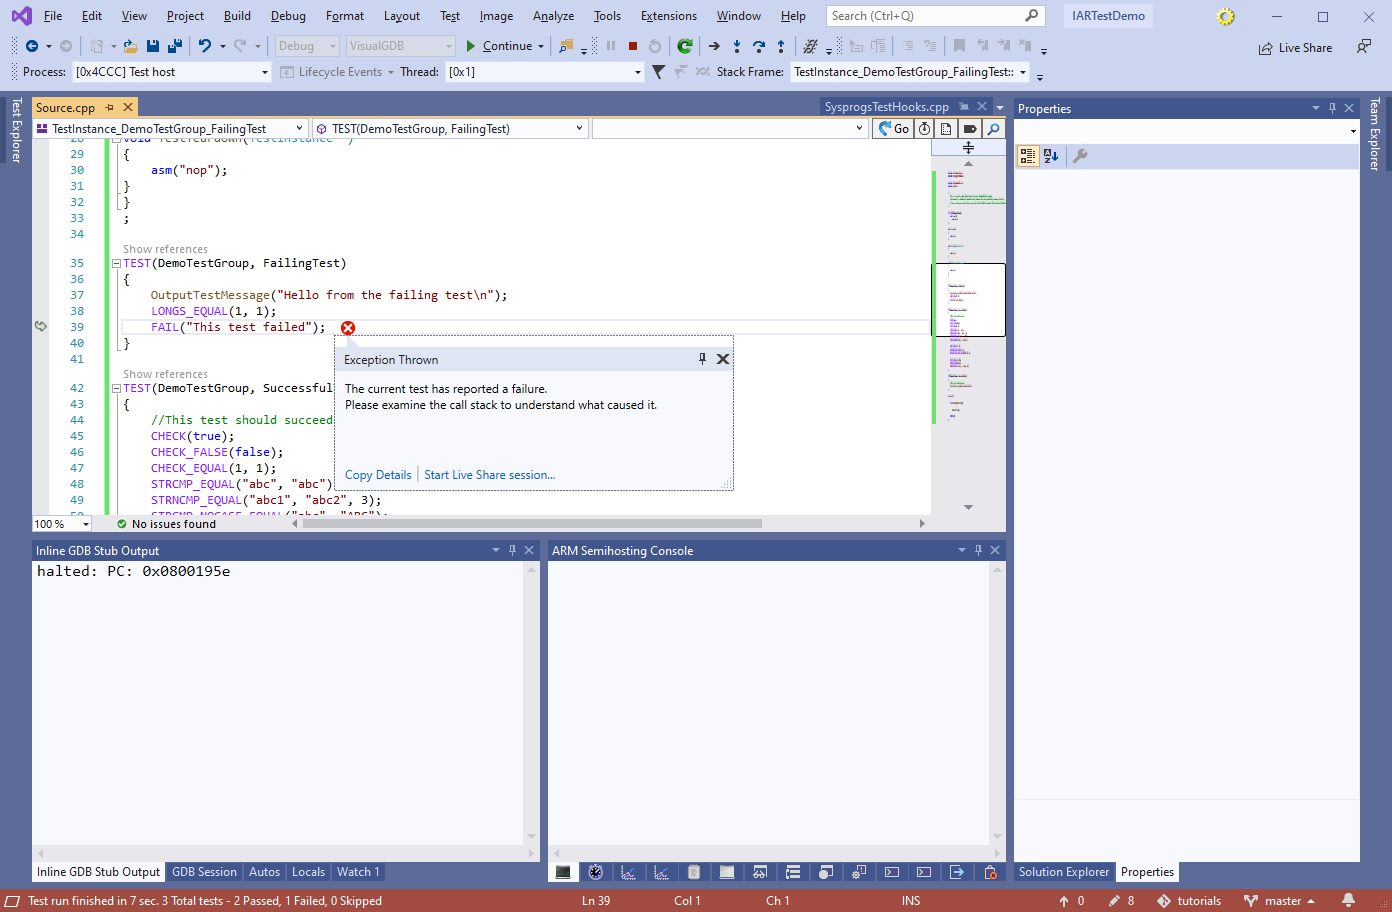
 - You can debug all tests, or individual tests by selecting “Debug” instead of “Run” in the test GUI. VisualGDB will automatically stop the debugger once any of the tests reports a failure:
- Note that the code in the main() function calls IsRunningUnitTests() to distinguish between the regular debug sessions and unit test runs. This allows embedding unit tests directly into your binary. Unless you specifically choose to run one or more tests via the Visual Studio GUI, IsRunningUnitTests() will return false and your program can run its regular logic:
int main()
{
	if (IsRunningUnitTests())
	{
		RunAllTests();
	}
	return 0;
}
- In order to run the tests from command line, locate the .vgdbtestcontainer file inside the VisualGDB subdirectory. It is an XML file containing sufficient information to run tests outside of Visual Studio. You can launch a test session using the following command line:
%VISUALGDB_DIR%\VisualGDB /runtests <file>.vgdbtestcontainer /vsoutput:results.trx
The results.trx file produced by VisualGDB will be compatible with NUnit, so you can integrate them into your continuous integration workflow:

You can find the source code for the project shown in this tutorial in our GitHub repository.