Importing Embedded Projects Built with External Tools
This tutorial shows how to import an embedded project build with a third-party command-line to VisualGDB. This approach has the advantage of fully reusing the build system used to build the project, however is requires manually synchronizing the list of include directories and preprocessor macros between the build and IntelliSense, as VisualGDB won’t be able to automatically detect those settings for the build systems that are out of its control.
In this example we will show how to import the USB Mouse example from the Kinetis KSDK 1.3 that is built with CMake. Before you begin, install VisualGDB 5.0 or later and download/unpack Kinetis KSDK.
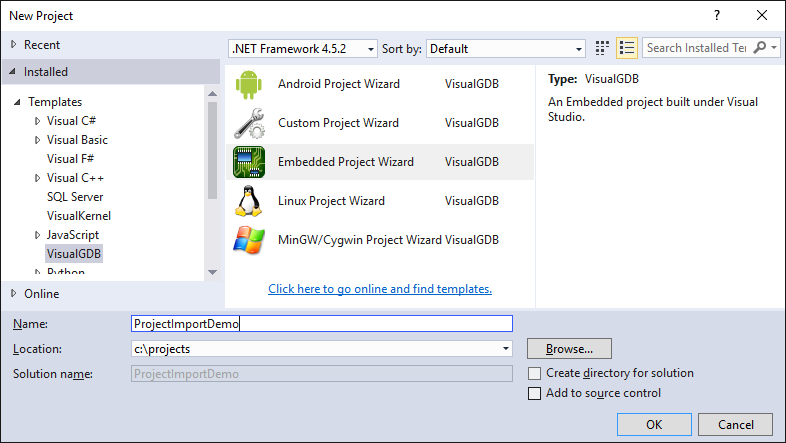
- Start Visual Studio and launch the VisualGDB Embedded Project Wizard:
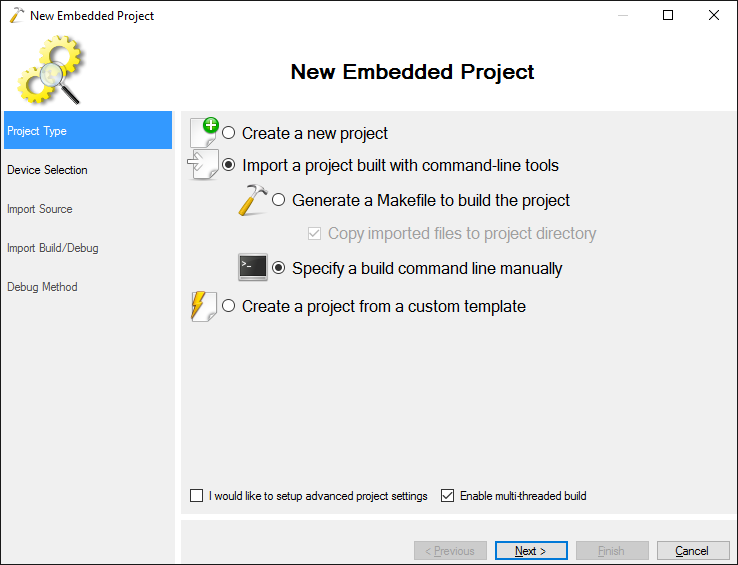
- Select “Import a project built with command-line tools -> Specify a build command line manually”:
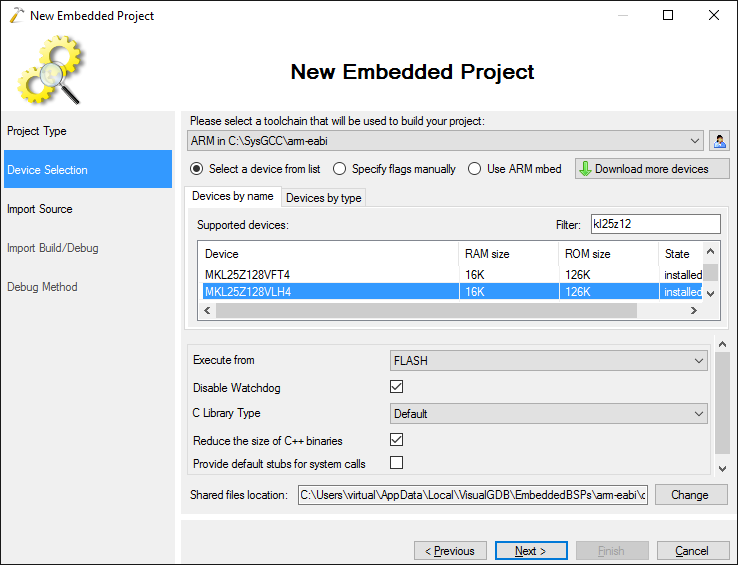
- On the next page select the ARM toolchain and pick device that the project is targeting. In this example we will select MKL25Z128VLH4:
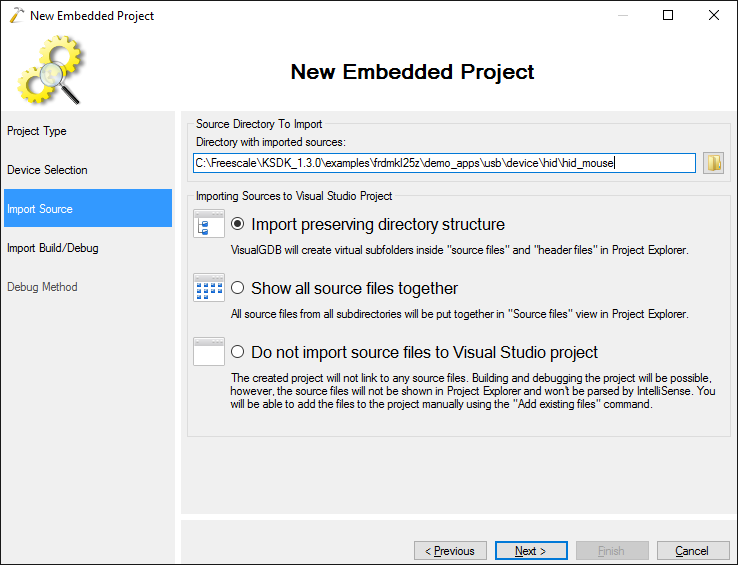
- On the “Import Source” page specify the location of the source files of the project. Note that it will only affect the contents of Solution Explorer. Even if the project uses files from other directories, they will still participate in build (as VisualGDB will be reusing your build system) an the debugger will be able to open them (as the ELF file records all the built source files):
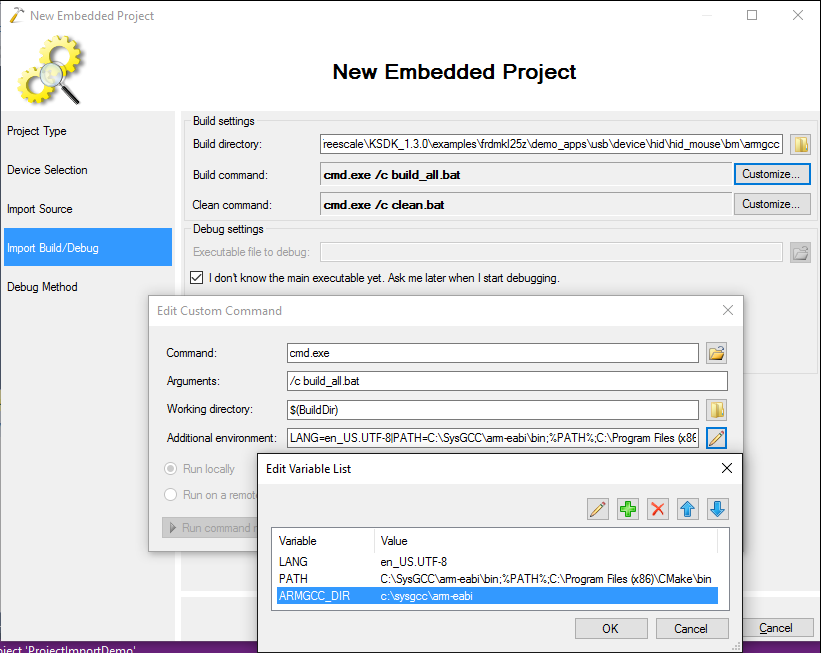
- On the next page specify the command line used to build the project. For the Kinetis USB mouse example specify “cmd /c build_all.bat” as the build command, run it in the “bm\armgcc” subdirectory (containing the baremetal build files for GCC), add the CMake directory to PATH and create an environment variable called ARMGCC_DIR pointing to the ARM toolchain:
- Finally select the debug method that works with your project for FRDM-KL25Z we will use Segger J-Link as the on-board OpenSDA programmer can run the Segger firmware:
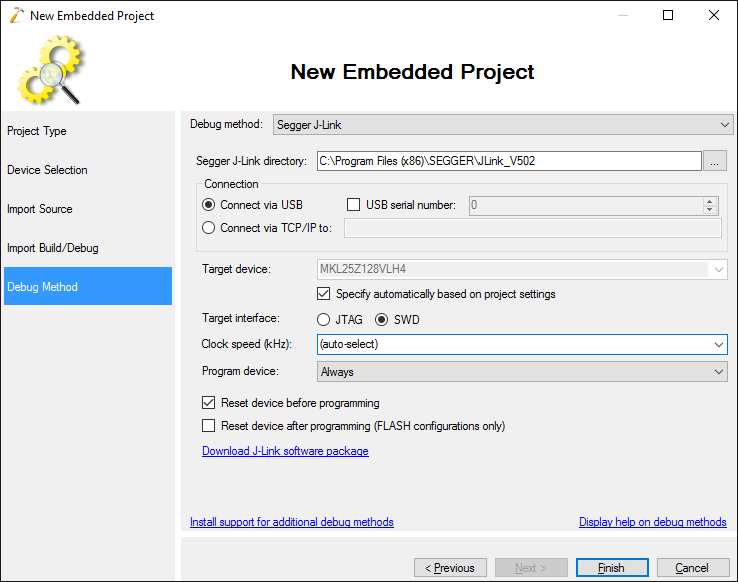
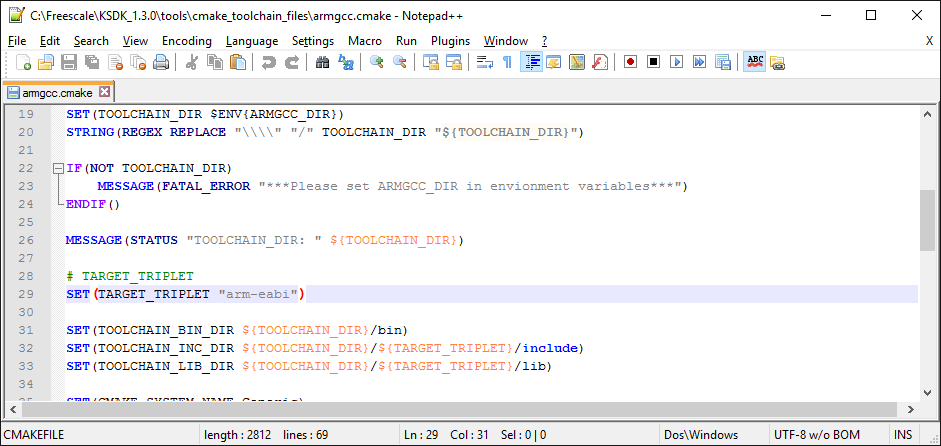
- Press “Finish” to generate the project. Before you can build it, however, you would need to make some adjustments to the KSDK. First of all replace “arm-none-eabi” in the <KSDK>\tools\cmake_toolchain_files\armgcc.cmake file with “arm-eabi”:
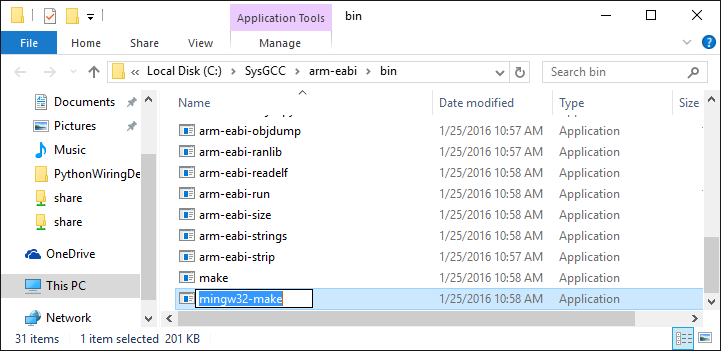
- Then copy the make.exe in the Sysprogs ARM toolchain directory to mingw32-make.exe:
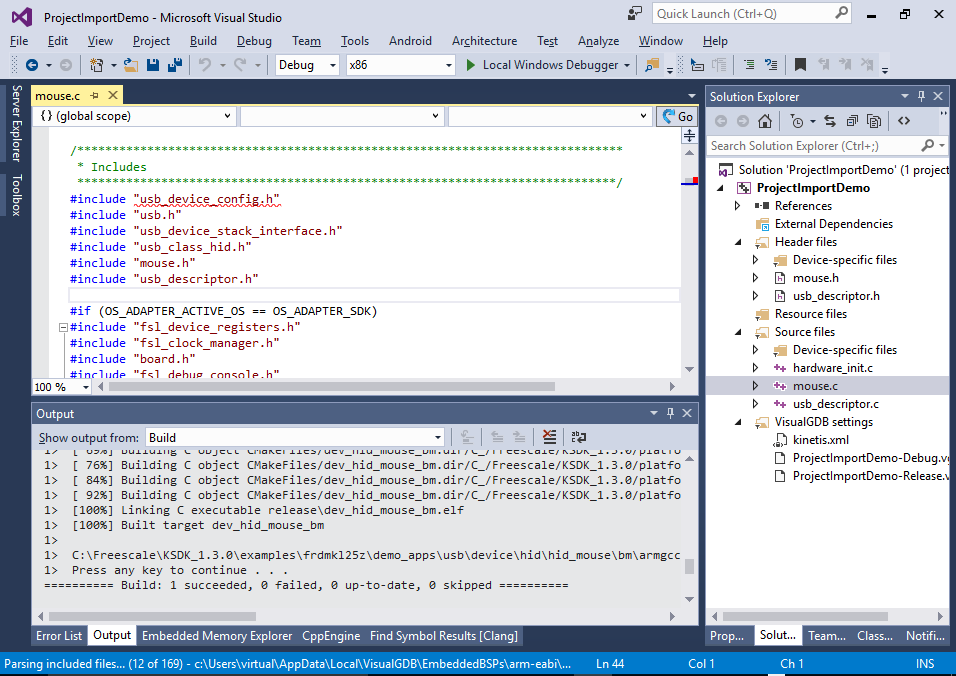
- Now you can build the project by pressing Ctrl-Shift-B:
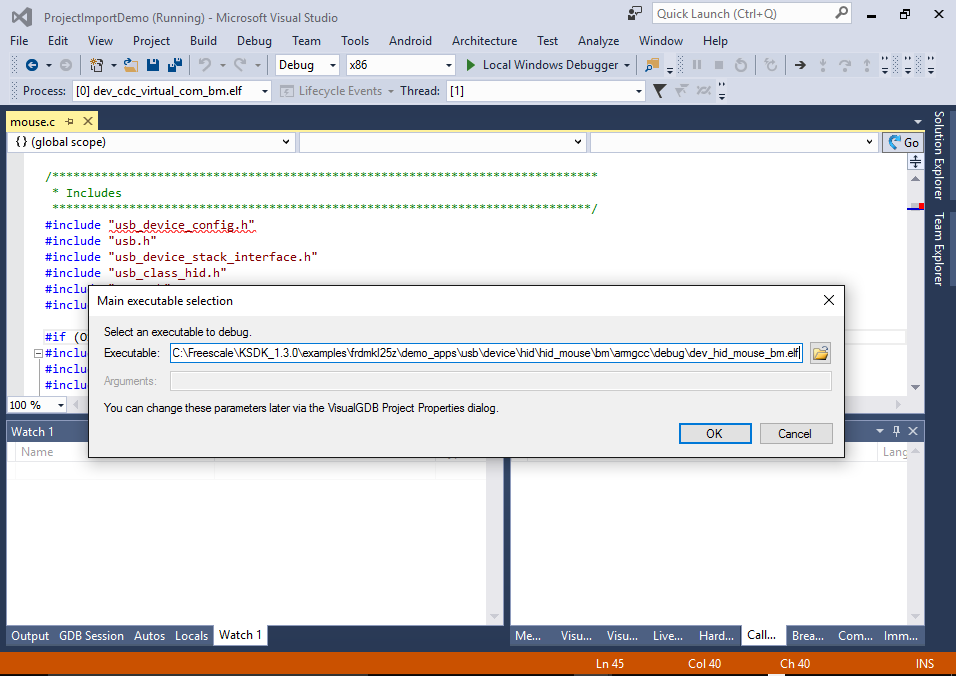
- Press F5 to start debugging. When VisualGDB asks for the location of the ELF file, point it to the ELF file built by the KSDK build system:
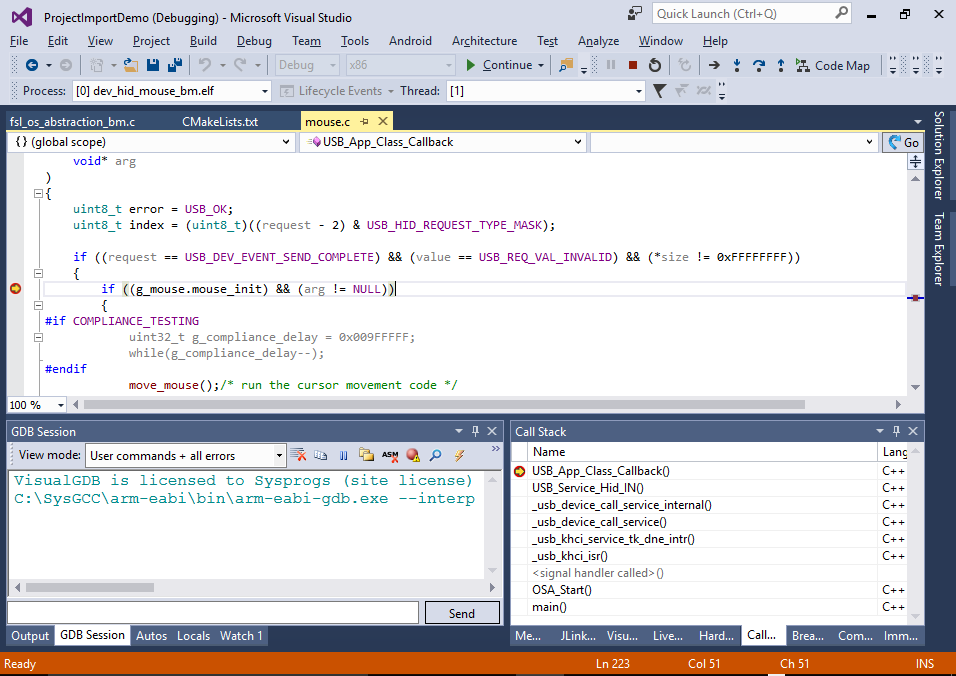
- Once the project is programmed and started, connect the second USB connector of the board. Once Windows recognizes the virtual mouse emulated by the example, the mouse pointer will begin to move. You can set a breakpoint somewhere in the mouse.c file if you want to step through its code:
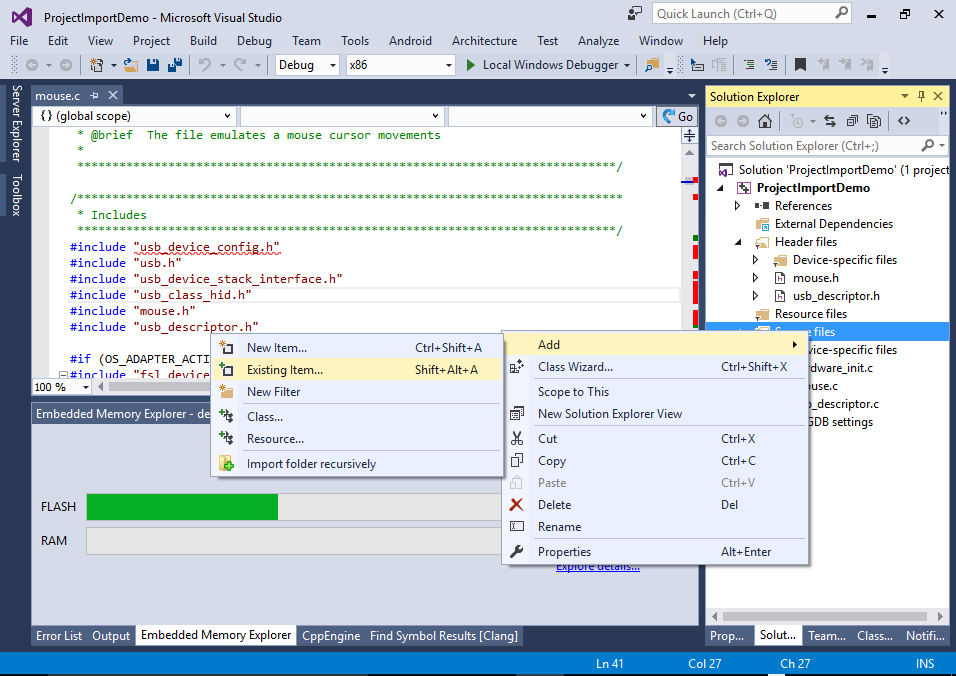
- Note that although the build and debug has succeeded, the IntelliSense will not be able to find the include files. This happens because VisualGDB can only auto-detect include directories for projects that are using VisualGDB makefile layout. For imported projects like this one you will need to specify them manually. Before you can do that, add the CMakeLists.txt file to the project via Add->Existing item:
- Locate the INCLUDE_DIRECTORIES() statements:
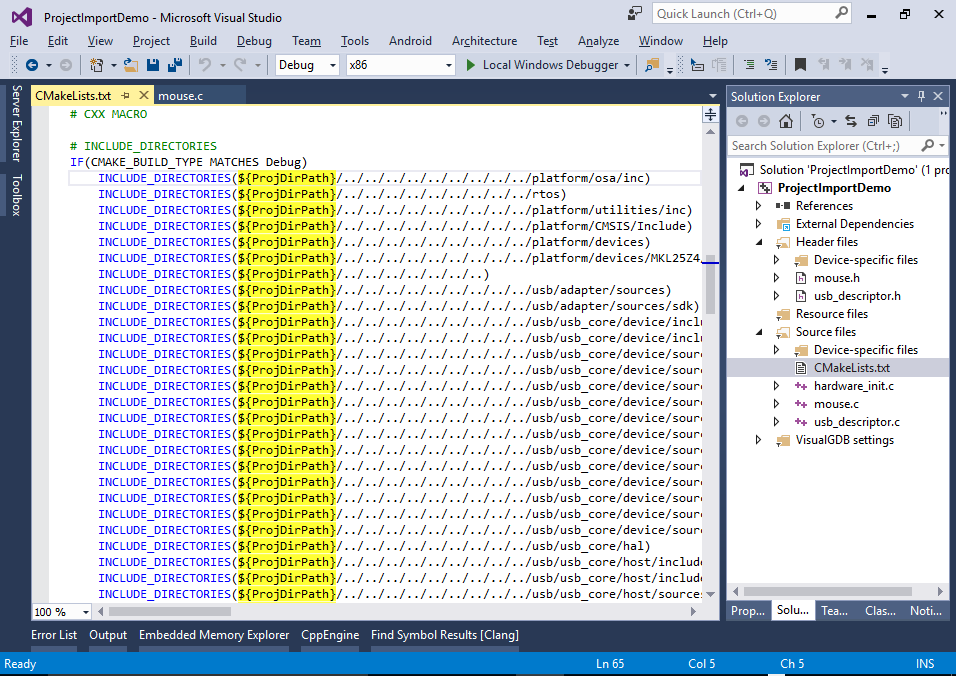 Select them and copy them to a separate text editor window. Then do the following replacements:
- Replace “INCLUDE_DIRECTORIES(${ProjDirPath}” with the directory containing the CMakeLists.txt file
- Replace the “)\r\n” with “;”
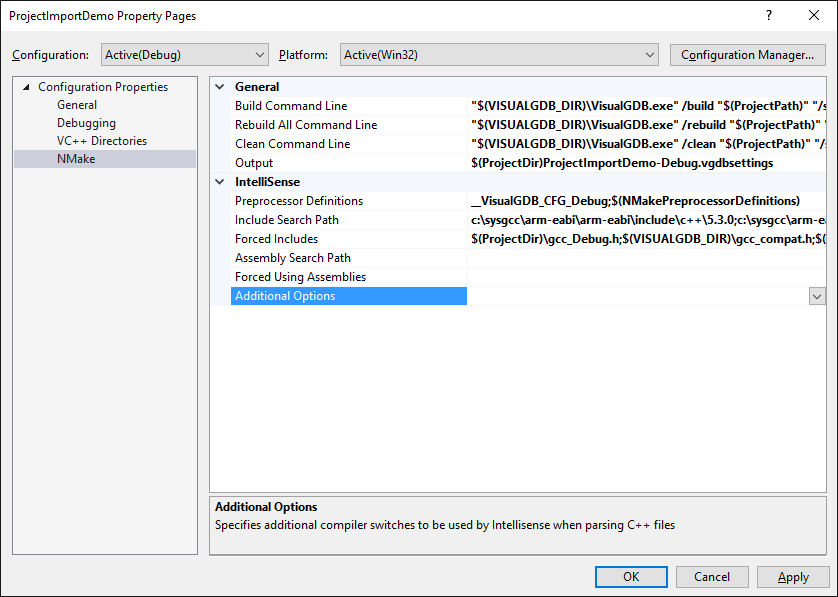
- The replacements will turn a block of INCLUDE_DIRECTORIES() statements into semicolon-separated absolute paths. Open Visual Studio Project Properties, go to the NMake page and append them to the Include Search Path:
- Now you can open VisualGDB Project Properties and go to the IntelliSense settings page. You will see that all include directories were automatically added there. Remove the irrelevant directories from %LOCALAPPDATA% and press OK:
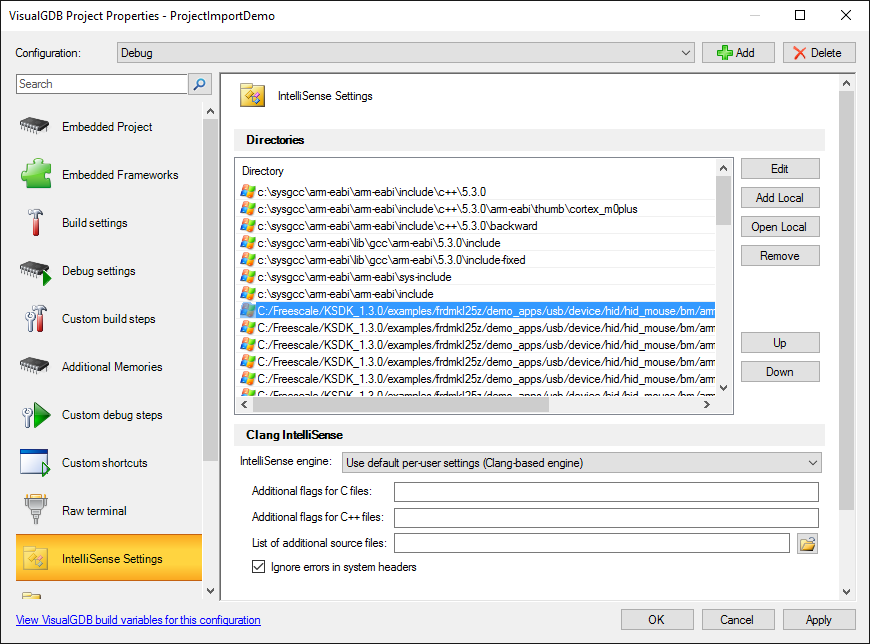 The IntelliSense errors in the project will disappear.
 - If the project contains other sources outside the main source directory, you can conveniently add them to Solution Explorer via Add->Import Folder Recursively.
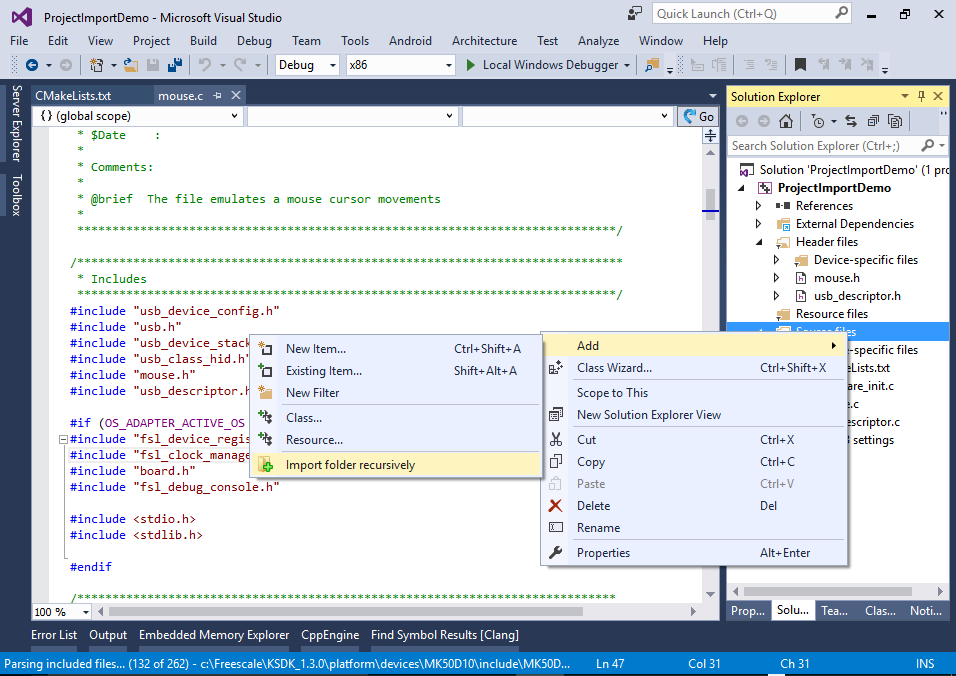 Note that as the build is still managed by your custom build system (CMake in this example), you don’t have to add all source files to the project. Adding them will only make it easier to locate them via Solution Explorer and will enable the Go-To-Definition function.
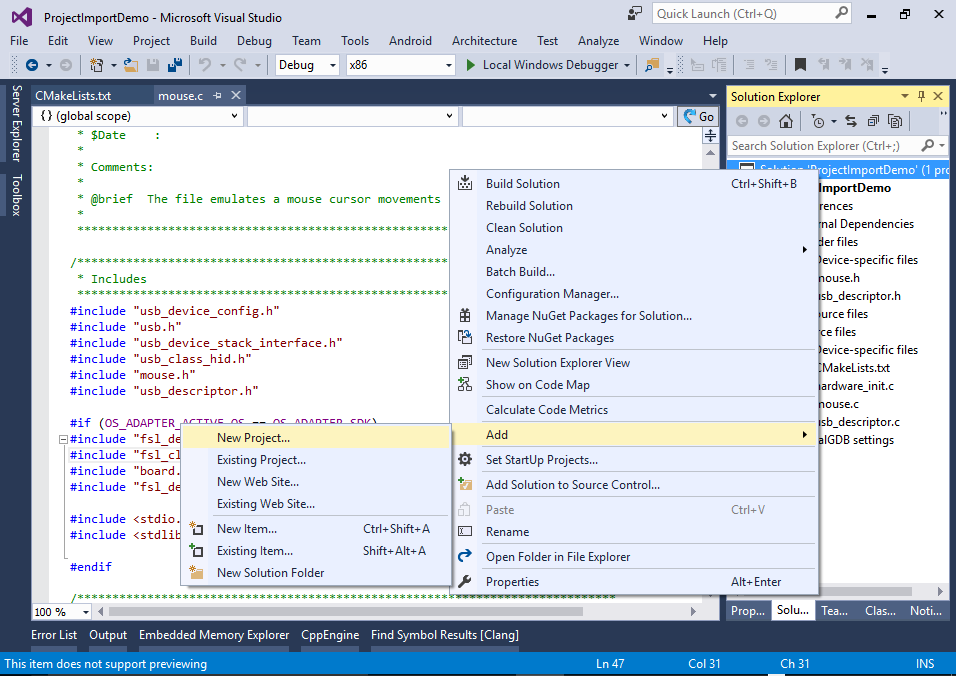
 - The USB mouse example shown in this tutorial relies on the Kinetis USB library that is built by a separate CMake file. We will now show how to add it to your solution so that VisualGDB can build it as well. Right-click in Solution Explorer and select Add->New Project:
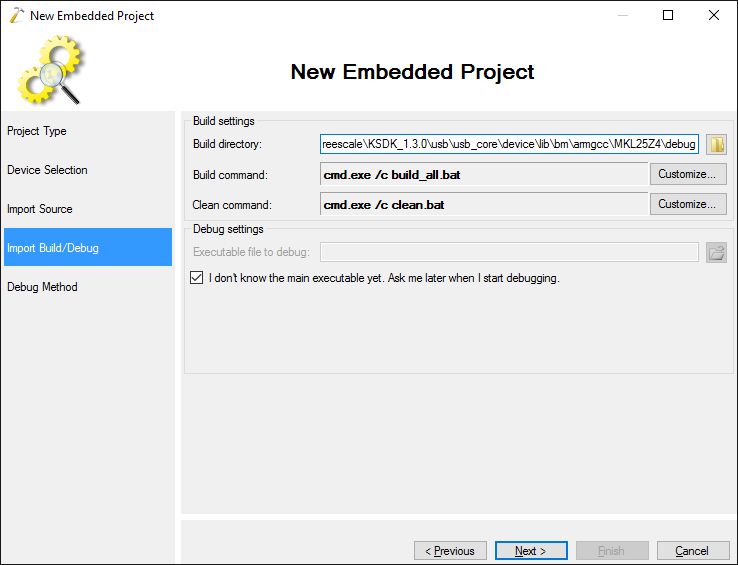
- Select the same settings as for the first project on the first 2 pages, then specify the source directory of the USB framework (<KSDK>\usb\usb_core\device) and enter the build command:
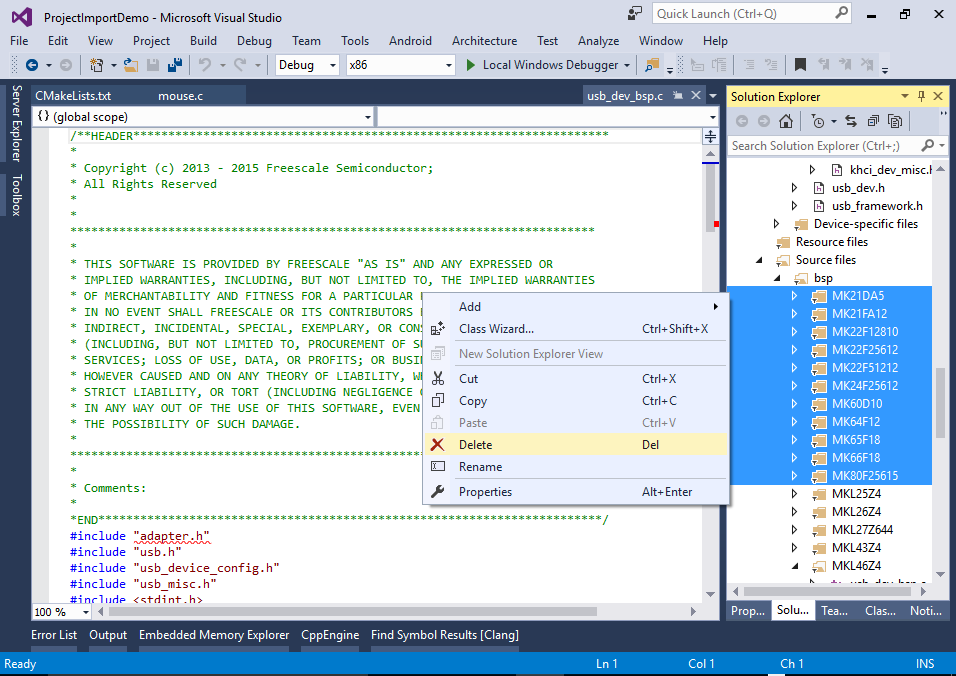
- By default the import process will add all of the files from the source directory, including all device-specific ones. Although this does not affect build, it could cause some confusion when looking for the right file. You can delete those by simply selecting them and pressing Delete:
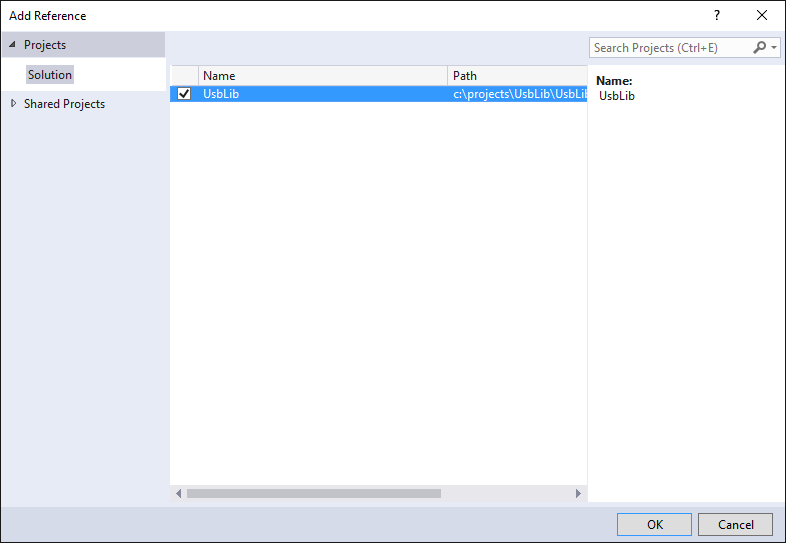
- Finally you need to add a reference to the USB library project from the USB mouse project as otherwise Visual Studio may attempt to build them simultaneously and the mouse project will use the old version of the USB library before the new one is built:


The technique described in this tutorial can be used to quickly import any project and be able to debug it easily, however each time you add/remove files to the project or change the include paths, you would need to update the VisualGDB Project Properties. To avoid that, you can choose to generate a VisualGDB Makefile during import so that VisualGDB will manage the build for you and will keep all settings synchronized. Follow this tutorial for a detailed example.