Creating Python interfaces for C libraries on Raspberry Pi
This tutorial shows how to interface a C library to a Python script on Raspberry Pi with VisualGDB. We will create a Python module exporting some basic functionality from the wiringPi library to the Python script and use it to control an LED connected to Raspberry Pi. Before you begin, install VisualGDB 5.1 or later.
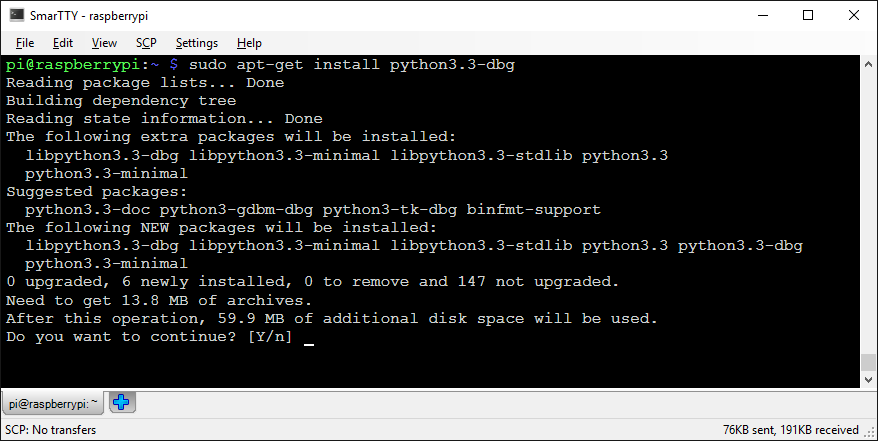
- Our first step will be to install the debug build of Python to Raspberry Pi. Connect to your board via SmarTTY and run the following commands:
sudo apt-get update
sudo apt-get install python3.3-dev python3.3-dbg
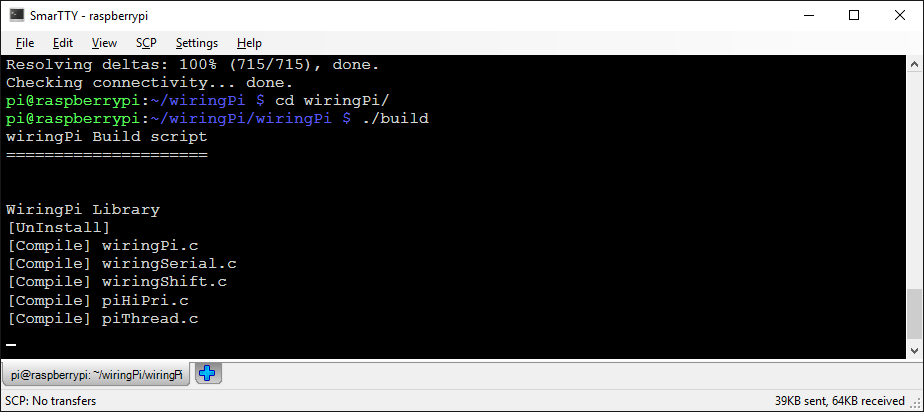
- Then download, build and install the wiringPi library:
sudo apt-get install git-core
git clone git://git.drogon.net/wiringPi
cd wiringPi
./build
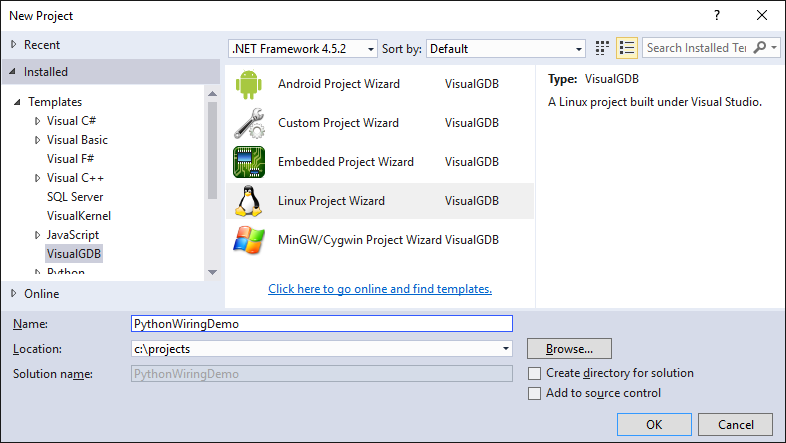
- Now that both Python and wiringPi are installed on your Raspberry, we will create a Visual Studio project demonstrating how to export the wiringPi functionality to Python. Start Visual Studio and launch the VisualGDB Linux Project Wizard:
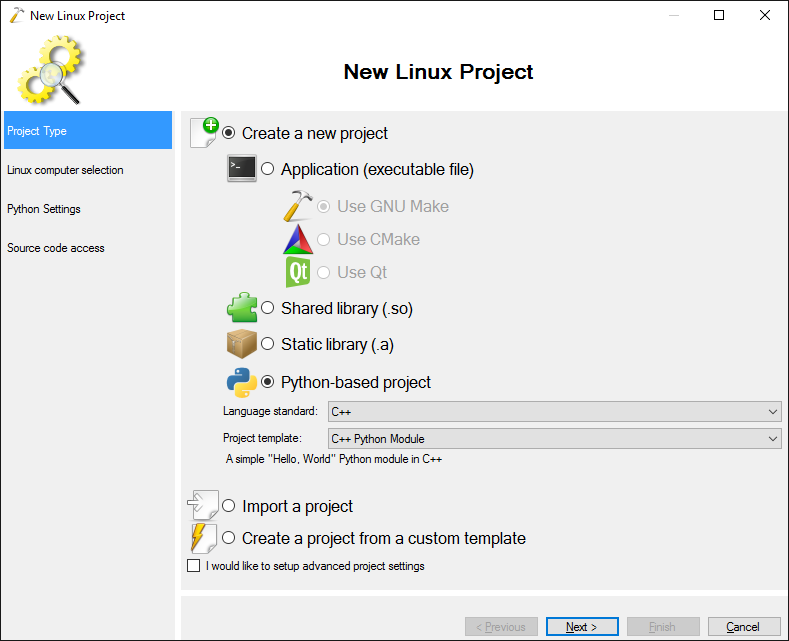
- Select “Create a new project -> Python-based project”:
- Then select “Build the project locally with a cross-compiler”, pick the Raspberry Pi cross-toolchain (if it’s not installed, VisualGDB will download and install it automatically) and choose the connection to your Raspberry Pi (select “Create a new SSH connection” if it’s not in the list):
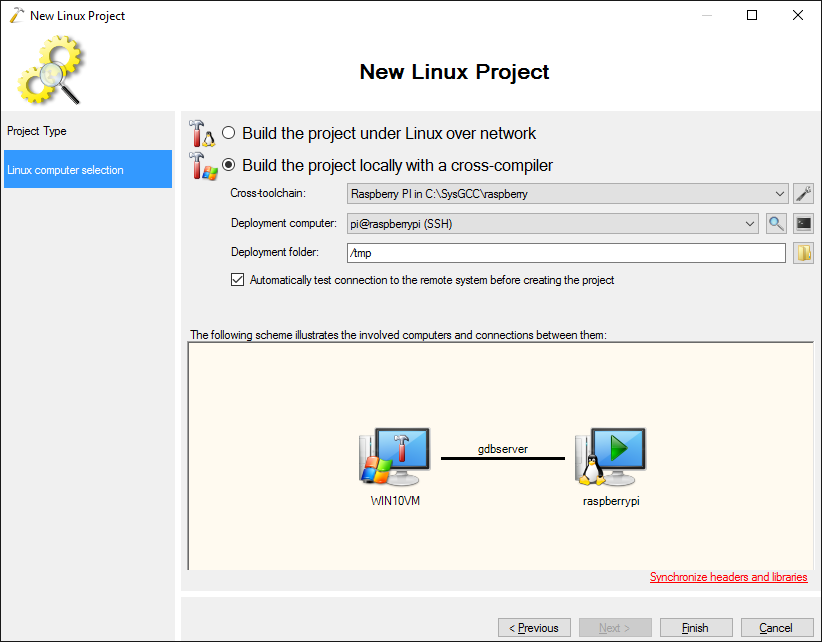 Once you have selected the toolchain and the target, click “Synchronize headers and libraries”.
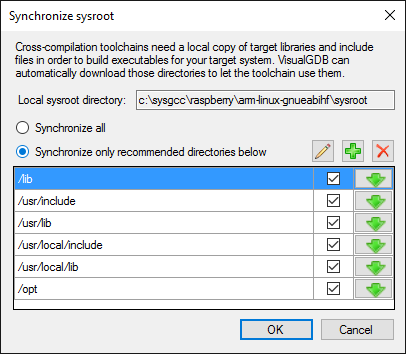
 - Proceed with the default synchronization directories (if you only installed Python and wiringPi since last sync, you can uncheck the /opt directory to save some time):
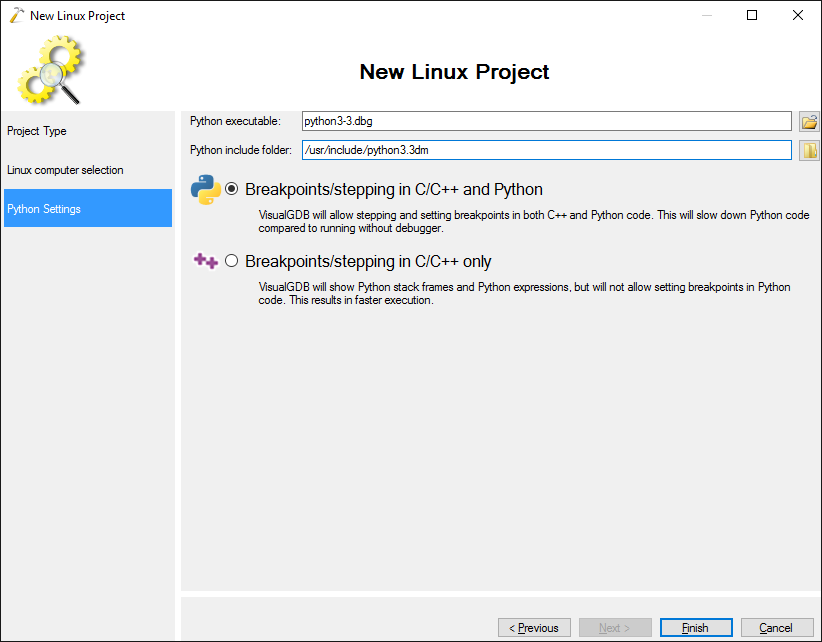
- Finally select your python executable. Raspberry Pi uses slightly different naming for Python directories from the Desktop Linux, so you will need to select the include folder (e.g. /usr/include/python3.3dm) manually. Note that as you are using the debug build, you need to pick a directory containing the ‘d’ letter:
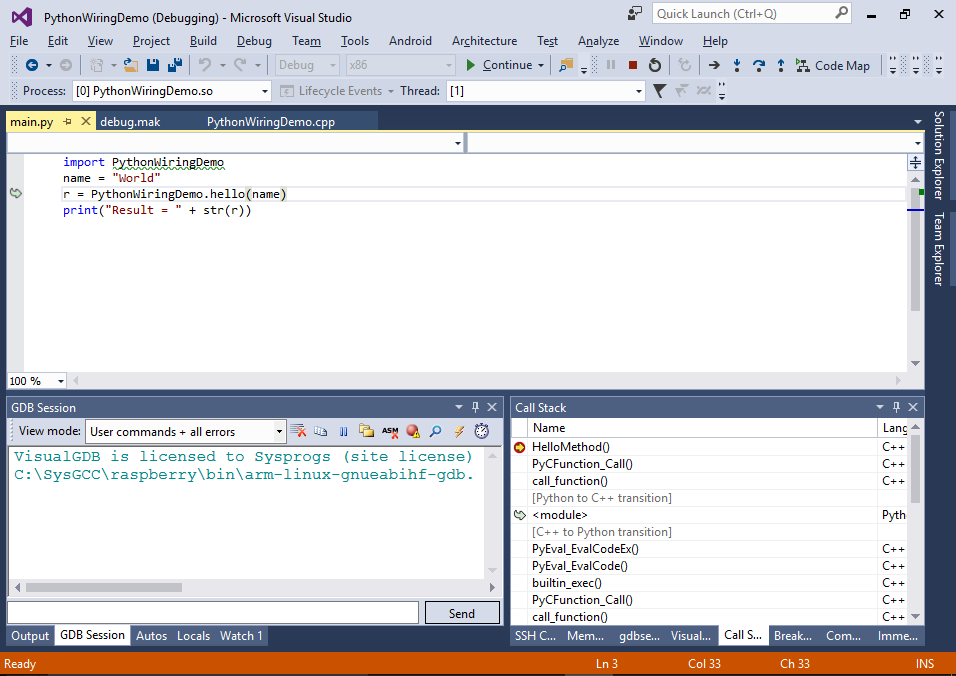
- Press “Finish” to generate the project. Before we add any wiringPi-specific code, quickly test that the project can be built and debugged. Set a breakpoint inside HelloMethod() and hit F5 to start debugging:
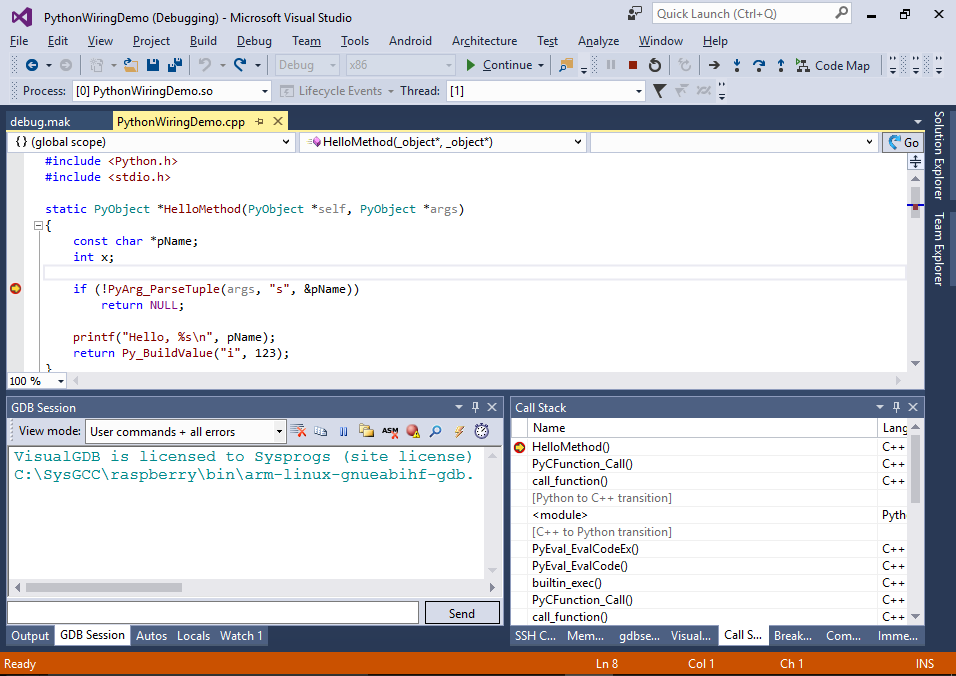
- Once the breakpoint is triggered, use the Call Stack window to navigate to the <module> frame and verify that you can see the Python source as well:
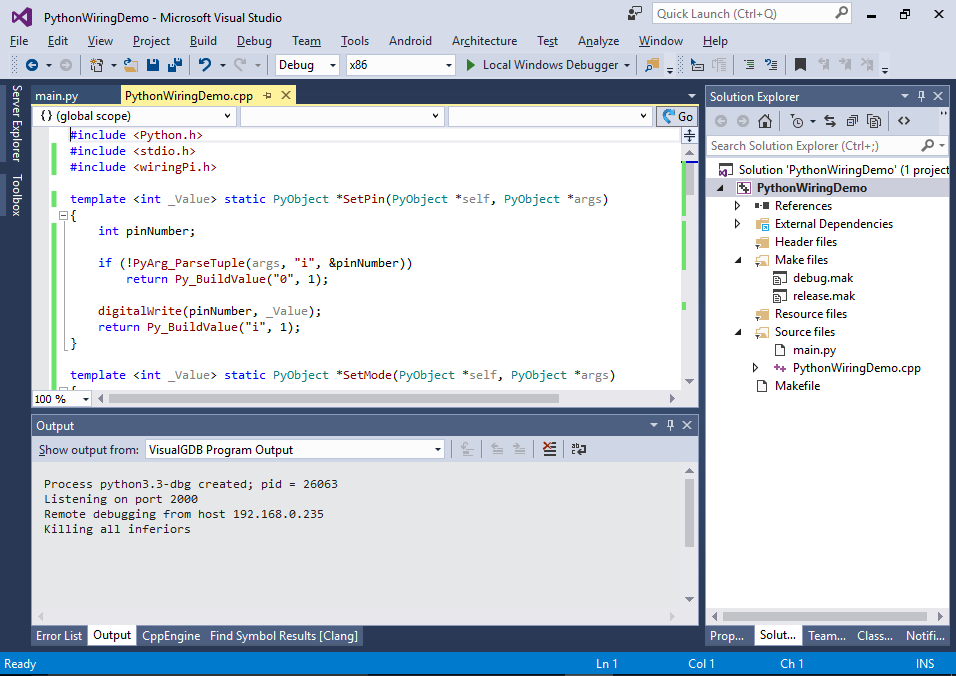
- Now we will add the wiringPi support. Include the <wiringPi.h> file and replace the HelloMethod() together with the method table with the following code:
template <int _Value> static PyObject *SetPin(PyObject *self, PyObject *args)
{
    int pinNumber;

    if (!PyArg_ParseTuple(args, "d", &pinNumber))
        return Py_BuildValue("0", 1);

    digitalWrite(pinNumber, _Value);
    return Py_BuildValue("i", 1);
}

template <int _Value> static PyObject *SetMode(PyObject *self, PyObject *args)
{
    int pinNumber;

    if (!PyArg_ParseTuple(args, "d", &pinNumber))
        return Py_BuildValue("0", 1);

    pinMode(pinNumber, _Value);
    return Py_BuildValue("i", 1);
}

static PyMethodDef PythonWiringDemoMethods[] =
{
    {
        "sethigh",
        SetPin<HIGH>,
        METH_VARARGS,
        "Sets an output pin value to HIGH"
    },

    {
        "setlow",
        SetPin<LOW>,
        METH_VARARGS,
        "Sets an output pin value to LOW"
    },

    {
        "makeoutput",
        SetMode<OUTPUT>,
        METH_VARARGS,
        "Configures a pin as output"
    },

{ NULL, NULL, 0, NULL }        /* End of list */
};
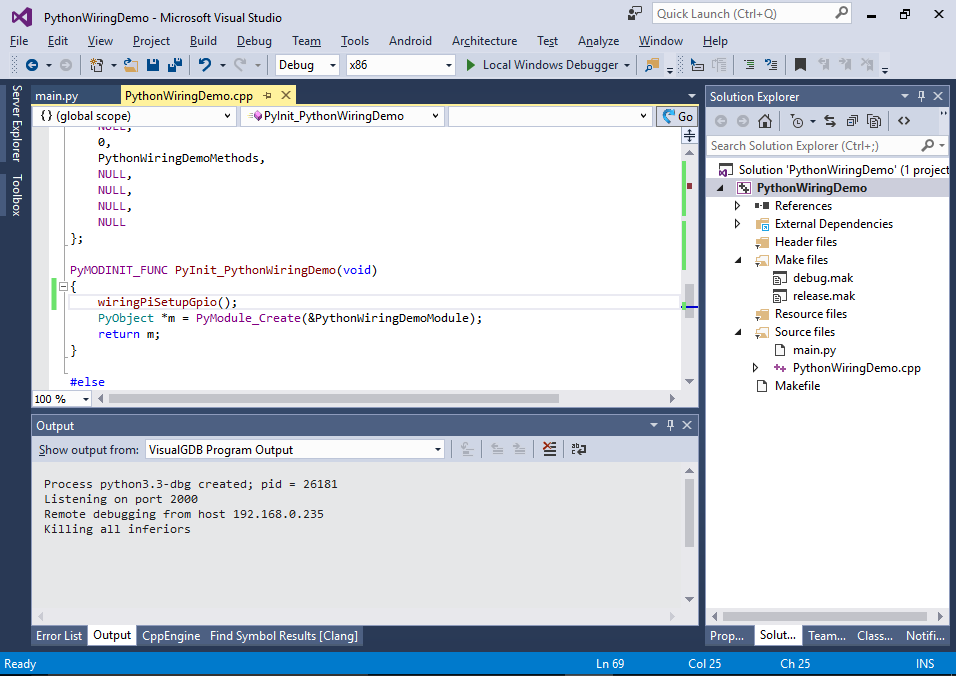
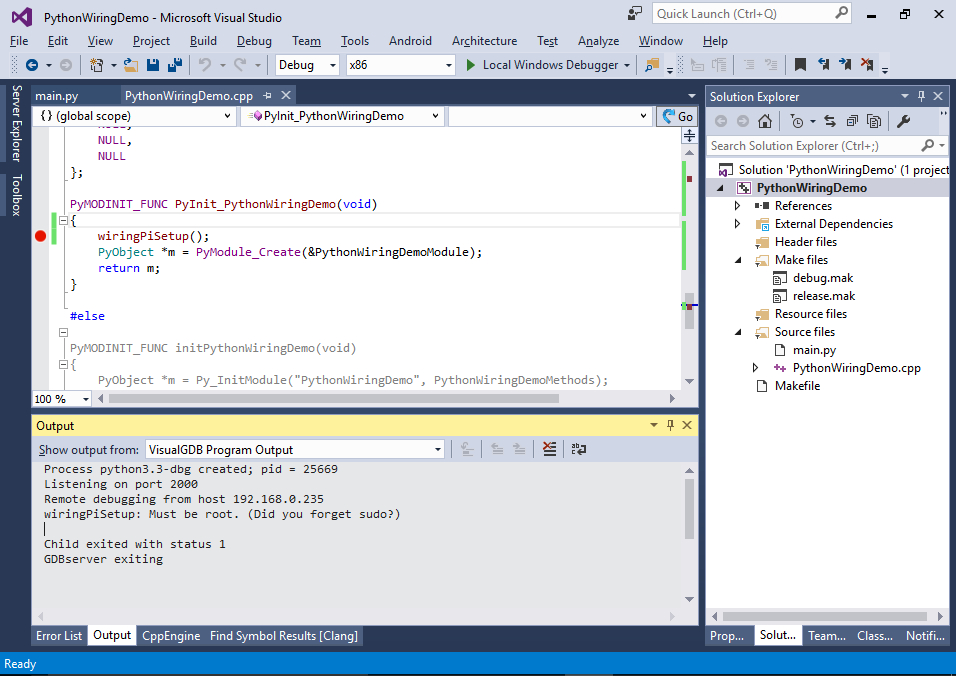
- Insert a call to wiringPiSetupGpio() to the module initialization function:
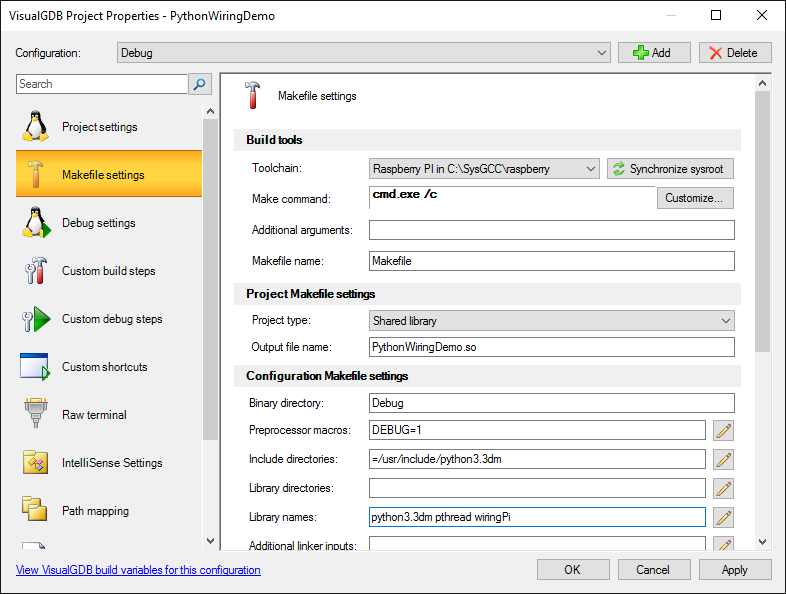
- Finally go to VisualGDB Project Properties and add “pthread” and “wiringPi” to the library names so that your module is actually linked against the wiringPi library:
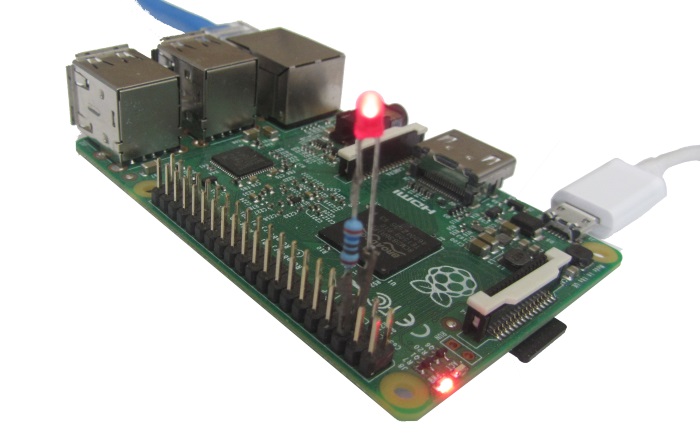
- Now that we have added the sethigh(), setlow() and makeoutput() methods to our module, we will modify the Python script in the project to actually call them. However first we need to find a pin that we will control. According to the Raspberry Pi 2 pinout, GPIO pin #3 is the lower pin in the 3rd row of the GPIO connector opposite to the ground pin:

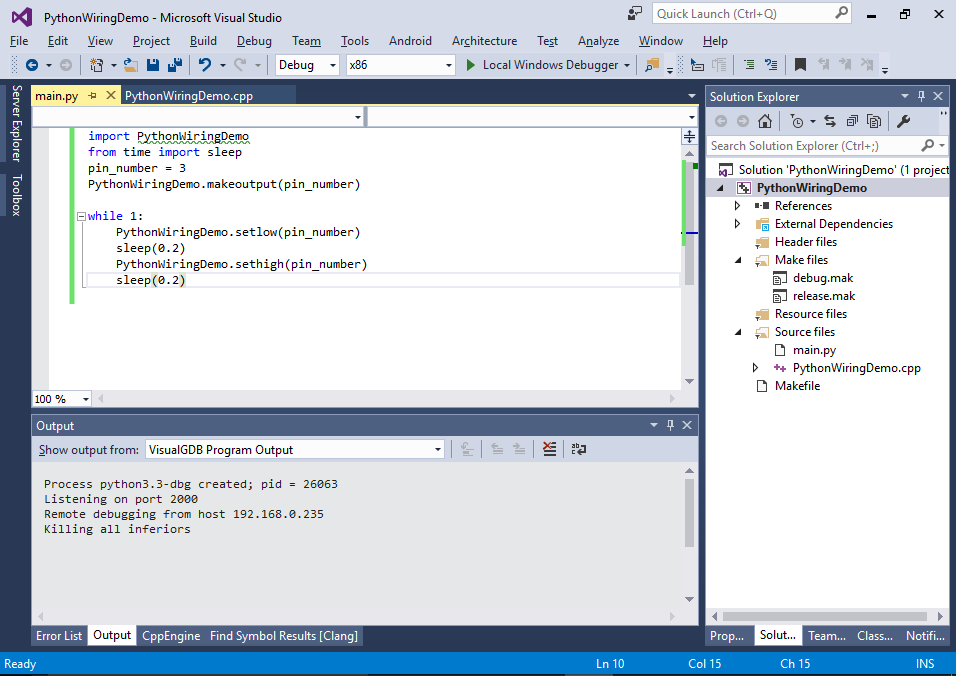
- Connect an LED there and replace the contents of the Python script with the following code to make the LED on pin #3 blink:
import PythonWiringDemo
from time import sleep
pin_number = 3
PythonWiringDemo.makeoutput(pin_number)

while 1:
    PythonWiringDemo.setlow(pin_number)
    sleep(0.2)
    PythonWiringDemo.sethigh(pin_number)
    sleep(0.2)
- If you try running your program now, the program will exit immediately with a message stating that you need root privilege:
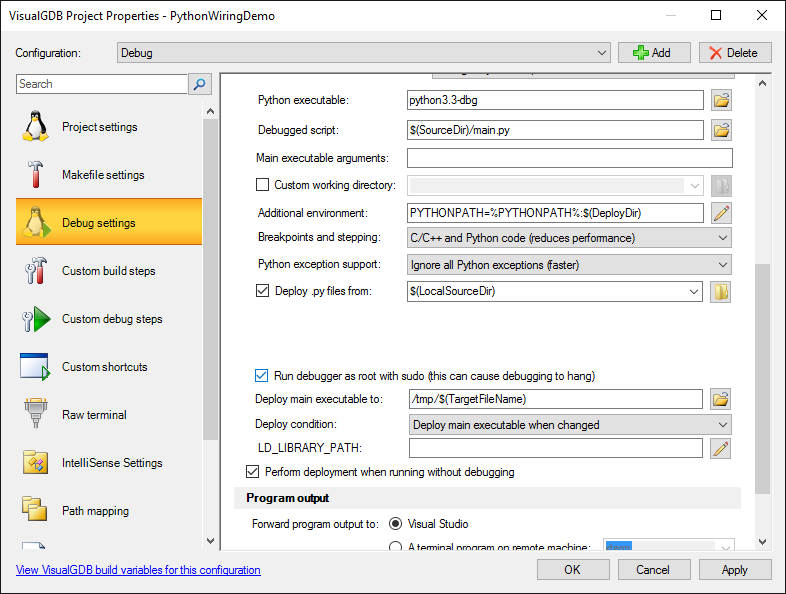
- Open VisualGDB Project Properties, go to the Debug Settings page and enable the “Run debugger as root” checkbox:
- Now you can press F5 to start debugging your program. The LED should now start blinking:
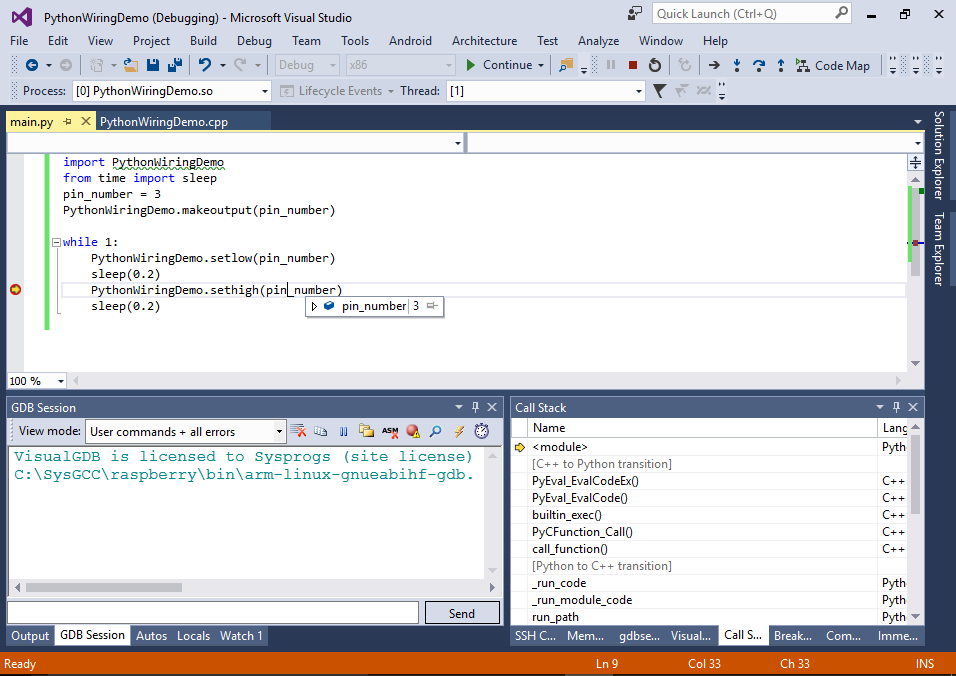
- Set a breakpoint at the call to PythonWiringDemo.sethigh() and wait for it to trigger:
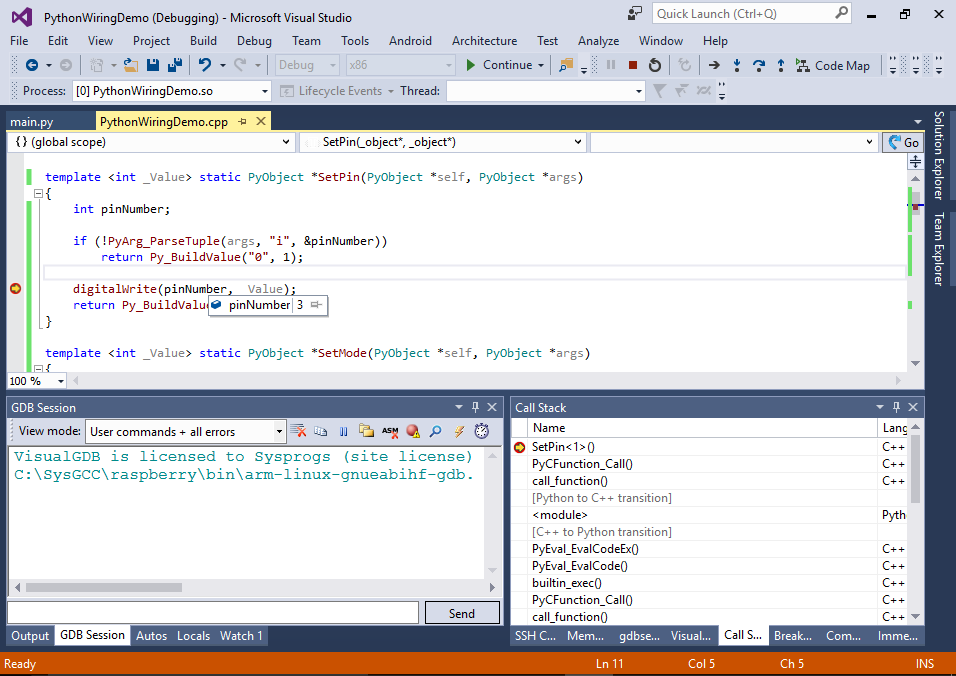
- Stepping in would step into the Python’s code responsible for calling C functions, so instead set a breakpoint in the SetPin() function and press F5 to continue. See how our C++ wrapper gets called from the Python script and passes the pin number specified in the script to the digitalWrite() function provided by the wiringPi library:


You can use the technique described in this tutorial to interface any C/C++ library to the your Python scripts. Simply create a Python module referencing the library, define your functions in the function table and call the functions from the Python side.