Creating Unit Tests for Keil-Based Embedded Projects
This tutorial shows how to create unit tests running directly on the target for embedded projects built with the Keil ARMClang compiler. Unlike GCC-based unit test projects that can be created out-of-the-box, creating unit tests with Keil requires additional setup steps that will be shown in this tutorial.
We will create a basic unit test project that will run on the STM32F4Discovery board and will show how to locate, run and debug individual unit tests.
- Start Visual Studio and locate the VisualGDB Embedded Project Wizard:

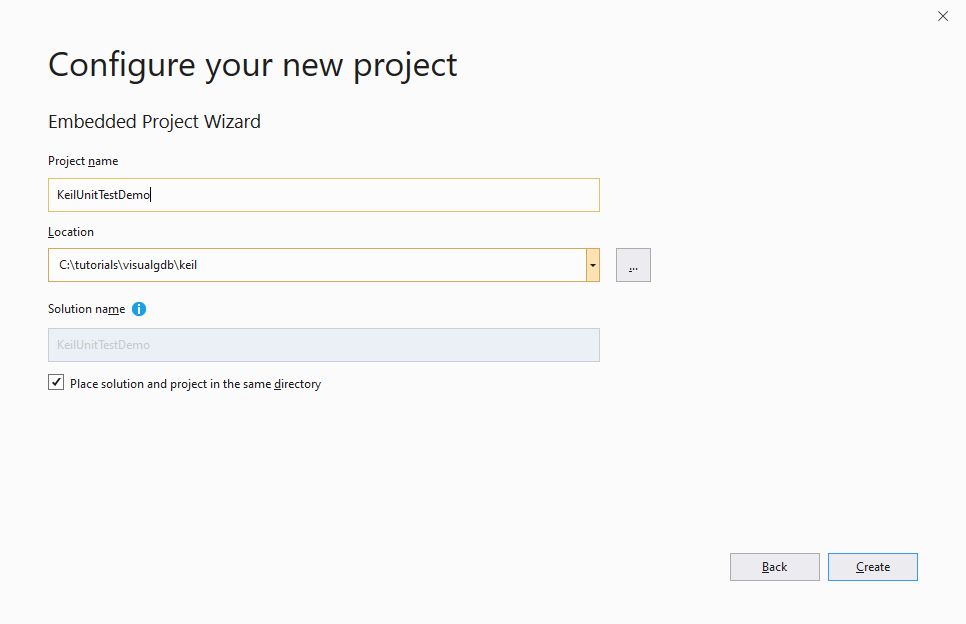
- Specify the name and location for your project, then click “Create”:
- We will begin with creating a regular Keil project, and will then extend it with unit tests. Select “Create a new project -> Embedded Binary -> MSBuild“:
 If you would like to extend an existing project with unit tests instead, you can skip to step 10.
 - Select the ARMClang compiler and pick your target device in the list:
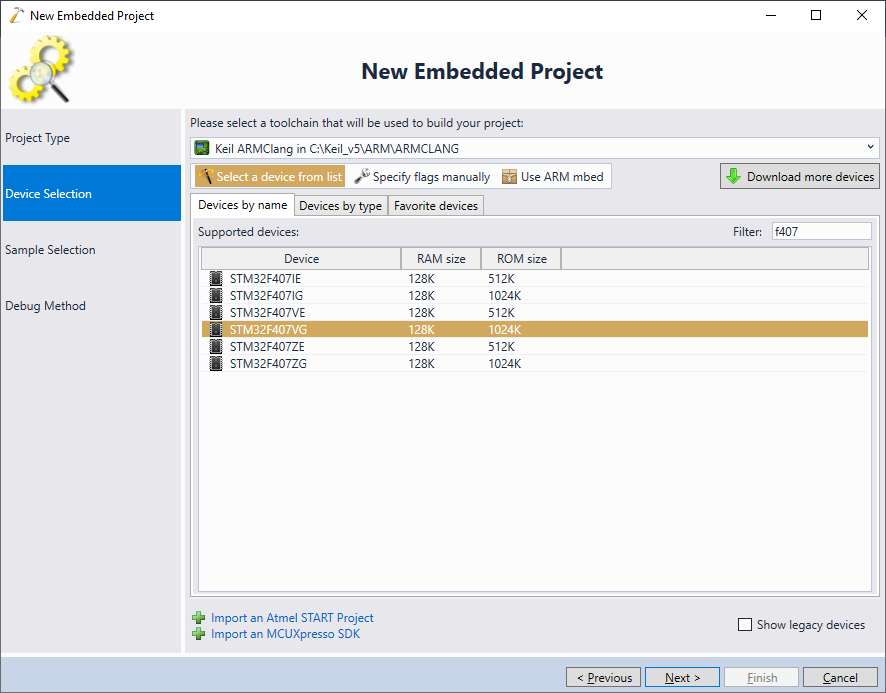 If the toolchain or device list is not shown correctly, see this page for troubleshooting instructions.
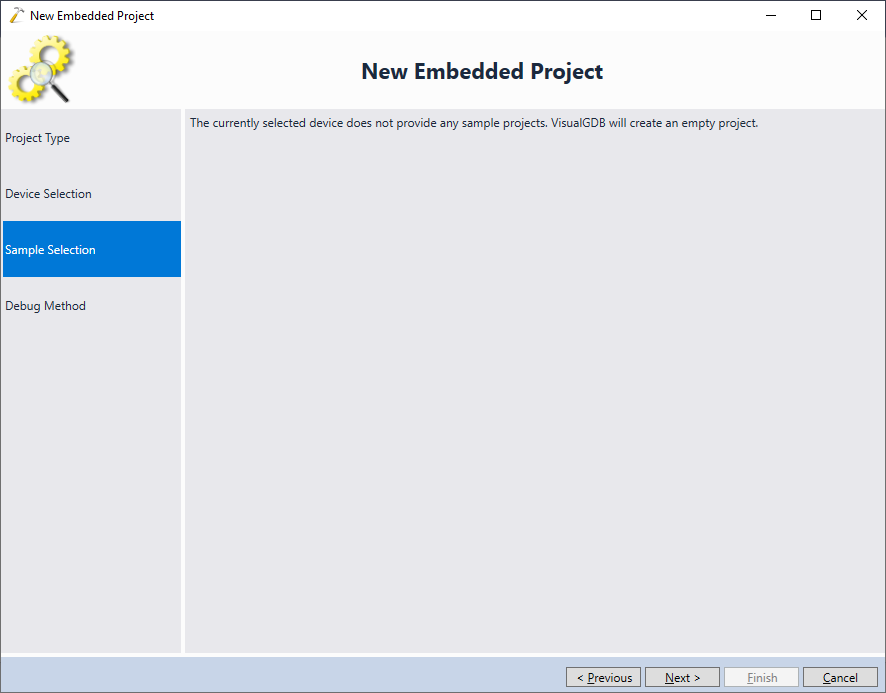
 - Sample code for Keil projects is included with the Keil components, so the project sample page will be empty. Press “Next” to go to the debug page:
- Select a debug method that is compatible with your setup and press “Finish” to generate a project:

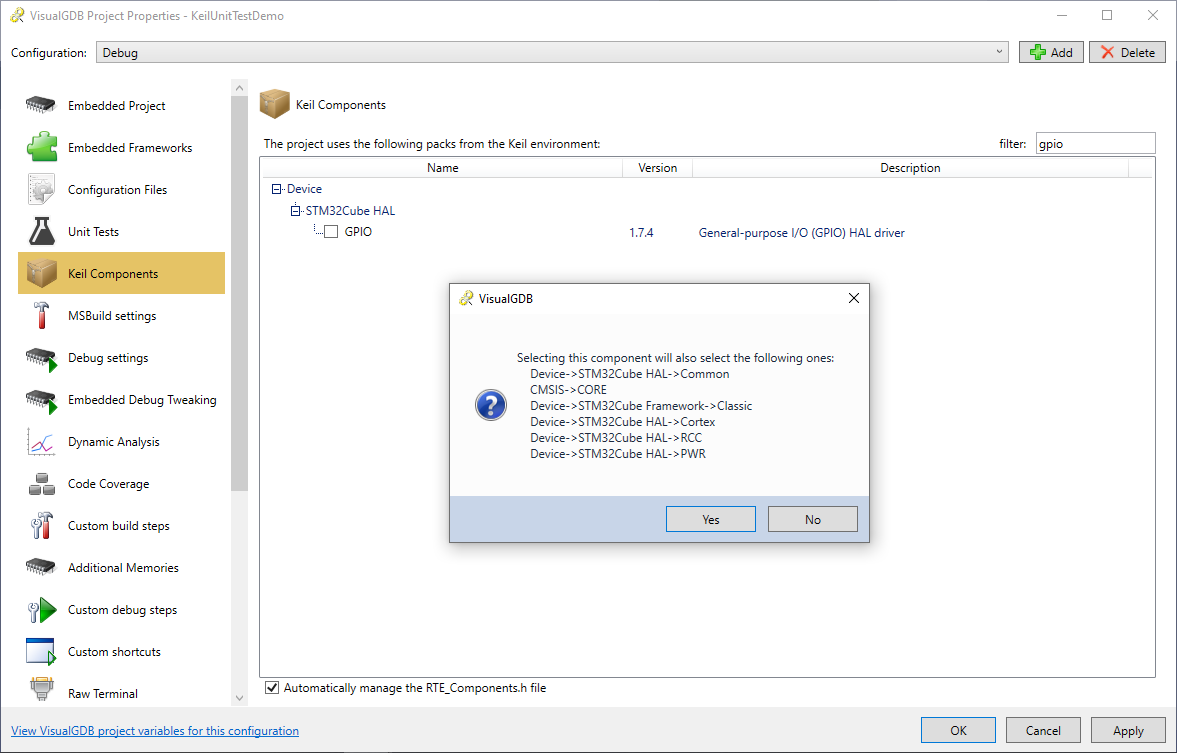
- VisualGDB will generate an empty project. We will now use the Keil Components page of VisualGDB Project Properties to add sample code to it. First, locate and check the GPIO component. Confirm the additional dependencies required by it:
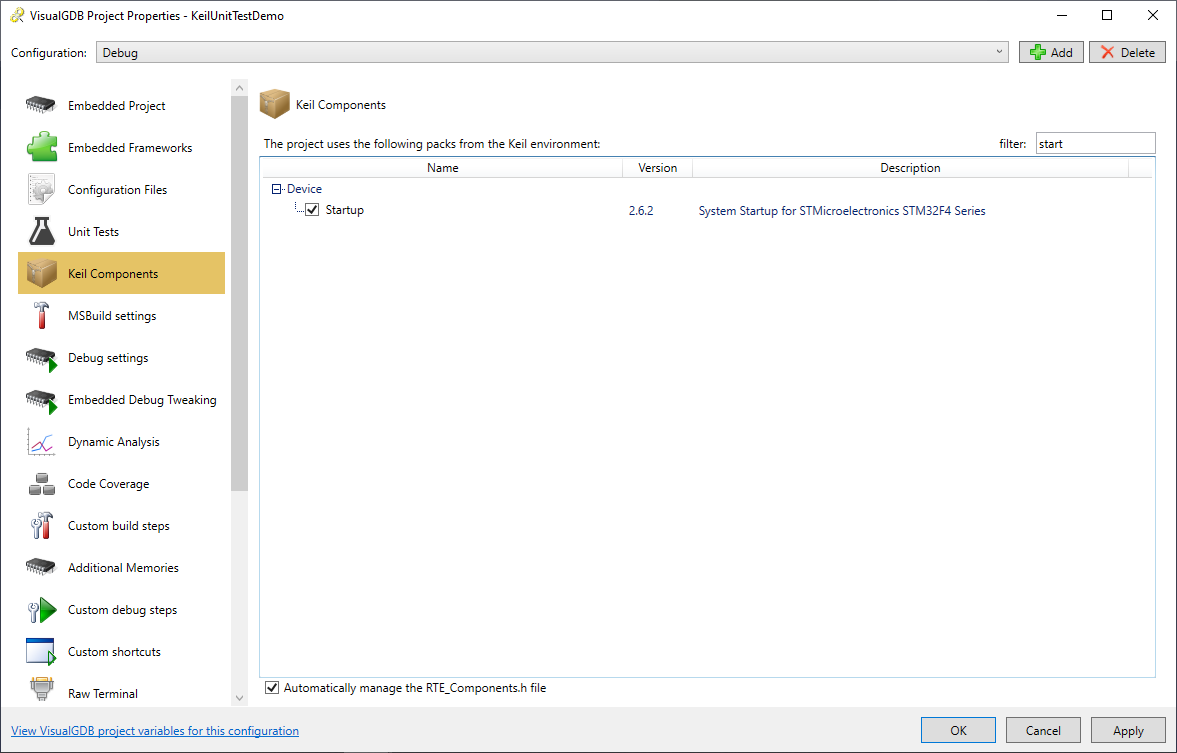
- Then check the “Startup” component:
- Press “OK”. When VisualGDB suggests copying sample files, check the main module for STM32Cube HAL:

- Now we have a basic Keil-based project that includes all the necessary components to run the main() function. Ensure that you can build it successfully:

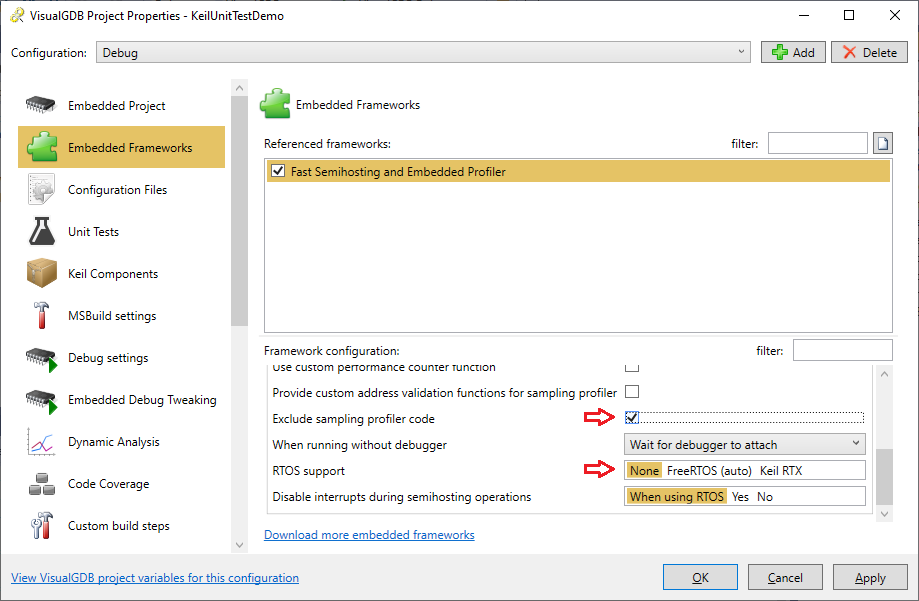
- Now we can proceed with adding unit tests to the project. Open VisualGDB Project Properties and reference the Fast Semihosting and Embedded Profiler framework. To minimize the chance of compatibility issues, make sure you disable the sampling profiler and RTOS support:
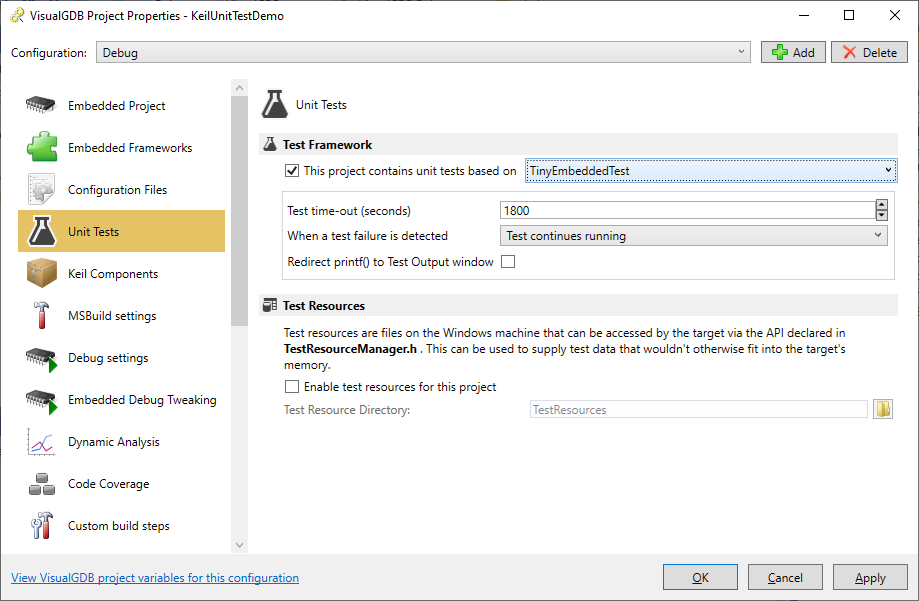
- Go to the Unit Tests page and reference the TinyEmbeddedTest framework:
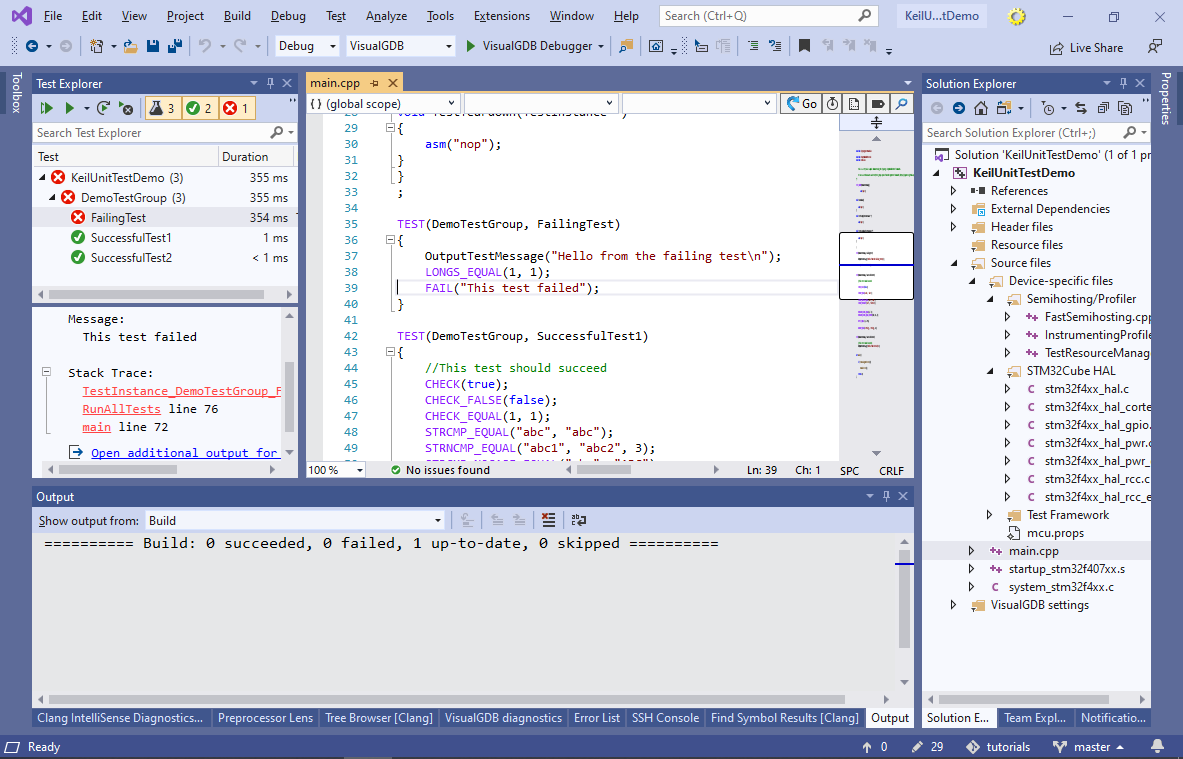
- Rename the main.c file to main.cpp and replace its contents with a sample unit test demo file. Once you build the project, the Test Explorer will show 3 sample unit tests:

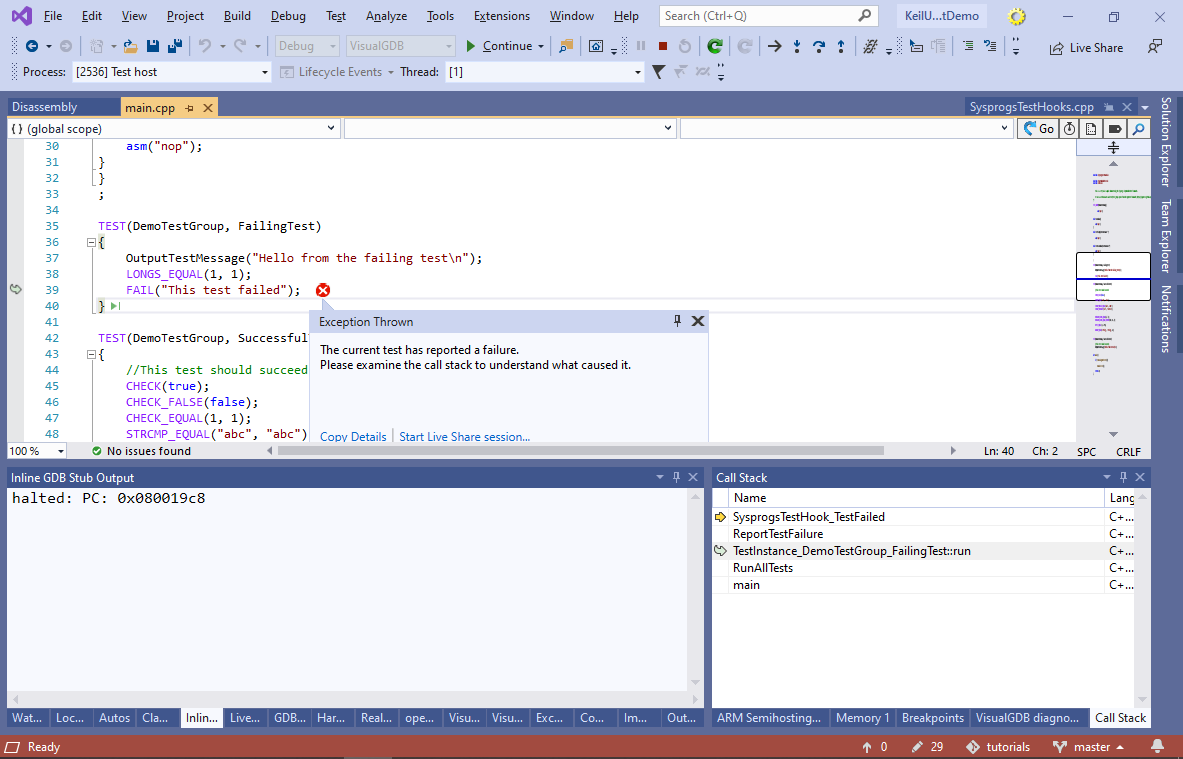
- Use the Test->Run All command to quickly run all tests. VisualGDB will automatically load the program into the FLASH memory, will run the tests and collect and display the call stacks from the failed ones:
- You can run any subset of the tests under a debugger either by right-clicking on them in Test Explorer, or using the Test->Debug All command. VisualGDB will automatically stop the program once any of the unit tests fails: