Developing Projects using Kinetis KSDK 2.x
This tutorial shows how to use the new Kinetis KSDK 2.x to develop projects for Kinetis devices with VisualGDB. Unlike KSDK 1.x that could be installed automatically by VisualGDB, KSDK 2.0 requires building a separate SDK for each device using the Online Kinetis KSDK builder. This tutorial will show how to import those generated SDKs into VisualGDB and easily create projects based on them.
Before you begin, install VisualGDB 5.2r4 or later.
- Go to the Online Kinetis KSDK builder and build a KSDK for your device. Download it and extract it to a folder on your computer.
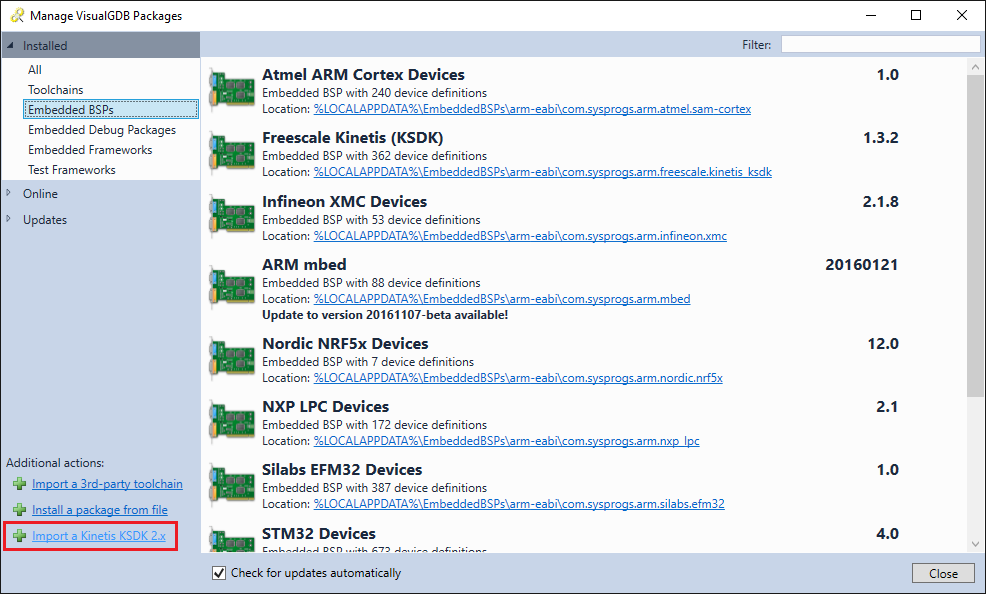
- Start Visual Studio and open the VisualGDB Package Manager via the Tools menu. Then click the “Import Kinetis KSDK 2.x” link:
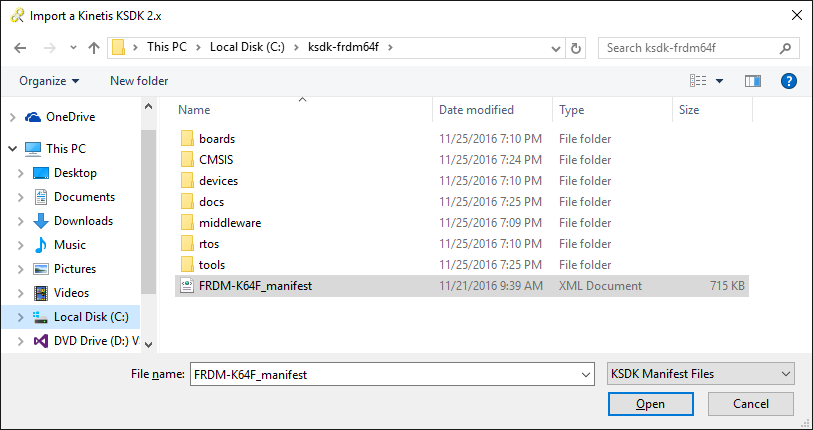
- Locate the folder containing the KSDK package for your device and click “Open”:
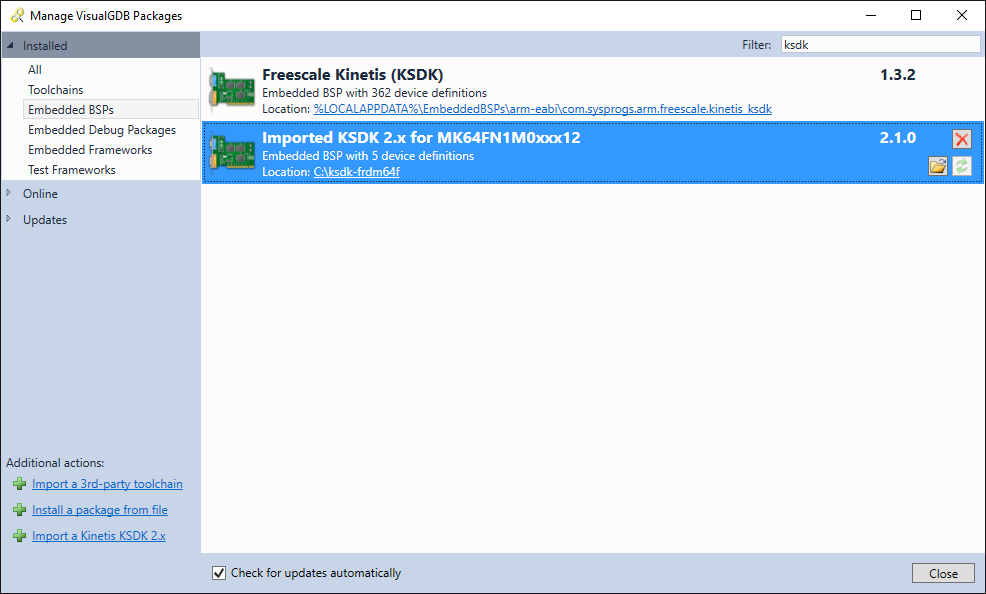
- VisualGDB will parse the KSDK manifest file and add it to the BSP list in the VisualGDB Package Manager:
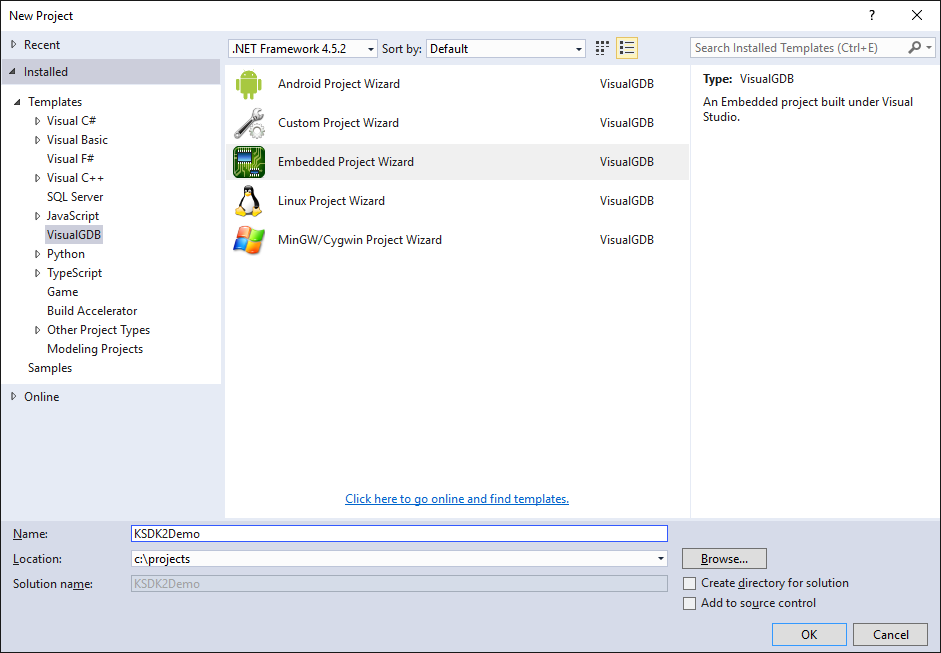
- Now you should be able to create a project based on KSDK 2.x using the regular VisualGDB Embedded Project Wizard. Open the wizard:
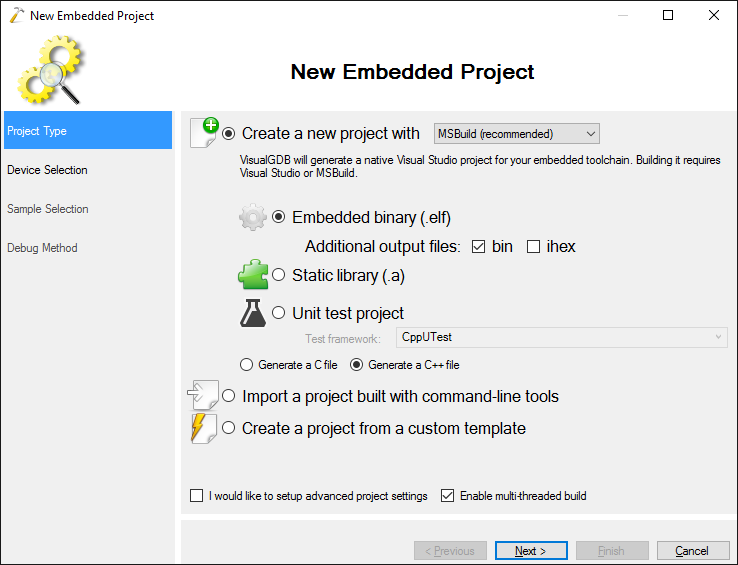
- Select the build subsystem to use. For new projects we recommend using MSBuild:
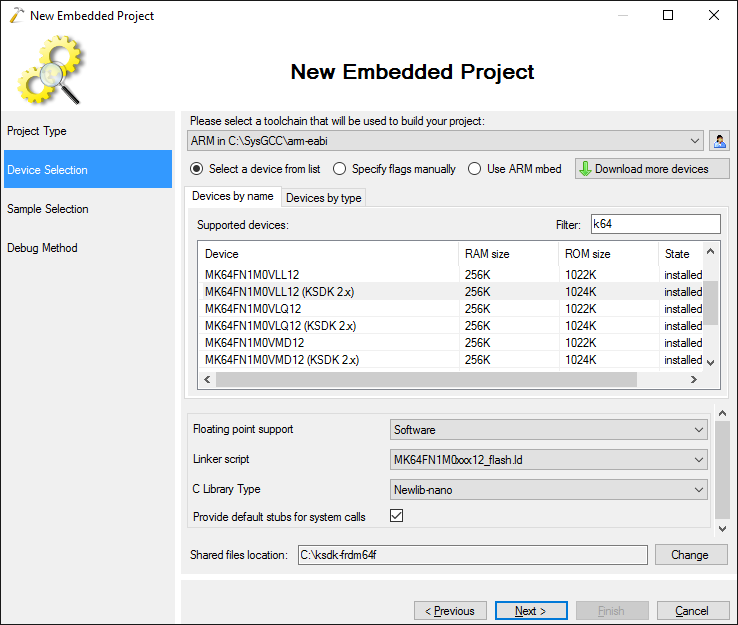
- On the Device Selection page choose your Kinetis device. If your device is supported both by KSDK 1.x and KSDK 2.x you will see 2 entries for that device. Choose the one explicitly mentioning KSDK 2.x:
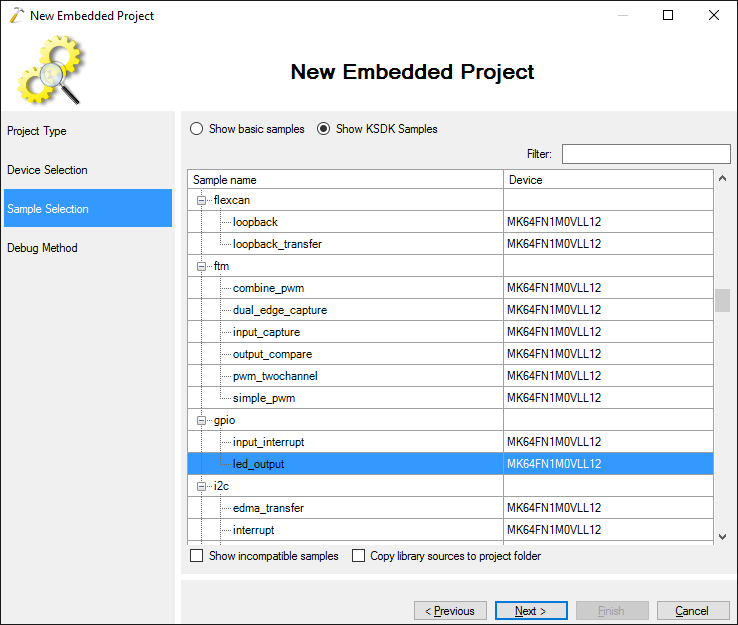
- On the next page click “Show KSDK samples”. VisualGDB will display a large list of samples included in the KSDK. In this tutorial we will select the basic “led_output” sample do demonstrate a blinking LED, but any other sample will work as well:
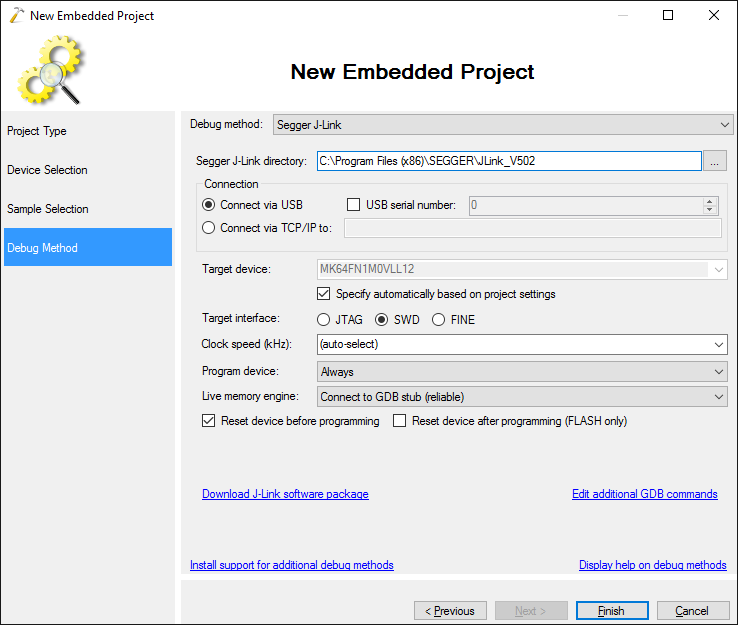
- Finally select your debug method. The easiest way to debug most of the Kinetis evaluation boards is to install the Segger OpenSDA firmware on the board and select “Segger J-Link”:
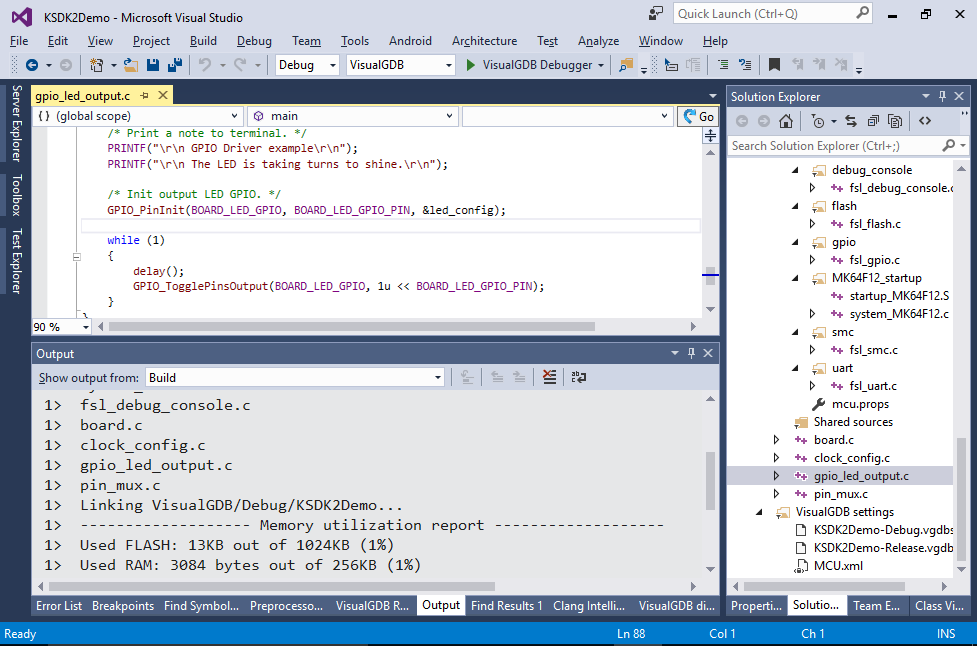
- Press “Finish” to generate the project. Build it with Ctrl-Shift-B:
 Note that many samples included in KSDK 2.x don’t build out-of-the-box and require minor adjustments. You may need to explicitly specify FreeRTOS heap size, disable redefinition of various system types or fix typos in the code. As the code comes directly from the Online KSDK builder, VisualGDB has no control of it and cannot automatically resolve those issues.
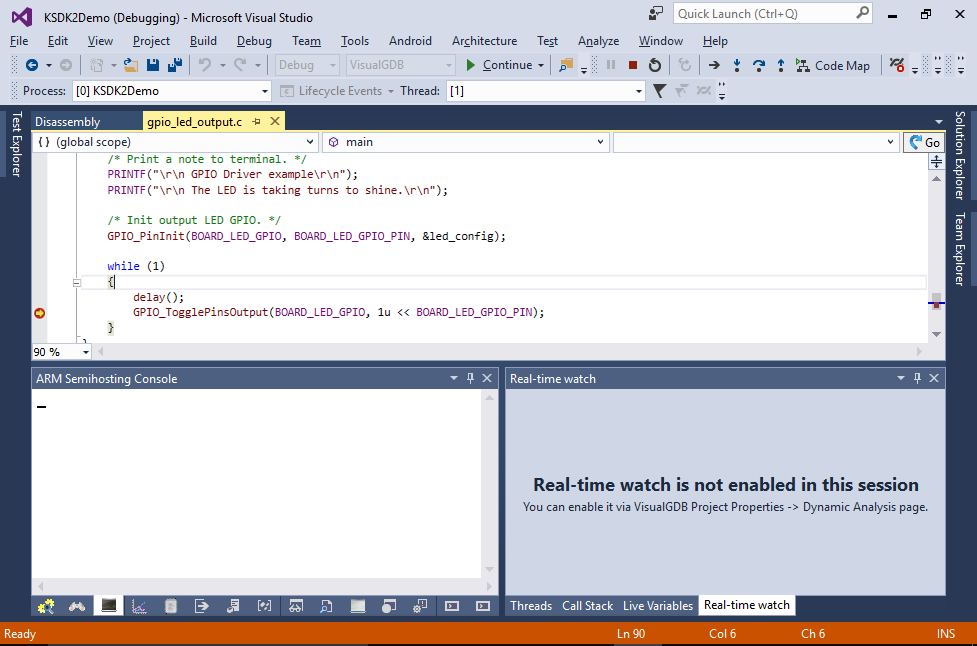
 - Press F5 to start debugging your sample. Once the LED starts blinking, set a breakpoint inside the loop, wait for it to hit and ensure you can debug your firmware:
- Open VisualGDB Project Properties and go to the Embedded Frameworks page. VisualGDB will show various drivers, OS packages and libraries that were discovered in the KSDK. You can easily add them to your project by checking the corresponding checkboxes:


VisualGDB can have multiple KSDK packages imported at once. It will automatically use the correct package once you pick the device in the Embedded Project Wizard. To remove references to a specific KSDK package, simply remove it from the BSP list in the VisualGDB Package Manager window.
We have published the source code for the KSDK importer on our github page. If you want to customize the importing logic, simply replace the KSDK2xImporter.exe file in the VisualGDB directory with your own version and VisualGDB will use it instead.