Porting Mbed Projects to Custom Boards
This tutorial shows how to port mbed projects to custom boards. We will create a basic project targeting the STM32F4Discovery board using the Mbed project wizard and will show how to create a custom project-wide board definition based on it.
Before you begin, install VisualGDB 5.5 or later.
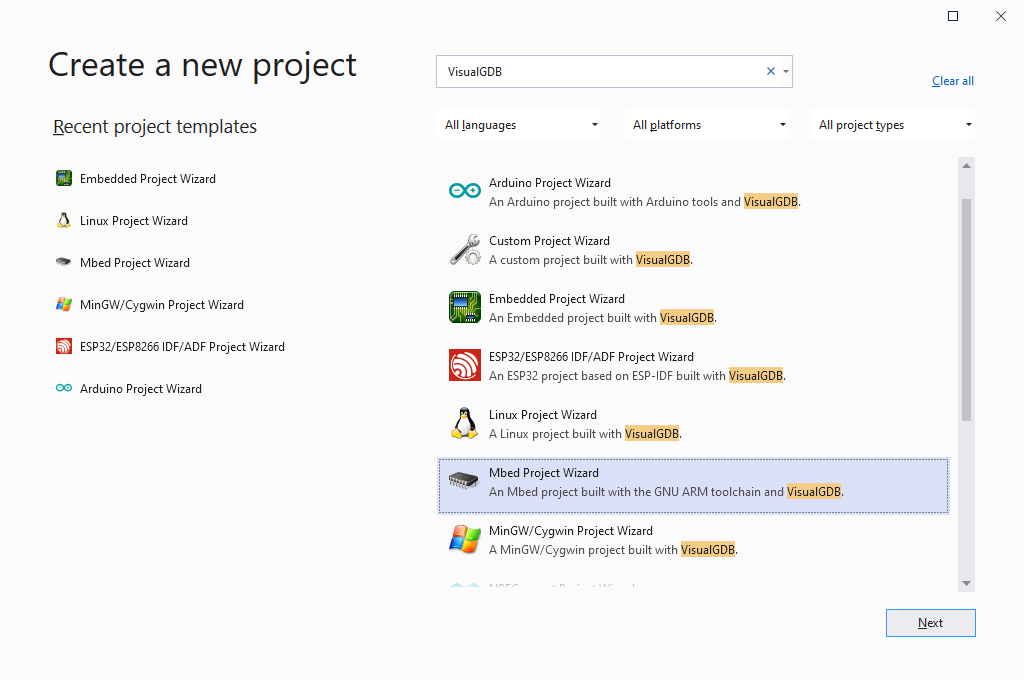
- Start Visual Studio and open the VisualGDB Mbed Project Wizard:
- Enter the name and location of the project you would like to create:

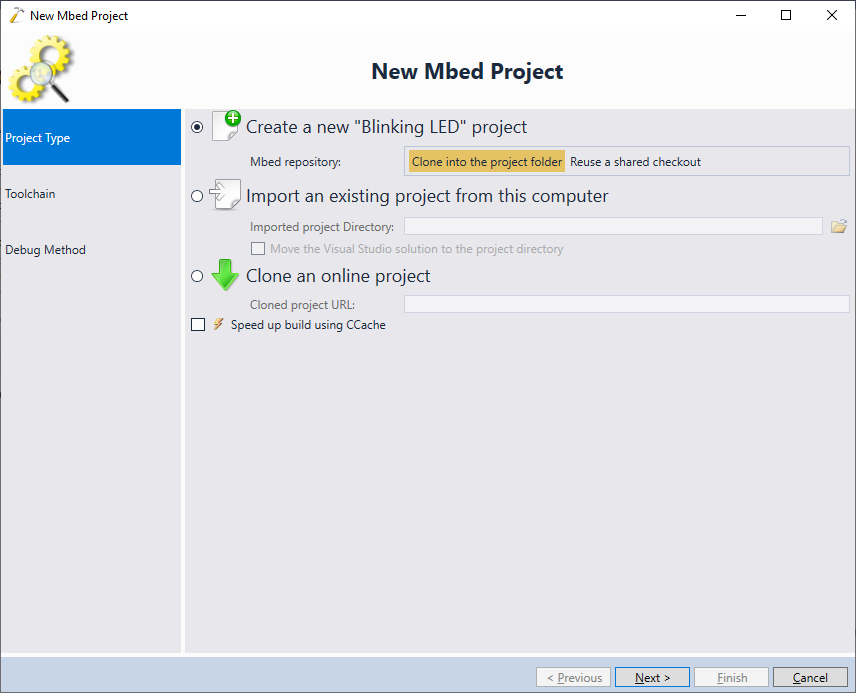
- Proceed with the default option of creating a new project that will include its own mbed checkout:
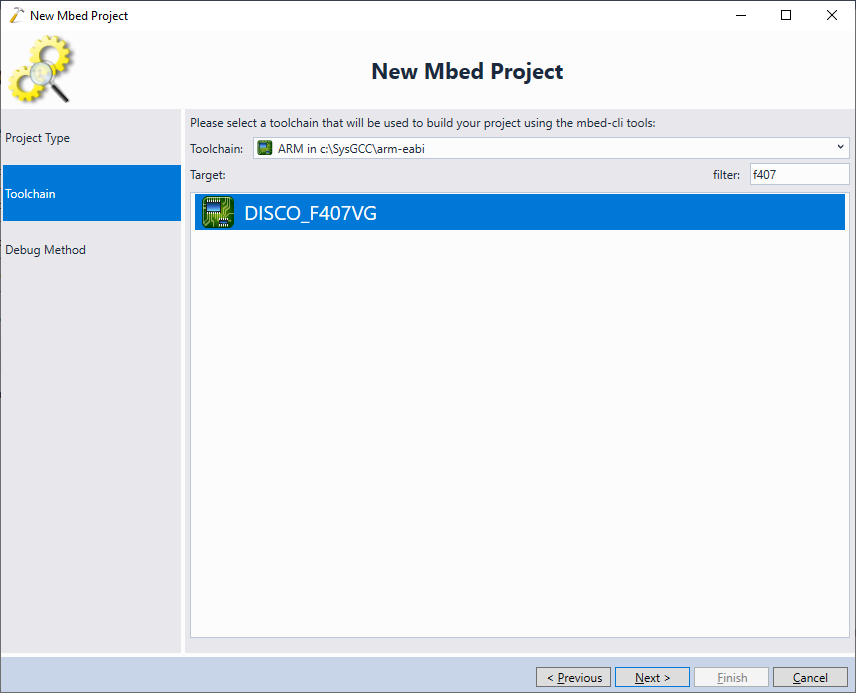
- On the next page of the wizard select your mbed target. In this tutorial we will target the STM32F4Discovery board, so select DISCO_F407VG from the list:
- The next page of the wizard allows selecting debug settings. Connect your development board via USB and let VisualGDB detect the settings automatically:
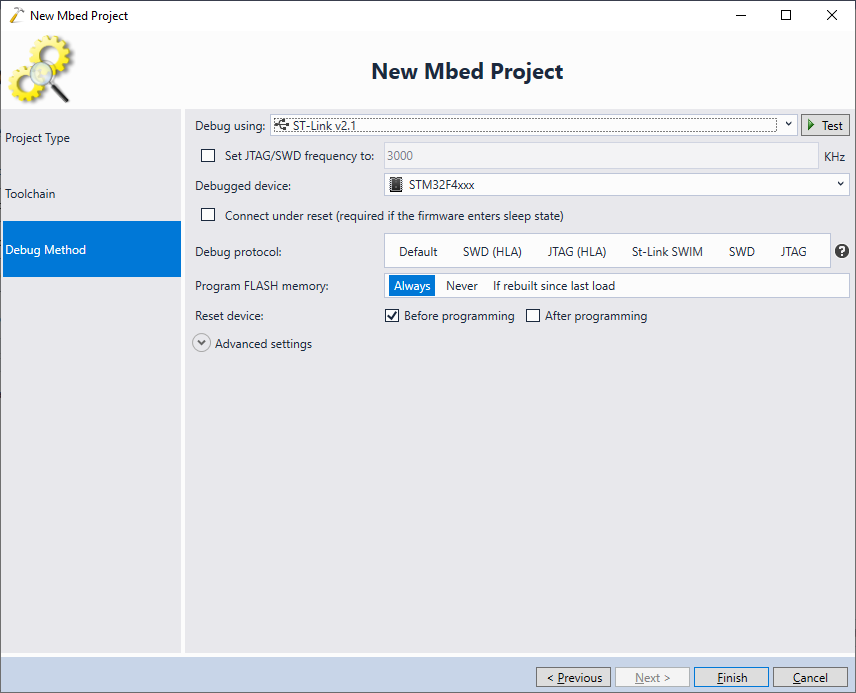 When done, click “Finish” to generate the project.
 - Build the project by pressing Ctrl-Shift-B. If you get an error on the sleep_for() line, try changing “500ms” to just “500”:
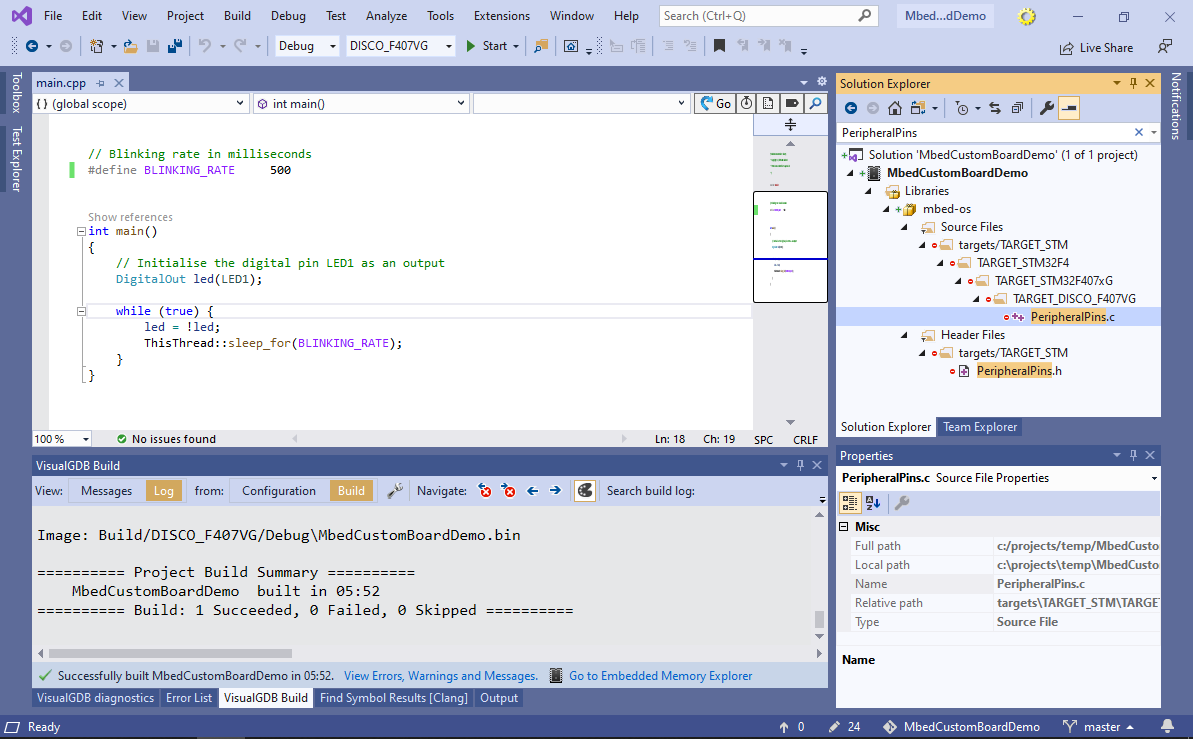 Note how the main() function toggles the LED1 pin that is defined differently for each target. Try using the Go-to-Definition command to locate the definition of LED1 in <mbed checkout>\targets\<…>\TARGET_DISCO_F407VG\PeripheralPins.h.
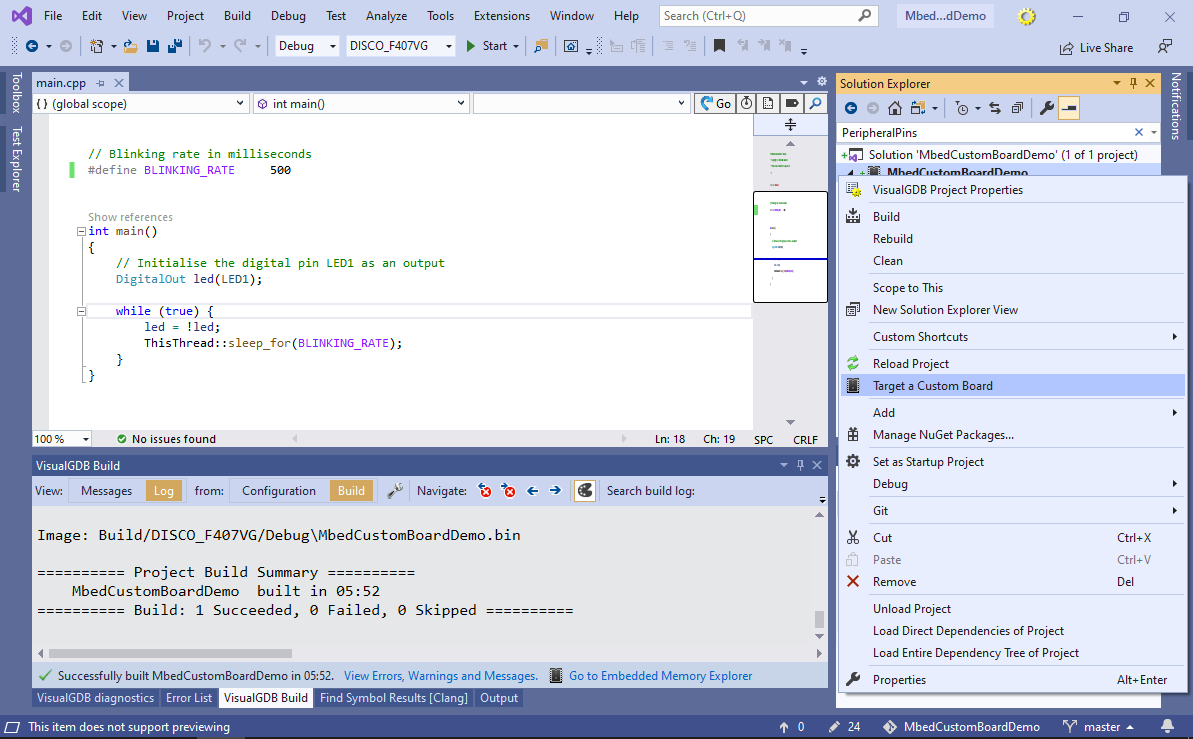
 - The TARGET_DISCO_F407VG folder under <mbed checkout>\targets contains files specific to the STM32F4Discovery board . Mbed will automatically select the source and header files from it once you select DISCO_F407VG as your target. However, as the folder is a part of the mbed repository and is not checked into your project’s source control, any changes made to files in it won’t be saved properly. In order to make changes to board-specific files, we will first need to clone it under the project directory. Right-click on the project in Solution Explorer and select “Target a Custom Board“:
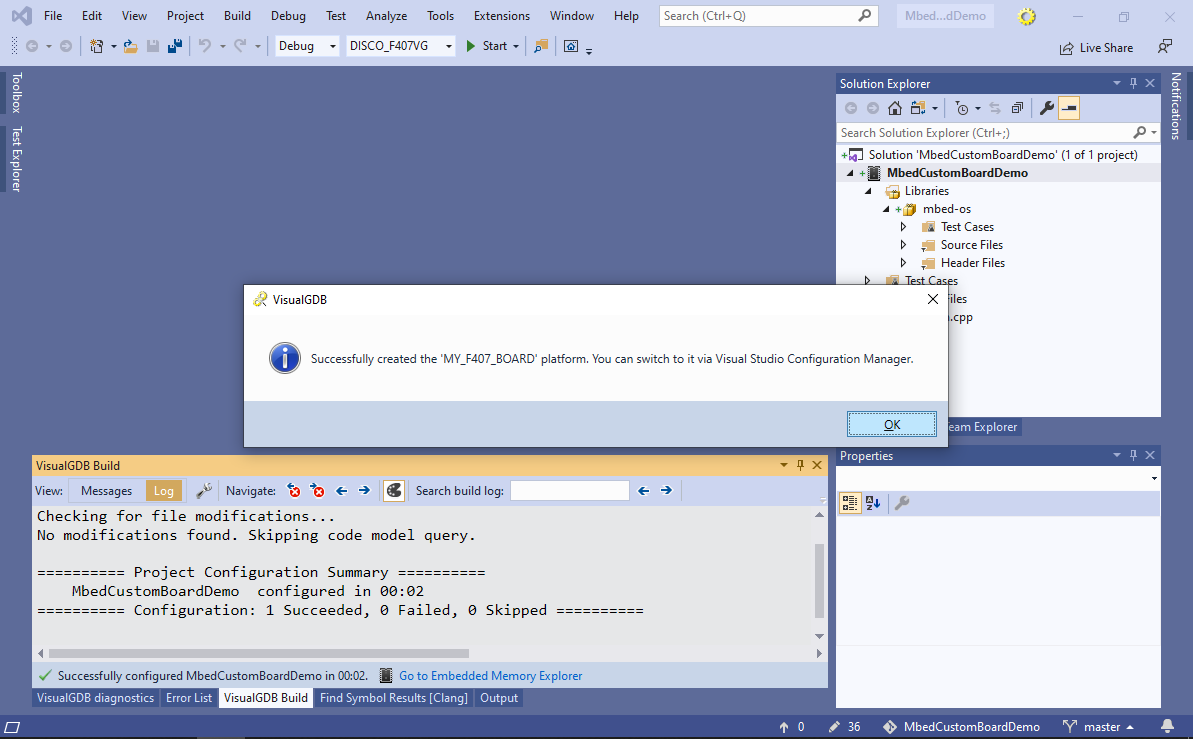
- VisualGDB will ask for the new target name. Once you click OK, VisualGDB will copy the target files in the <Project Directory>\TARGET_<New Target> directory:
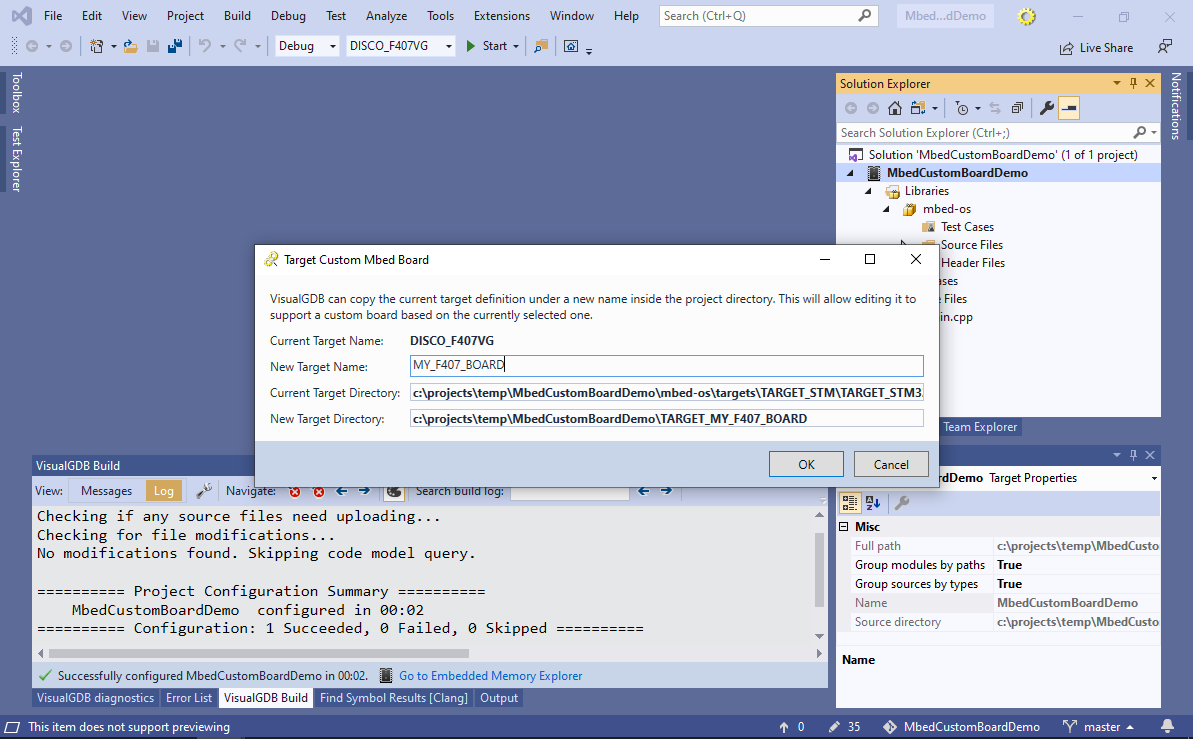
- VisualGDB will also copy the target definition to the <Project Directory>\custom_targets.json file so that mbed-cli tools can find it. Once the target is cloned, VisualGDB will create a separate solution configuration for the cloned board:
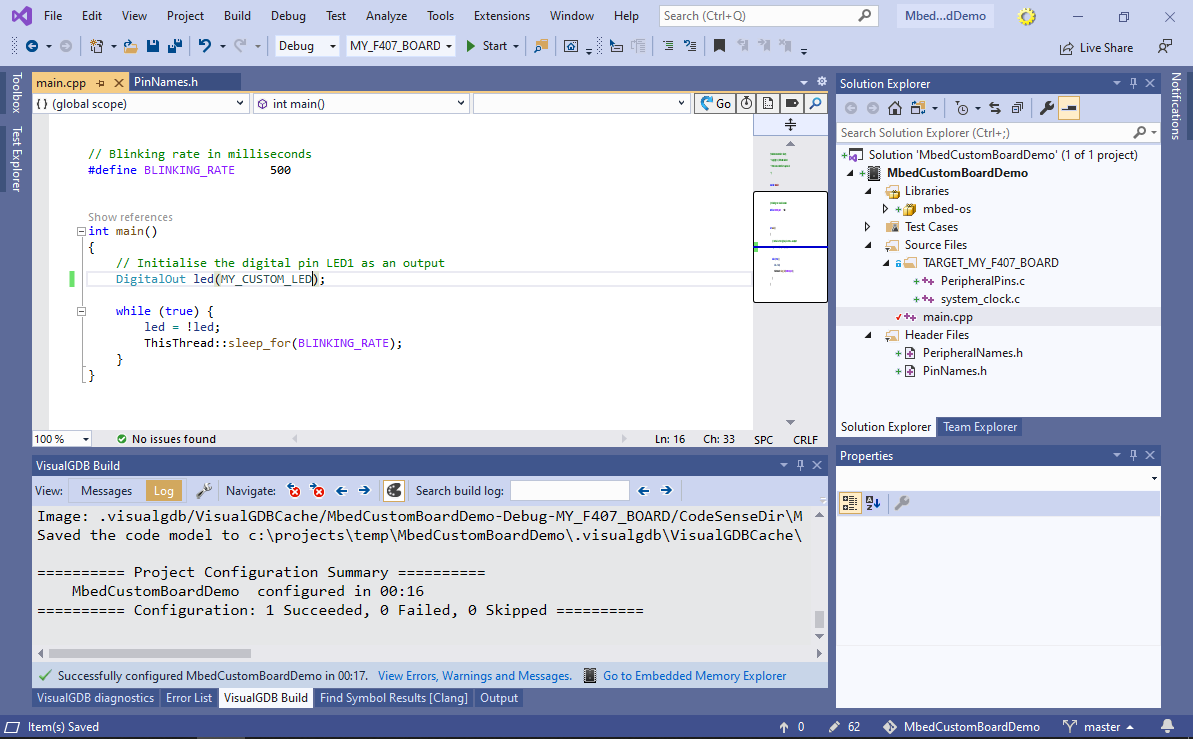
- Switch the solution configuration to MY_F407_BOARD and go to the definition of LED1. Note how it is now defined in the <Project Directory>\TARGET_MY_F407_BOARD\PinNames.h file. Add a custom MY_CUSTOM_LED definition after the last LED:

- Now you can change the main program to toggle MY_CUSTOM_LED instead of LED1:
 You can now freely edit source files in the TARGET_MY_F407_BOARD folder, as they are now a part of your project and can be checked into source control together with it
 - When targeting custom boards, the mbed-cli build tools will load various board-specific parameters from the <Project Directory>\custom_targets.json file. You can edit the file to customize the board configuration:

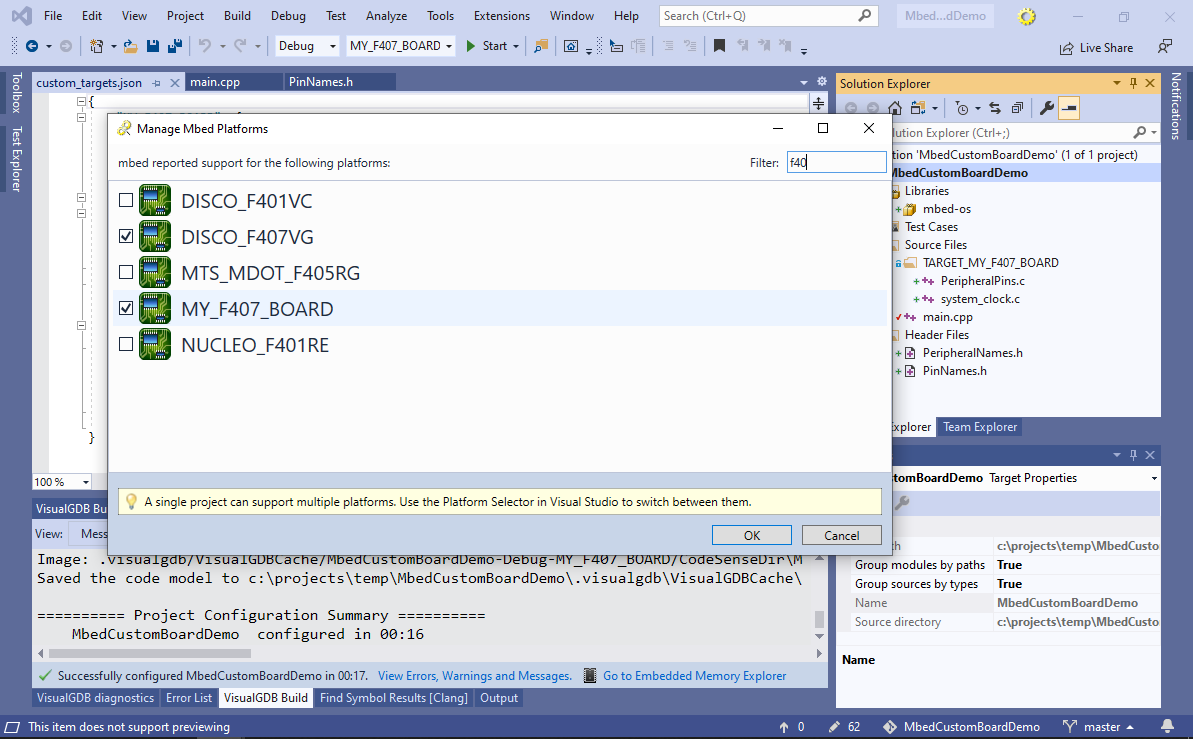
- You can remove the platform for the original STM32F4Discovery board by right-clicking on the project node in Solution Explorer and selecting Add->Manage mbed boards: