Using SPIFFS Partitions with ESP32 Projects
This tutorial shows how to manage SPIFFS FLASH partitions for ESP32 projects built with the ESP-IDF framework. SPIFFS partitions can contain arbitrary files (i.e. resources) used by the application. You can use them to store web pages, images, configuration files, or any other information.
In this tutorial we will create a basic “blinking LED” project and change it to read the blinking script from a text file in an SPIFFS partition. We will then show how to modify the program behavior by changing the SPIFFS partition contents without modifying the program itself.
Before you begin, install VisualGDB 5.5 or later.
- Start Visual Studio and locate the VisualGDB ESP-IDF Project Wizard:

- Enter the name and location of the project:

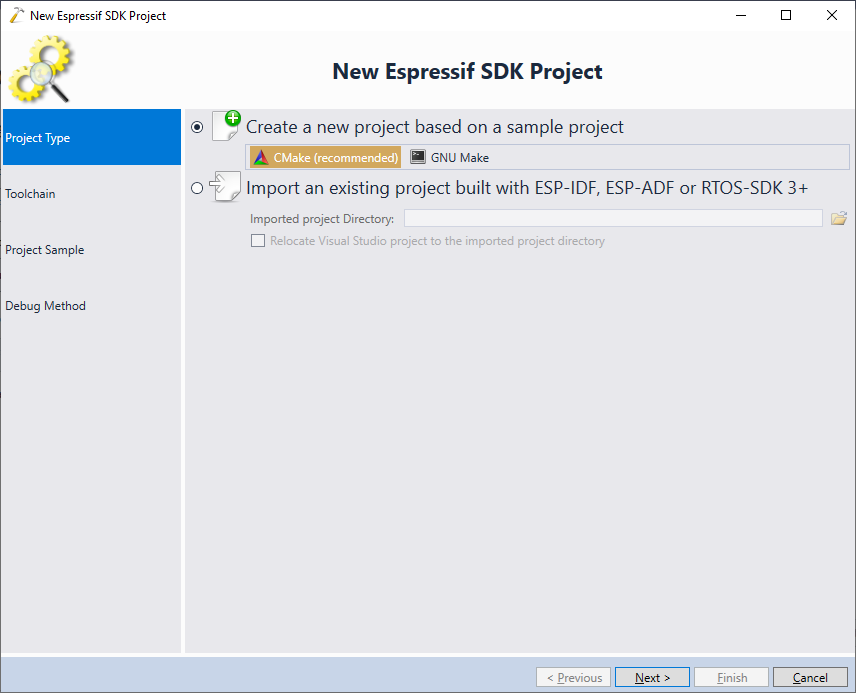
- Proceed wit the default project type (new application using CMake):
- On the Toolchain selection page pick your ESP32 toolchain and the ESP-IDF checkout. If you are using the Custom edition of VisualGDB, you can configure it to automatically open a terminal at a certain COM port when debugging the program. If not, you can view the COM port output using SmarTTY:
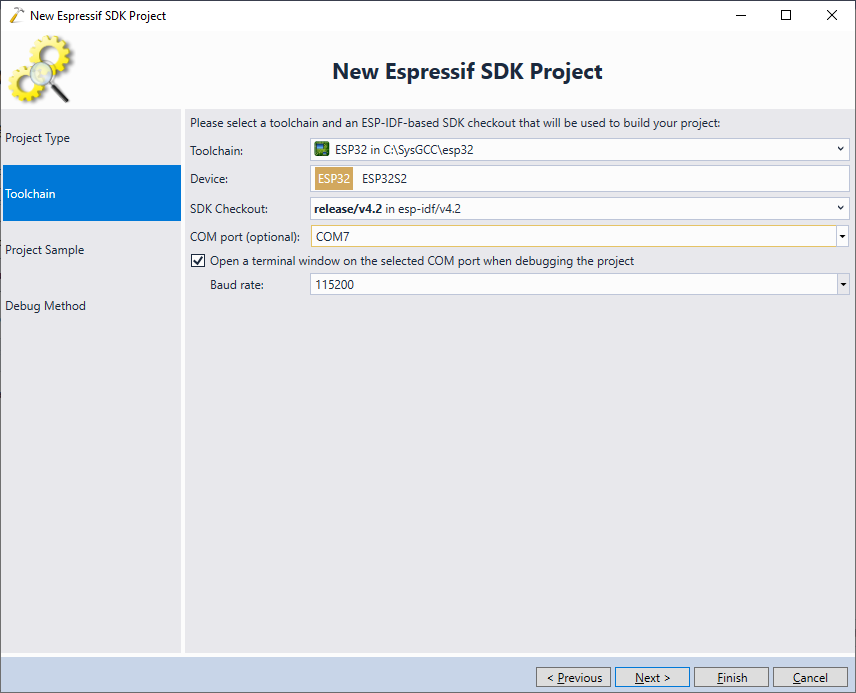 Update: For better compatibility with the latest ESP32 tools, we recommend selecting the consolidated toolchain instead.
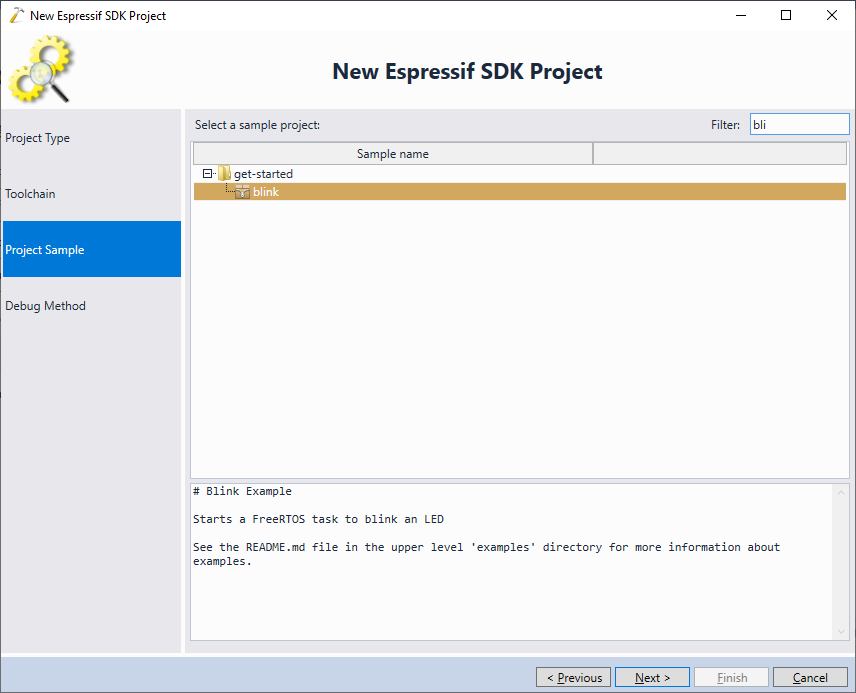
 - Pick a sample you would like to clone for the project. Although ESP-IDF includes the spiffsgen sample demonstrating SPIFFS, we will instead pick the blink sample and show how to add SPIFFS-specific functionality manually:
- Connect your development board to the USB port and make sure VisualGDB detects the debugging settings. Click the “Test” button to verify them:
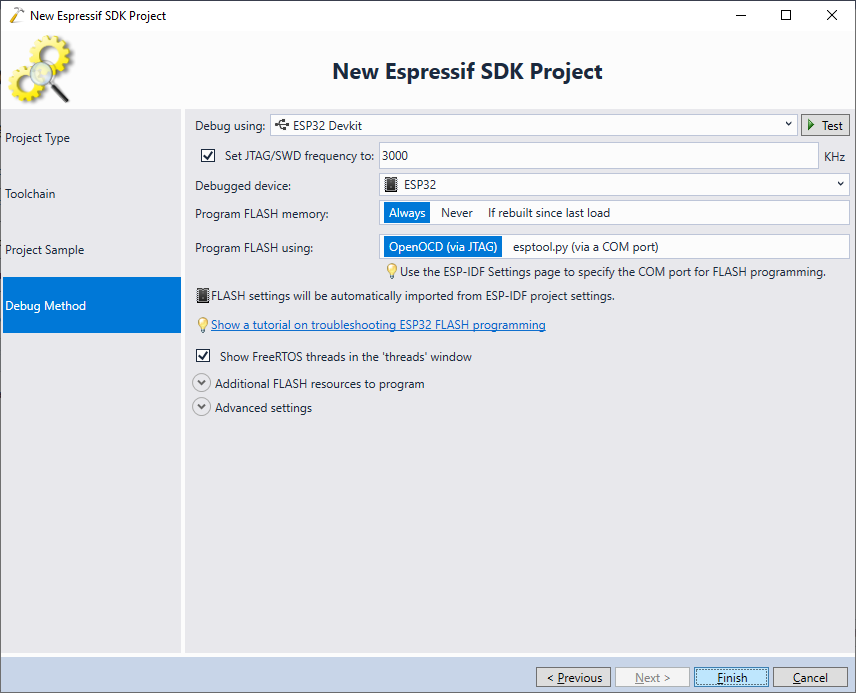 Once the settings have been verified, click “Finish” to generate the project.
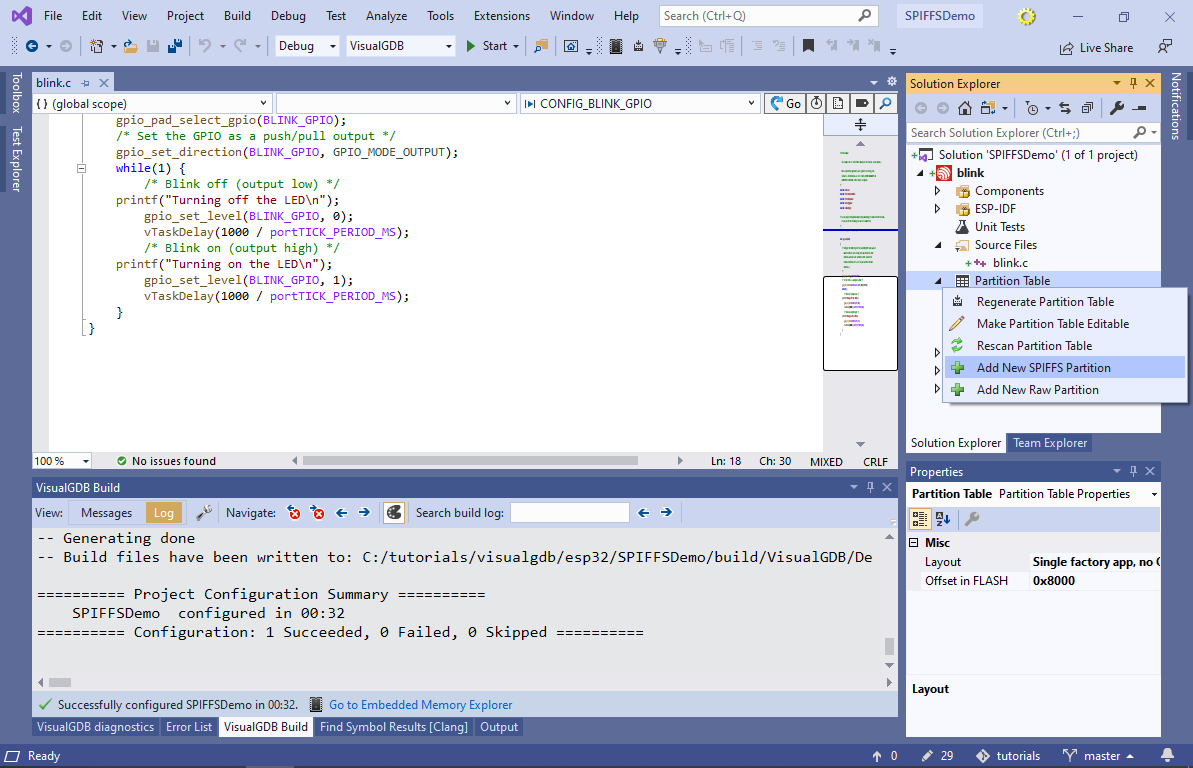
 - VisualGDB will create a basic “blinking LED” project containing the default partition table (with no SPIFFS partitions). Locate the partition table in Solution Explorer, right-click on it and select “Add New SPIFFS Partition”:
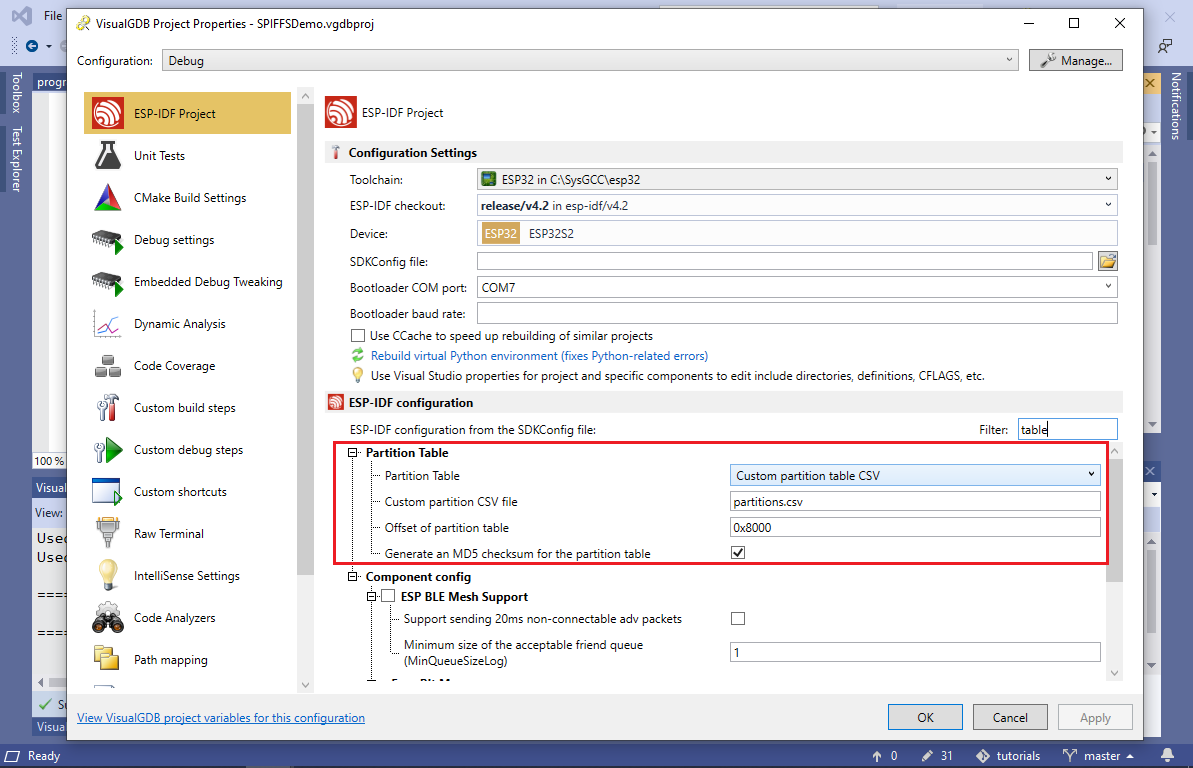
- Proceed with switching the project to a custom partition table layout:

- VisualGDB will copy the default layout file (partitions.csv) to the project directory and will configure the project to use it. You can change this setting later via VisualGDB Project Properties:
- Proceed with the default name and size of the partition:
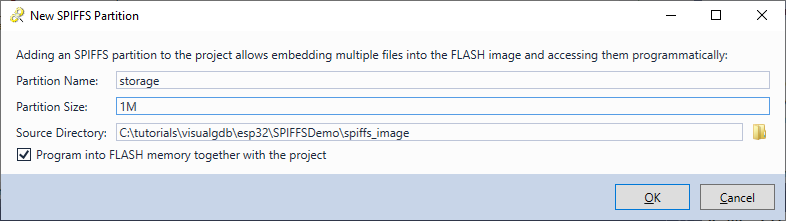 Note that the partition contents will be stored in the <Project Directory>\spiffs_image folder. Each time you build the project, the SPIFFS image will be rebuilt based on that directory contents, and will be programmed into the FLASH memory together with your project.
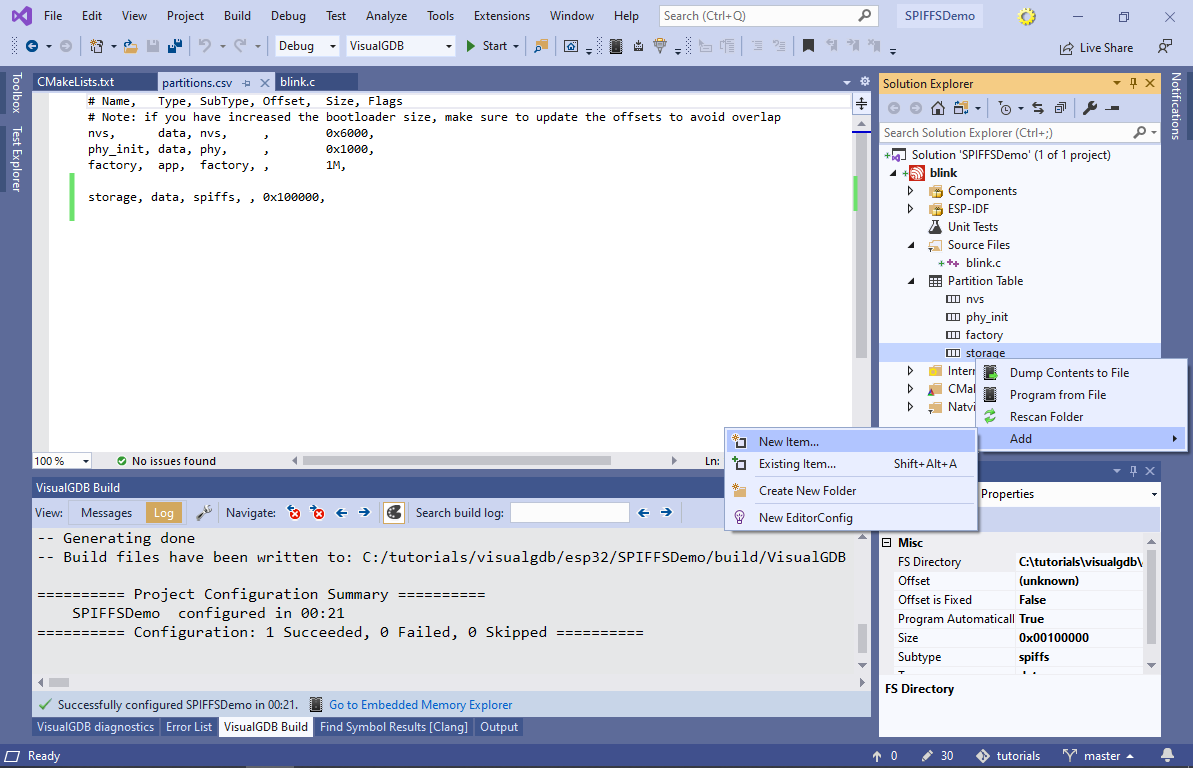
 - VisualGDB will automatically edit the partitions.csv file for you, adding the new partition. Now you can begin adding files to it. Right-click on the partition and select “Add->New Item“:
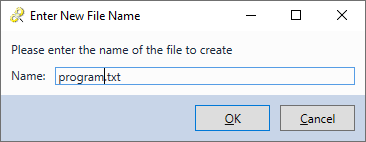
- Enter “program.txt” as the file name:
 You can also add files to SPIFFS partitions via “Add->Existing Item” or by simply copying them into the <Project Directory>\spiffs_image folder.
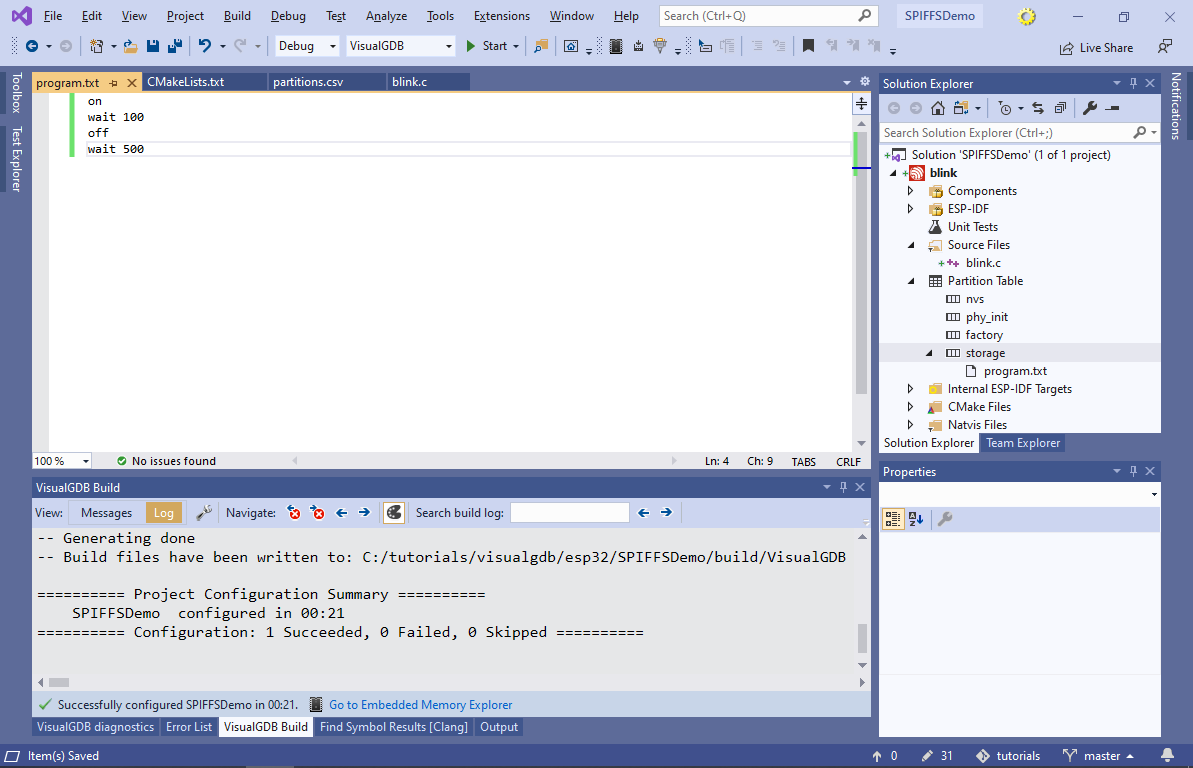
 - Enter the following text in program.txt:
on
wait 100
off
wait 500
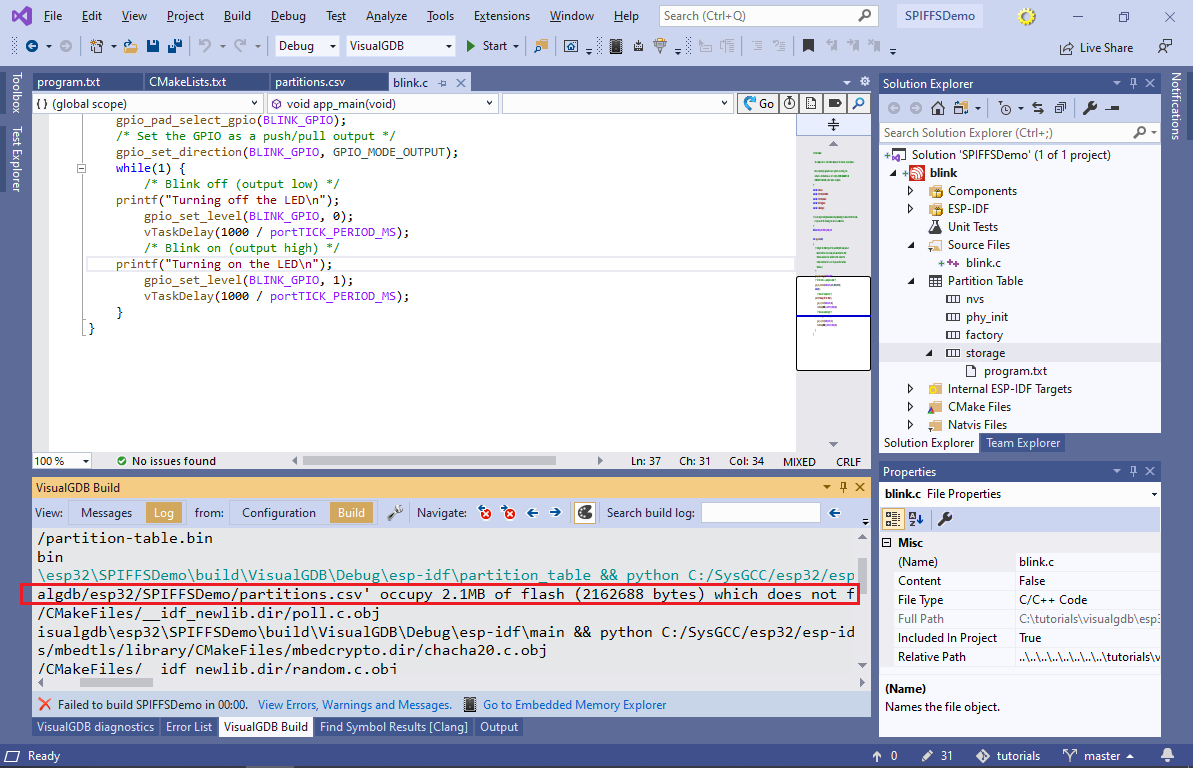
- Try building the project. You may get an error stating that the created partition doesn’t fit into the FLASH memory:
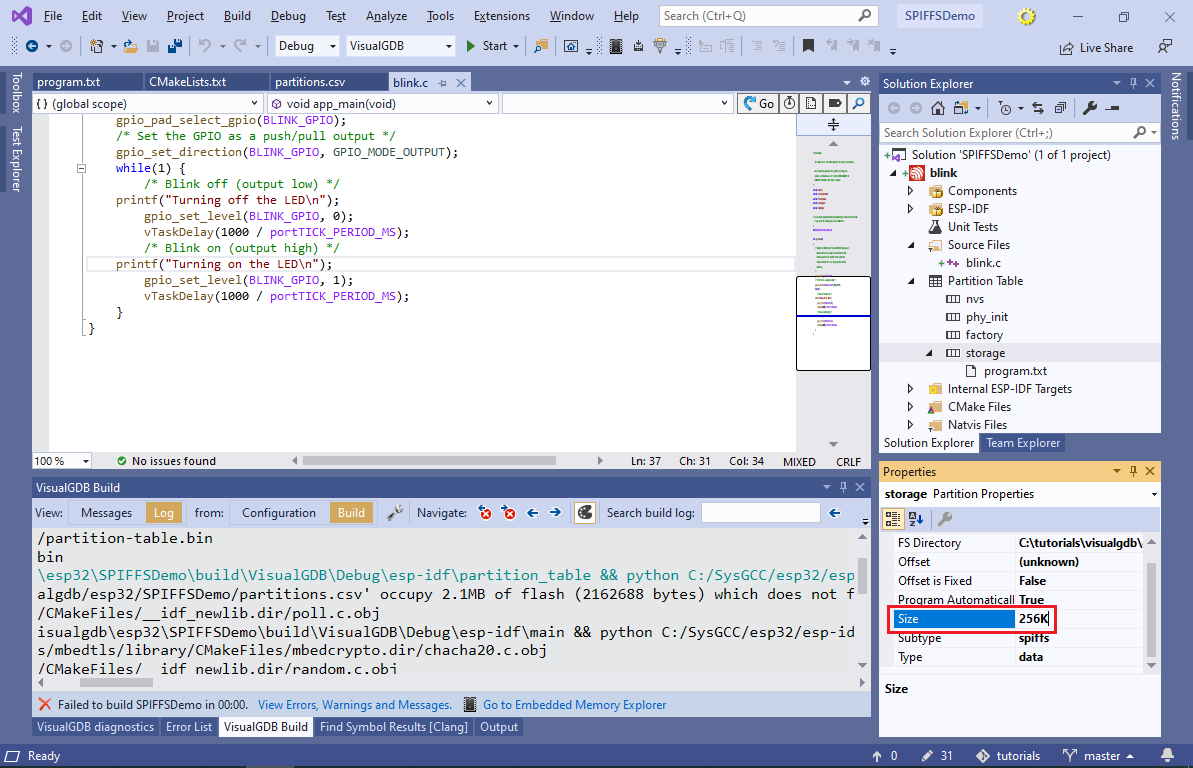
- If this happens, reduce the partition size via Solution Explorer. This will have the same effect as manually editing partitions.csv:
- Include the <esp_spiffs.h> and <string.h> files from blink.c. Then, update app_main() to mount the partition by calling esp_vfs_spiffs_register():
    esp_vfs_spiffs_conf_t conf = {
        .base_path = "/spiffs",
        .partition_label = NULL,
        .max_files = 5,
        .format_if_mount_failed = false};

    esp_err_t ret = esp_vfs_spiffs_register(&conf);

    if (ret != ESP_OK)
        asm("break 1, 1");
This will mount the partition contents (i.e. program.txt) under the virtual /spiffs path that can be used with fopen(). Replace the blinking loop in main() with the following code:
    for (;;)
    {
        FILE *f = fopen("/spiffs/program.txt", "r");

        if (f == NULL)
            asm("break 1, 1");

        for (char buffer[256], *line; (line = fgets(buffer, sizeof(buffer), f));)
        {
            for (int i = 0; i < sizeof(buffer); i++)
                if (buffer[i] == '\r' || buffer[i] == '\n')
                {
                    buffer[i] = 0;
                    break;
                }

            if (!strcmp(line, "on"))
                gpio_set_level(BLINK_GPIO, 0);
            else if (!strcmp(line, "off"))
                gpio_set_level(BLINK_GPIO, 1);
            else if (!strncmp(line, "wait ", 5))
                vTaskDelay(atoi(line + 5) / portTICK_PERIOD_MS);
        }

        fclose(f);
    }
This code reads the /spiffs/program.txt file line-by-line and controls the LED based on the commands stored in it.
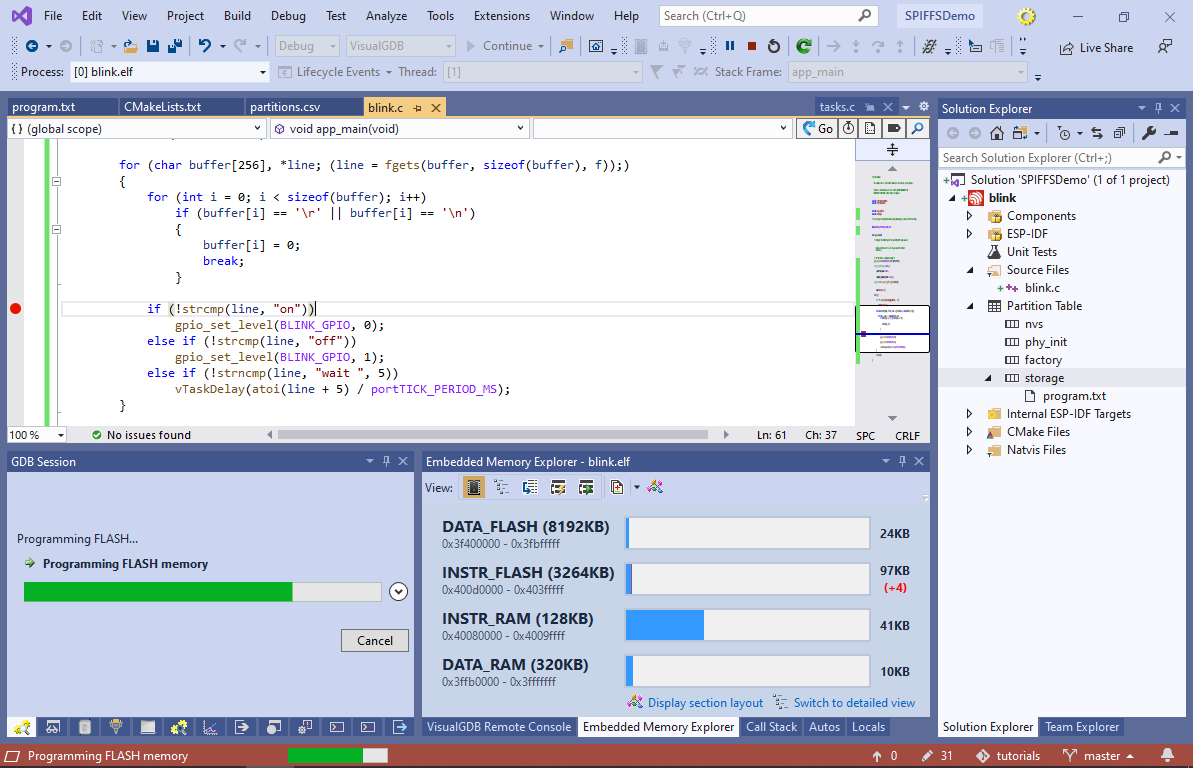
- Set a breakpoint inside the loop and begin debugging the project by pressing F5. VisualGDB will automatically program the FLASH memory and start a debugging session:
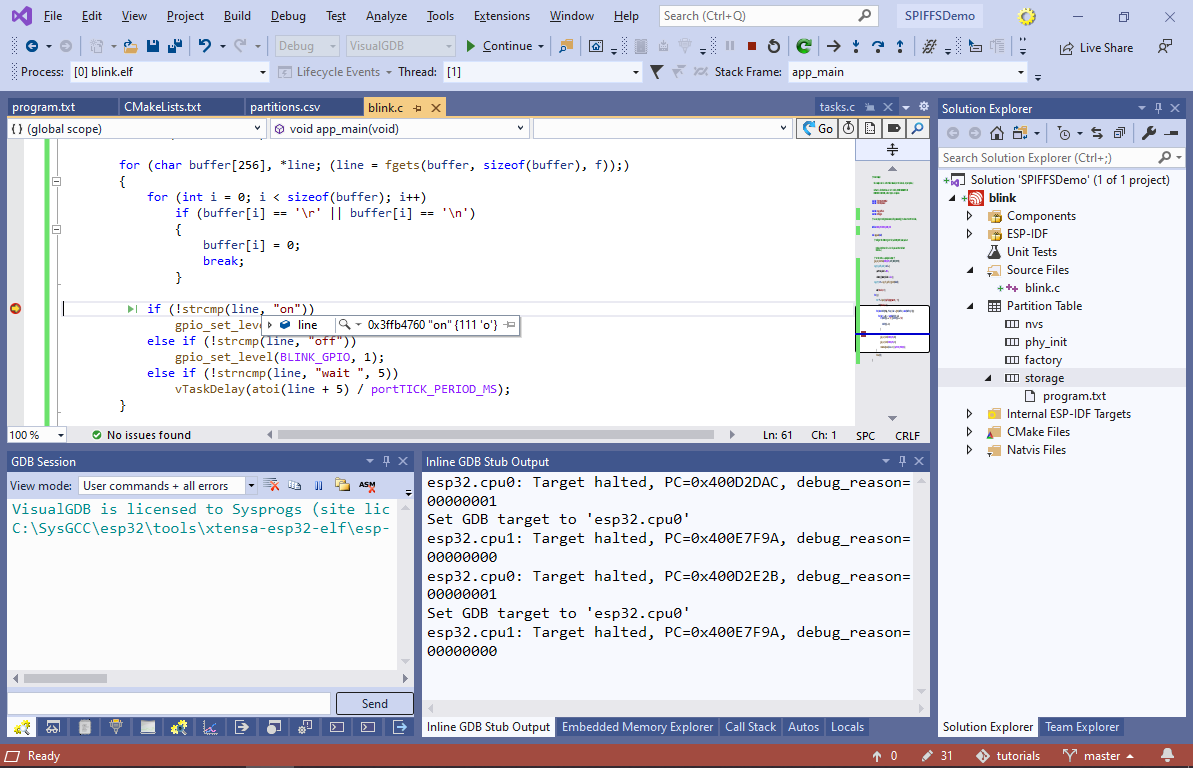
- The breakpoint will soon trigger, showing the first line of program.txt read into buffer:
 Remove the breakpoint and resume debugging. The LED will now blink in shorter impulses with longer pauses.
 - The SPIFFS partition can be rebuilt and programmed separately from the program itself. Try changing “wait 100” to “wait 1000” and then build the “storage-flash” target:
 The ESP-IDF framework will automatically update and program the image, making the LED stay on for longer.
You can find the project shown in this tutorial in our GitHub repository.