Developing firmware for MSP432 devices with Visual Studio
This tutorial shows how to create a basic “Blinking LED” program for the MSP432 LaunchPad evaluation board. Before you begin, please install VisualGDB 5.0 or later and update your OpenOCD package to the latest version using the Embedded Tools Manager.
- Start Visual Studio and open the VisualGDB Embedded Project Wizard:

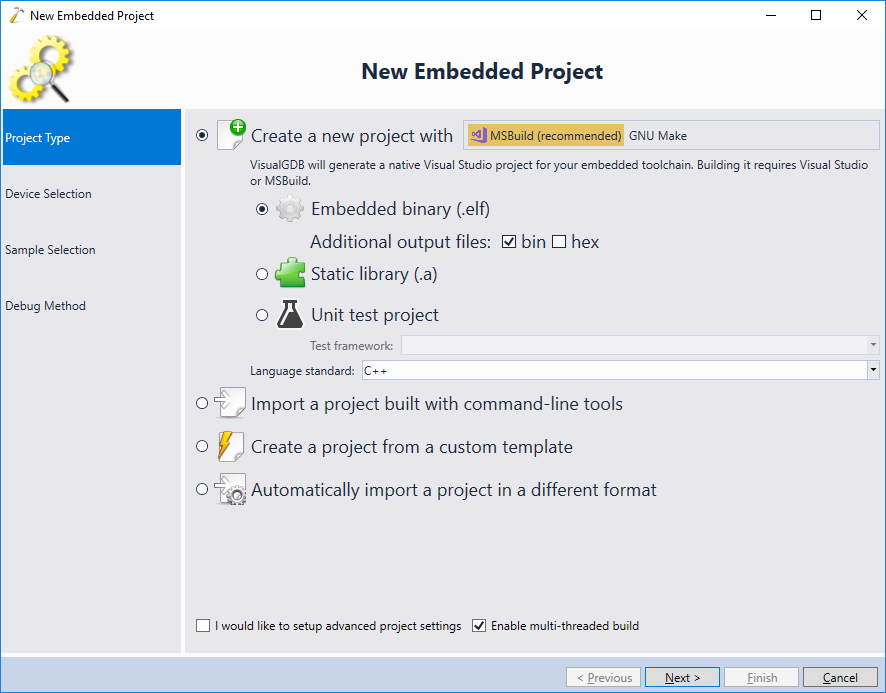
- Proceed with the default choice of creating a new binary:
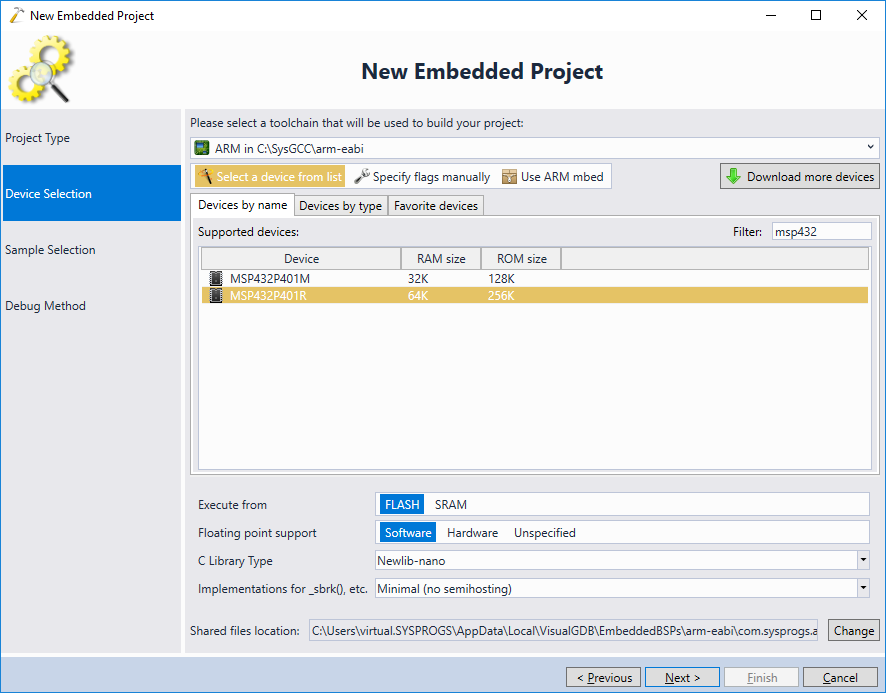
- On the next page select the ARM toolchain and pick the MSP432P401R device from the list:
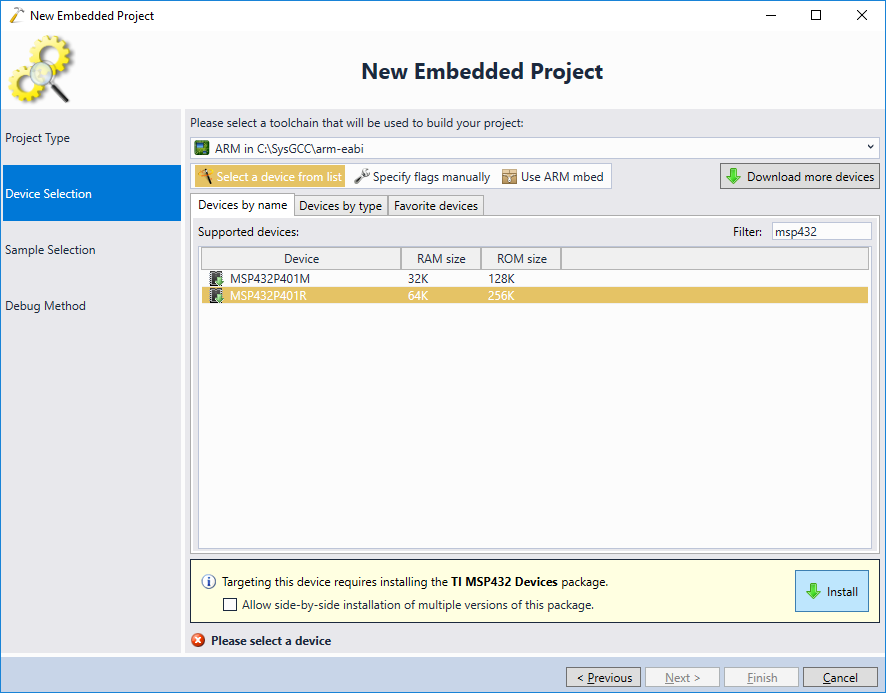 If this is the first MSP432 project created on this machine, VisualGDB will suggest automatically installing the MSP432 package. Proceed with the installation.
 - Once the package is downloaded and installed, press “Next” to proceed with the default settings:
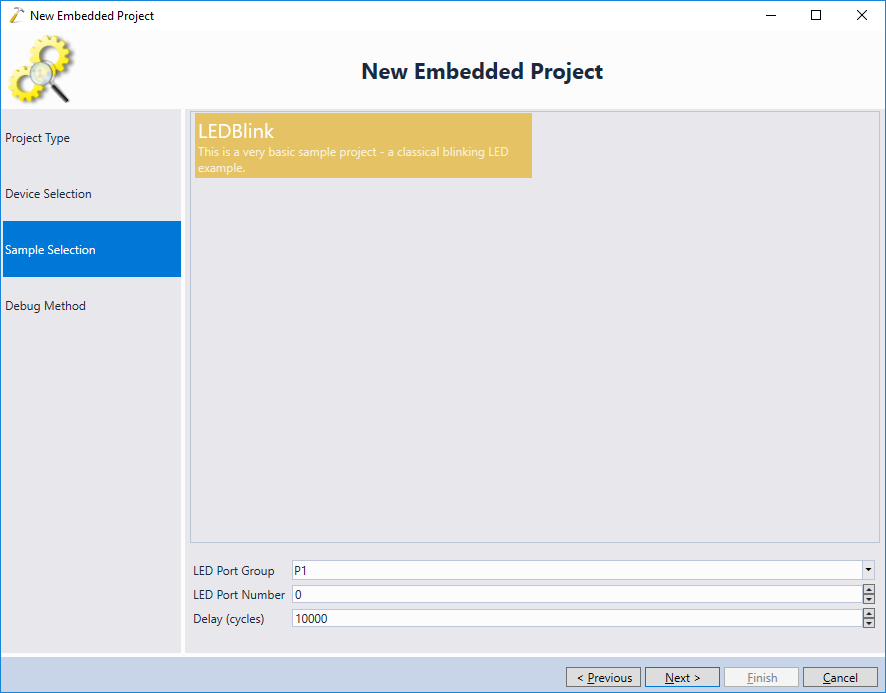
- The next page of the wizard allows selecting the sample project. The MSP432 package provides only one sample – LEDBlink. According to the MSP432 LaunchPad schematics, a red LED is connected to port PIO1.0 which is the default choice when creating a VisualGDB project. If you want to use a different port, you can change it here:
- If you have connected your MSP432 LaunchPad via USB and are using the latest OpenOCD package, VisualGDB will automatically detect and select the corresponding programming interface:
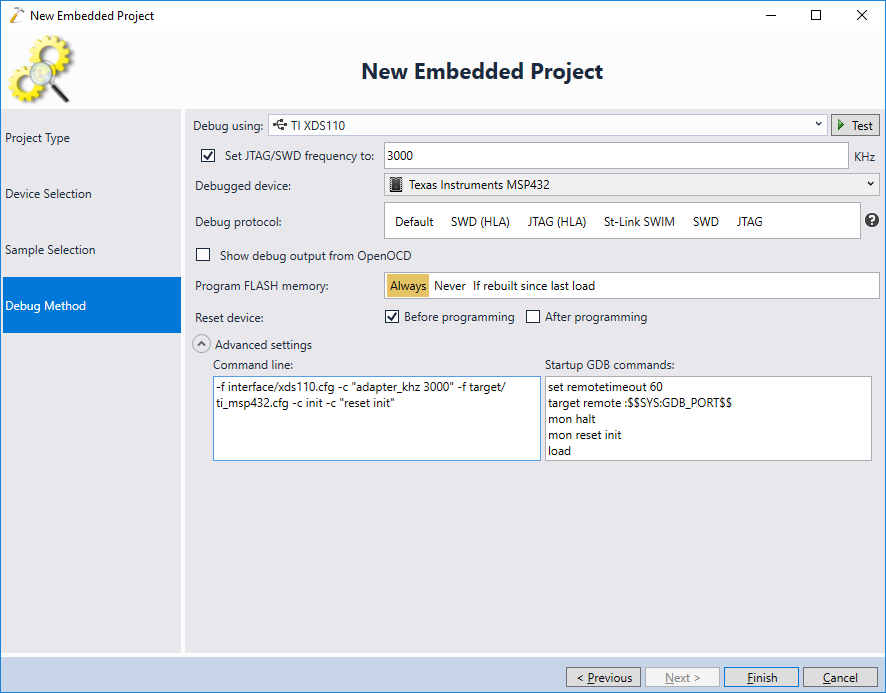 Ensure that the interface is recognized as XDS110, not the generic CMSIS-DAP, that would be much slower.
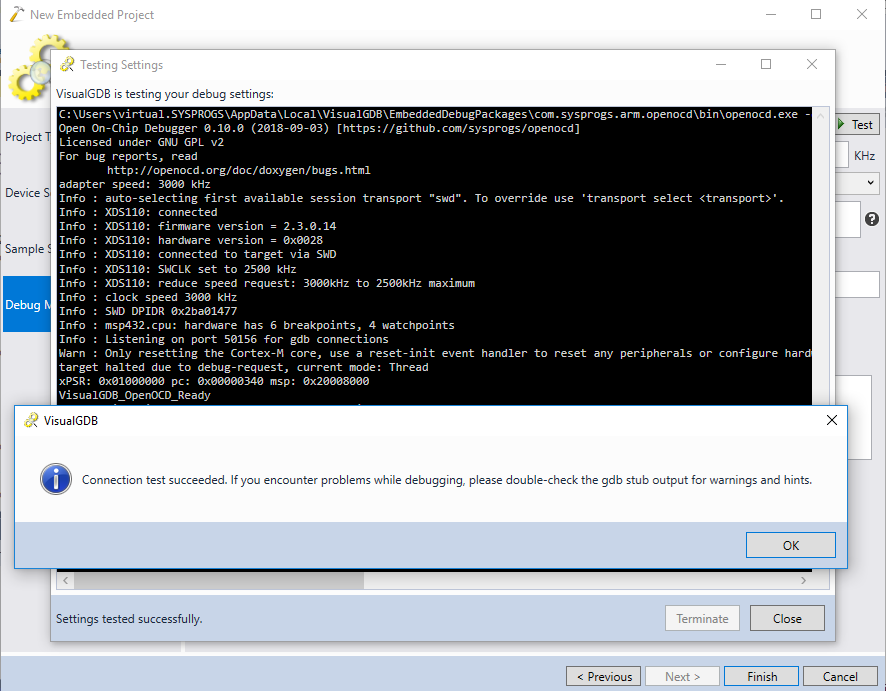
 - Press “Test” to verify that the connection to the board works:
- Press Finish to complete creating your project. Then build it with Ctrl-Shift-B:
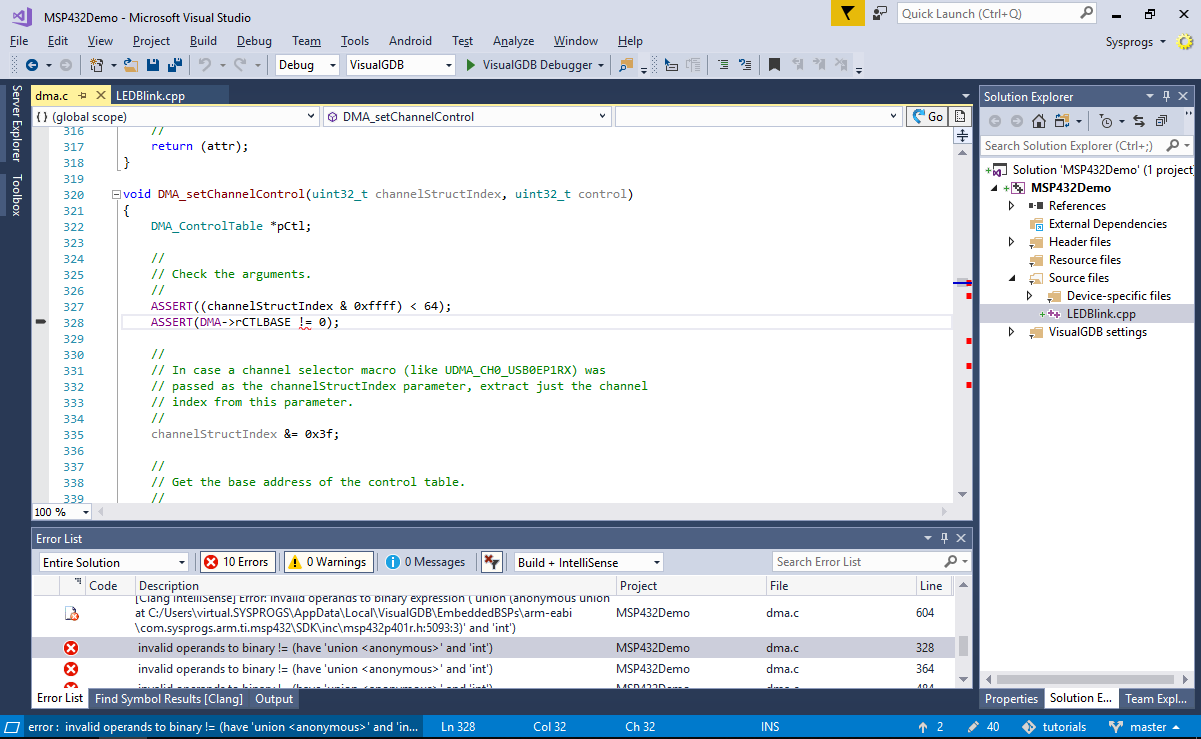 The first build will fail due to an error in the ASSERT() statement.
 - The error happens due to a typo in the MSP432 SDK. To work around it, either remove the problematic ASSERT() statements, or simply change the condition above the ASSERT() definition to never trigger:
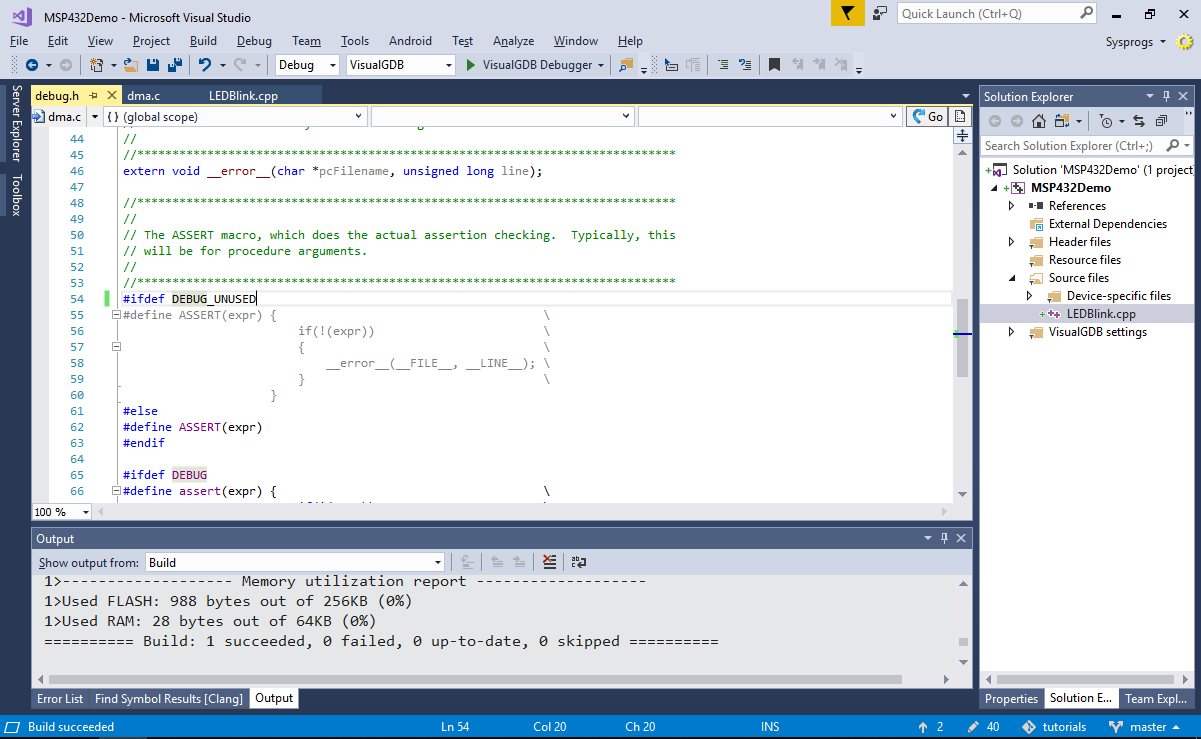
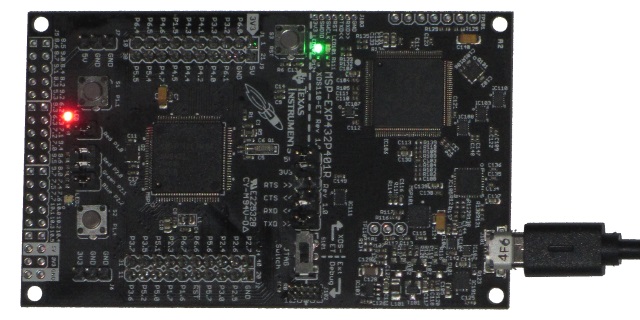
- Press F5 to start debugging and observe the red LED on the MSP432 LaunchPad board:

- Set a breakpoint on the call to GPIO_toggleOutputOnPin() and wait until it is hit:
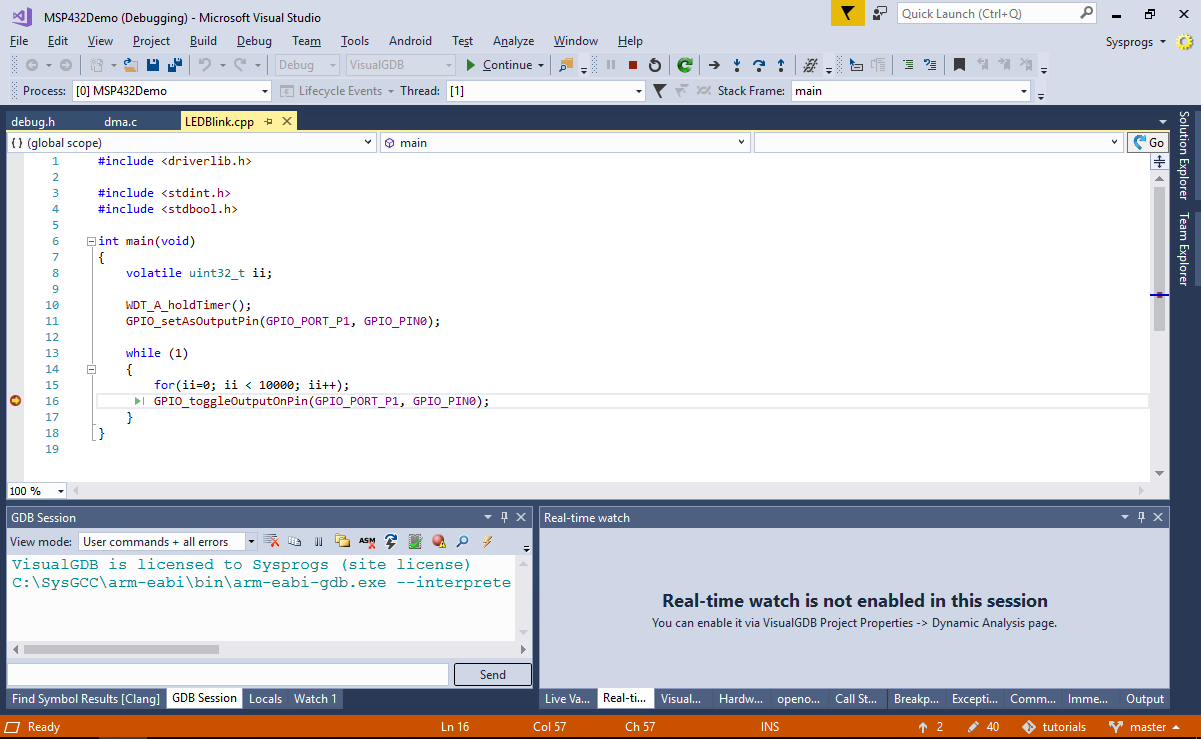
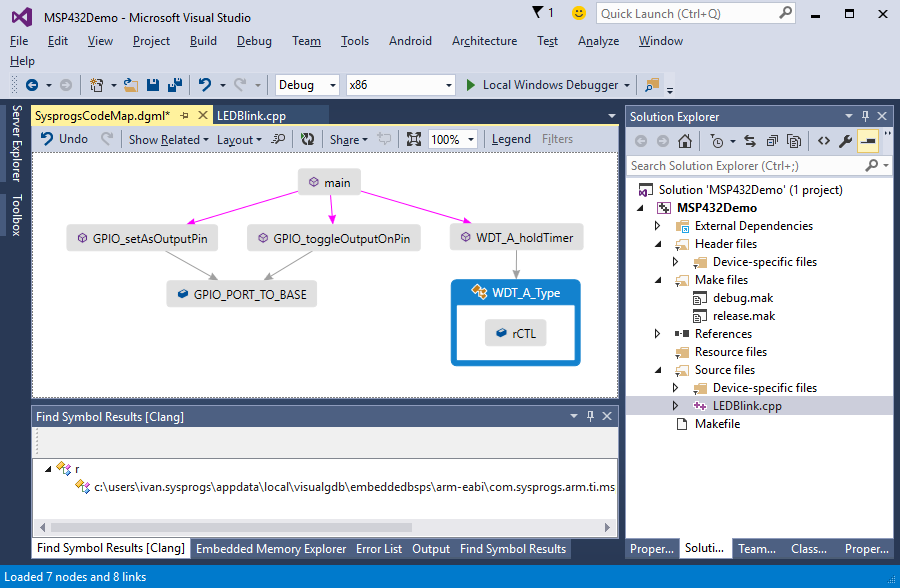
- You can debug your code just like any other Visual Studio project. If you are using the Clang IntelliSense, you can also use the Code Map to explore the relations between various functions and variables in your code:
