Debugging CMake Scripts with Visual Studio
This tutorial shows how to use VisualGDB to step through the CMake scripts while analyzing CMake configuration problems. We will create a basic CMake project using a Linux cross-toolchain, add macros to read the version number from a text file, and will then step through the CMake statements in the debugger and show how to modify the version read from the file on-the-fly.
Before you begin, install VisualGDB 5.4 Preview 7 or later.
- Start Visual Studio and open the VisualGDB Linux Project Wizard:
- Select “Create a new project” -> “Application” -> “CMake” and ensure that the “Use the advanced CMake Project Subsystem” checkbox is set:

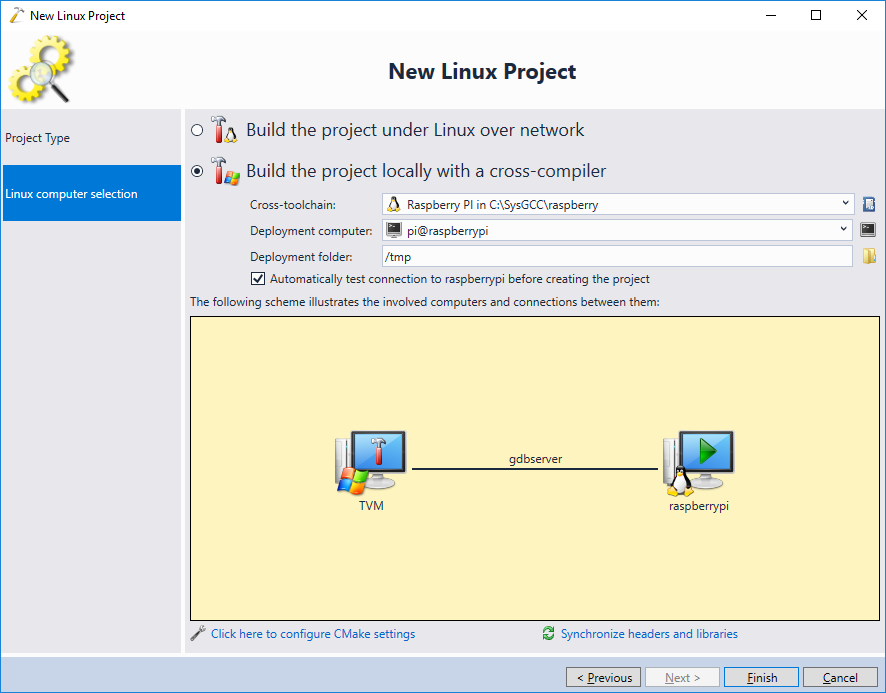
- On the next page select the machine you want to target. You can either build the code on the Windows machine using a cross-toolchain, or build it directly on the Linux machine, depending on your configuration. In this tutorial we will build the code locally using the Raspberry Pi cross-toolchain:
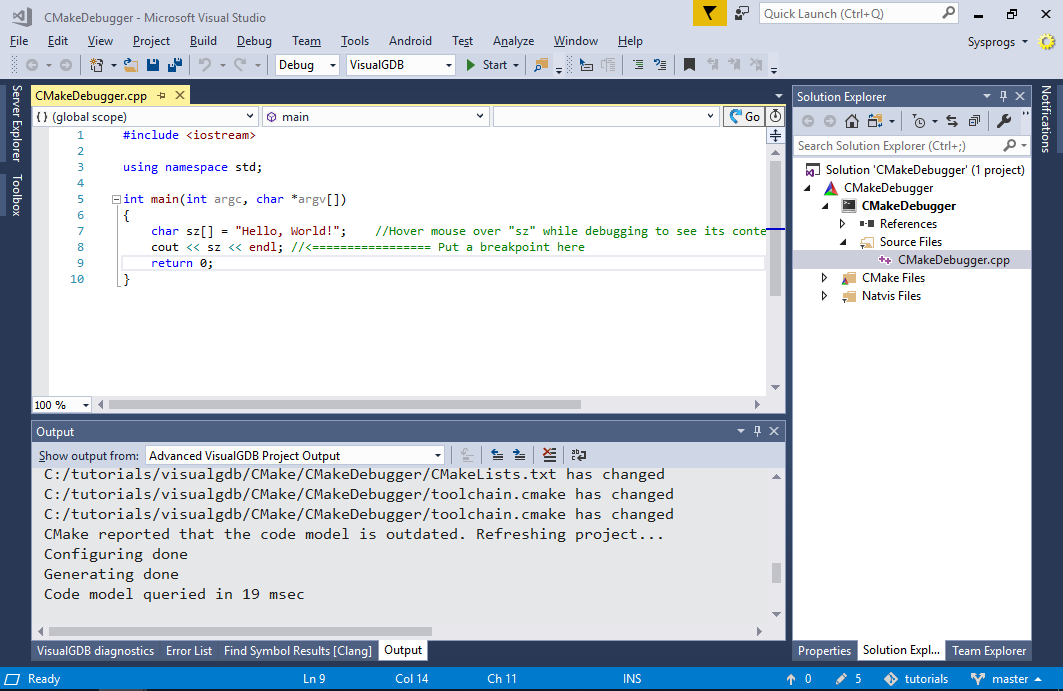
- Press “Finish” to create the project. VisualGDB will generate a simple CMake project with one target:
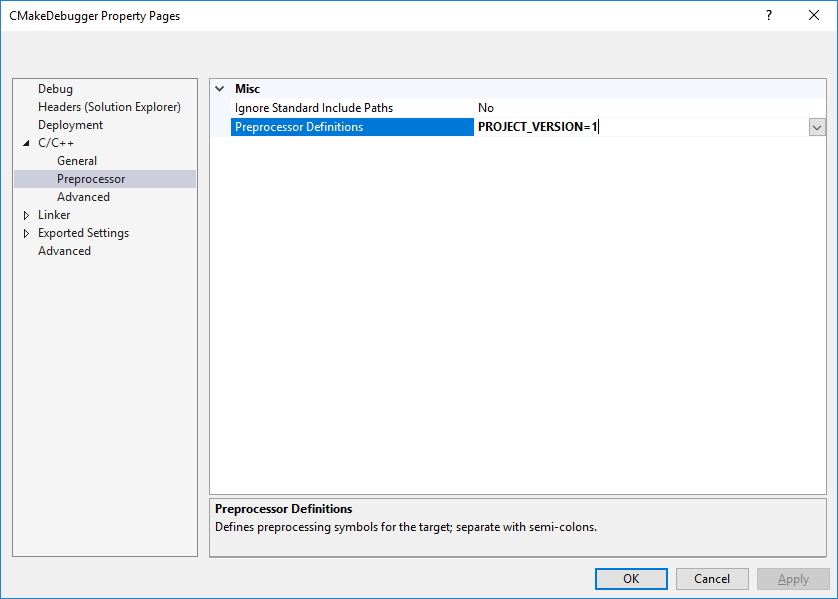
- Open the Visual Studio project properties for the target and add “PROJECT_VERSION=1” to the preprocessor definitions:
- VisualGDB will automatically insert the corresponding statement into the CMakeLists.txt file:

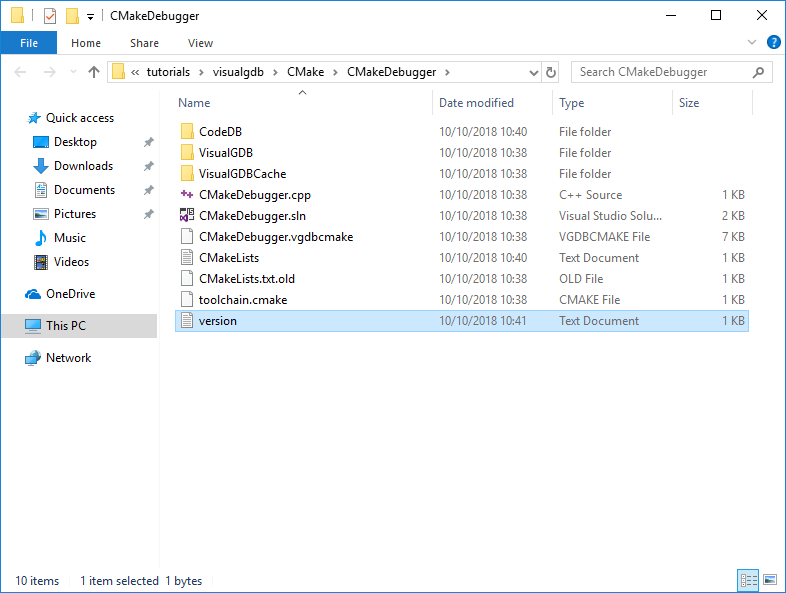
- Now we will replace the hardcoded version with a CMake function that will read the version from a text file. First of all, create a file called version.txt in your project directory and ensure it contains a single character: “1”
- Then add the following code to your CMakeLists.txt file:
function(set_version_from_file target)
 file(READ "version.txt" VERSION_FROM_FILE)

 if (${VERSION_FROM_FILE} LESS "2")
  message(FATAL_ERROR "Invalid version")
 endif()

 target_compile_definitions(${target} PRIVATE PROJECT_VERSION=${VERSION_FROM_FILE})
endfunction()

<...>
set_version_from_file(<your target name>)
- Save the CMakeLists.txt and see how CMake reports a configuration error (as the version stored in the file is less than the version checked in CMakeLists.txt):

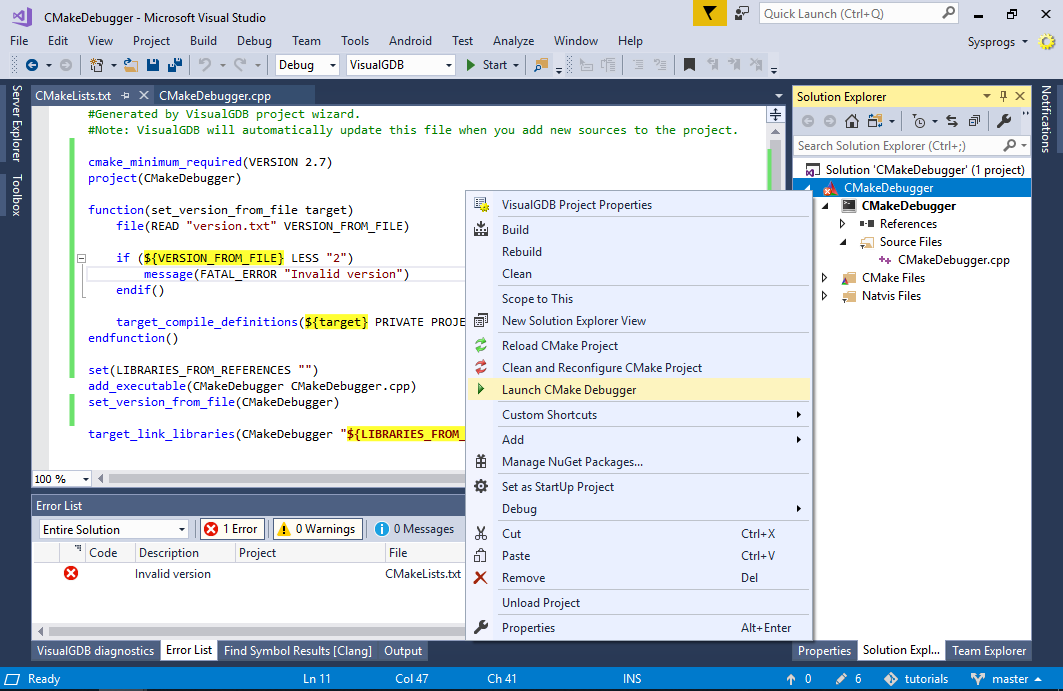
- Now we will use the CMake Script Debugger to step through the CMakeLists.txt file and see what exactly CMake is doing and also to skip the error statement. Right-click on your project in Solution Explorer and select “Launch CMake Debugger”:
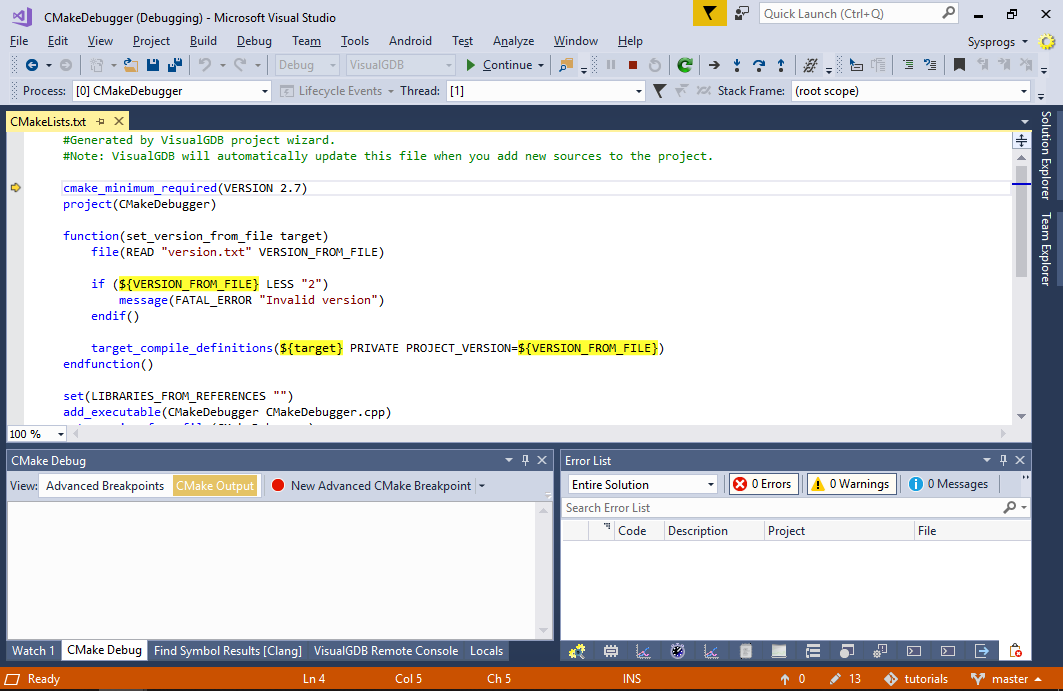
- VisualGDB will stop at the first statement of the file:
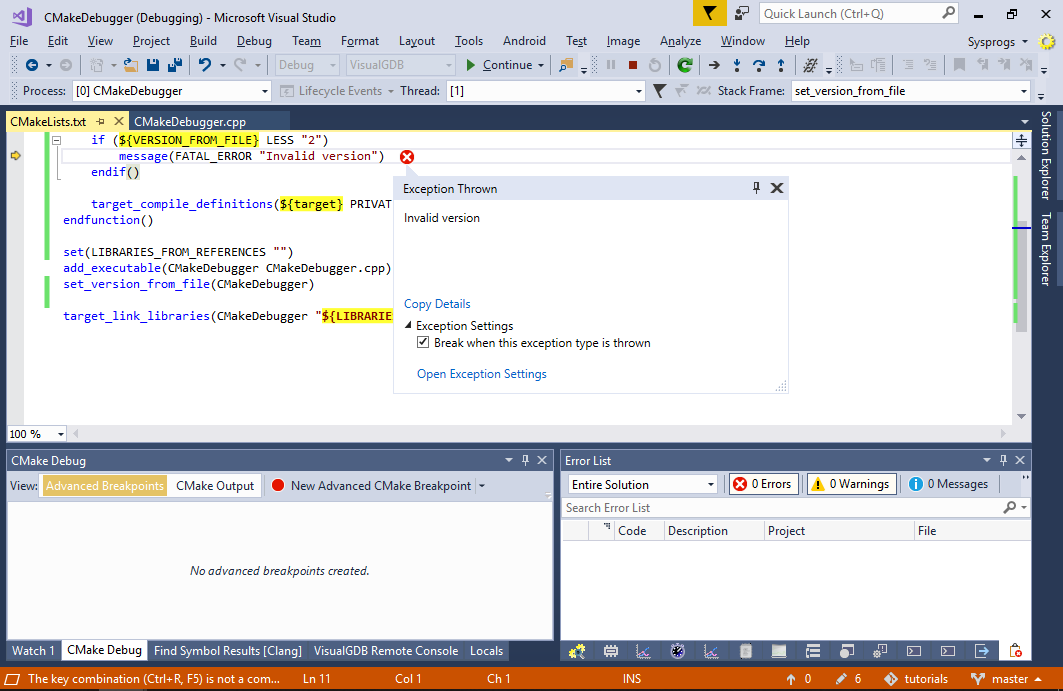
- The easiest way to get to the error message would be to simply press F5 to continue debugging. Once CMake hits a fatal error, VisualGDB will automatically stop at that statement:
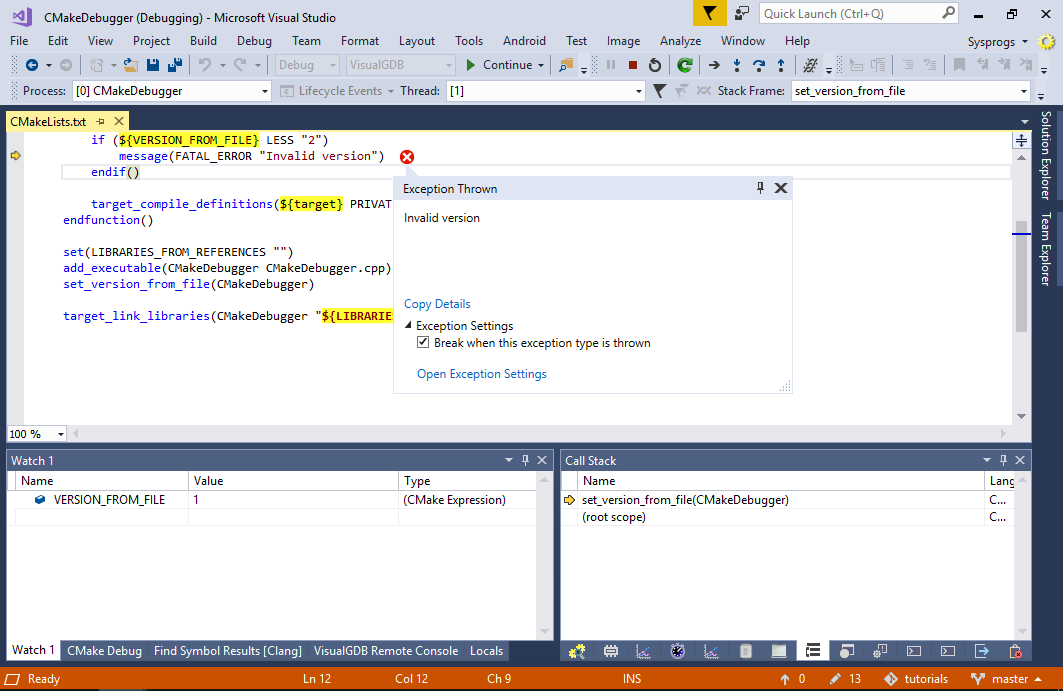 You can use the Call Stack and Watch windows to examine the program state, however as the message was already triggered, it is too late to change anything or skip the error line.
 - Restart the CMake debugging an put a breakpoint on the line comparing VERSION_FROM_FILE. Wait for it to trigger:

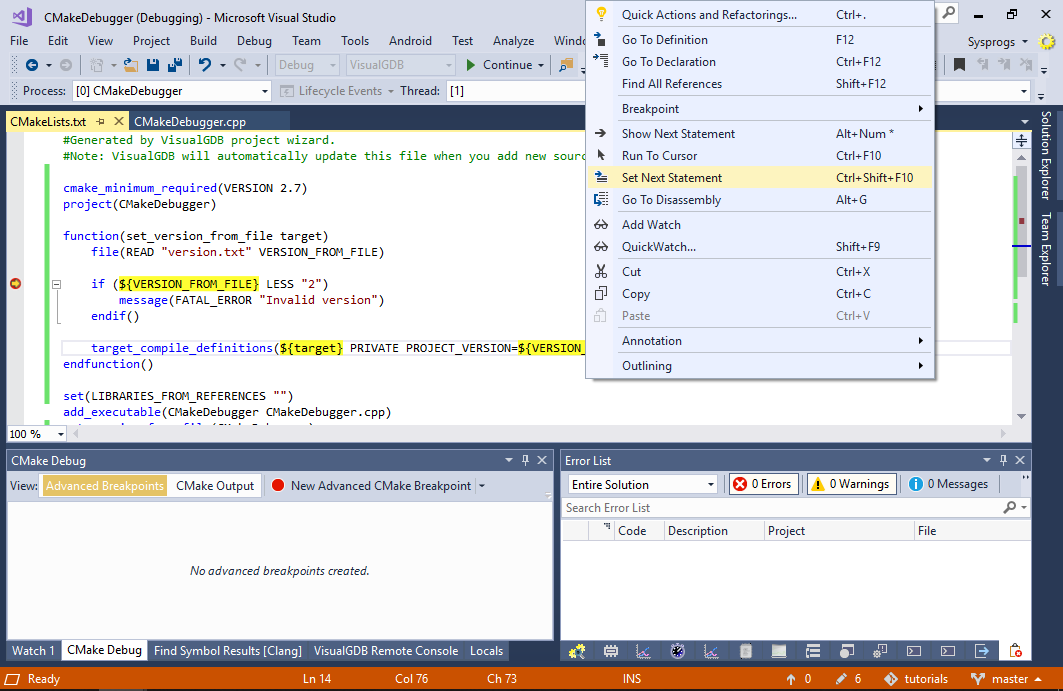
- Now instead of stepping into the check, simply right-click on the “target_compile_definitions” line and select “Set Next Statement”:
- Press F5 to continue the CMake configuration process. Once it is complete, the project will be configured with PROJECT_VERSION=1 as the error statement was successfully skipped:

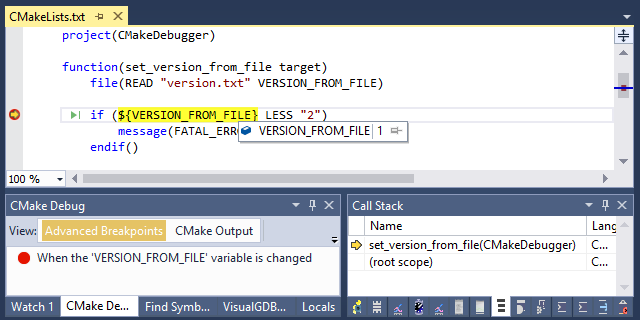
- Now we will show how to modify the version after it was read from the file. Ensure the breakpoint on the VERSION_FROM_FILE check is still set and start another debug session. Once the breakpoint triggers, hover the mouse over VERSION_FROM_FILE and change its value to 2:

- Step through the rest of the set_version_from_file() function to see that the error doesn’t trigger anymore:

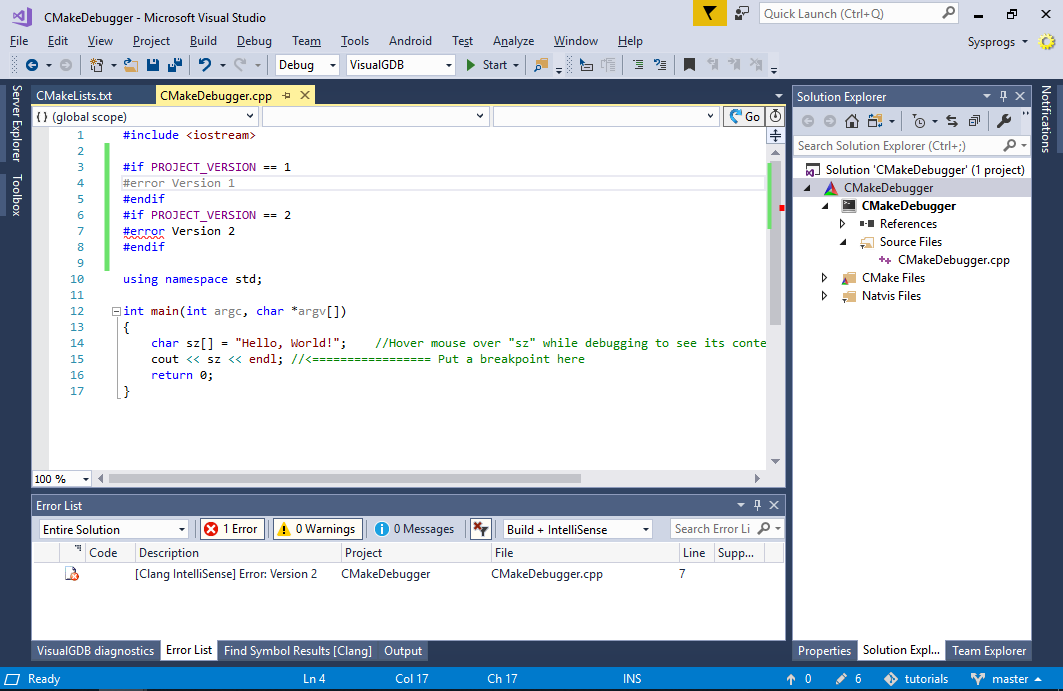
- Now the project got configured with PROJECT_VERSION=2 as we have manually changed it during CMake configuration:
 Changing variable values manually and setting next statement could be useful to quickly get past errors (e.g. missing tools) without restarting the entire configuration process each time. E.g. you could also edit the version.txt file and then force CMake to re-run the file() statement to read the updated version from the file.
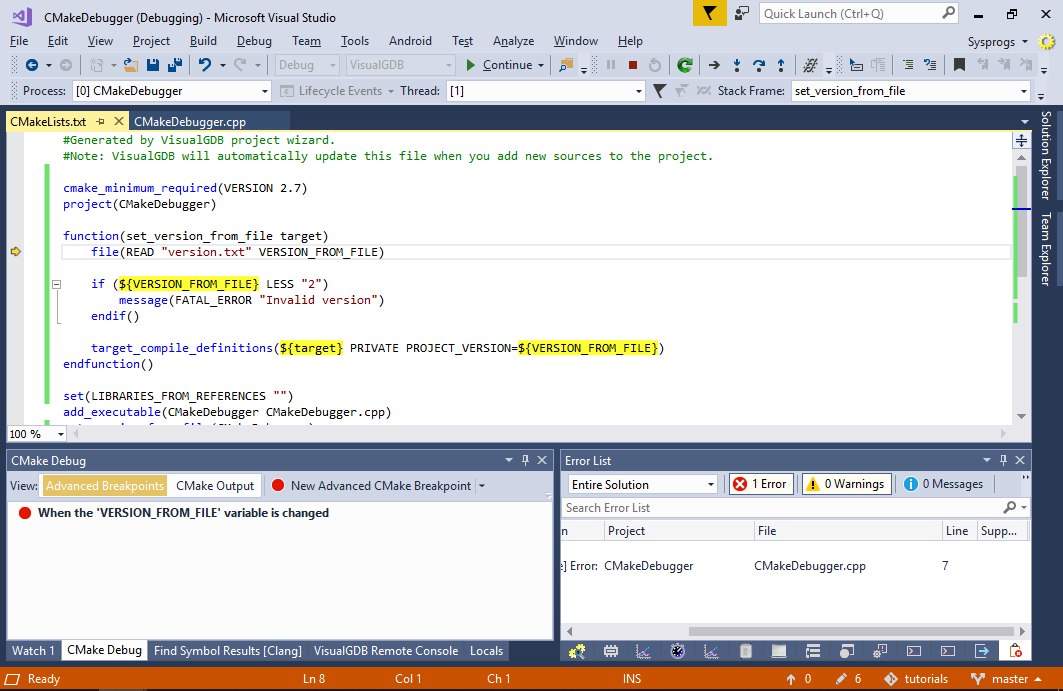
 - Finally we will show how to use the advanced CMake breakpoints to quickly locate the relevant parts of the CMake scripts. Start another debug session and remove all breakpoints. Now instead of setting a breakpoint on a specific line, click “New Advanced CMake Breakpoint” -> “Breakpoint on variable change” and enter “VERSION_FROM_FILE” as the variable name:
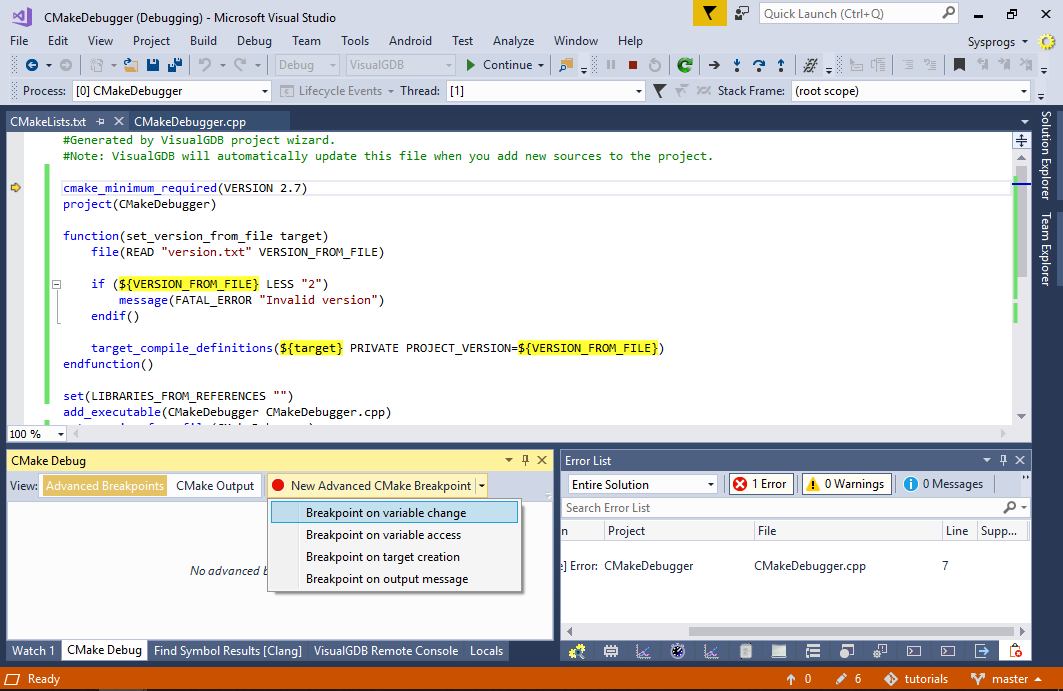
- The breakpoint will trigger when any statement anywhere in the CMake scripts will modify the VERSION_FROM_FILE variable in any scope:
 Note that when an advanced breakpoints triggers, CMake has already started processing a statement, so you won’t be able to use the “Set next statement” command until you step to the next one, or stop at a regular breakpoint.
If you are running CMake on a remote Linux system, ensure you build our open-source fork of CMake that provides the script debugger functionality. Our port is fully backward-compatible with the regular CMake, so you can keep on using the original CMake builds on the machines where the script debugging functionality is not required.