Visualizing complex data structures with Natvis and VisualGDB
This tutorial shows how to visualize complex data structures using the Microsoft Natvis files and VisualGDB. Before you begin, install VisualGDB 5.1 or later.
- Start Visual Studio and open any of the VisualGDB Project Wizards. In this example we will create a Linux project, however the same technique will also work for Embedded, Windows and Android projects.
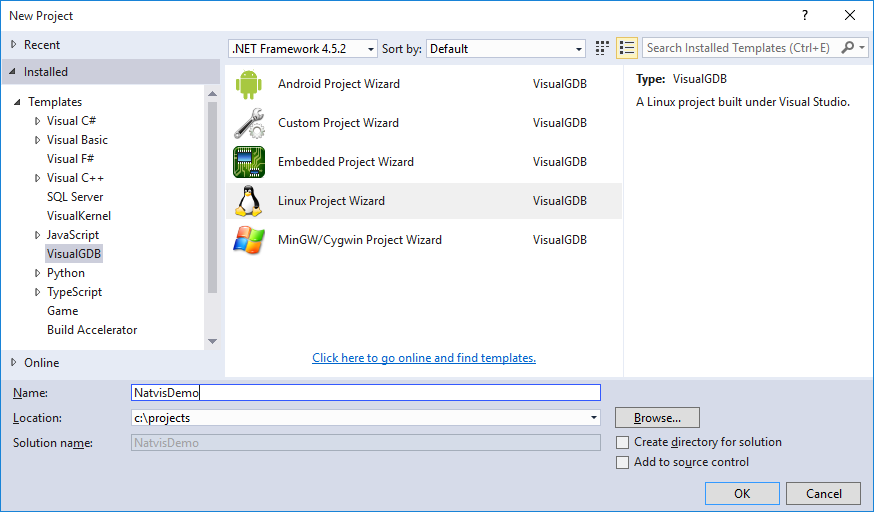
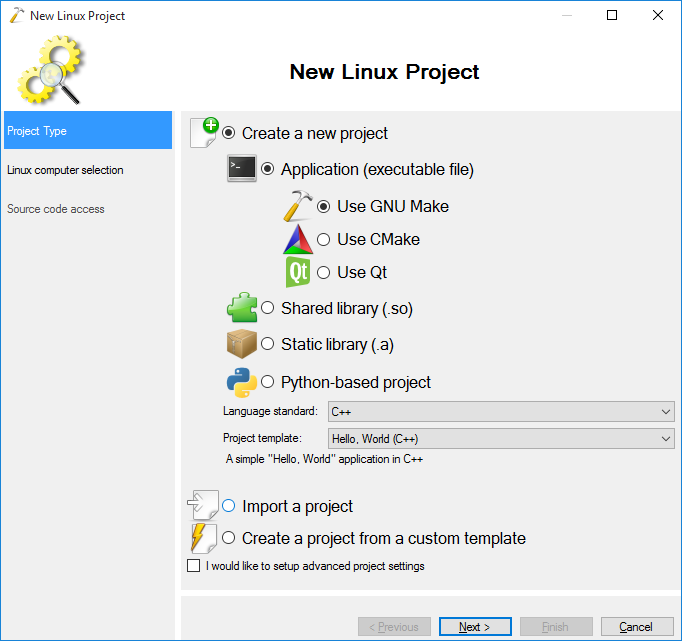
- As Natvis files do not require any special steps in the project wizard, you can simply proceed with the default ones. In this example we will create a basic Linux project:
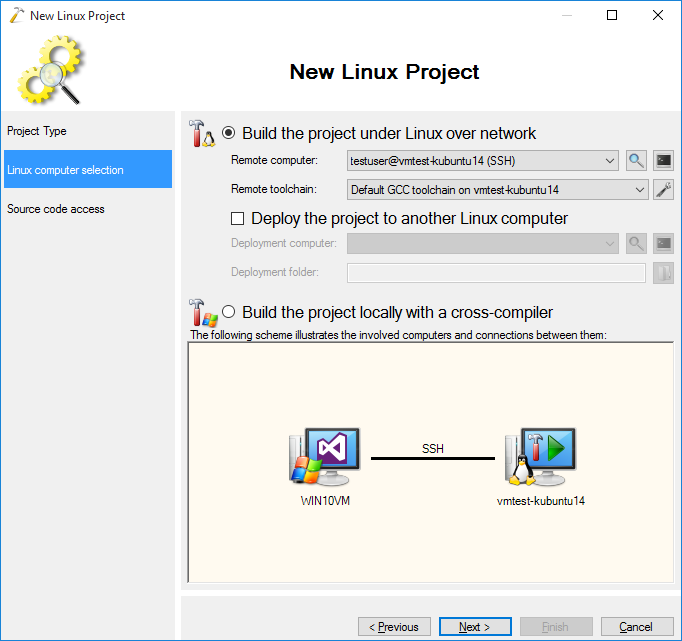
- If you are creating a Linux project, select your target computer and press “Next”. Otherwise, proceed with the default settings of the wizard you are using:
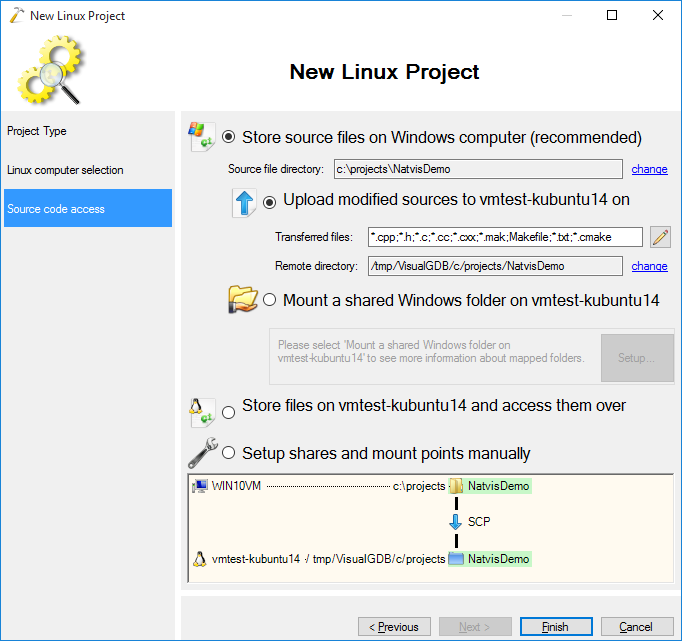
- On the last page of the wizard press “Finish” to generate a basic project:
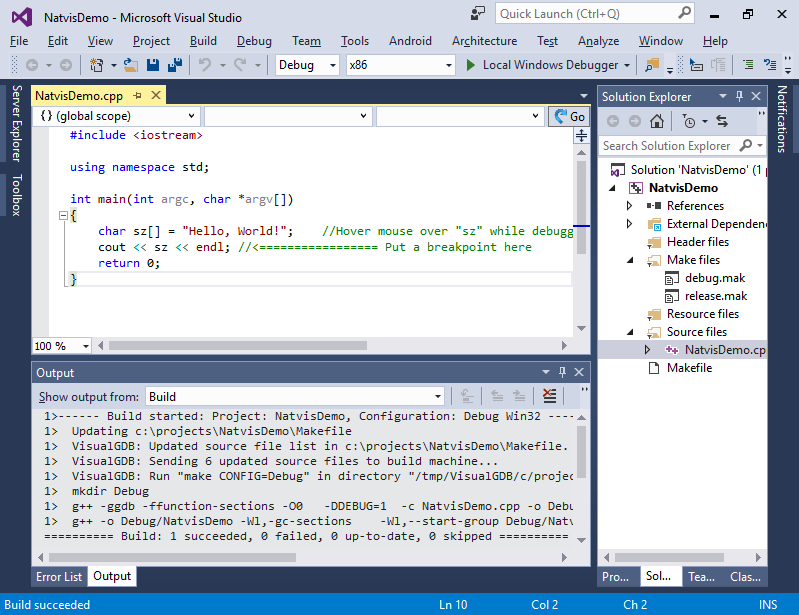
- Press Ctrl-Shift-B to build it. Ensure that there are no build errors:
- Now we will add a very basic class template for linked lists. Simply replace the contents of your main file with the following:
template <typename _Ty> class LinkedList
{
public:
    struct Node
    {
        _Ty Value;
        Node *pNext;

        Node(const _Ty &val, Node *next = NULL)
        {
            Value = val;
            pNext = next;
        }
    };

    void Add(const _Ty &value)
    {
        Node *pNode = new Node(value);
        if (!m_pFirst)
            m_pFirst = pNode;
        if (m_pLast)
            m_pLast->pNext = pNode;
        m_pLast = pNode;
        m_Size++;
    }

    LinkedList()
        : m_pFirst(NULL)
        , m_pLast(NULL)
        , m_Size(0)
    {
    }

    ~LinkedList()
    {
        for (Node *pNode = m_pFirst, *pNextNode; pNode; pNode = pNextNode)
        {
            pNextNode = pNode->pNext;
            delete pNode;
        }
    }

private:
    Node *m_pFirst;
    Node *m_pLast;
    int m_Size;
};

int main(int argc, char *argv[])
{
    LinkedList<int> list;
    for (int i = 0; i < 5; i++)
        list.Add(i * i);
    return 0;
}
- Then press F5 to build and debug your project:
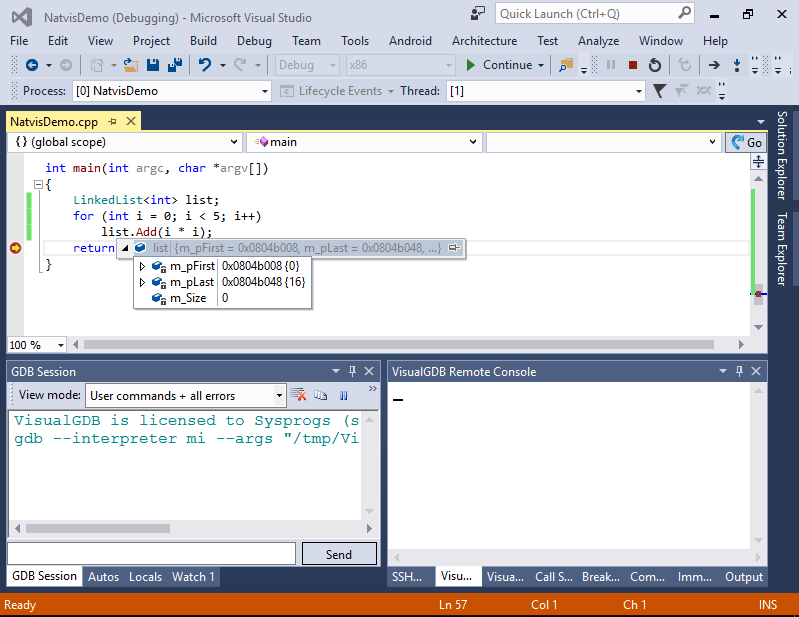 Hover the mouse over the instance of your list. Notice that by default you won’t easily see the contents of the entire list, as only the first and the last elements are directly referenced from the list object.
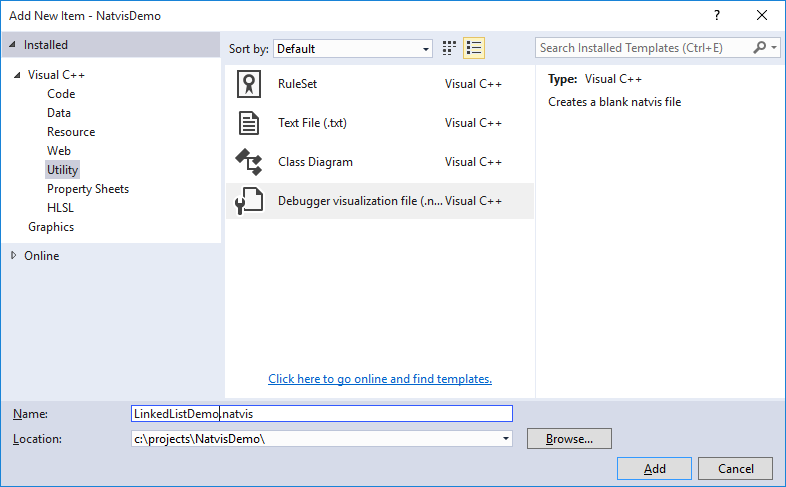
 - We will now create a .natvis file that will tell VisualGDB how to display the contents of your list. Right-click in the Solution Explorer, select Add->New Item and pick the Debugger visualization file from Visual C++->Utility:
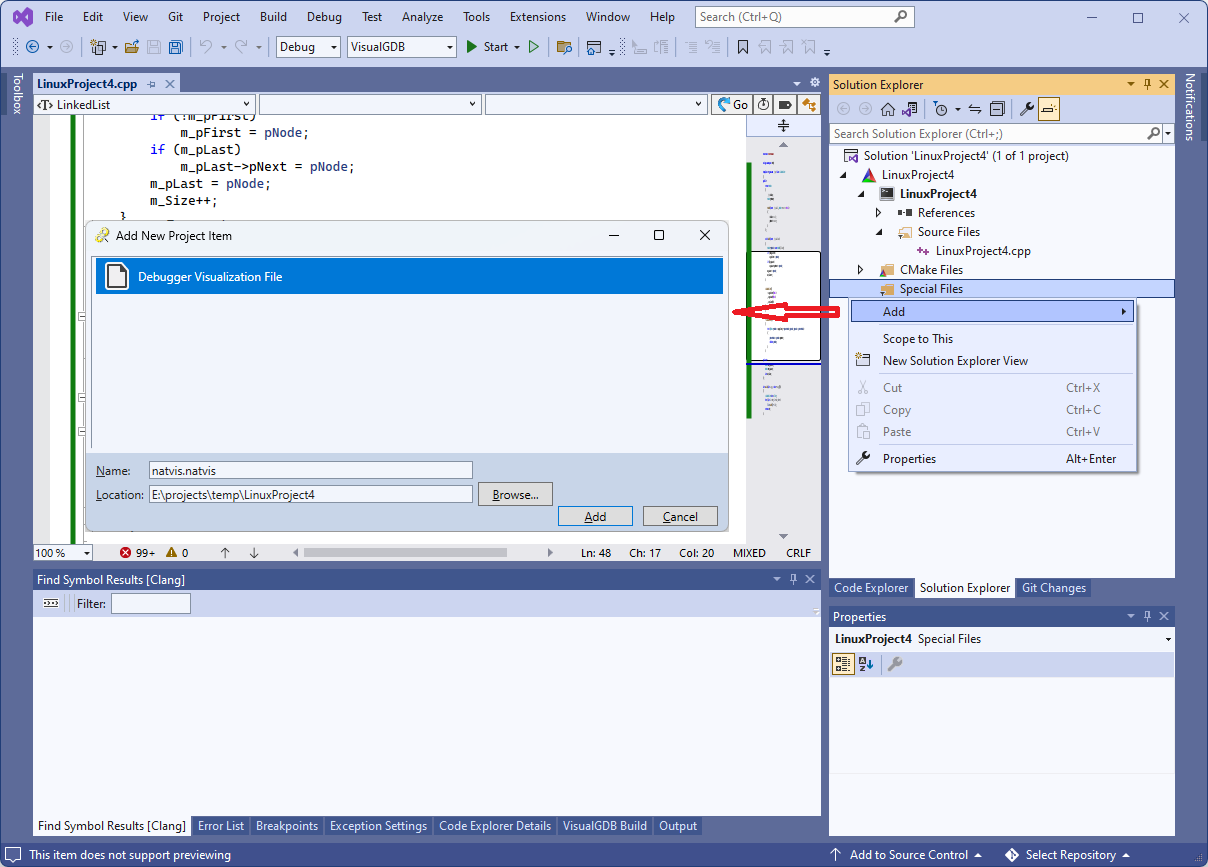
 If this item type does not appear, simply create a .txt file and change its extension to .natvis later.
 - If you are using Advanced CMake, please make sure you add the file under the project-wide “Special Files” node and not under target-wide “Source Files“:
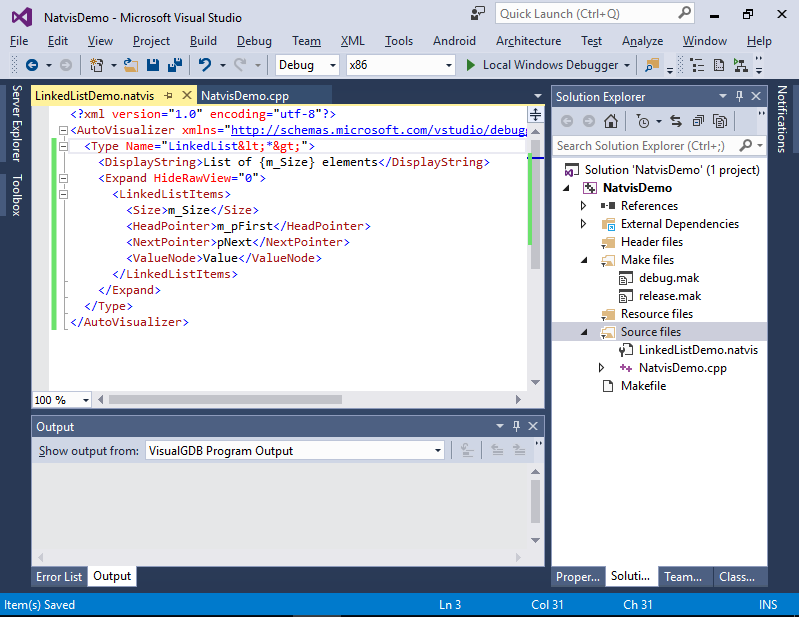
- Replace the contents of the .natvis file with the following:
<?xml version="1.0" encoding="utf-8"?> <AutoVisualizer xmlns="http://schemas.microsoft.com/vstudio/debugger/natvis/2010"> <Type Name="LinkedList<*>"> <DisplayString>List of {m_Size} elements</DisplayString> <Expand HideRawView="0"> <LinkedListItems> <Size>m_Size</Size> <HeadPointer>m_pFirst</HeadPointer> <NextPointer>pNext</NextPointer> <ValueNode>Value</ValueNode> </LinkedListItems> </Expand> </Type> </AutoVisualizer>
 This will tell VisualGDB to:
- Apply special displaying rules to all types matching the “LinkedList<*>” pattern
- Replace the string value of the expression with “List of {m_Size} elements” where {m_Size} is replaced with the value of the corresponding field
- Treat the object as a linked list where m_Size contains the list size, m_pFirst points to the first node and <node>.pNext points to the next node
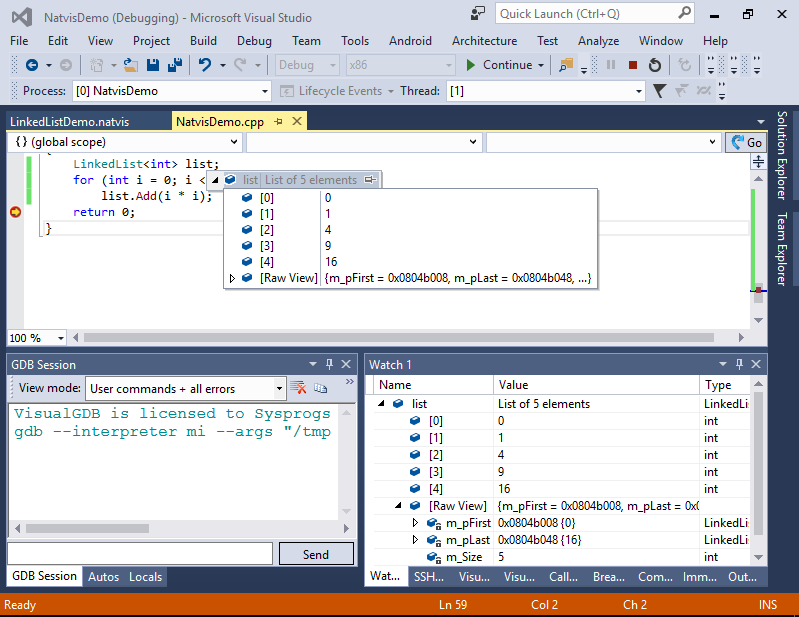
- Now start debugging again by pressing F5 (no rebuild is required) and hover the mouse over ‘list’. VisualGDB will display the actual contents of the list according to the rules you specified in the .natvis file:
 You can use other Natvis constructs described here to describe displaying rules for strings, arrays, trees and other structures. Note that as of v5.1 VisualGDB does not support the CustomListItems rule.


