Developing graphical applications for Raspberry Pi with Qt5
This tutorial shows how to create graphical applications for Raspberry Pi running the Debian Jessie distro using the Qt5 package provided by the official repository.
Before you begin, install VisualGDB 5.1 or later.
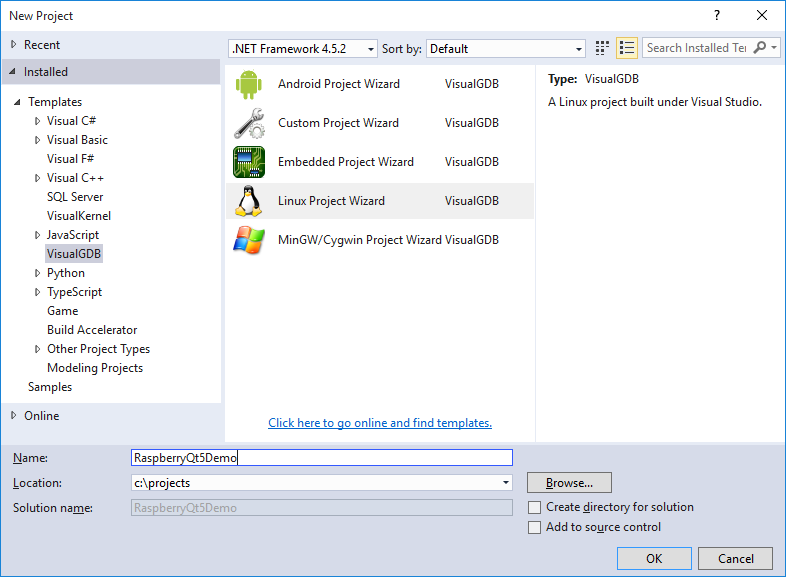
- Start Visual Studio. Select File->New Project->VisualGDB Linux Project Wizard:
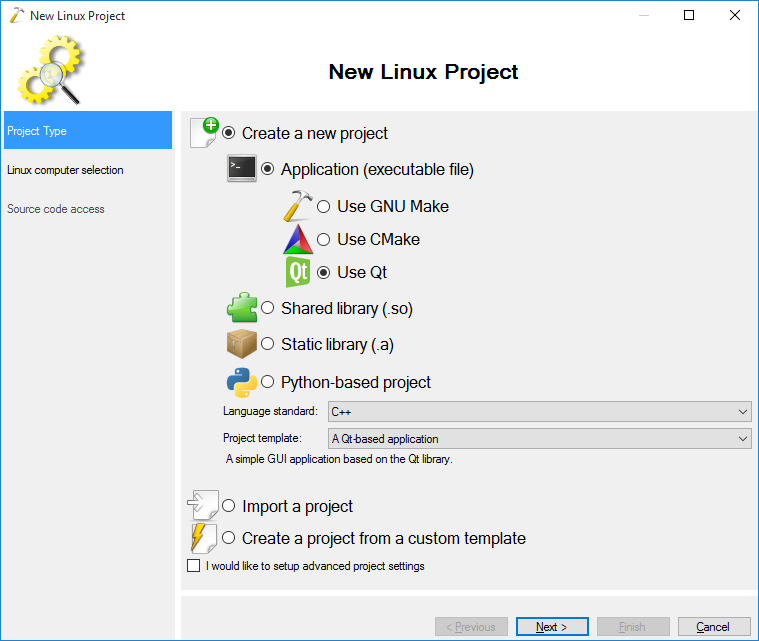
- On the first page of the wizard select “Application -> Use Qt”:
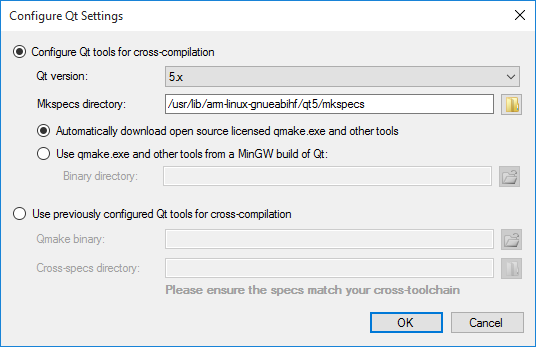
- Then select “Build the project locally” and choose the Raspberry Pi cross-toolchain from the list. If the toolchain is not installed, VisualGDB will install it automatically. Then select your Raspberry Pi connection in the “Deployment computer” field and click the “configure Qt settings” link:

- Ensure Qt 5.x is selected and press OK:
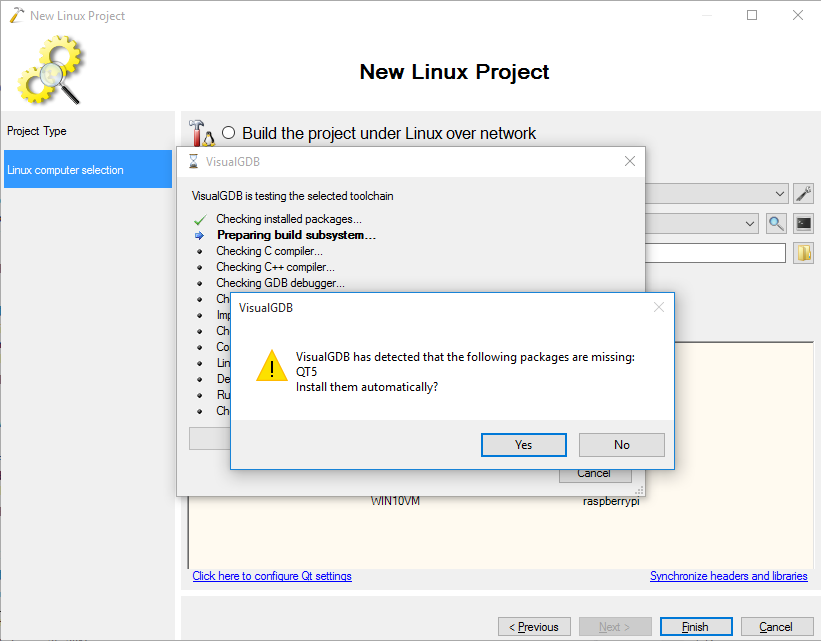
- Press “Finish”. VisualGDB will begin testing your setup. If you have not installed Qt5 on your Raspberry Pi, it will detect it and suggest installing it automatically:
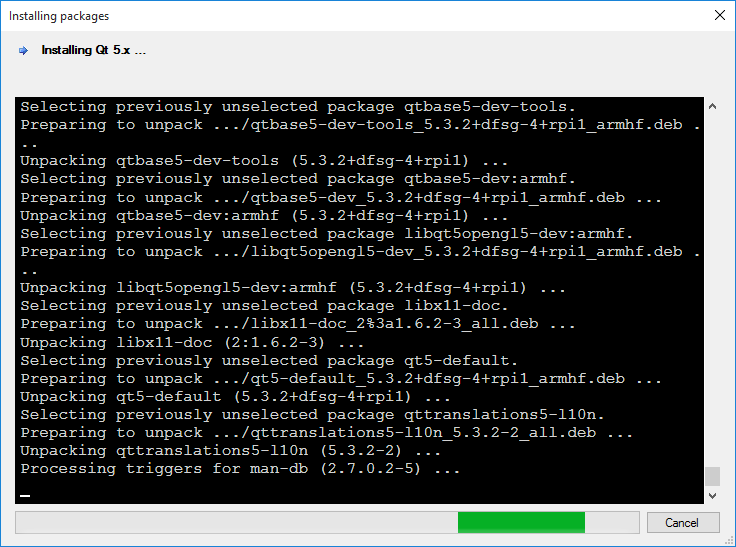
- When you click “yes” the Qt installation process will begin. Note that it may take more than 30 minutes to install depending on the speed of your Internet connection:
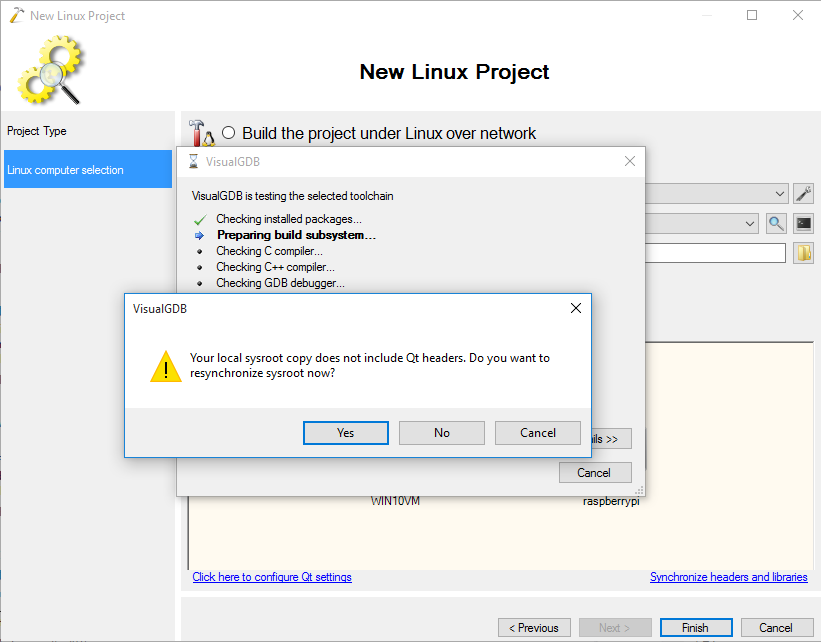
- As the default Raspberry Pi cross-toolchain does not include the Qt binaries, VisualGDB will suggest synchronizing the sysroot to download them. Click “Yes”:
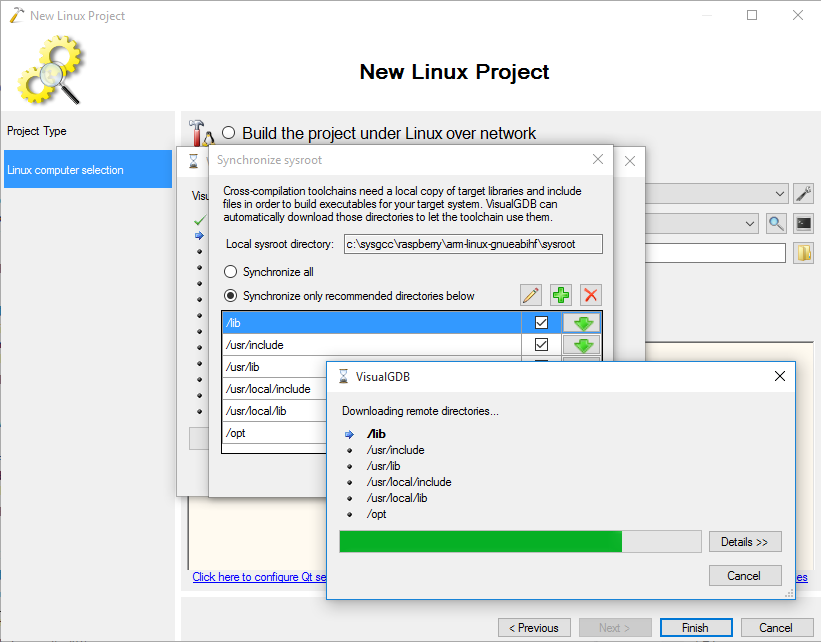
- The sysroot synchronization may take a while. Ensure that you are synchronizing all the directories suggested by VisualGDB:
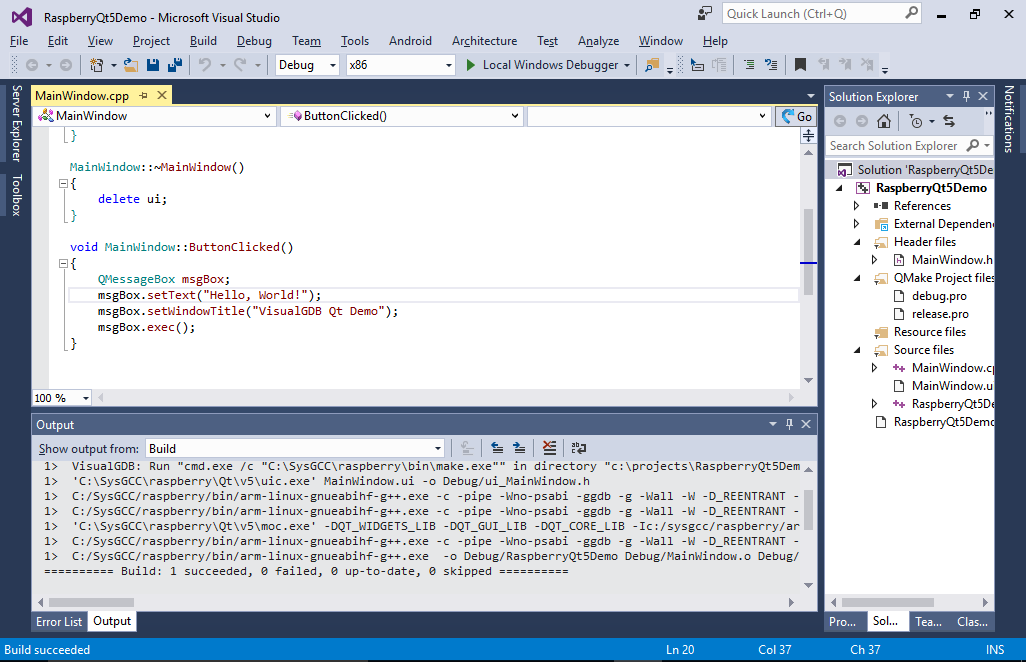
- Once the synchronization is done, your project will be created. Build it by pressing Ctrl-Shift-B:
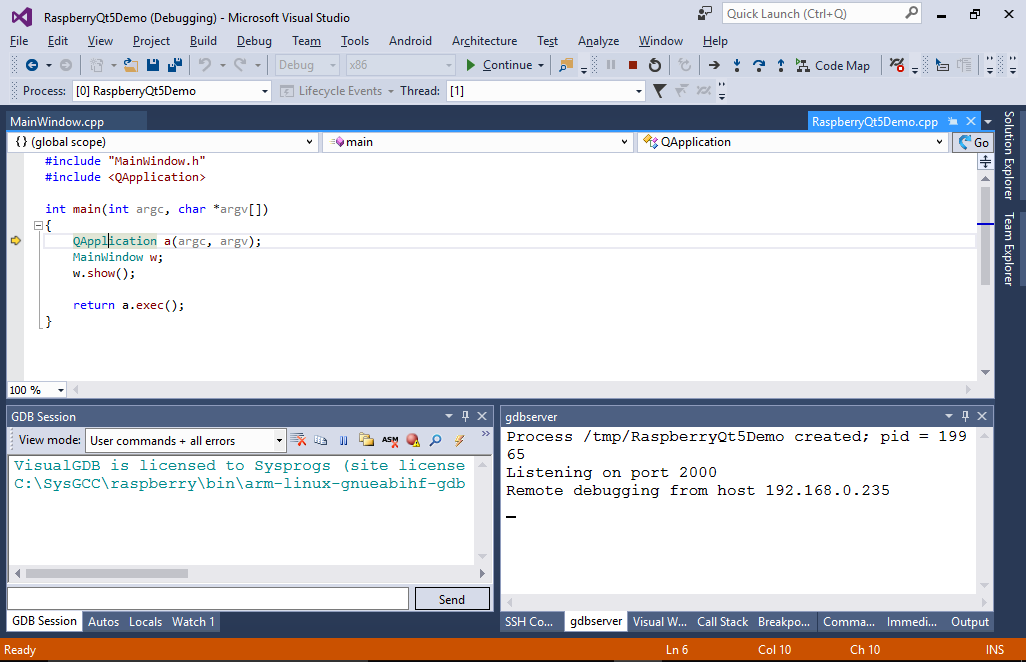
- Once the build is complete, simply hit F5 to start debugging it or F10 to step into main(). VisualGDB will automatically deploy it and start all the necessary tools:
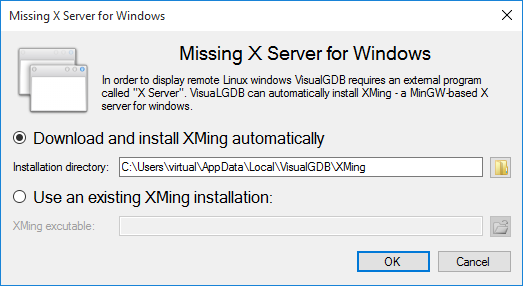
- In order to display the Qt windows on your Windows machine, VisualGDB will suggest automtaically installing the XMing server. Proceed with the installation:
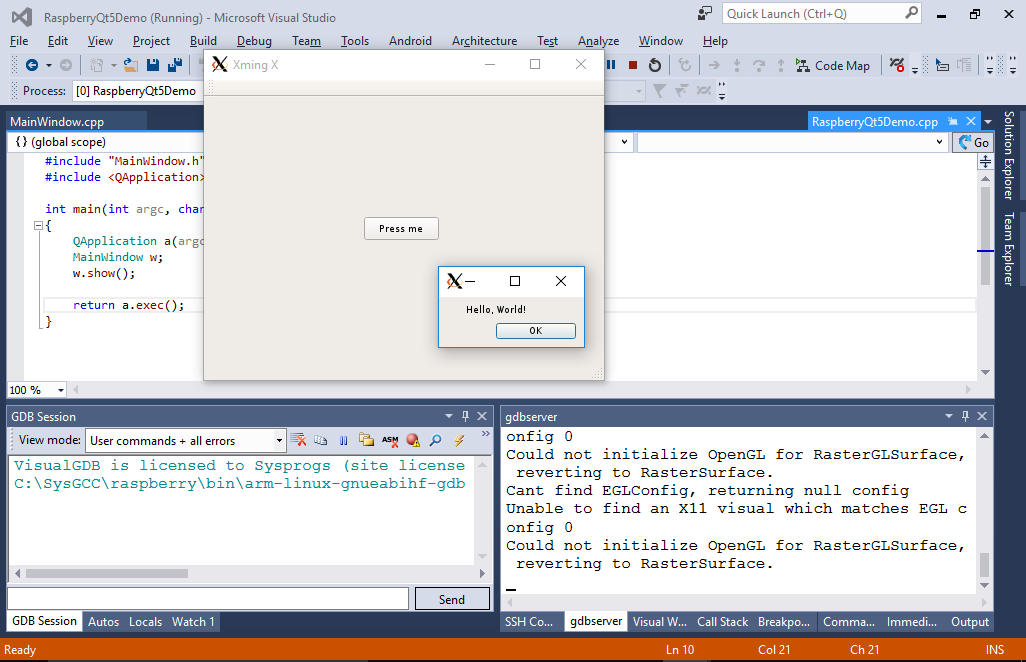
- Once the XMing is installed, VisualGDB will launch it automatically and you will see your application’s windows as if it was running locally:
 Now that the debugging is working, you can edit the .ui file to change the GUI layout or the .cpp files to change its logic. Each time you want to test your changes, simply hit F5 and VisualGDB will automatically build and deploy your application and will start a debugging session.


