Creating and Referencing Custom ESP-IDF Components
This tutorial shows how to create custom ESP-IDF components and share them between your ESP32 projects. We will create a basic component for running a simple PWM loop and will show how to reference it from 2 separate projects.
Before you begin, install VisualGDB 5.4 or later.
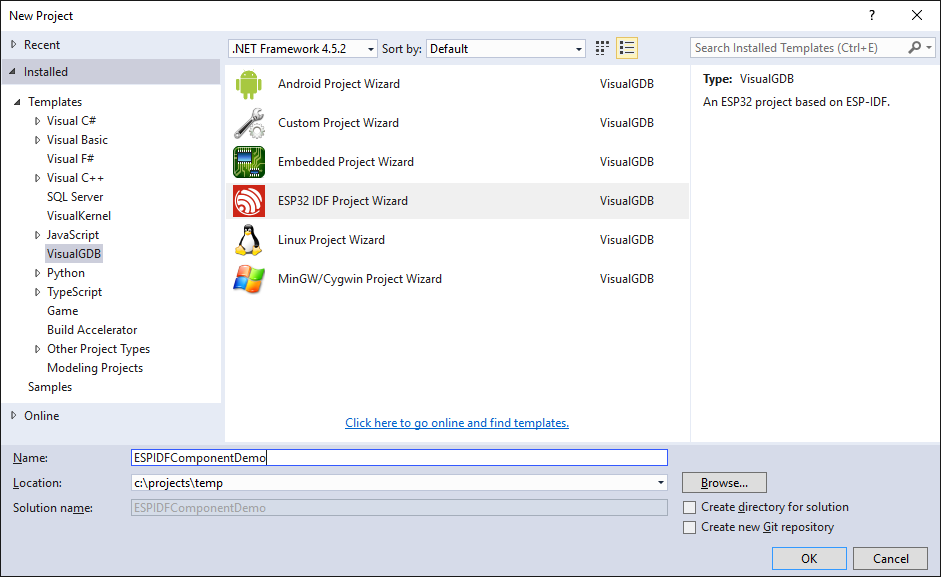
- Start Visual Studio and open the VisualGDB ESP-IDF project wizard:
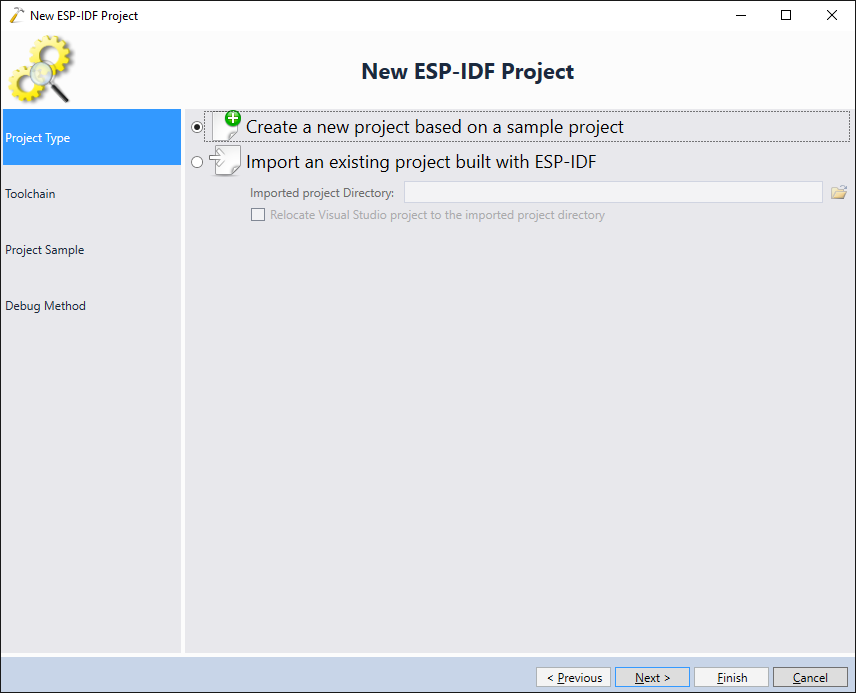
- On the first page select “Create a new project based on a sample project”:
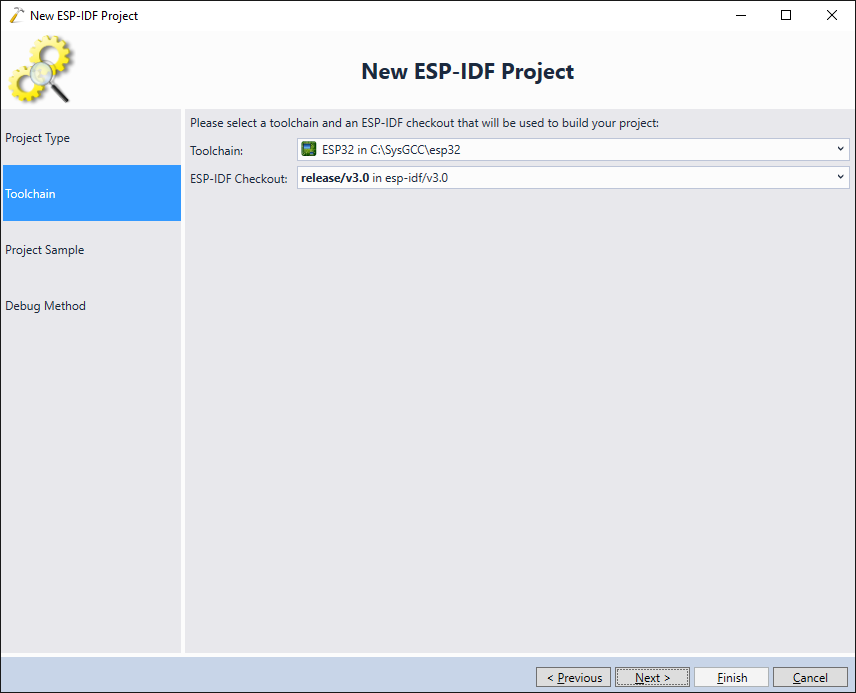
- Select your ESP32 toolchain and the ESP-IDF checkout you want to use:
- Choose a sample project that will be cloned when creating your project. We will demonstrate the custom component based on the “blink” sample:

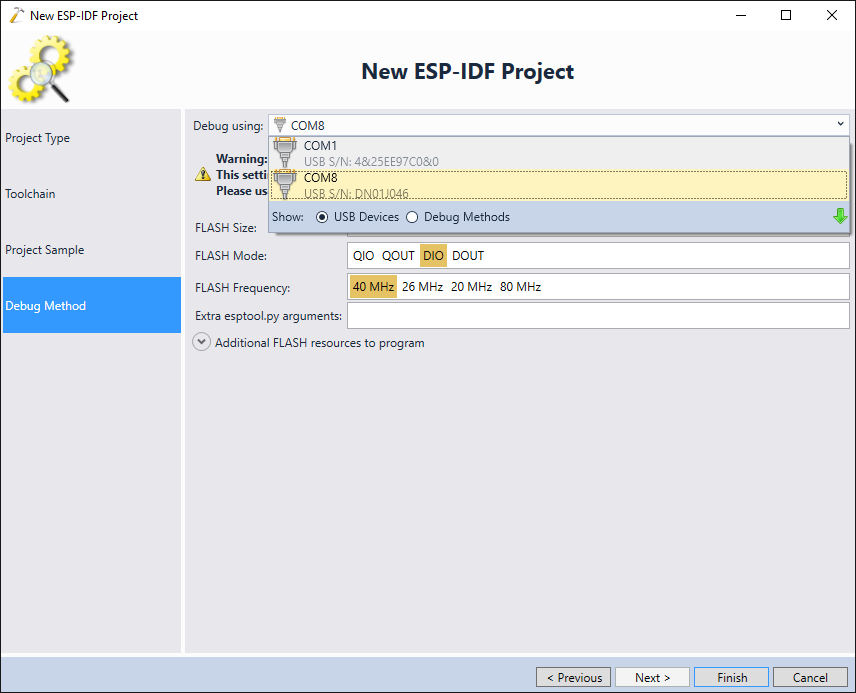
- Finally choose the debug method. In this tutorial we won’t be debugging the code, so we can use a serial port connection to program the firmware into the FLASH memory without configuring JTAG:
- Press “Finish” to create the project and wait for it to load:
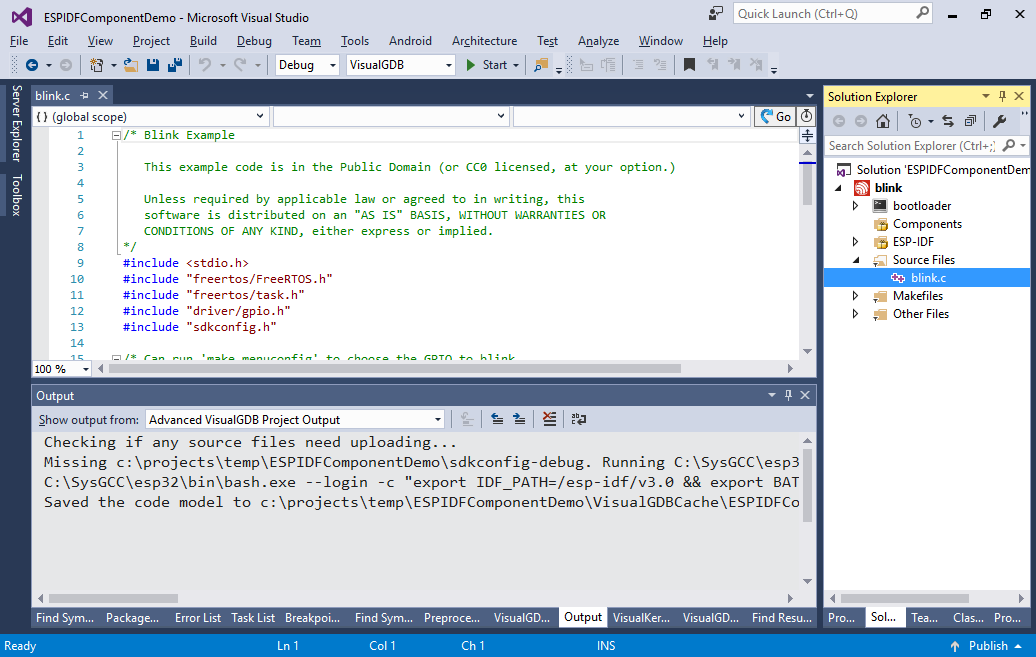
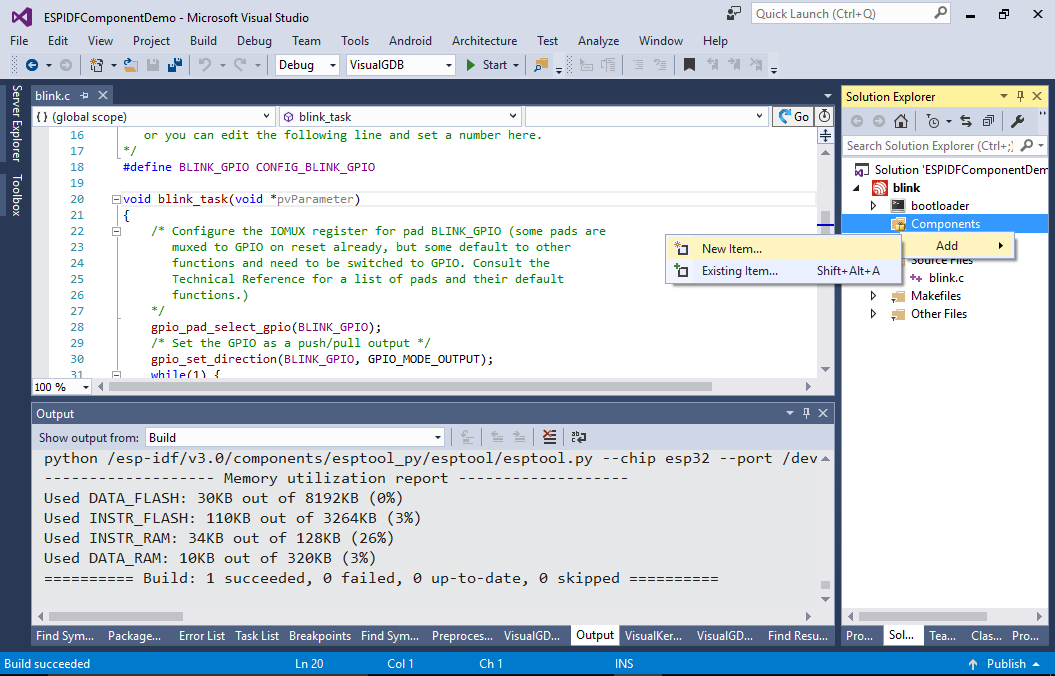
- All ESP-IDF projects consist of one or more components (i.e. static libraries) that are linked together to build the final executable. Most samples include only one component called “main”. For simplicity VisualGDB doesn’t show it as a separate component, but instead displays its contents directly under the project node. Now we will add another component to the project. Right-click on the “Components” folder and select “Add->New Item”:
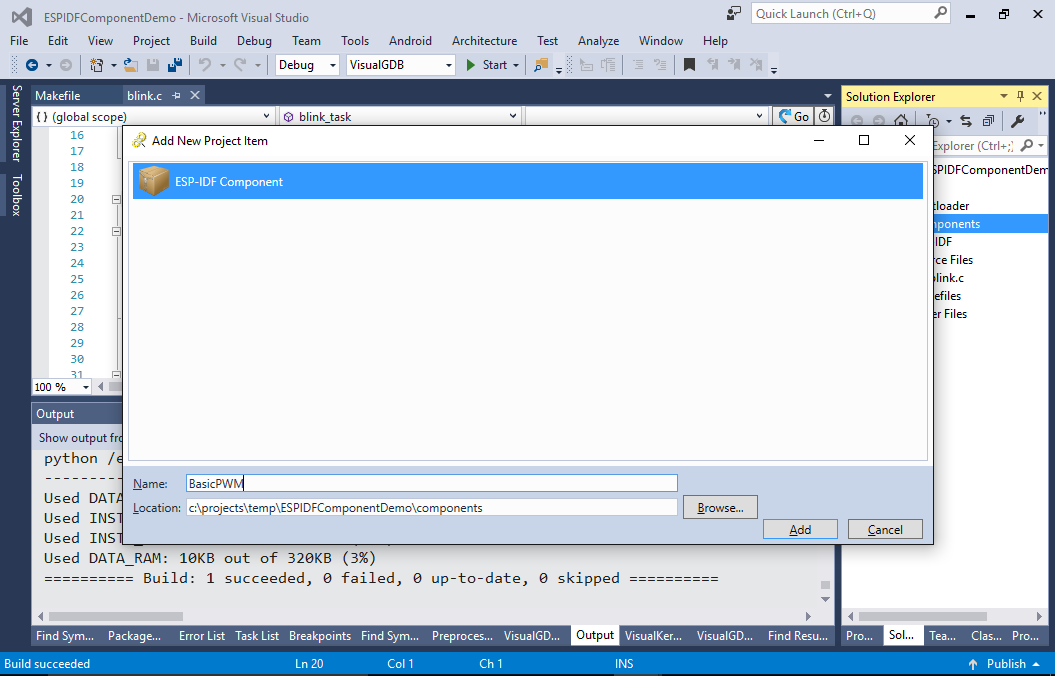
- Proceed with the default location, enter the component name and click “Add”:
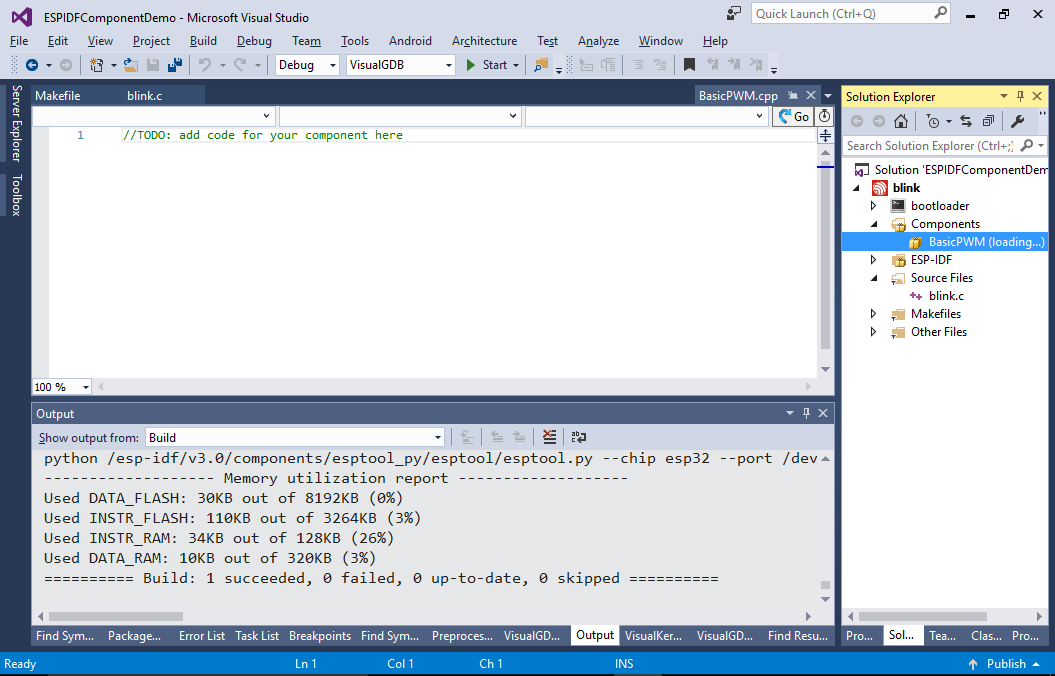
- VisualGDB will add the component files and will start refreshing the code model from the ESP-IDF. You won’t see the contents of the component until the refresh is complete:
 WARNING: if the project is configured with idf_build_set_property(MINIMAL_BUILD ON), the new component will not appear in the list. You can disable that option by editing the main CMakeLists.txt file.
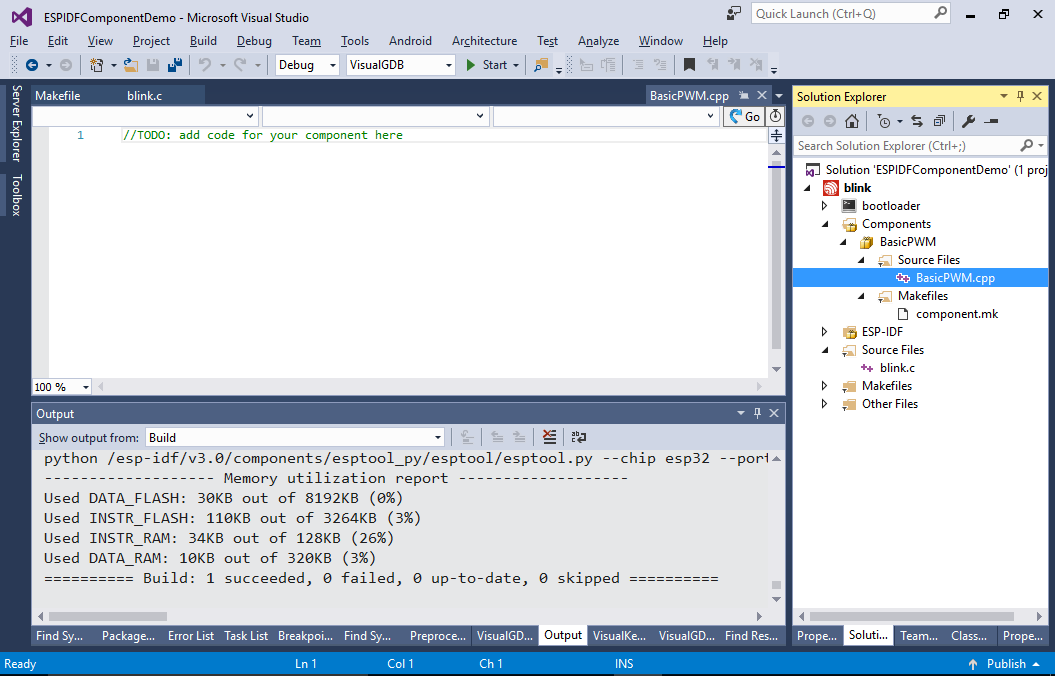
 - Once the code model is refreshed, the new component will be shown in Solution Explorer similar to other components:
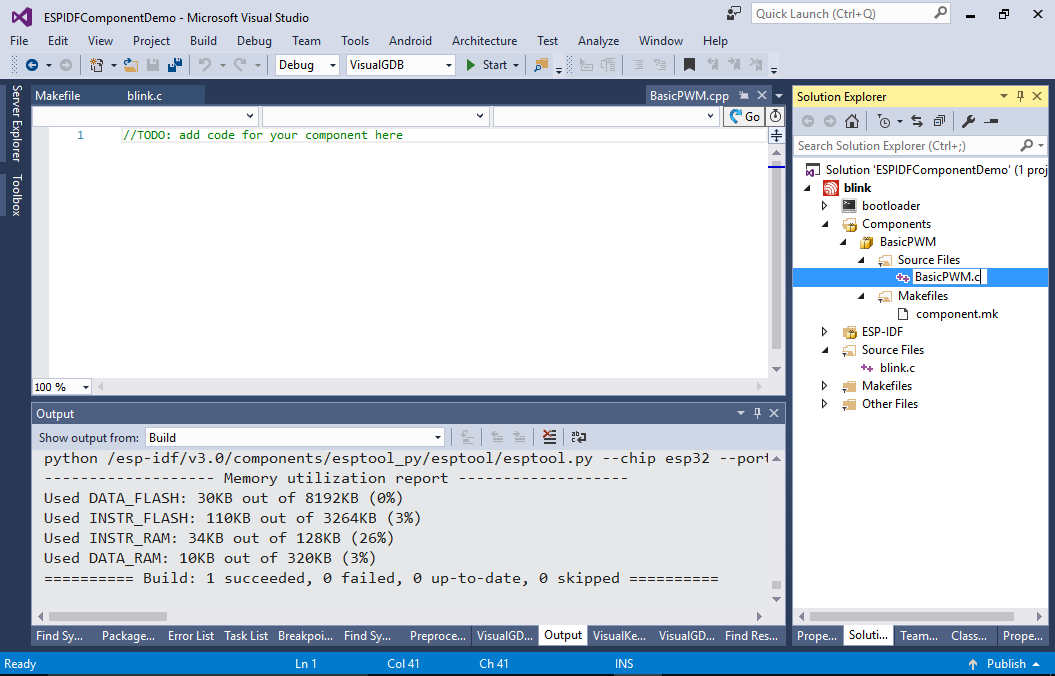
- Select the main .cpp file and press F2 to start renaming it. Then change the extension to “.c”:
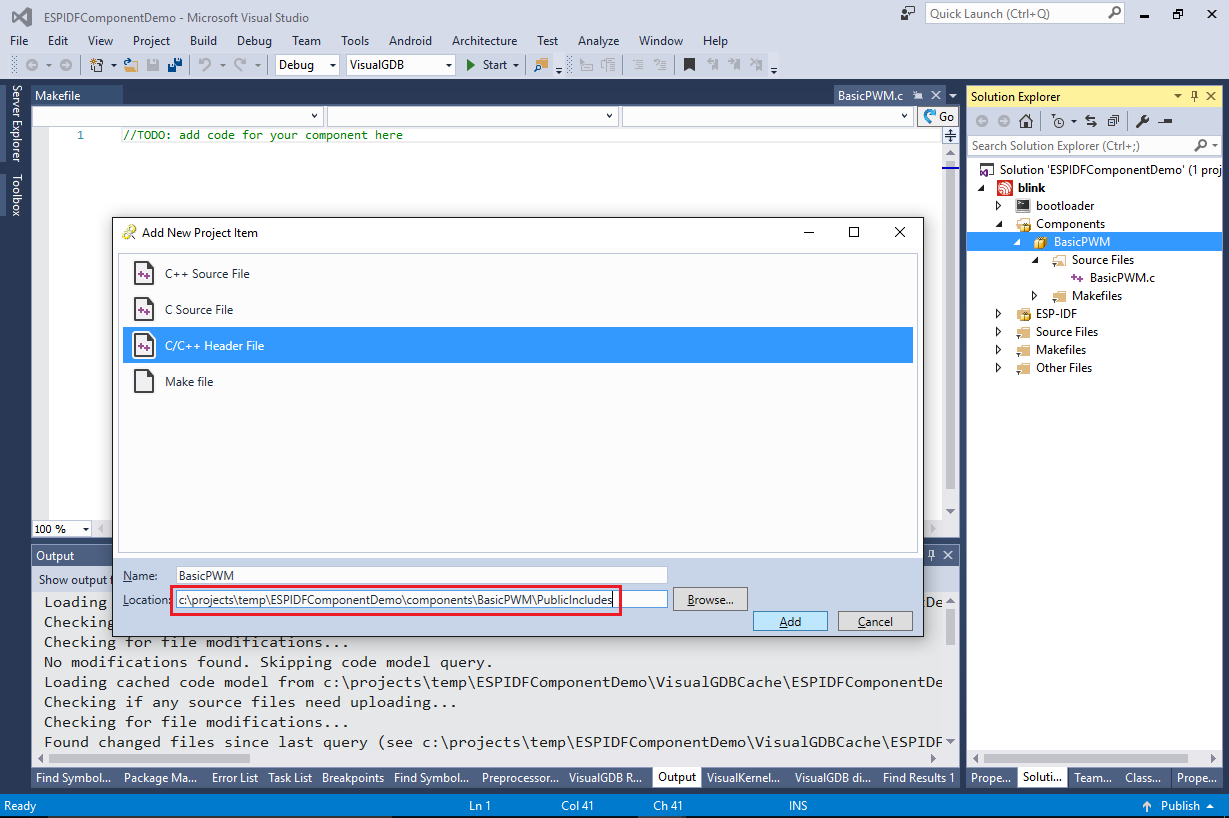
- Right-click on the component and select “Add->New File->C/C++ Header file”. Append “\PublicIncludes” to the location field:
- Add the following code to the component:
#pragma once

#include "driver/gpio.h"

#ifdef __cplusplus
extern "C"
{
#endif

 void RunGPIOCycle(gpio_num_t gpio, double dutyCycle);

#ifdef __cplusplus
}
#endif
Then select the “RunGPIOCycle” declaration, press Ctrl+. and select “Create implementation”:
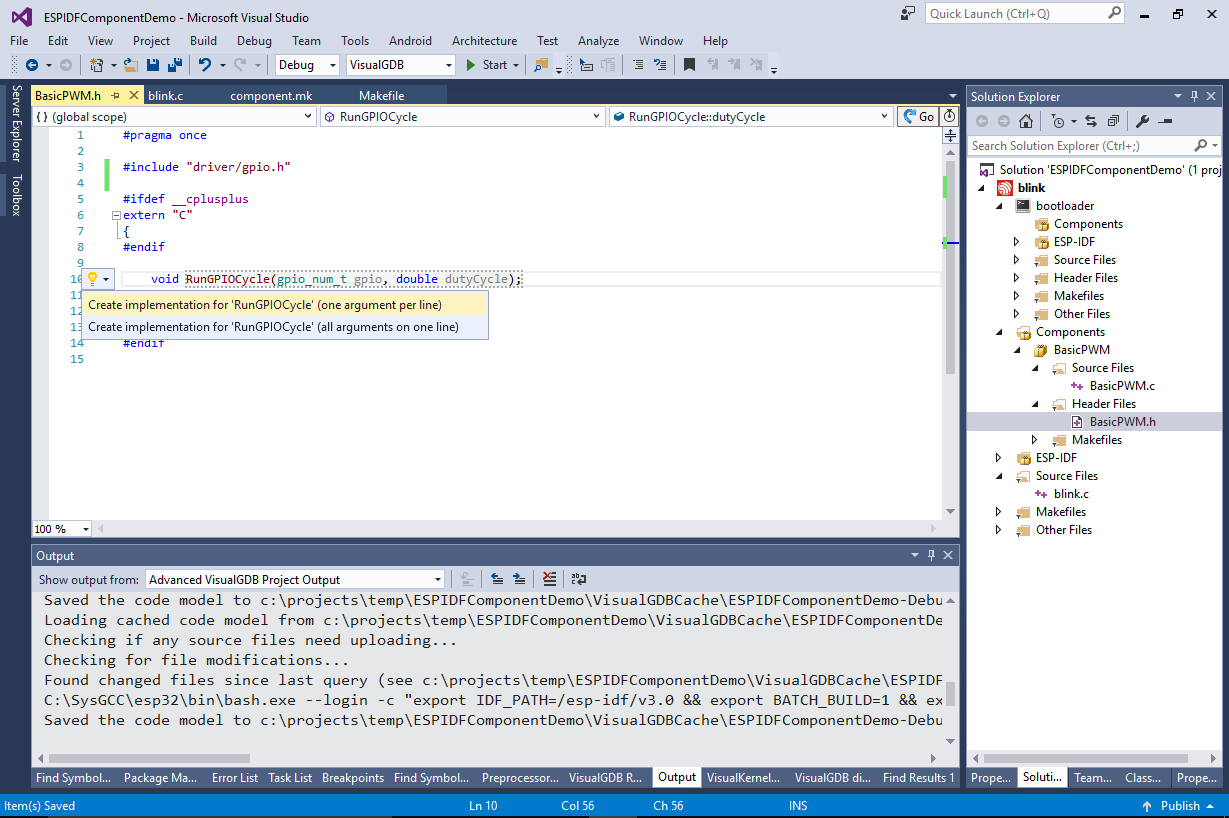 VisualGDB will create an empty implementation for the RunGPIOCycle() function, however it won’t automatically find the “BasicPWM.h” header as the “PublicIncludes” directory is not yet added to the include search path.
 - To fix that, we could add the header directory to either regular include directories (visible only for files inside the component) or exported directories (visible for all components in the same project). As the file will be included by the code that uses the component, add it to the exported directories:
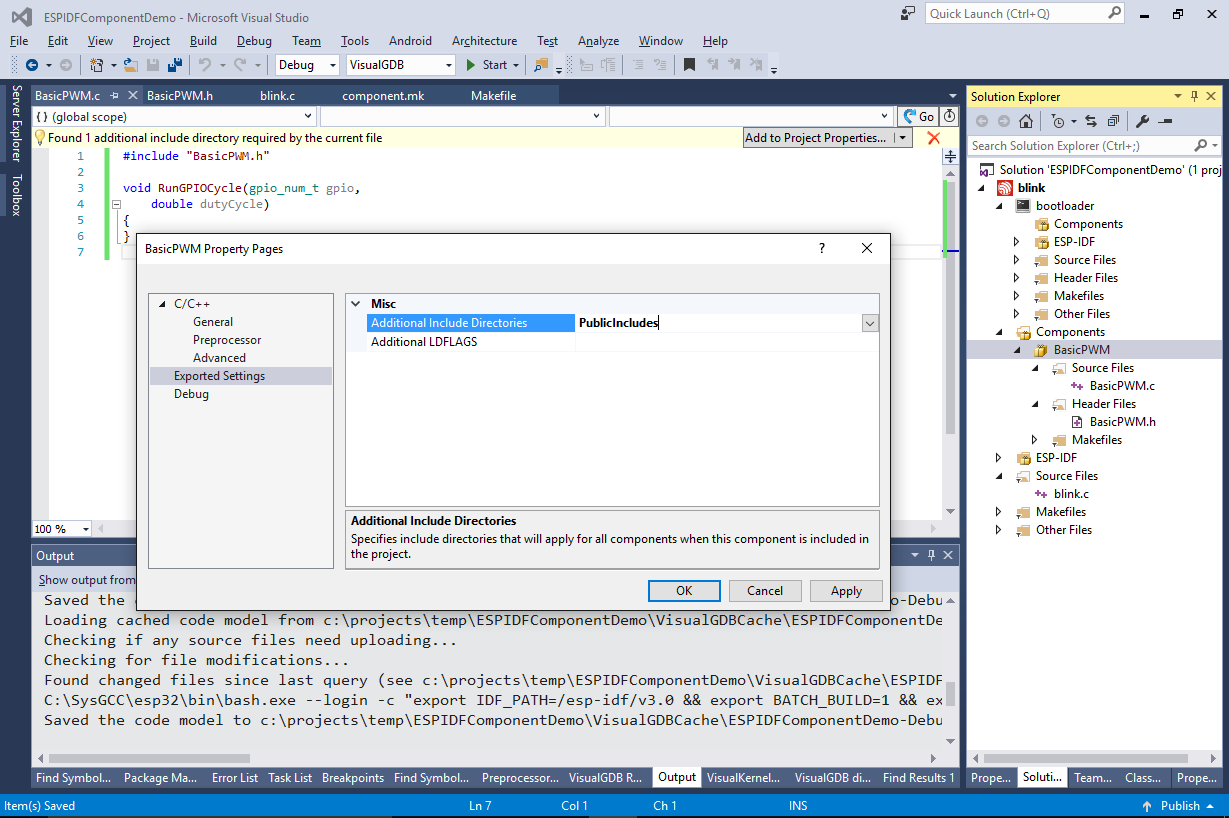 Note that the exported directories must have relative paths. For your convenience you can select “<Edit…>” in the “Additional Include Directories” field and let VisualGDB compute the correct relative paths automatically:
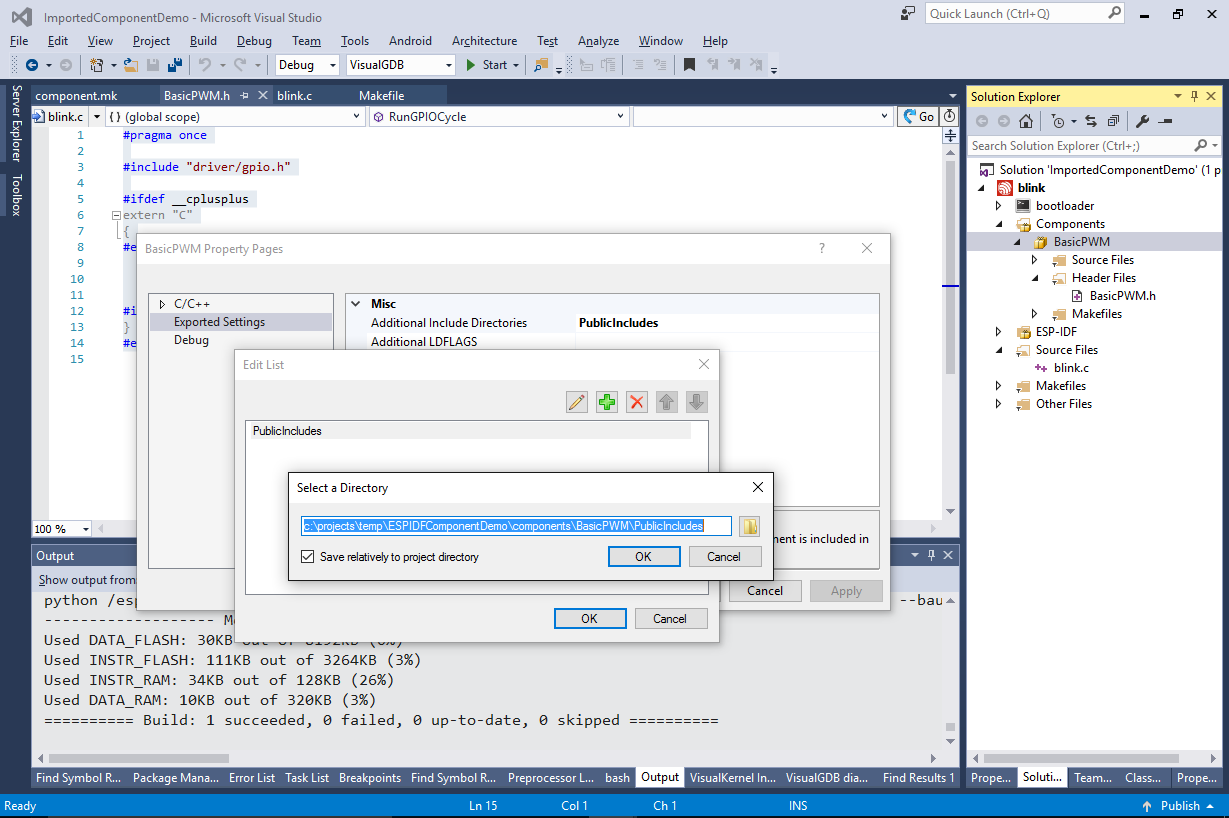
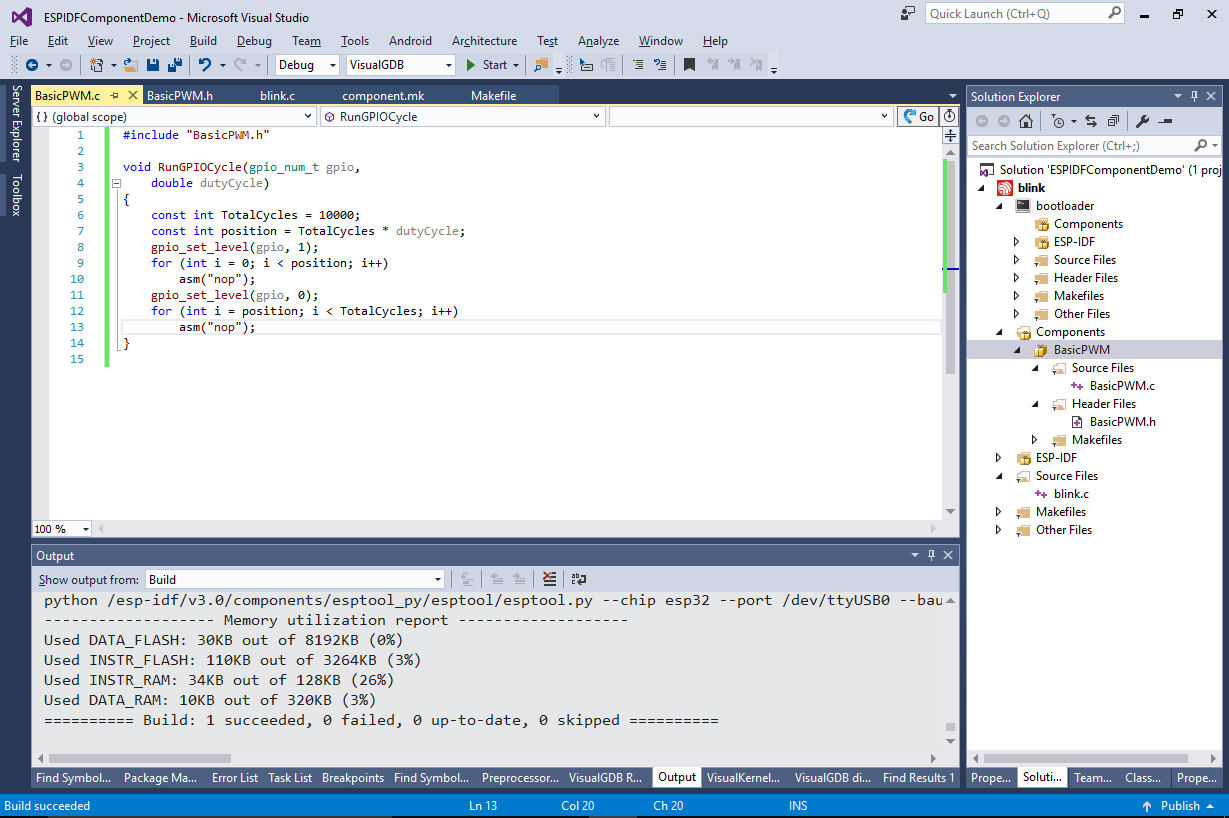
- Now you can the implementation to the RunGPIOCycle() function:
void RunGPIOCycle(gpio_num_t gpio, double dutyCycle)
{
    const int TotalCycles = 10000;
    const int position = TotalCycles * dutyCycle;
    gpio_set_level(gpio, 1);
    for (int i = 0; i < position; i++)
        asm("nop");
    gpio_set_level(gpio, 0);
    for (int i = position; i < TotalCycles; i++)
        asm("nop");
}
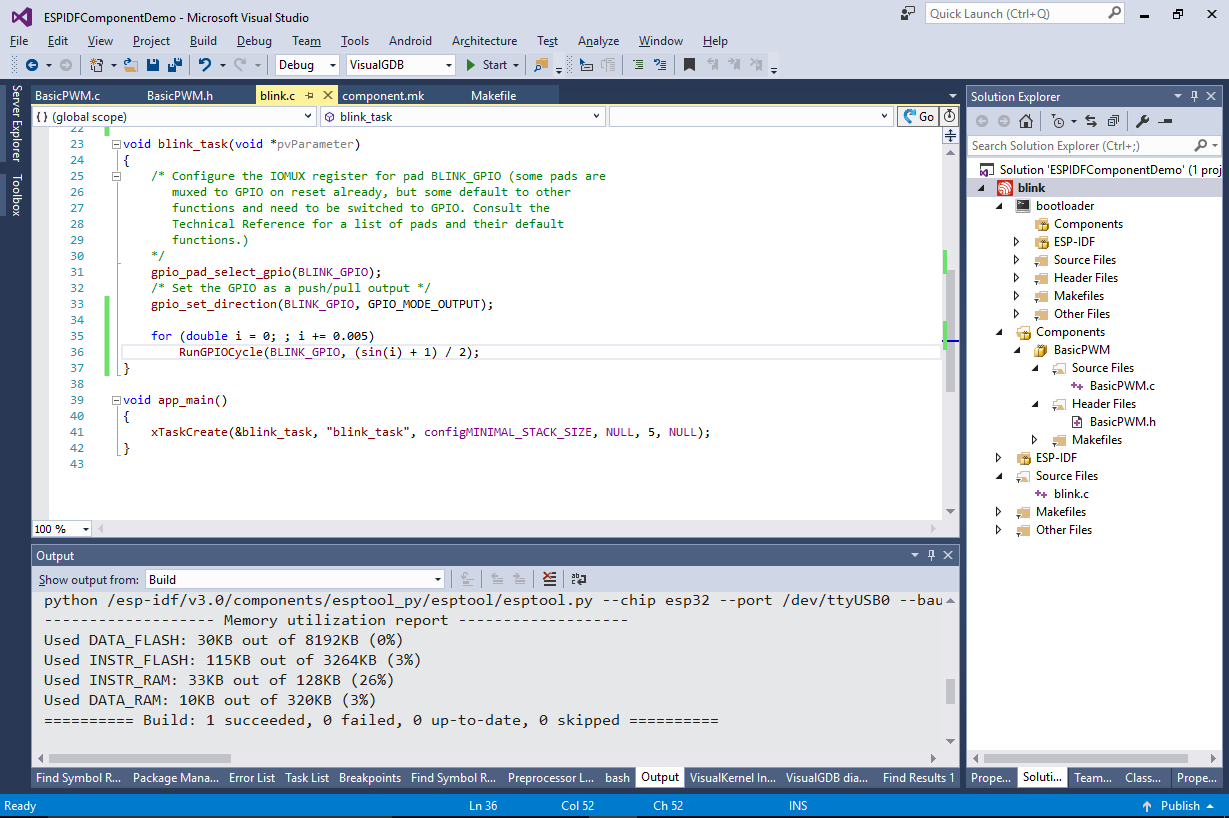
- Modify the blink_task() function in the main source file to call the RunGPIOCycle() function:
#include "BasicPWM.h"
#include <math.h>

void blink_task(void *pvParameter)
{
    gpio_pad_select_gpio(BLINK_GPIO);
    /* Set the GPIO as a push/pull output */
    gpio_set_direction(BLINK_GPIO, GPIO_MODE_OUTPUT);

    for (double i = 0; ; i += 0.005)
        RunGPIOCycle(BLINK_GPIO, (sin(i) + 1) / 2);
}
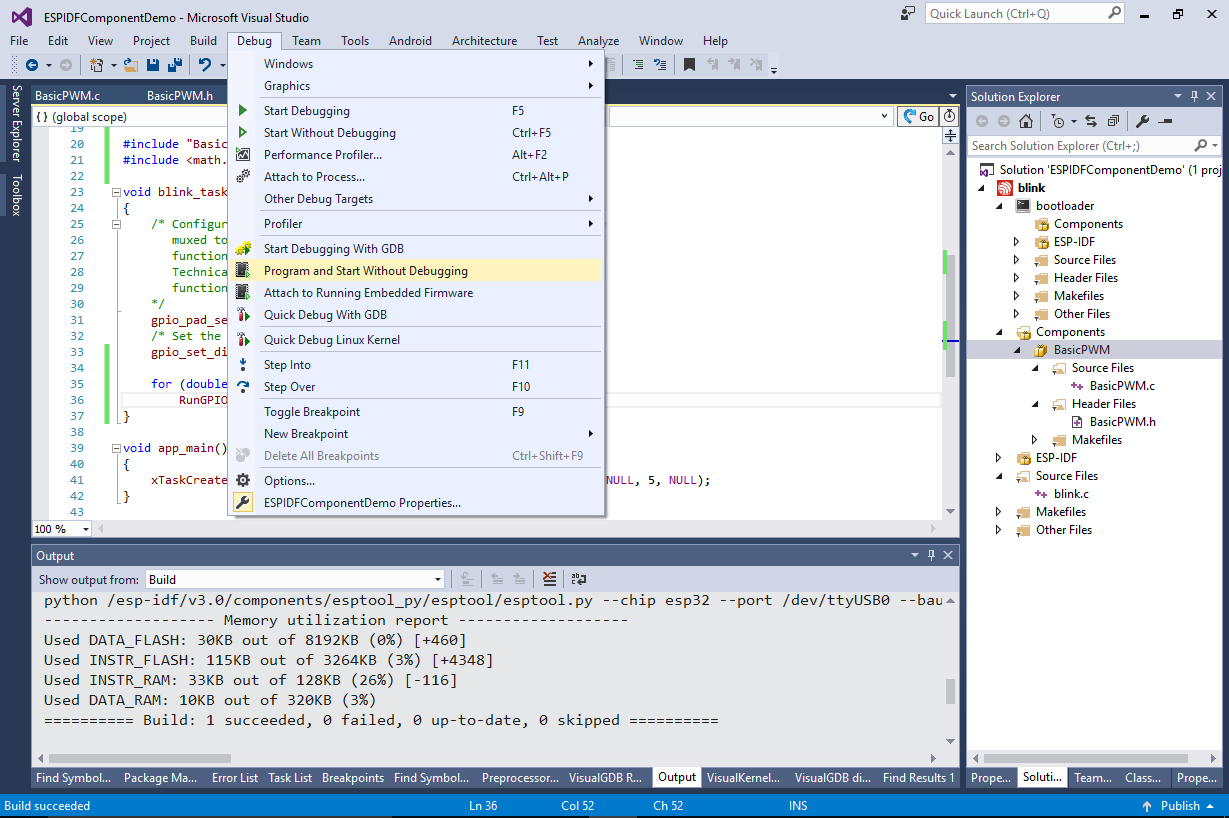
- Build the project and select “Debug->Program and Start Without Debugging” to program it to the FLASH memory:
 Ensure that the on-board LED gradually turns on and off as the PWM duty cycle goes from 0 to 100% and back to 0.
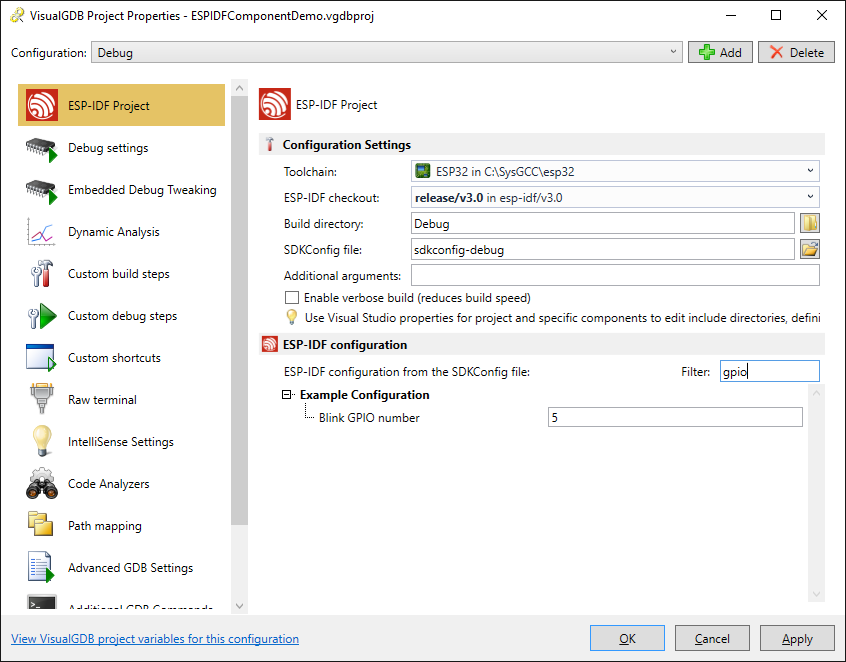
 - You can change the GPIO number of the LED via VisualGDB Project Properties -> ESP-IDF Project -> ESP-IDF Configuration -> Blink GPIO Number:
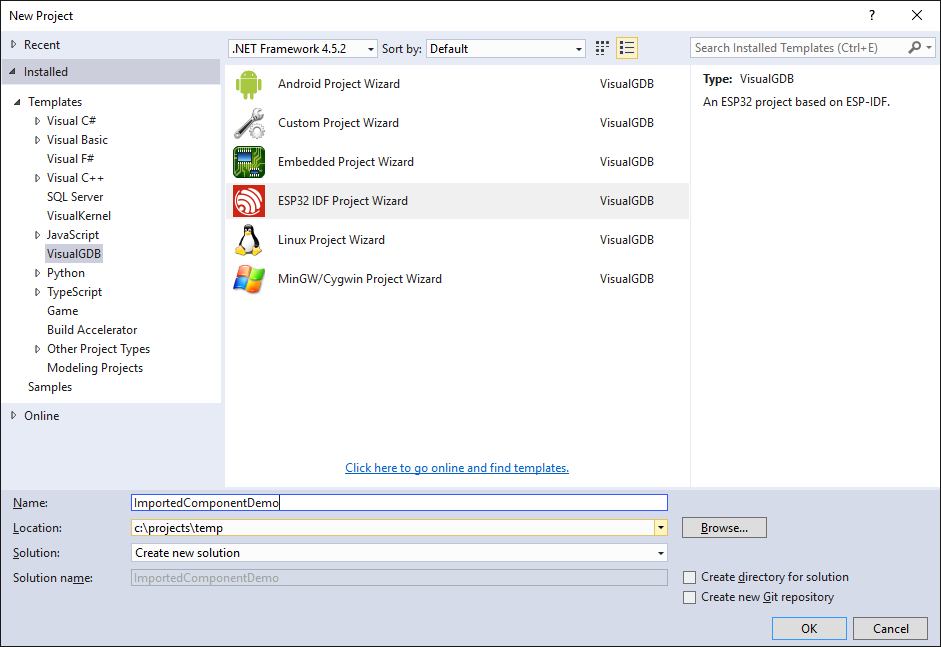
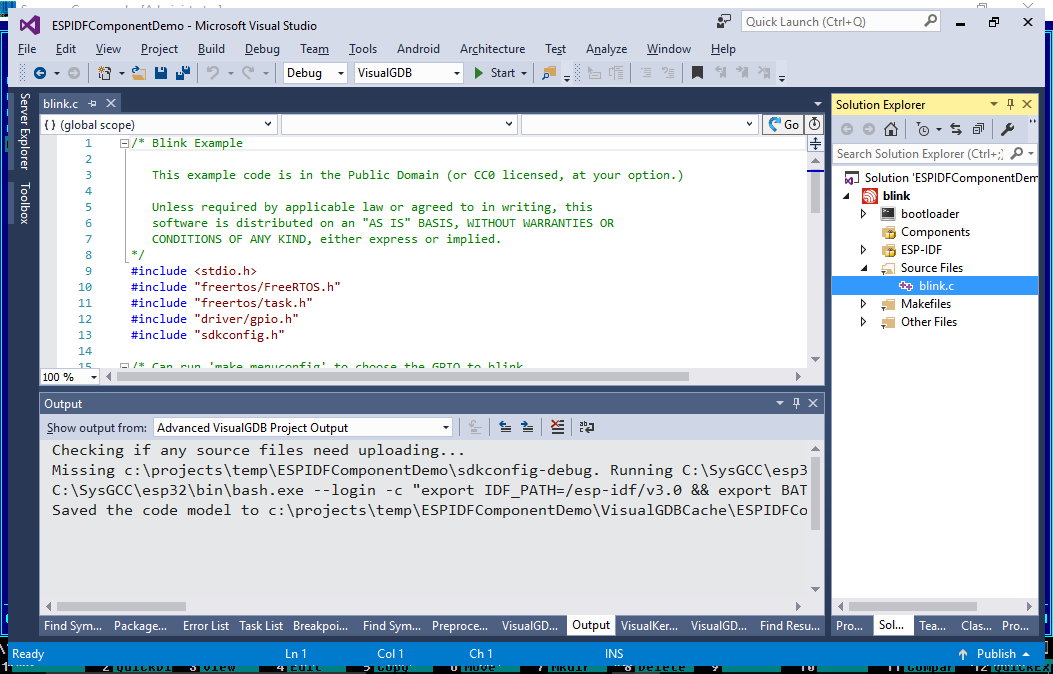
- Now we will show how to import the component from another project. Create another project in a separate solution using the VisualGDB ESP-IDF project wizard:
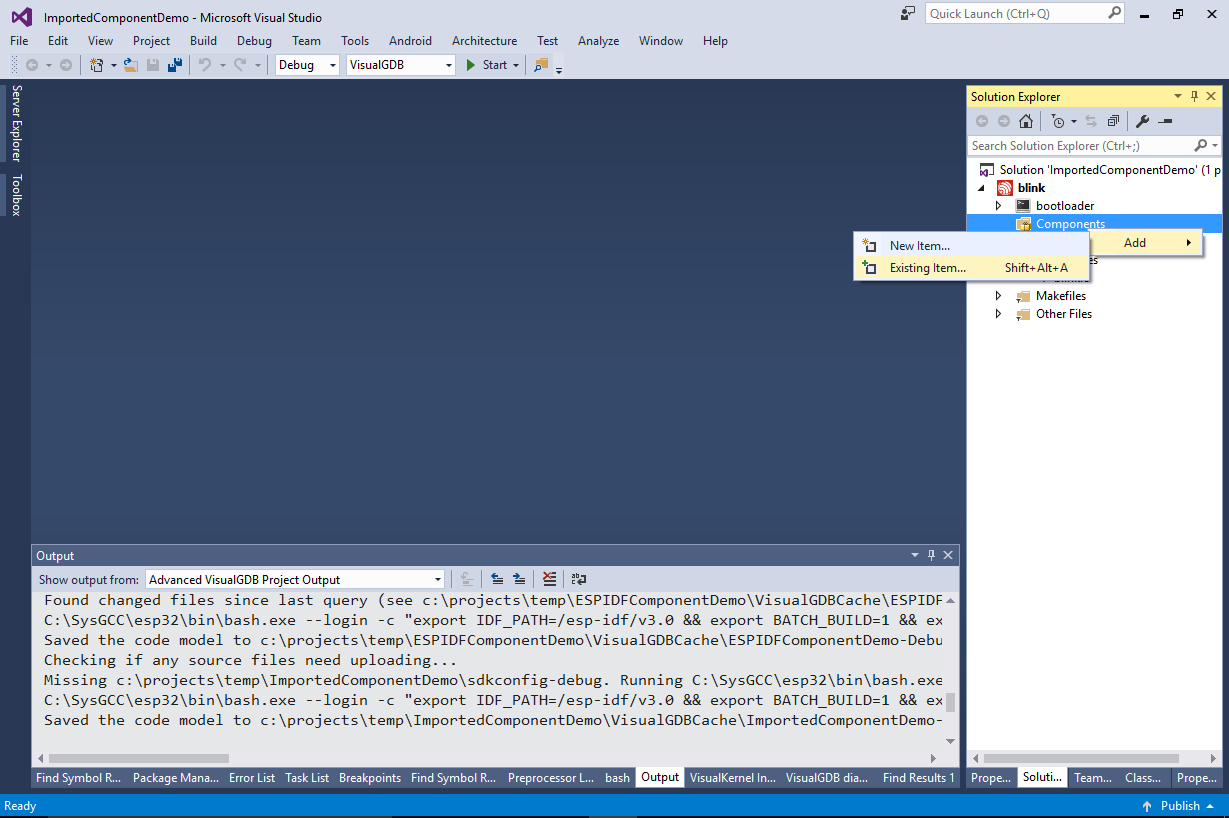
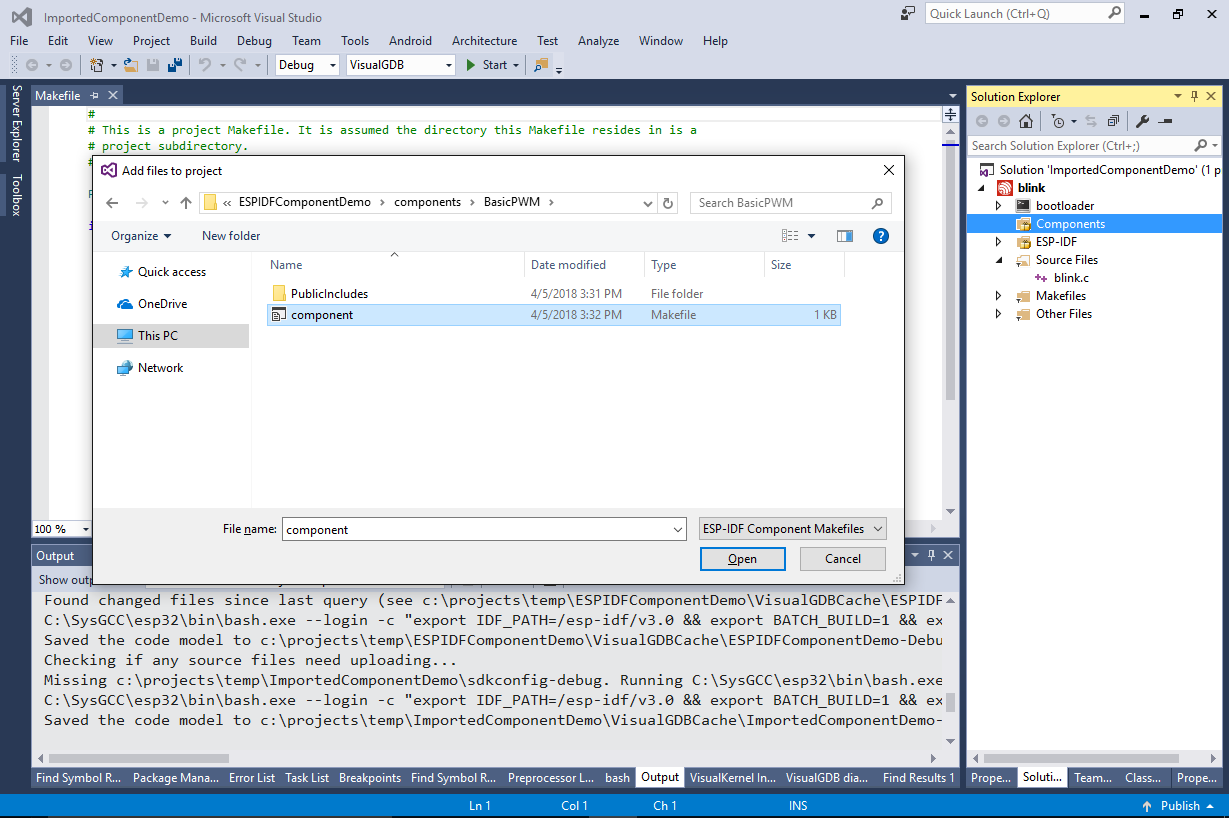
- Click on the “Components” node and select “Add->Existing Item”:
- Then locate the component.mk file of the BasicPWM component:
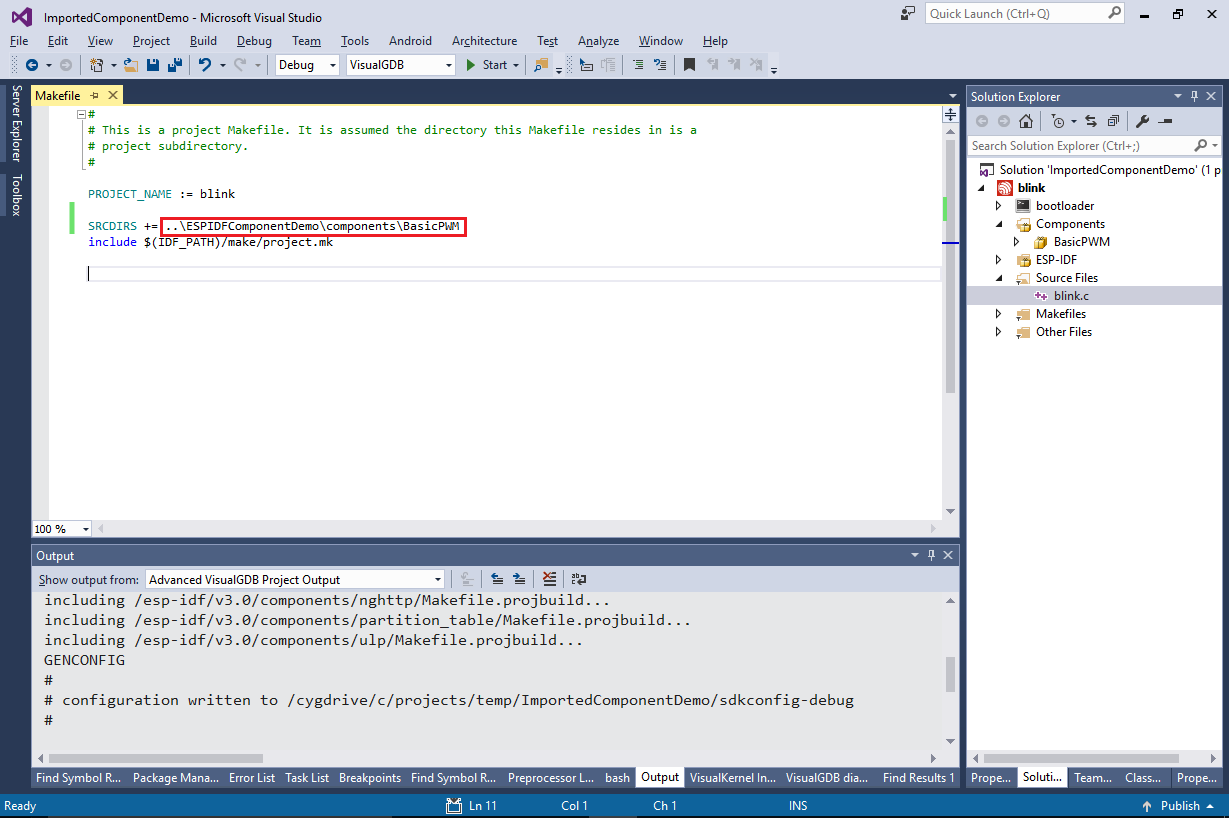
- See how VisualGDB automatically updates the project’s Makefile to include the new component:
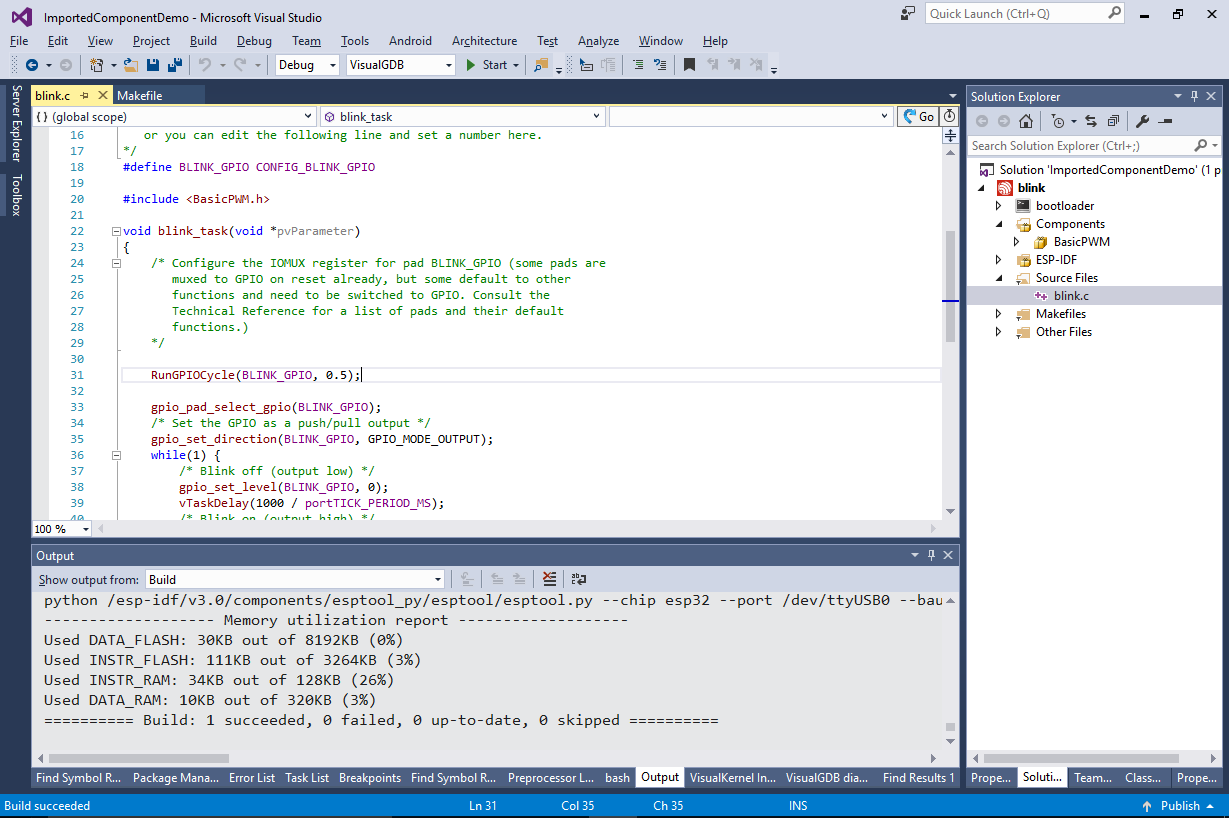
- You can now use the component exactly the same way as you did in the first project – include the <BasicPWM.h> file and call the RunGPIOCycle() function. ESP-IDF will automatically use the correct include paths and will link the component with the final project:
 You can also store your components outside the project directories. Simply pick an arbitrary location when creating a new component and VisualGDB will place it there, updating all necessary Makefiles.