Developing firmware for NodeMCU with Visual Studio
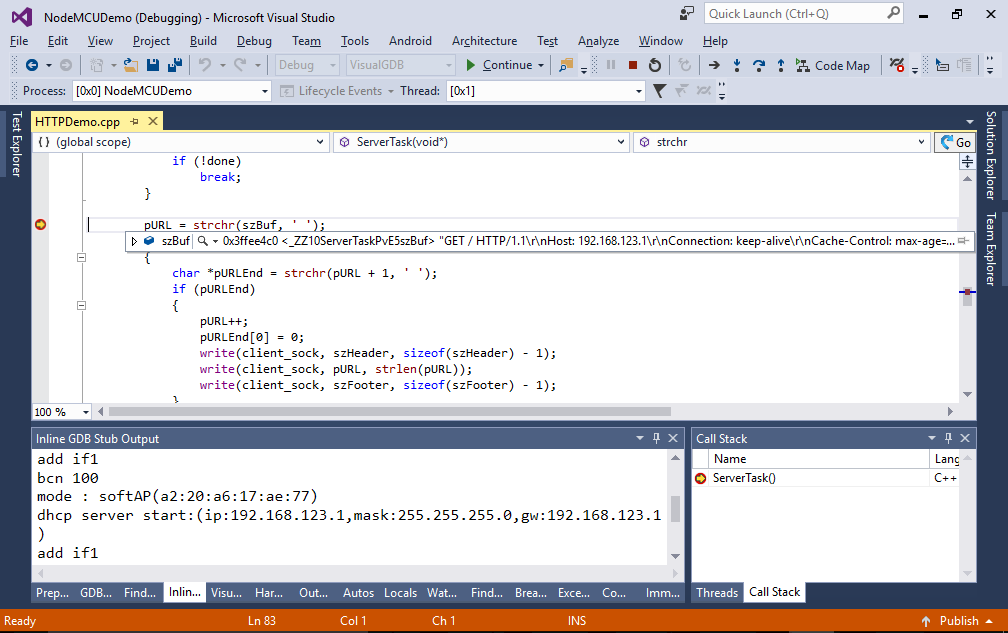
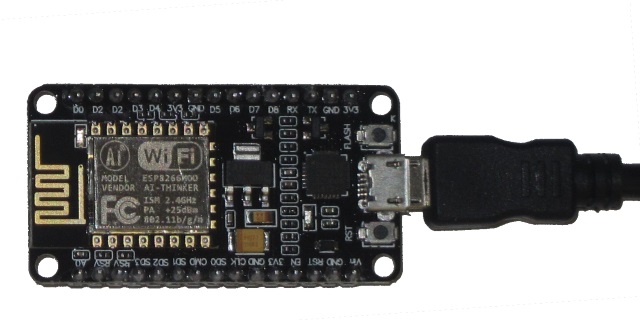
This tutorial shows how to use VisualGDB to create a basic C++ WiFi HTTP server running on the NodeMCU platform.We will program and debug it via the on-board USB-to-UART connection using the GDB stub included in the ESP8266 SDK.
Before you begin, install VisualGDB 5.2 or later.
- Start Visual Studio and open the VisualGDB Embedded Project Wizard:
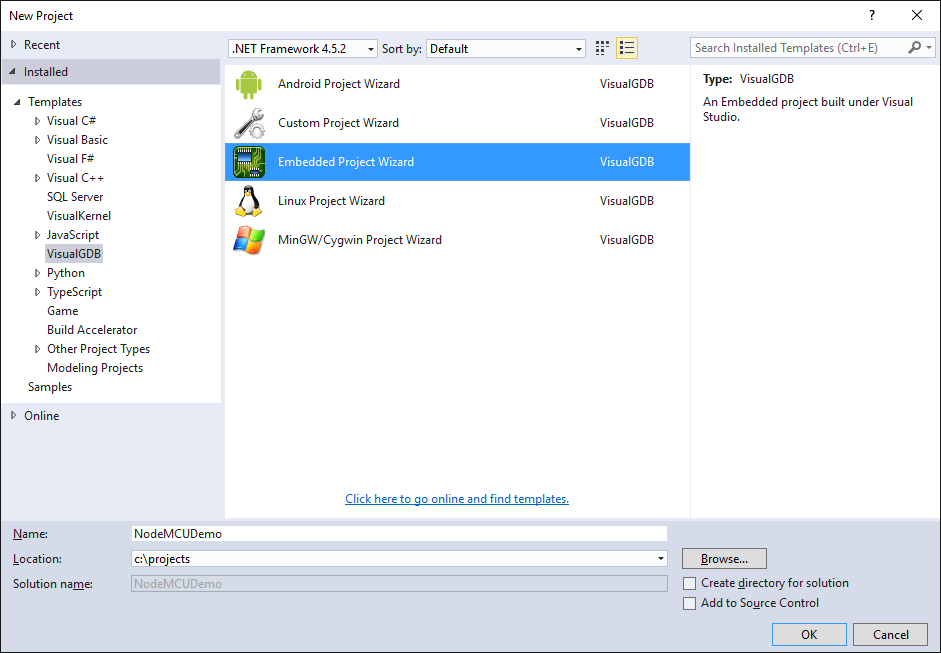
- Proceed with the default project type:

- On the next page select the ESP8266 toolchain and proceed with the regular ESP8266 device. Ensure the “Enable UART GDB Stub” checkbox is checked:
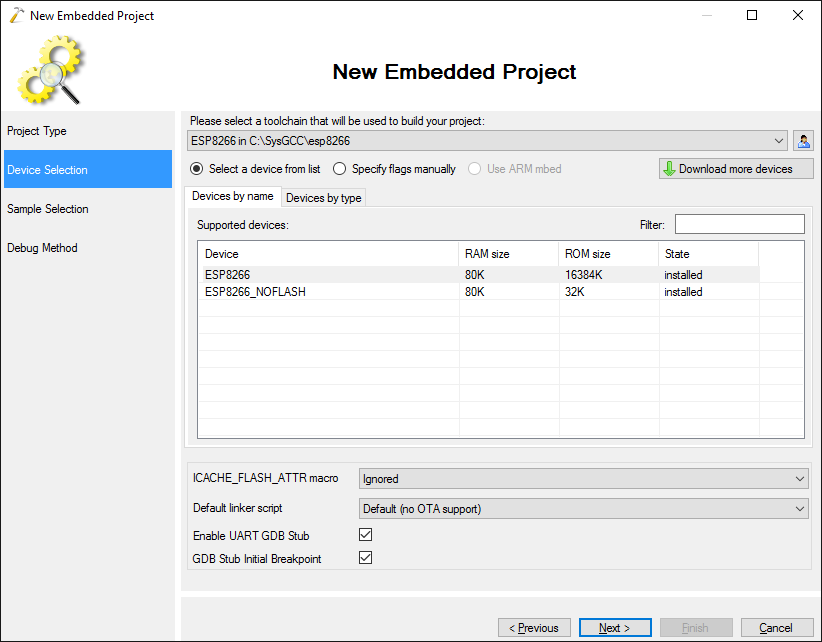
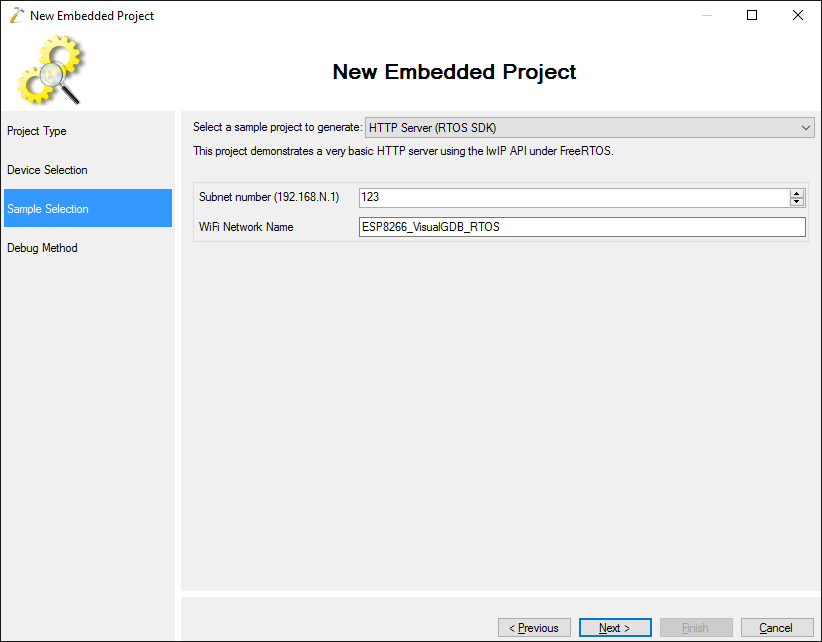
- On the Sample Selection page select “HTTP Server (RTOS SDK)” and click “next”:
- Connect the board to a USB port on your computer:

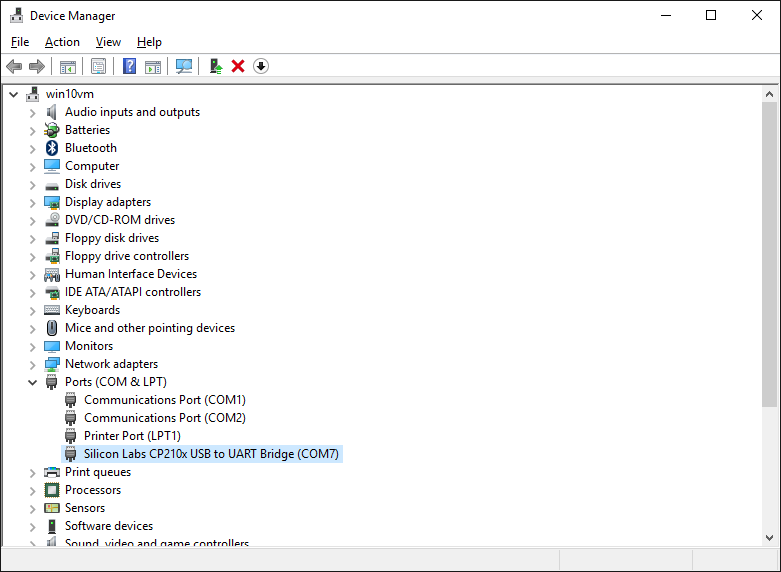
- Open Device Manager and locate the port number corresponding to the NodeMCU board:
- Go back to the VisualGDB Project Wizard and choose “Bootloader + GDB Stub” as the debug method. Specify the COM port that corresponds to the board and check the “Do not show the ‘reset to bootloader’ message” checkbox. Ensure that “Bootloader reset delay” is set to 50 msec:
 Warning: if your debug settings do not show the “Initialization Data File” setting, you are using an old ESP8266 toolchain that is not compatible with NodeMCU. In this case please update your toolchain via Tools->Manage VisualGDB Packages.
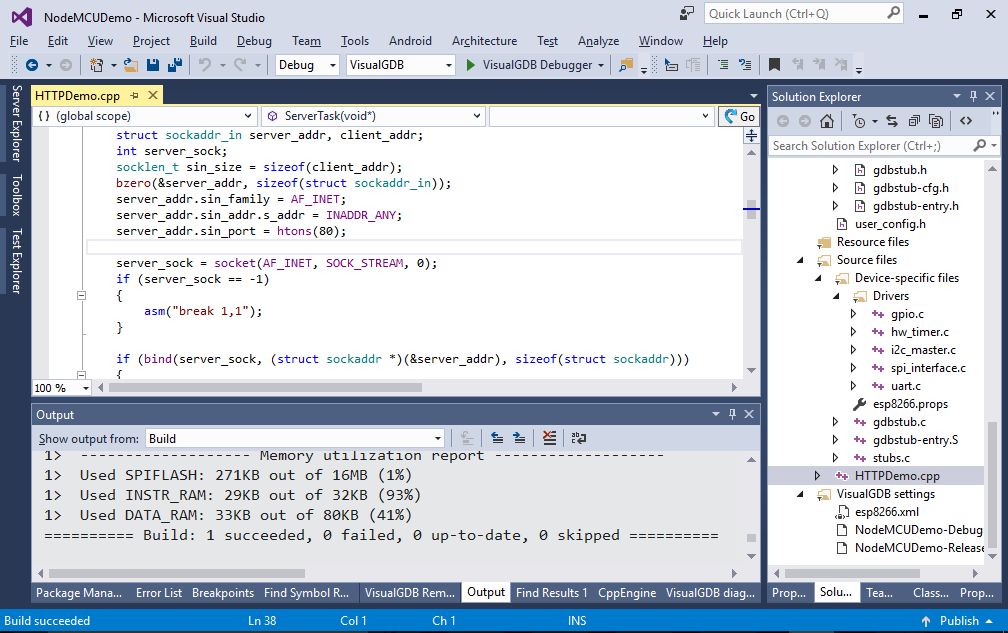
 - Press “Finish” to generate the project. Ensure it builds without errors:
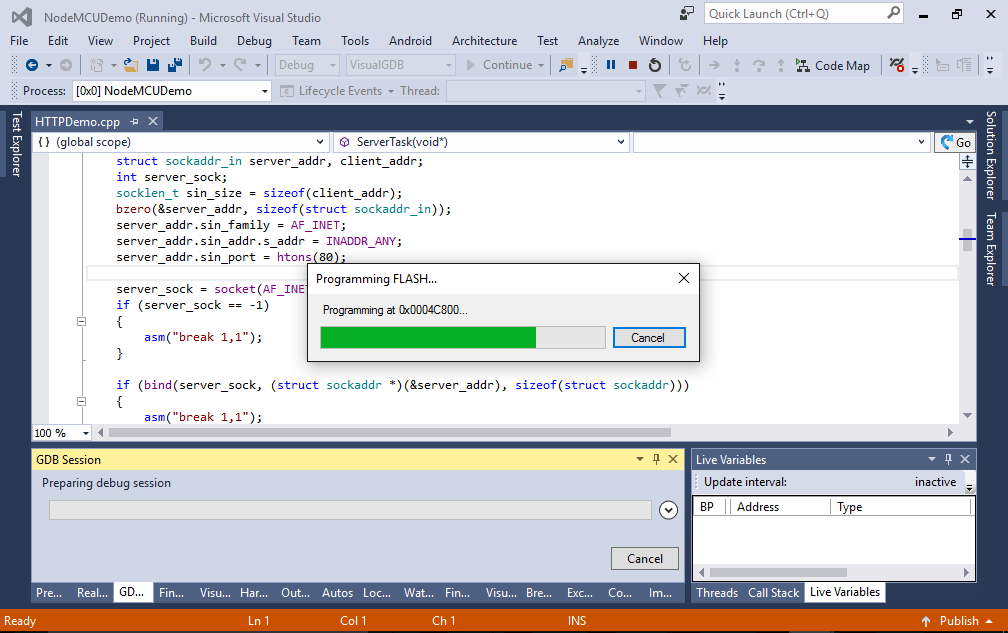
- Press F5 to start debugging. VisualGDB will automatically restart your NodeMCU board into the bootloader mode and program it over UART:
- Once the programming is complete, the firmware will start and display the IP address of the HTTP server:
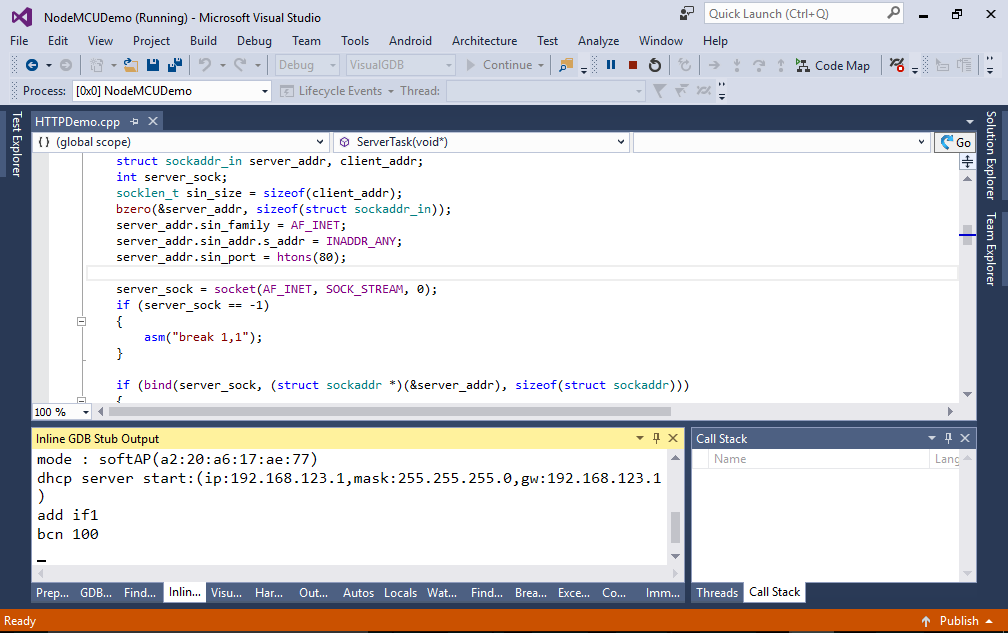
- Connect to the “ESP8266_VisualGDB_RTOS” WiFi network and open the IP address of the board in your browser:
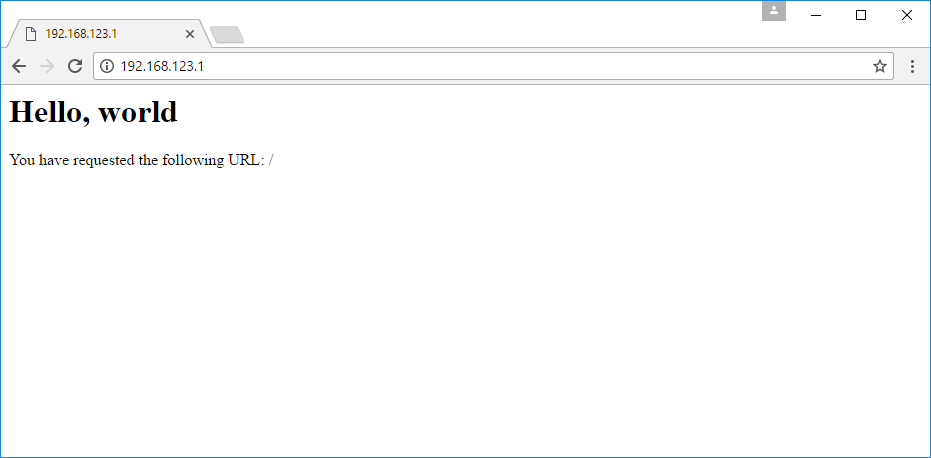
- Congratulations! Your NodeMCU works. Try setting a breakpoint in the ServerTask() function where it parses the HTTP request sent by the browser and refresh the page. The breakpoint will hit and you will be able to step through your firmware:
