Importing CMake Linux projects to VisualGDB
This tutorial shows how to import Linux CMake projects to VisualGDB. We will demonstrate this by downloading the MySql database engine source code, building it with VisualGDB, debugging the client application and using Code Map and other IntelliSense features to explore the code.
Before you begin install VisualGDB 5.3 or later, download MySql source code to your Linux machine and unpack it.
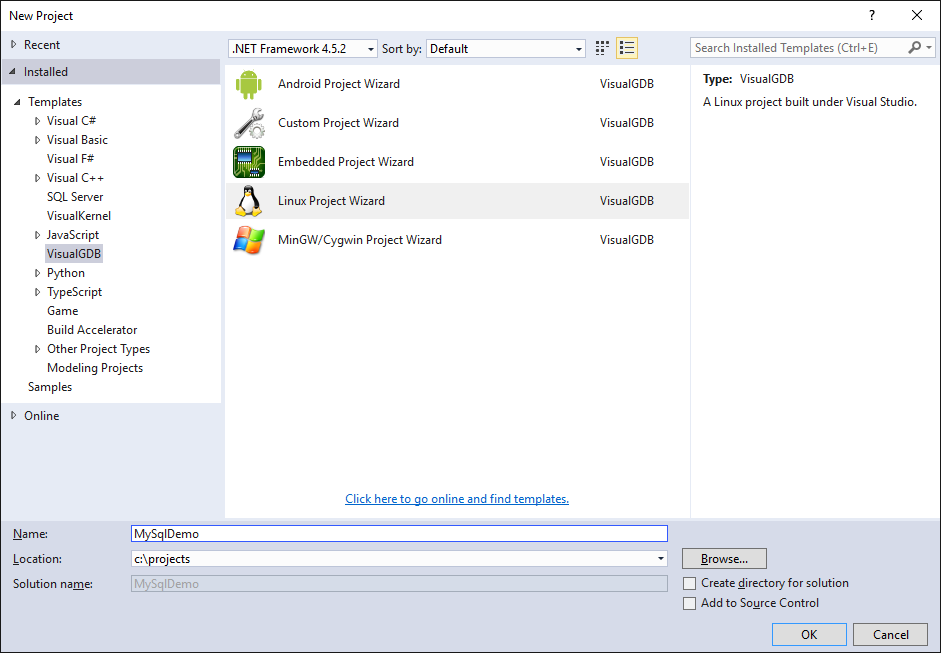
- Start Visual Studio and launch the VisualGDB Linux Project Wizard:
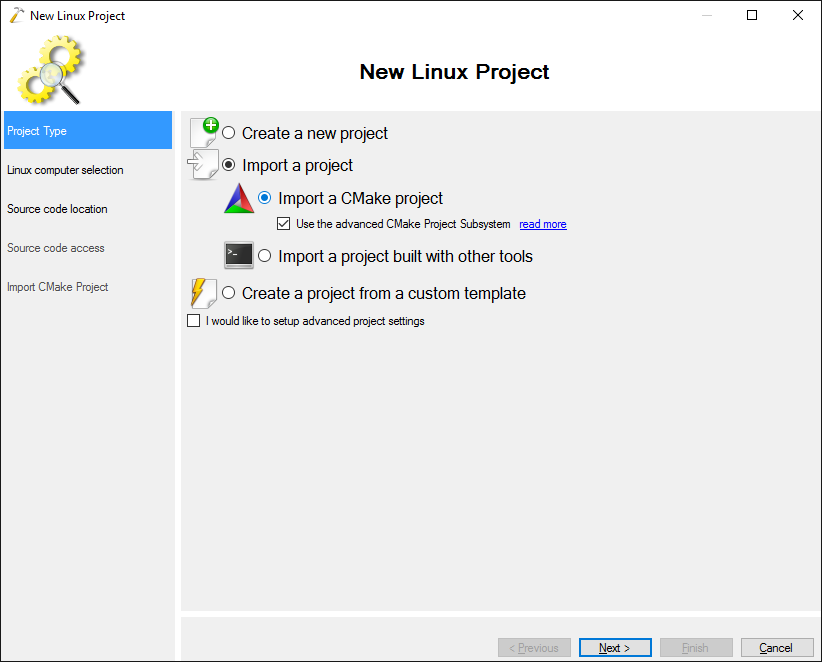
- In the Linux Project wizard select “Import a project -> Import a CMake project” and check the “Use advanced CMake Project Subsystem” checkbox:
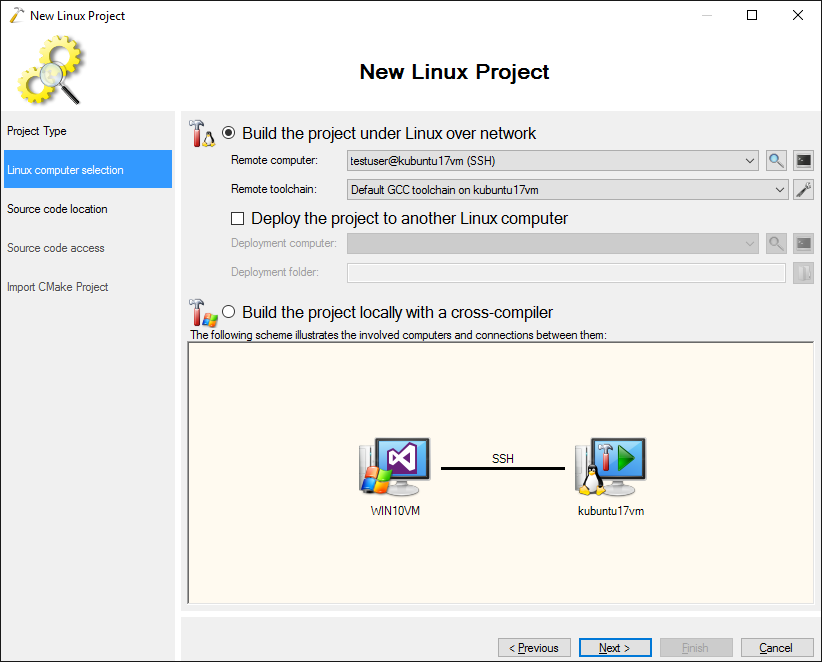
- On the next page select the computer where you have unpacked the MySql source code:
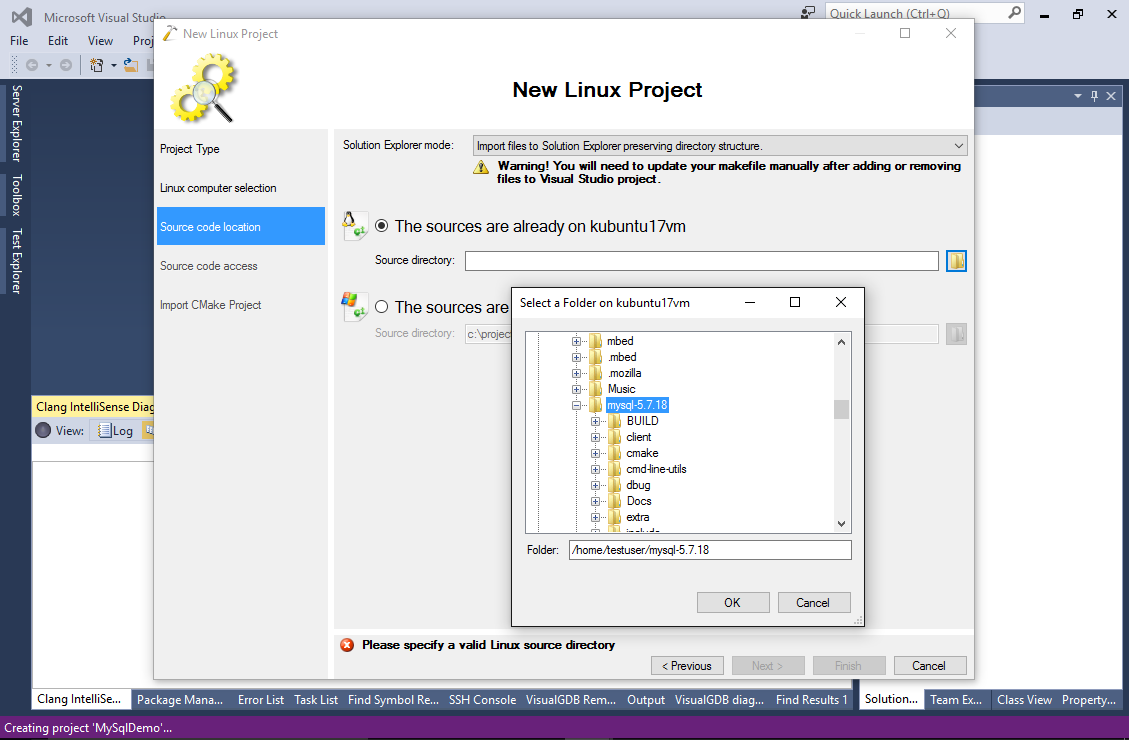
- Then select “The sources are already on the Linux computer” and enter the source directory:
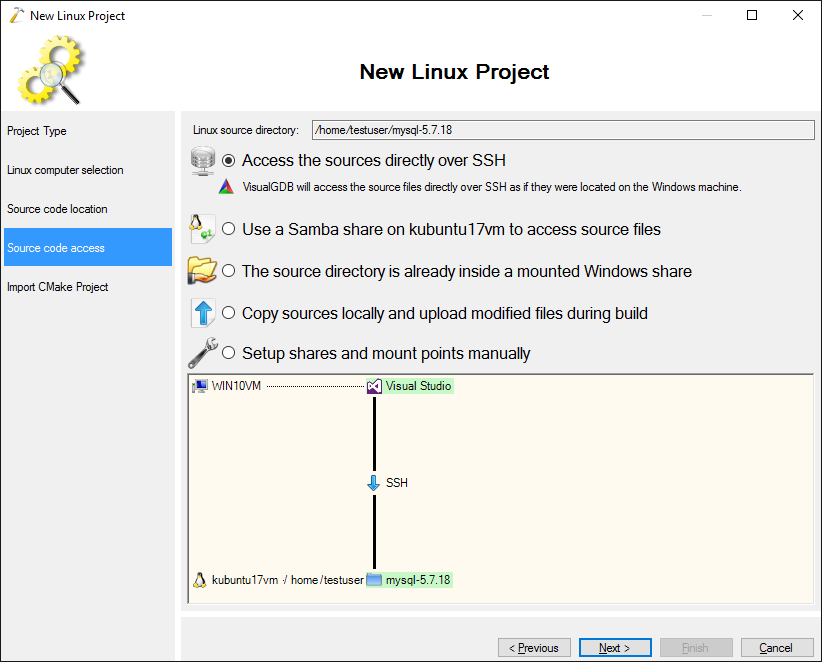
- In this tutorial we will use the new direct SSH access feature that allows VisualGDB to access your source files directly on the Linux machine as if they were copied to the Windows side:
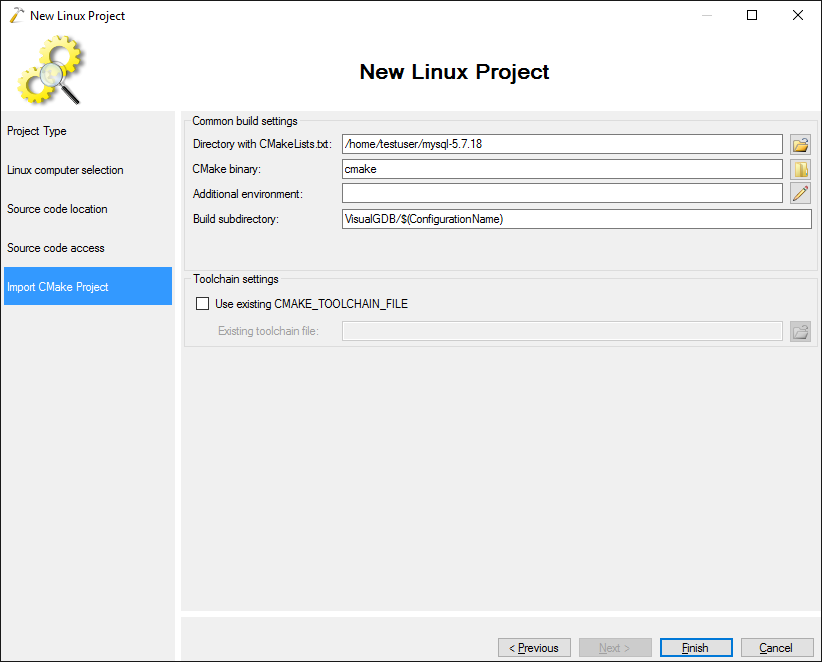
- The last page allows configuring the build directory that will be used for different configurations and additional CMake environment. Proceed with the default settings:
- Click “Finish” to build the project then build it with Ctrl-Shift-B:
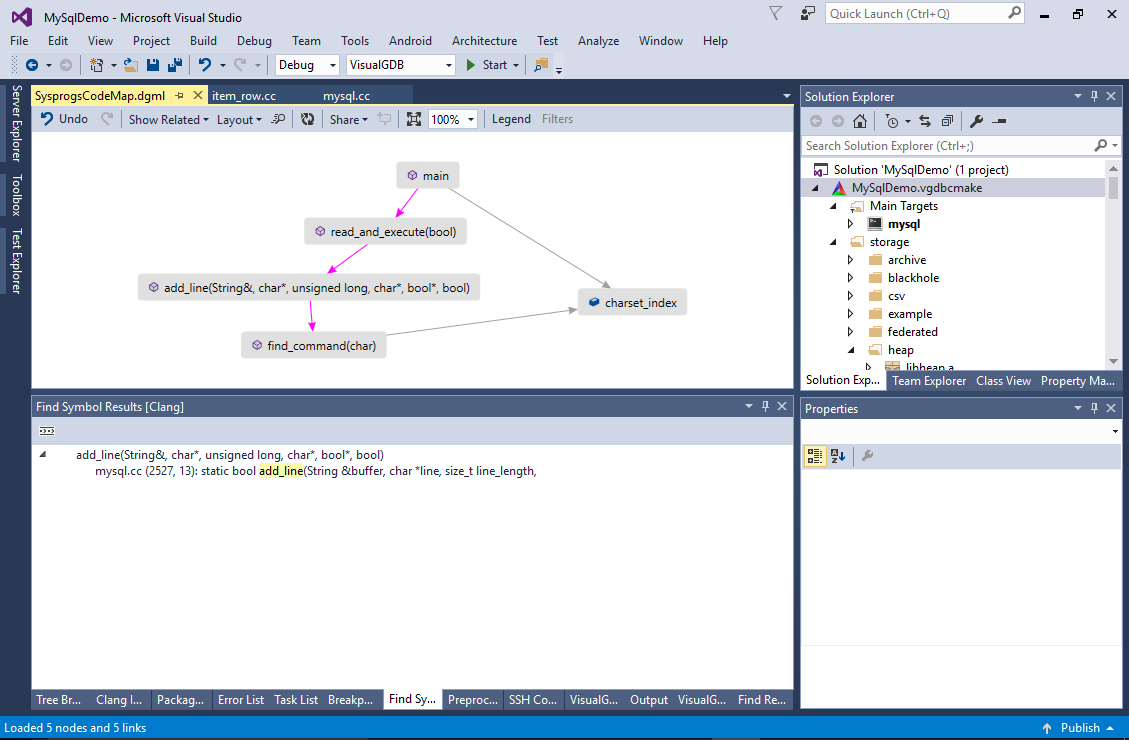
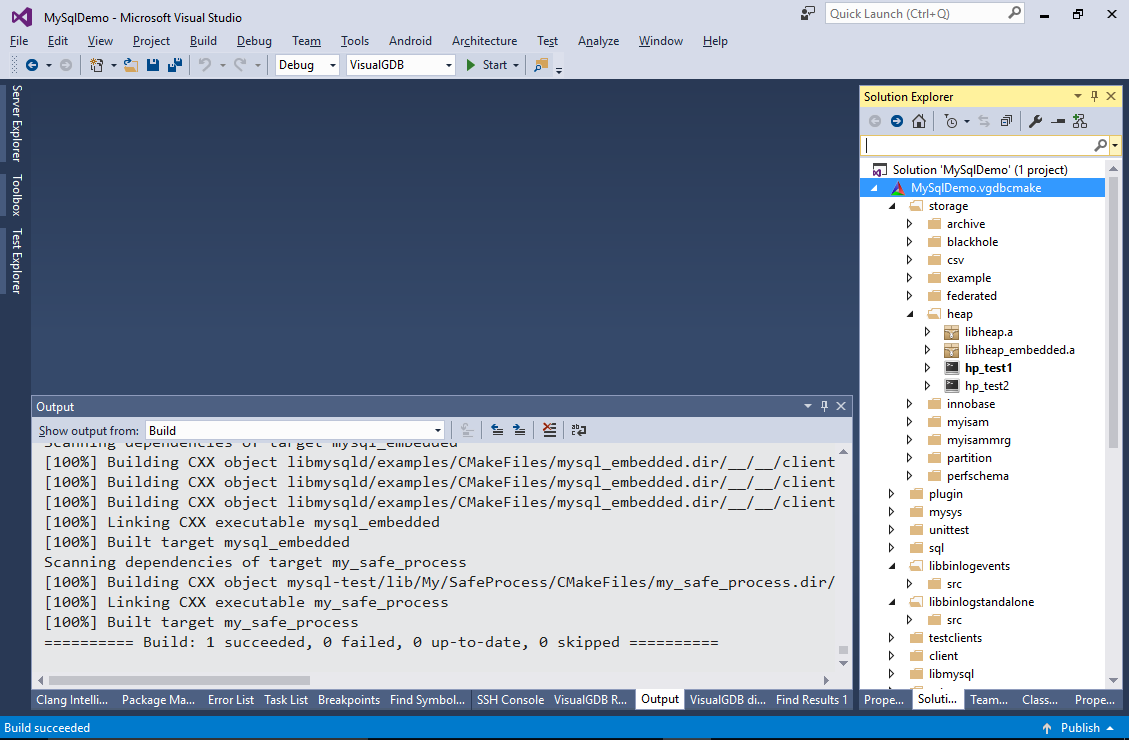 See how VisualGDB automatically queried the list of targets and sources from CMake and displayed them in Solution Explorer.
 - If you don’t have MySql installed on that machine, install it manually by running the following commands in the build directory:
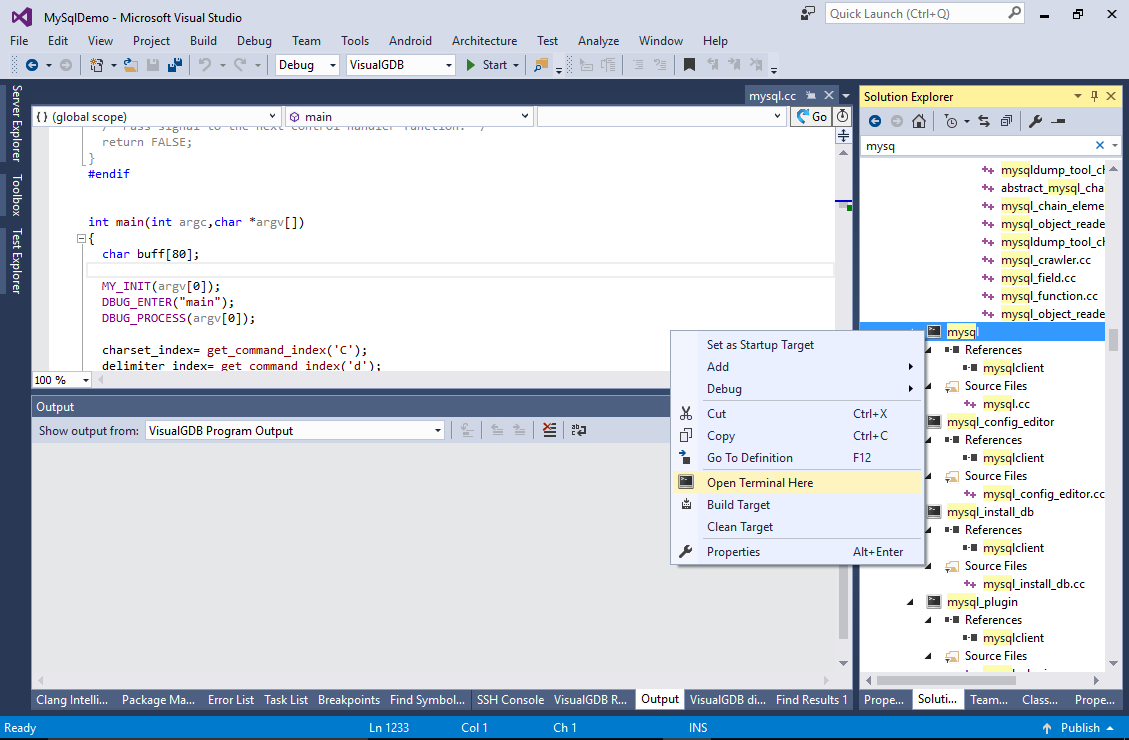
sudo make install mysqld --initialize mysqldYou can use the “Open Terminal Here” command to conveniently open an SSH terminal to your Linux machine:
- Now we can debug the MySql client. Open VS Project Properties for the “mysql” target and set the command line arguments to “-u root -p” to connect as root:

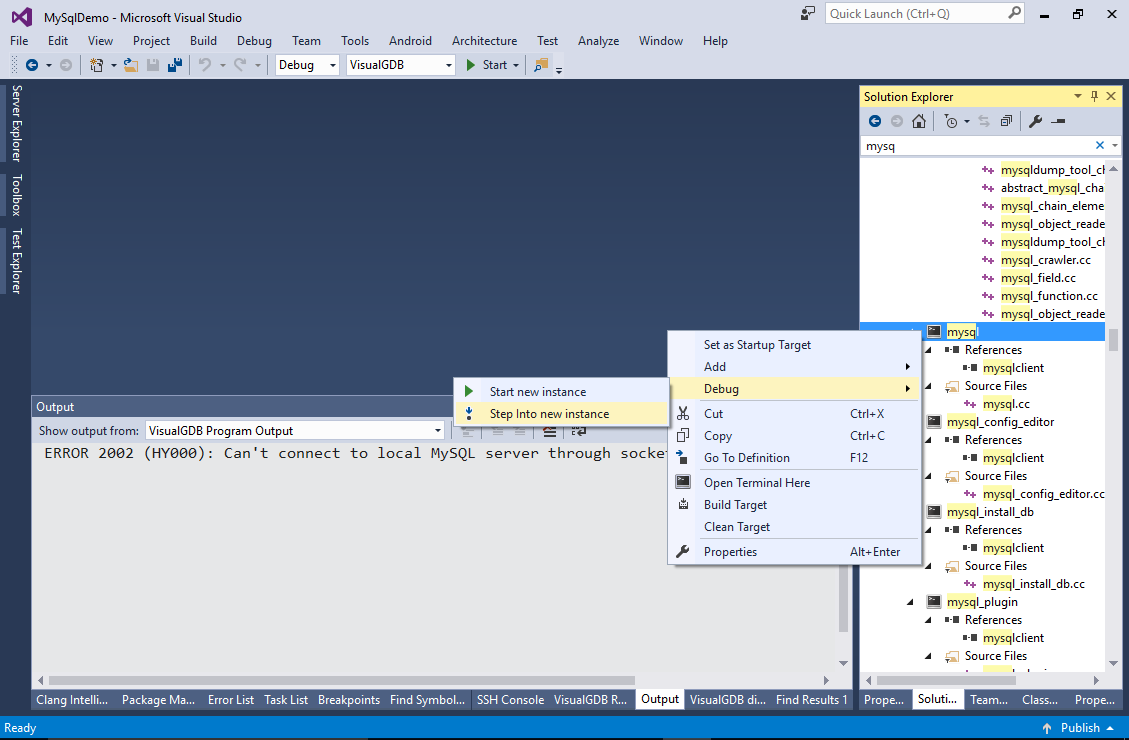
- Right-click on the “mysql” target and select Debug->Step into new instance:
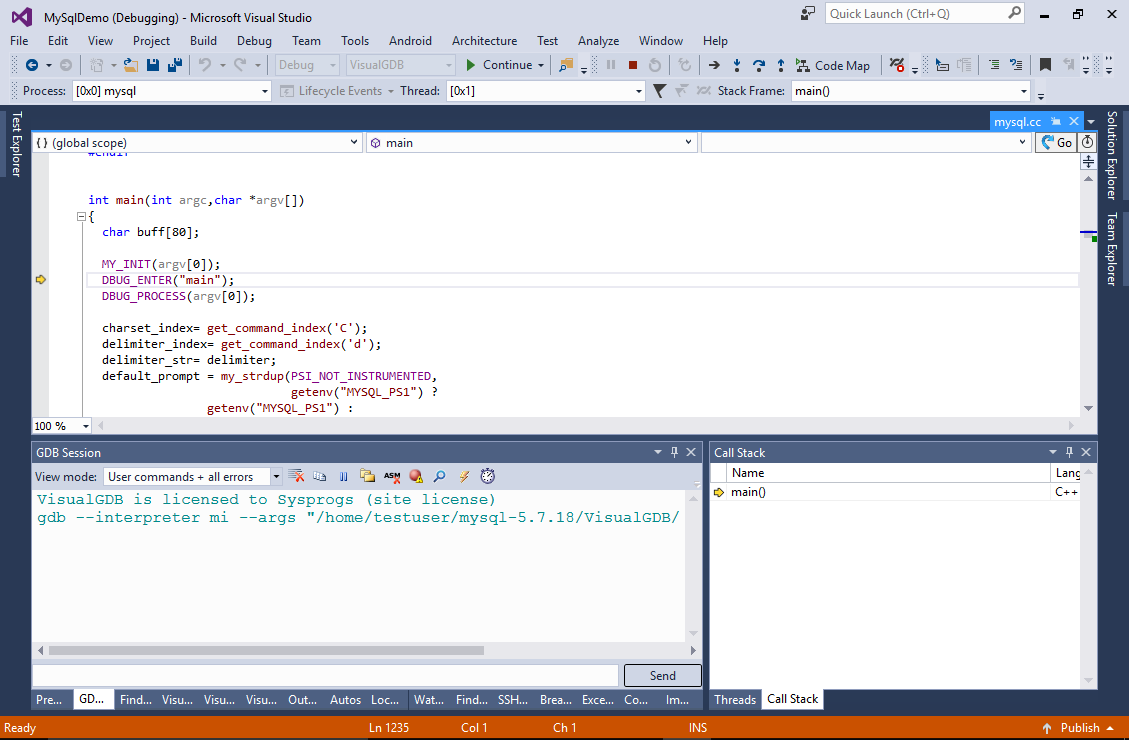
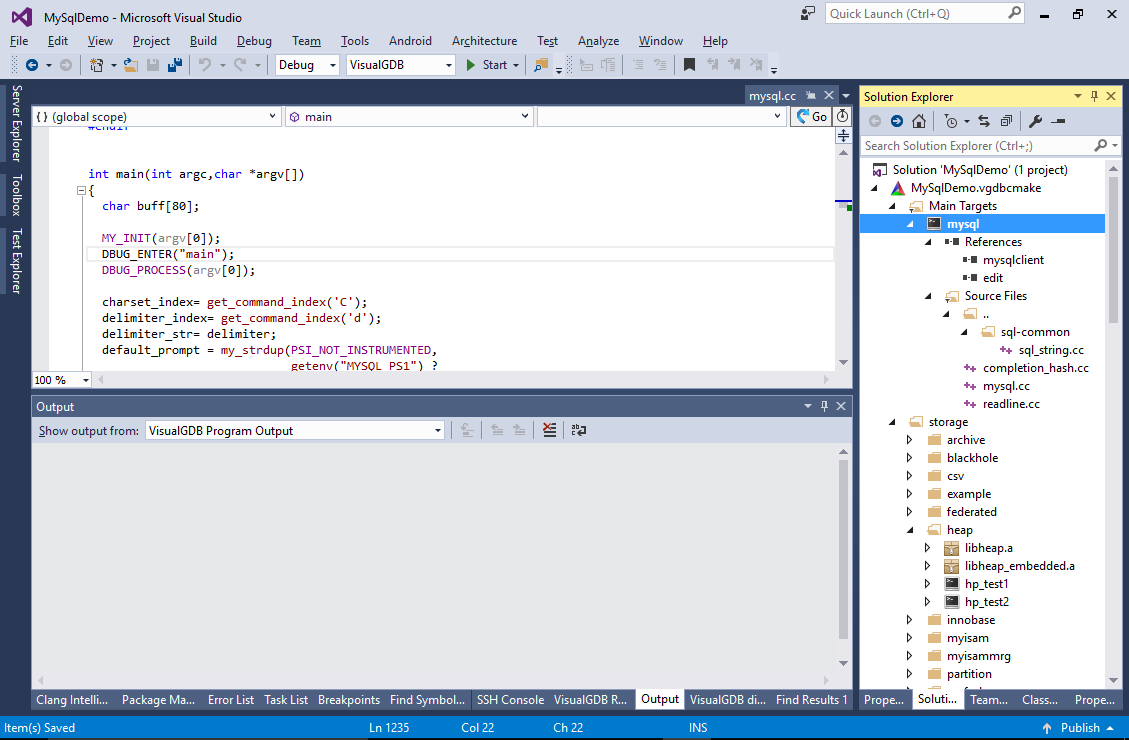
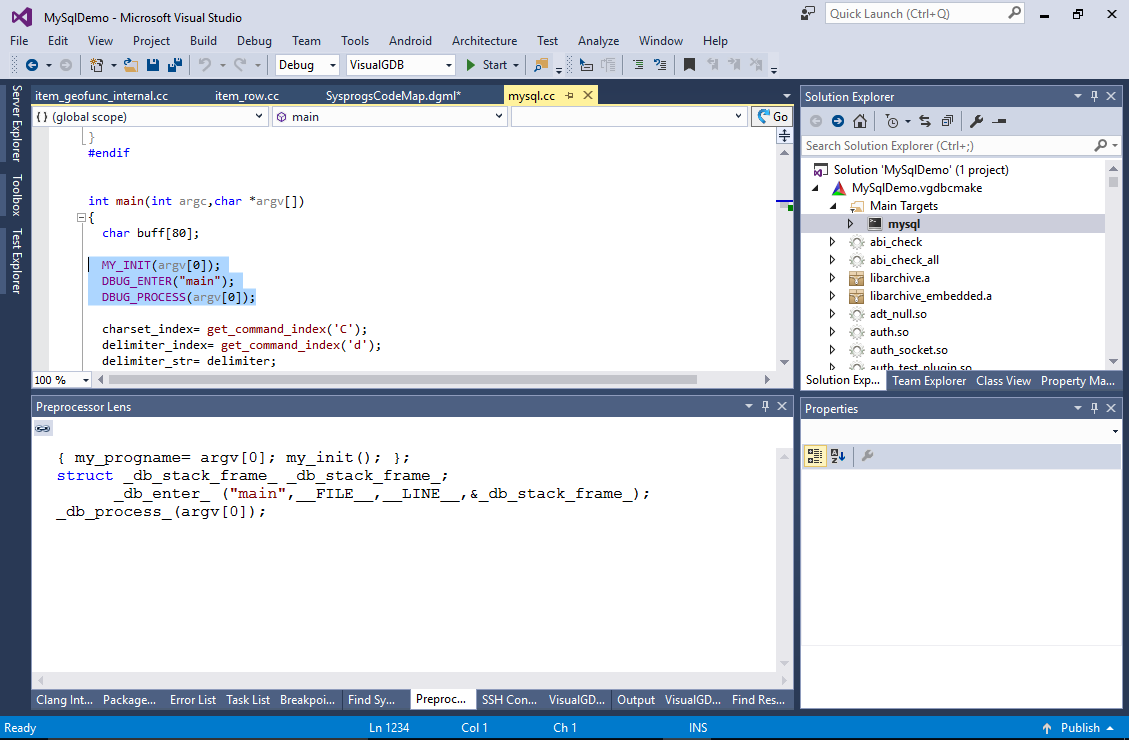
- VisualGDB will automatically launch the correct executable and step into its main() function:
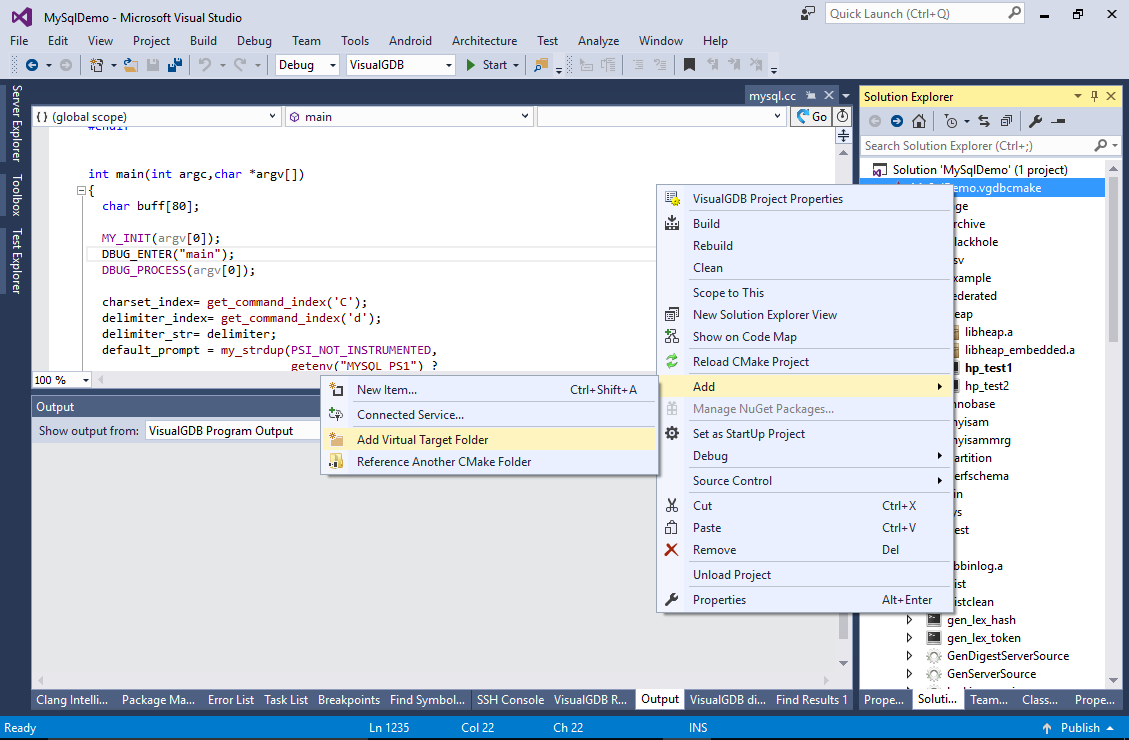
- If the imported project has too many auxiliary targets (e.g. libraries or unit tests), you can move the most important targets to a separate virtual folder for easier access. Right-click on the .vgdbsettings node and select Add->Virtual Target Folder:
- Drag and drop the “mysql” target to the new virtual folder (or use Ctrl-X, Ctrl-V to cut & paste it):
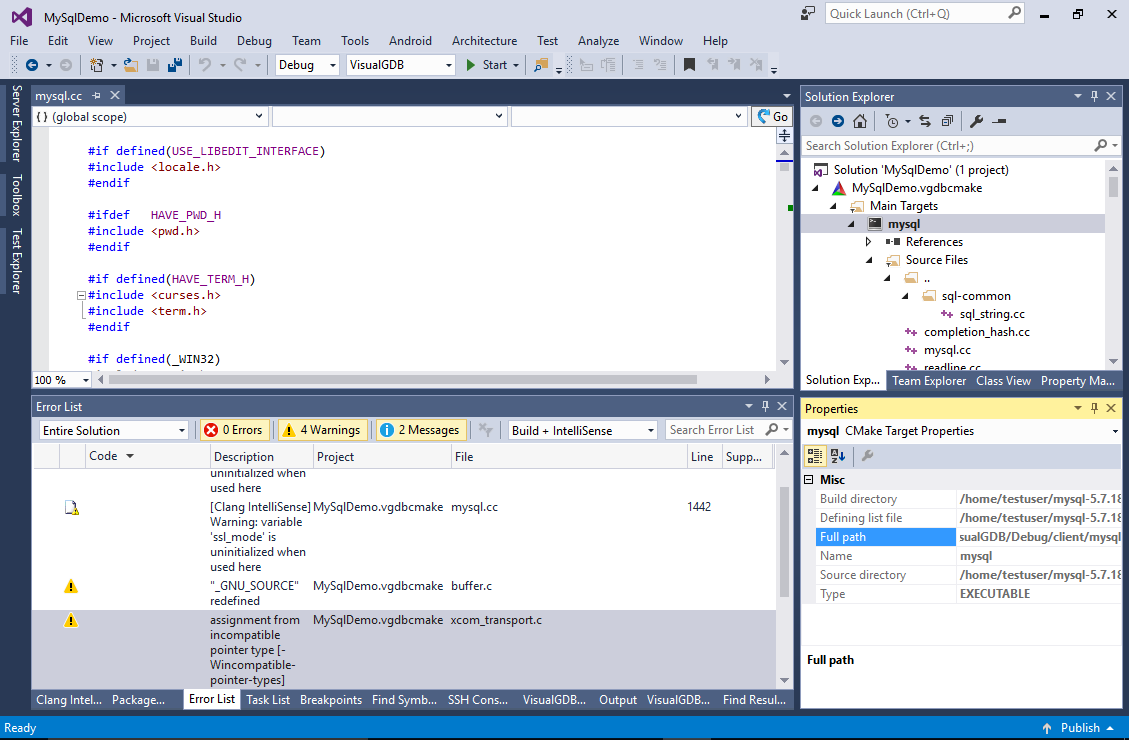
- You can use the Visual Studio Properties window to quickly see basic information about each target or source file (e.g. where it is defined, its source/binary directories and full path on the target):
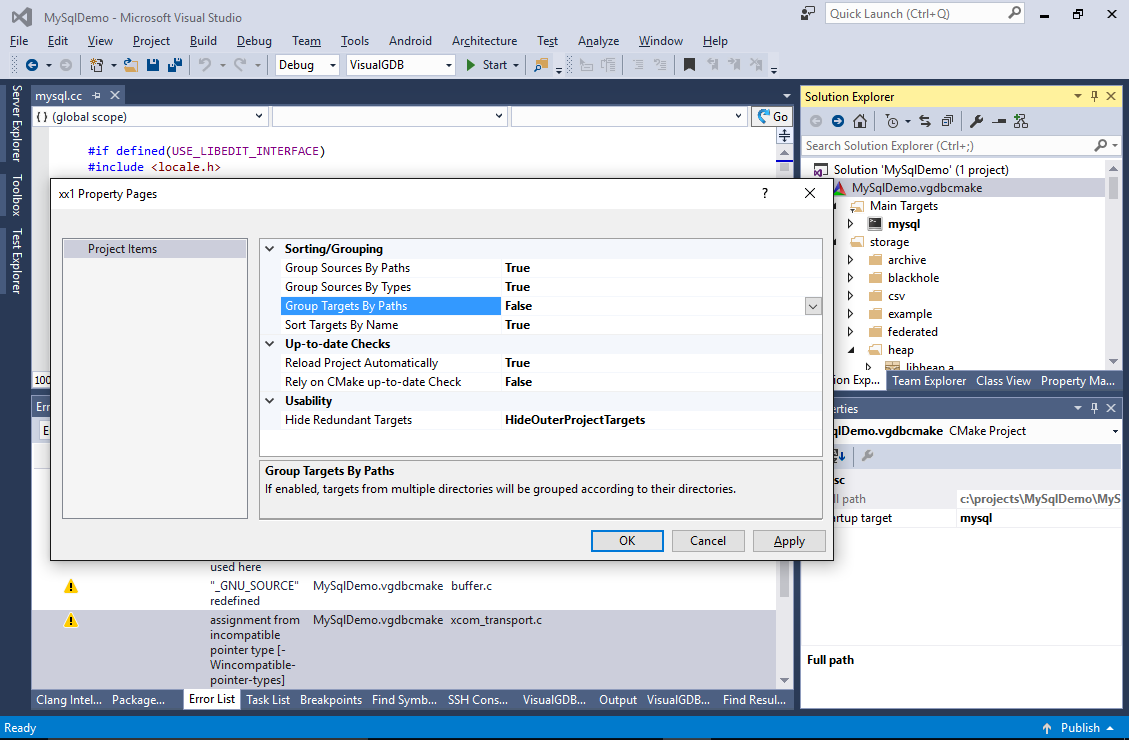
- Open VS properties for the .vgdbcmake project again and try changing various grouping setting. E.g. disable the “Group Targets by Paths” option:
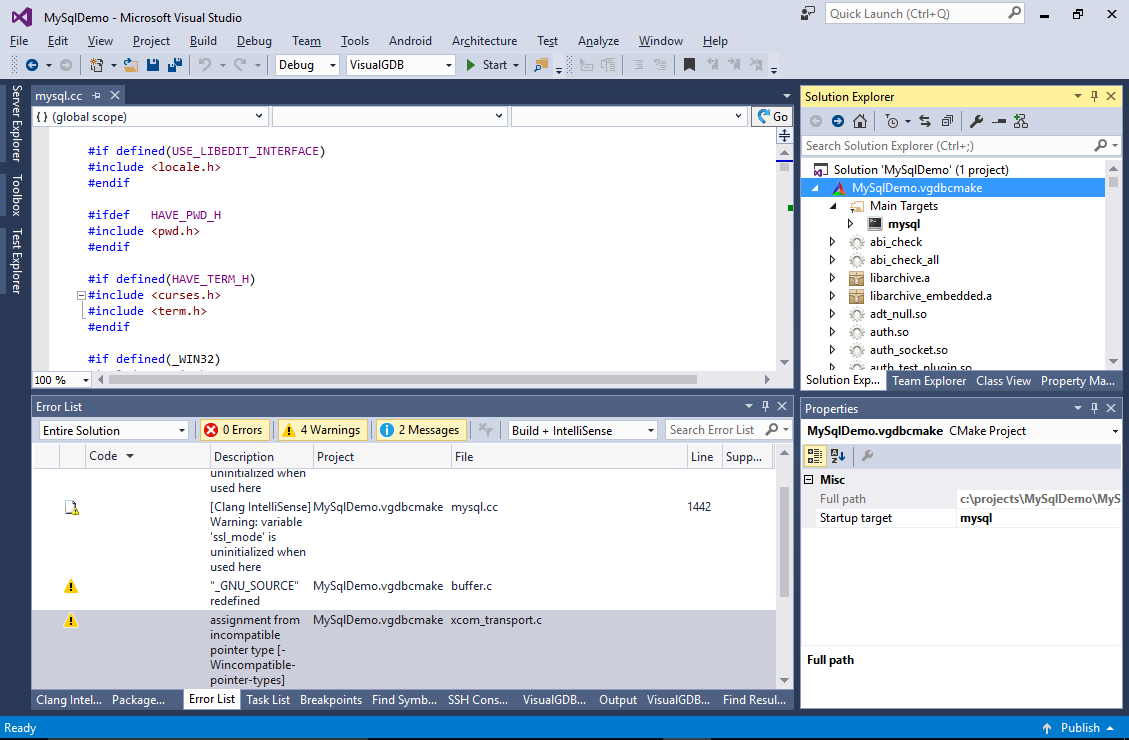
- See how all the targets from all CMakeLists.txt files are now displayed together:
- You can use the normal Visual Studio debugging functionality to debug the code. If you are using the Clang IntelliSense engine, you can right-click in your code and select “Preprocess Selected Lines” to automatically see behind non-trivial preprocessor macros:
- You can also use Code Map provided by the Clang IntelliSense engine to quickly visualize the relations between different parts of your code: