Using Custom Shortcuts with VisualGDB
This tutorial shows how to define and use custom shortcuts for VisualGDB projects outside of building and debugging.
Before we begin, ensure that VisualGDB 4.1 or later is installed.
- For the purpose of this tutorial we use the code from the ImageMagick tutorial, but create the project using file transfer instead of shared folders. Note that the techniques described in this tutorial apply to all VisualGDB Project types (e.g. also for Windows, Android or Embedded).
- Build the project and make sure there is a image file to modify. Here we use the ArrowRight.png file in the project directory as in the previous tutorial.
- In the next steps we will make a custom shortcut that will transfer the image file to the build machine, run our program with it, then transfer back the transformed image and open it.
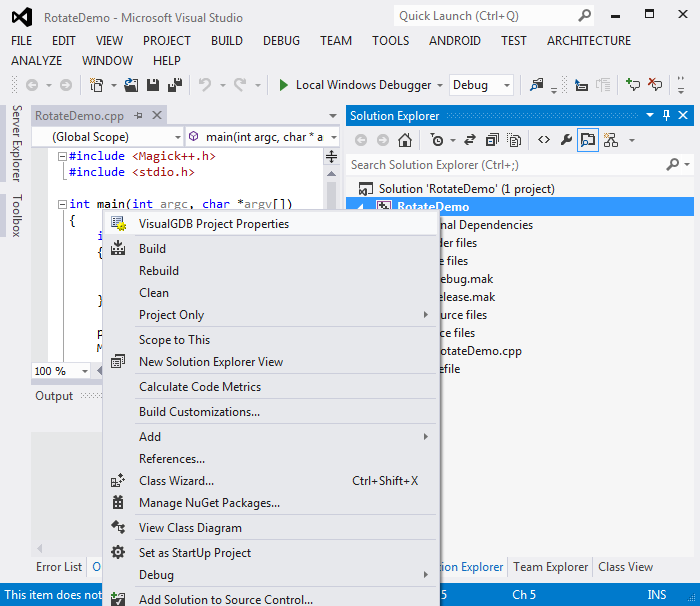
- Open VisualGDB Project Properties.
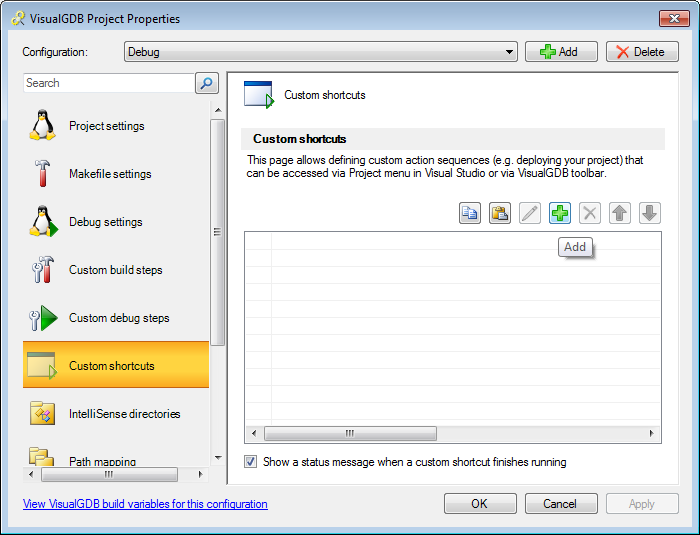
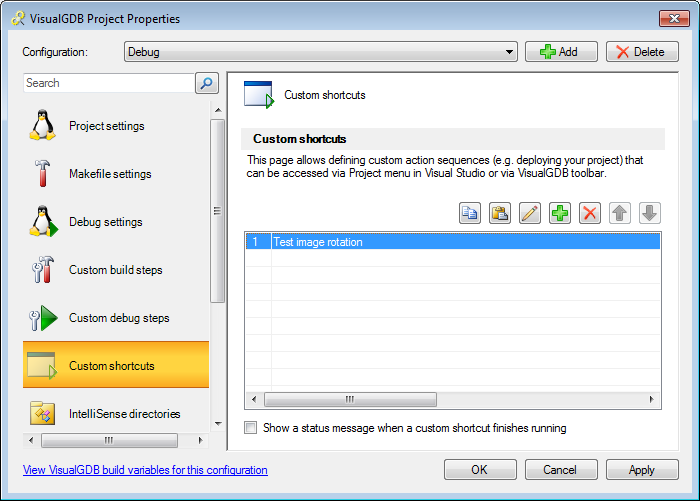
- Go to the Custom shortcuts page and click on Add.
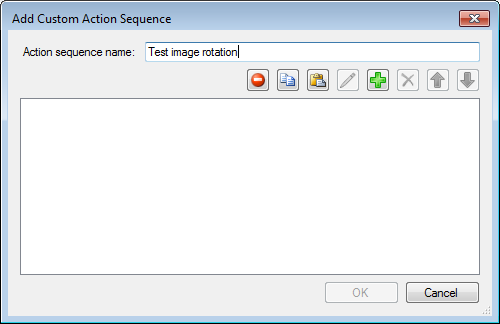
- Name the new action list and click on “Add” to add a new command. The action list name will be displayed in menus later on.
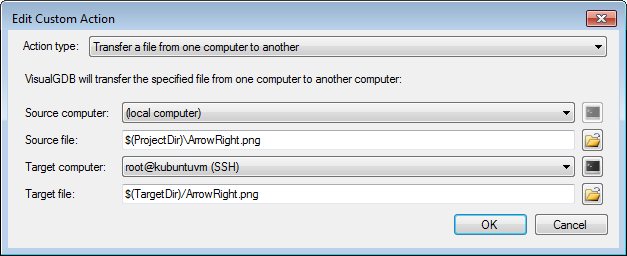
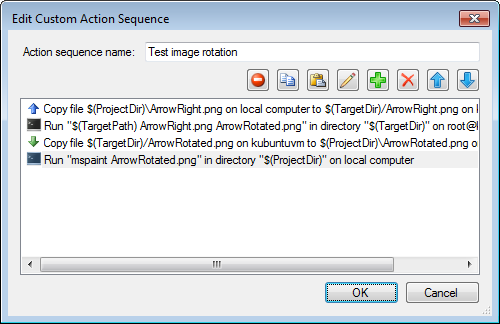
- Add a command to transfer the ArrowRight.png file from the local machine to the build machine. Click on OK.
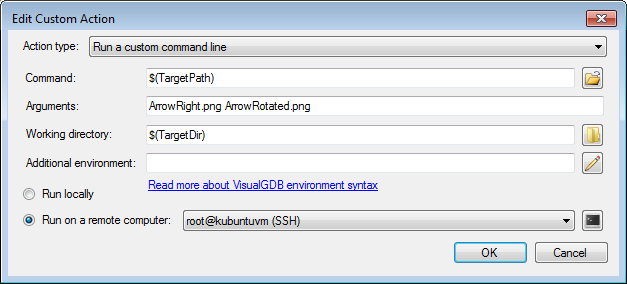
- Add another command to execute the program with the arguments on the remote machine. Click on OK.
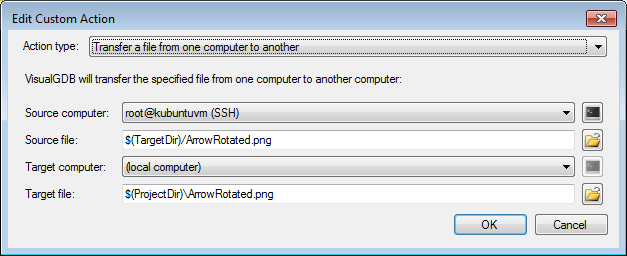
- Add a command to transfer the resulting ArrowRotated.png back to the local machine. Click on OK.
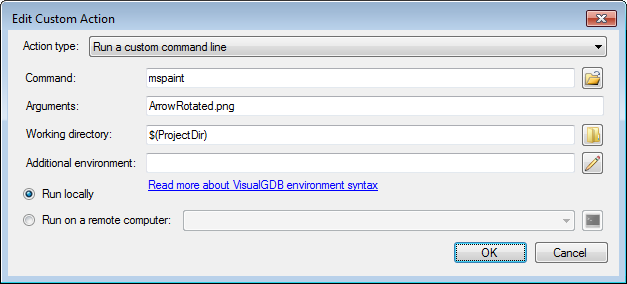
- Add a command to open the ArrowRotated.png on the local machine. Click on OK.
- The resulting command list looks as follows. Click on OK.
- Now a custom shortcut is specified. Click on OK to exit the Project Properties.
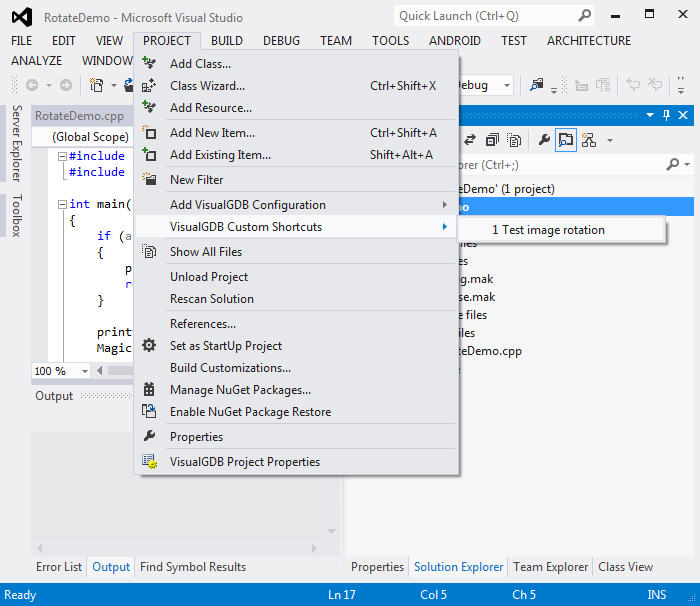
- Go to the Project menu and execute the custom shortcut.
- A window will appear showing the custom actions of the shortcut.
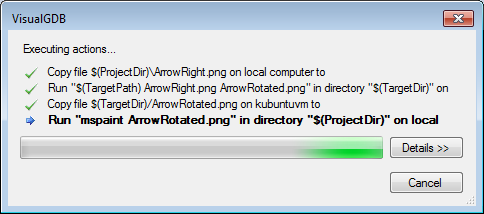
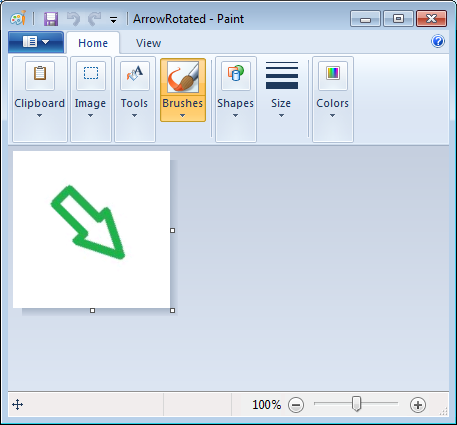
- The picture will be opened. You can close the command window now.
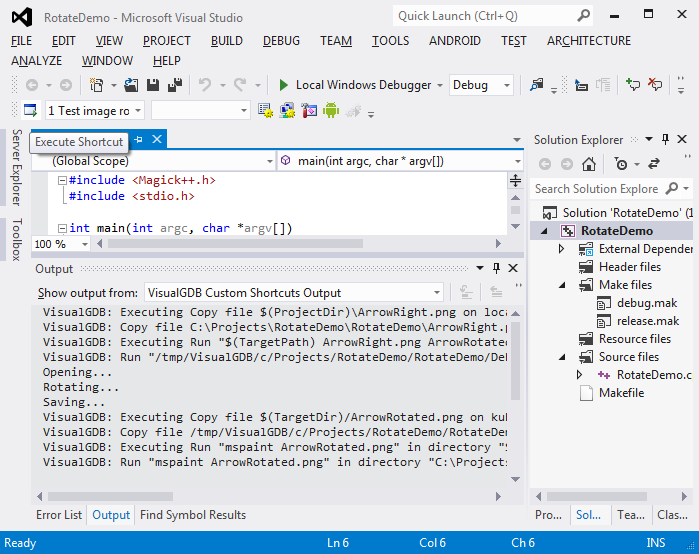
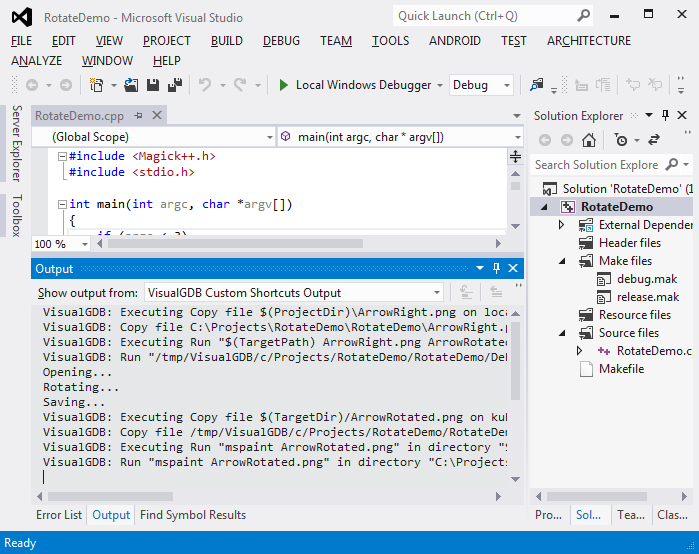
- All the text output from custom shortcuts is put into a special filter of the Output window.
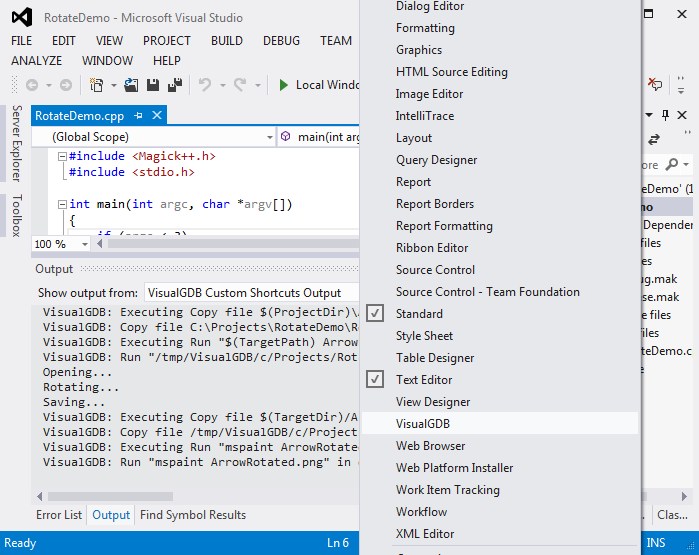
- You can also execute custom shortcuts from the toolbar. To show the VisualGDB toolbar, right-click in the toolbar area and choose “VisualGDB”.
- To execute custom shortcuts from the toolbar, first select the command from the list and click on “Execute Shortcut”. The command will execute the same way as from the Project menu.
