Developing projects for Atmel ARM Cortex devices with Visual Studio
This tutorial shows how to create a basic “Blinking LED” project for the Atmel SAMD21-Xplained-Pro board. If you are using a different Atmel board with an ARM Cortex-based MCU, simply choose a different MCU name and specify where your LED is connected. You can find the full listing of supported Atmel devices here: http://visualgdb.com/hwsupport/
Before you begin, install Visual Studio and VisualGDB 5.1 or later.
- Start Visual Studio and launch the VisualGDB Embedded Project Wizard:
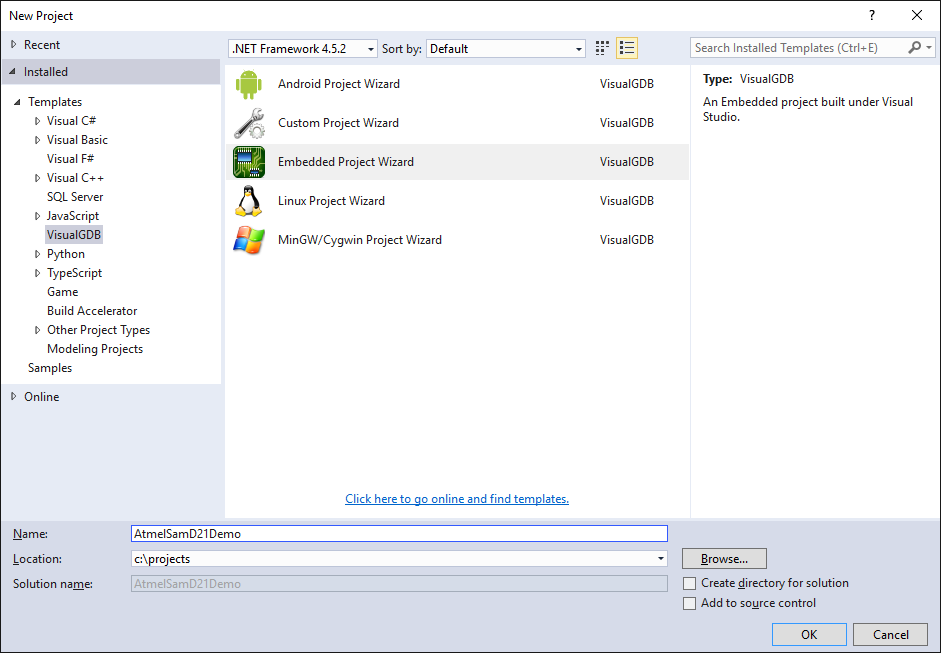
- Proceed with the default settings on the first page of the wizard:

- On the next page select the ARM toolchain and select your Atmel device. VisualGDB will automatically download the latest Atmel BSP with all the necessary files:

- On the Sample Selection page choose the GPIO port where your LED is connected. On the Amel SAMD21-xplained-pro the orange LED is connected to port PB30:
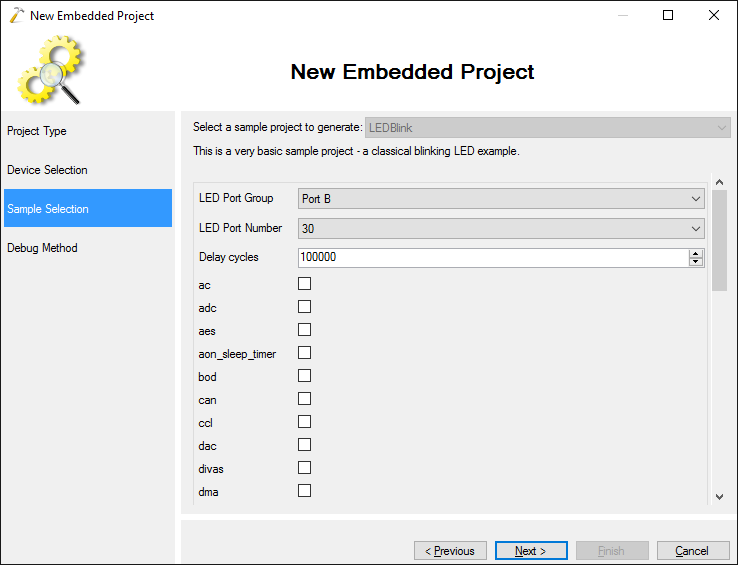 The checkboxes below the LED parameters allow automatically including various libraries provided by Atmel into your project. Note that not all libraries are compatible with all devices.
 - Finally select the OpenOCD debug method. Plug in your board and press “Detect”. VisualGDB will automatically detect the necessary settings:
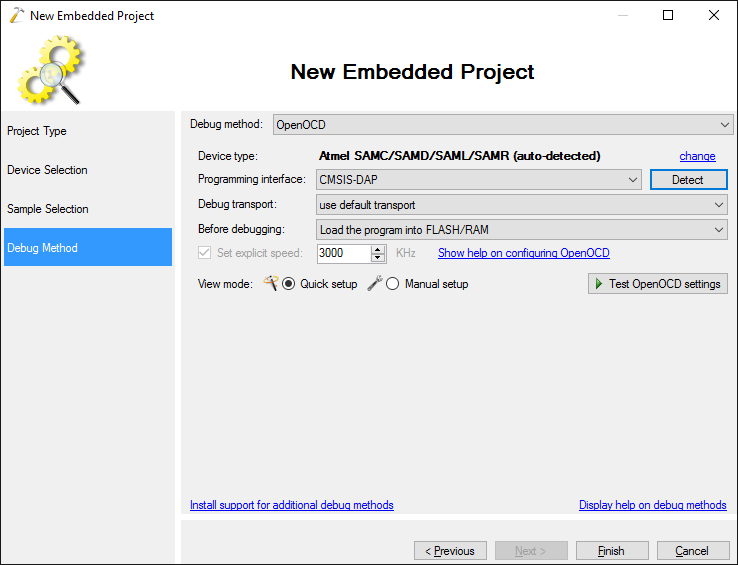 If the device does not get auto-detected, update your OpenOCD package via Tools->Embedded Tools Manager.
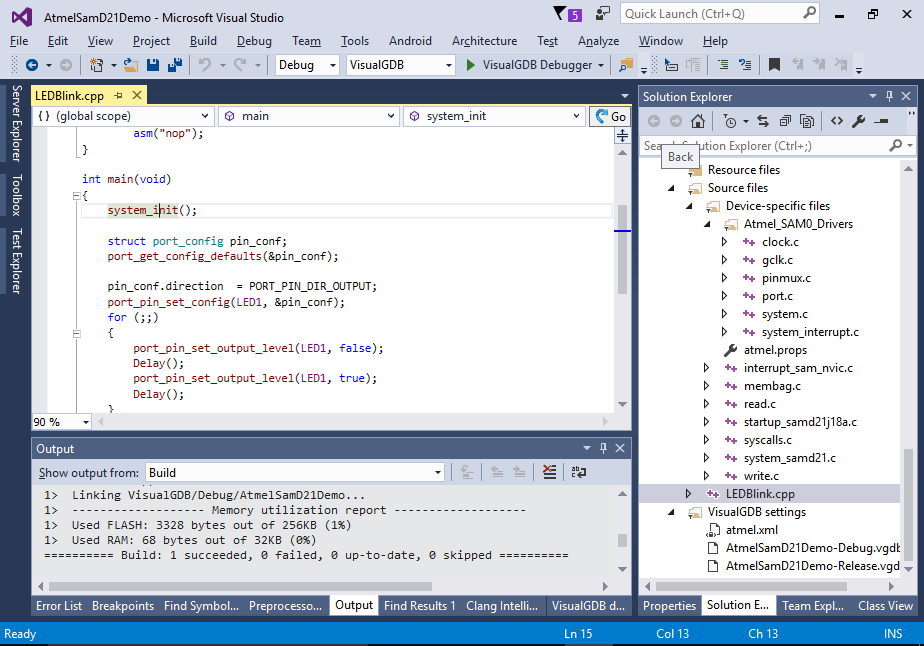
 - Press “Finish” to generate the project. Build it with Ctrl-Shift-B:
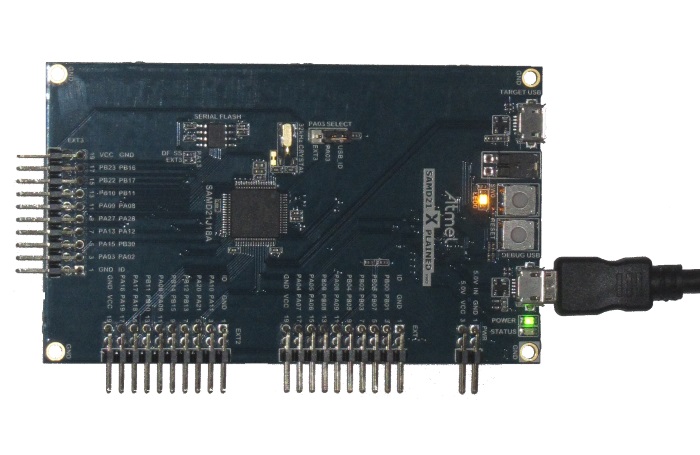
- Press F5 to start debugging. Note how the orange LED on the board begins to blink:
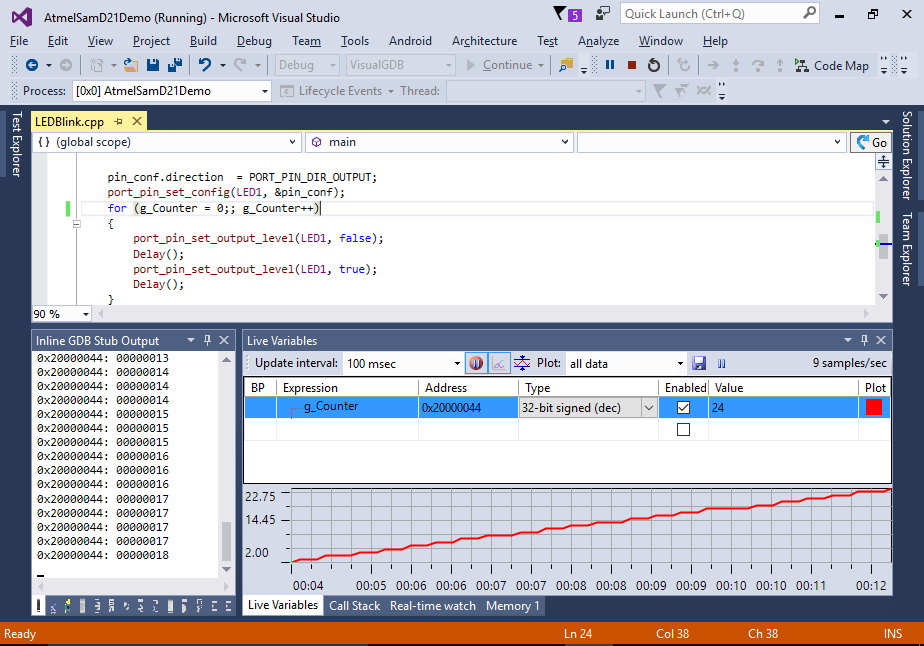
- Now we will try out the Live Variables feature to see what is happening in the program without stopping it. Modify the loop inside main() to modify a global variable declared as follows:
int g_Counter;
Then start debugging and add g_Counter to the Live Variables window. Enable plotting to see how the variable is incremeneted with each step:
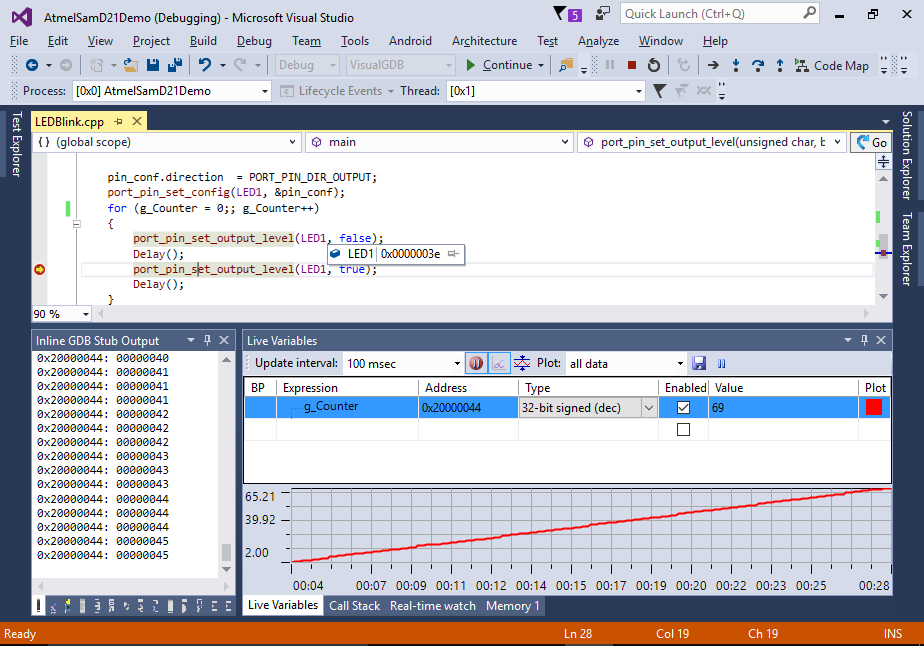
- You can set a breakpoint in your code to stop the program and check its state. Note how VisualGDB automatically expands the values of preprocessor macros based on the current location:
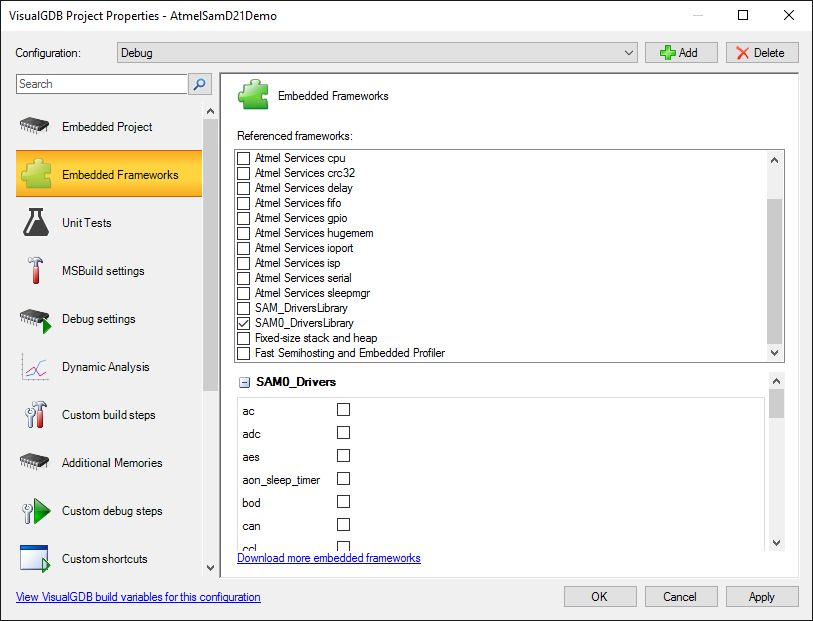
- You can include other Atmel frameworks (e.g. drivers for various peripherals) into your project by opening the VisualGDB Project Properties dialog and enabling them on the Embedded Frameworks page: