Developing STM32L5 Projects with Visual Studio and VisualGDB
This tutorial shows how to create a basic project for the STM32L5-Nucleo board with Visual Studio and VisualGDB. We will clone the FreeRTOS_ThreadCreation sample from the STM32L5 SDK and will show how to debug it and use CodeJumps to explore the structure of the code included in it.
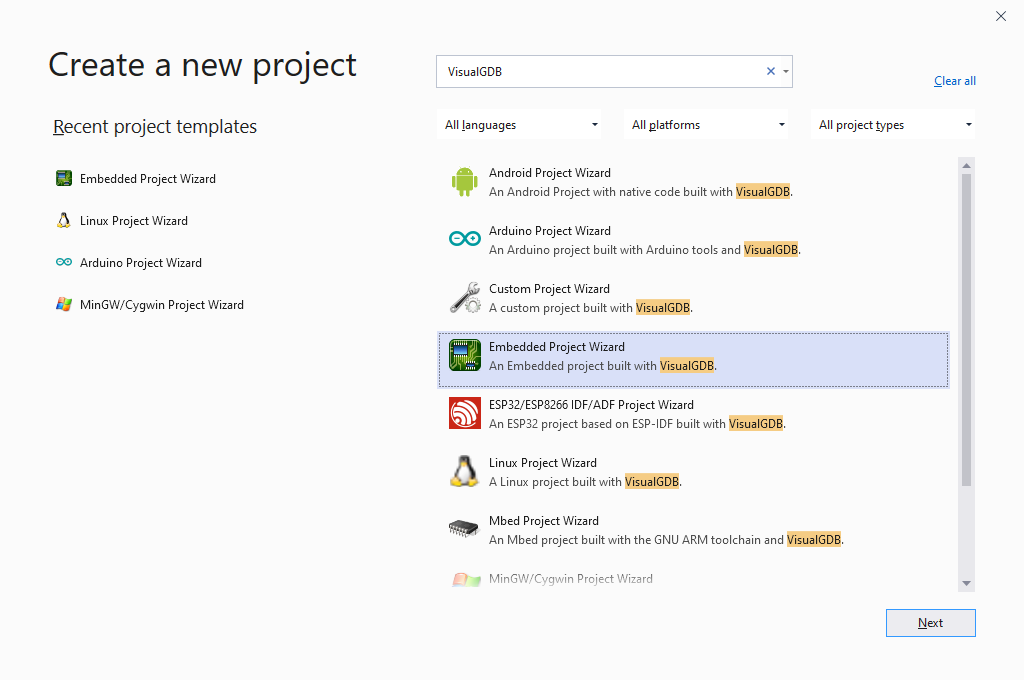
- Start Visual Studio and open the VisualGDB Embedded Project Wizard:
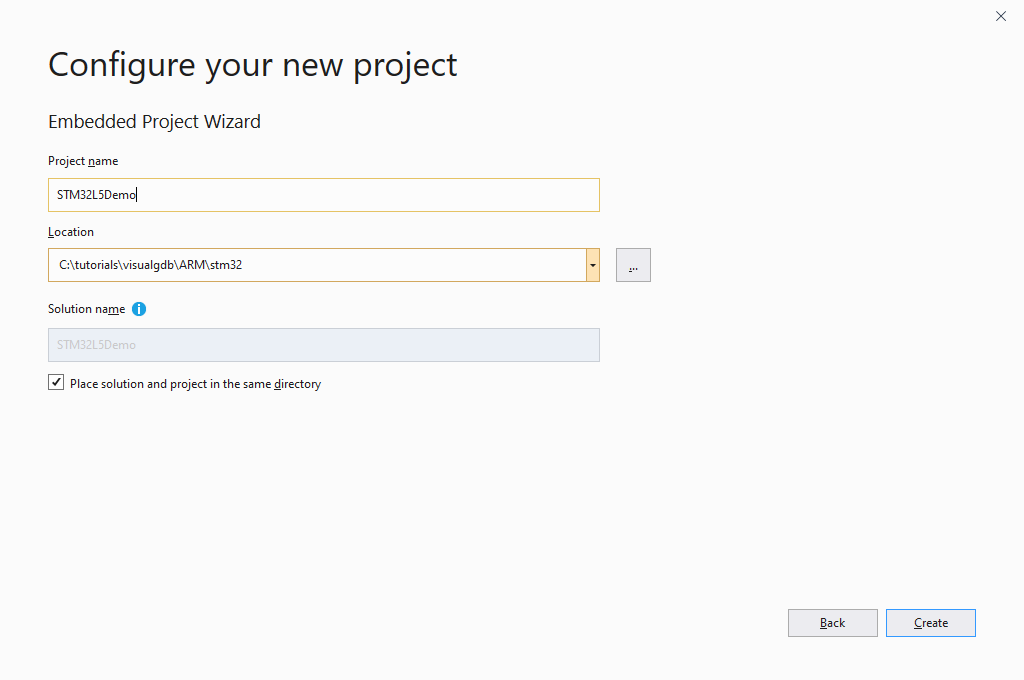
- Pick a name and location for your project and press “Create” to proceed:
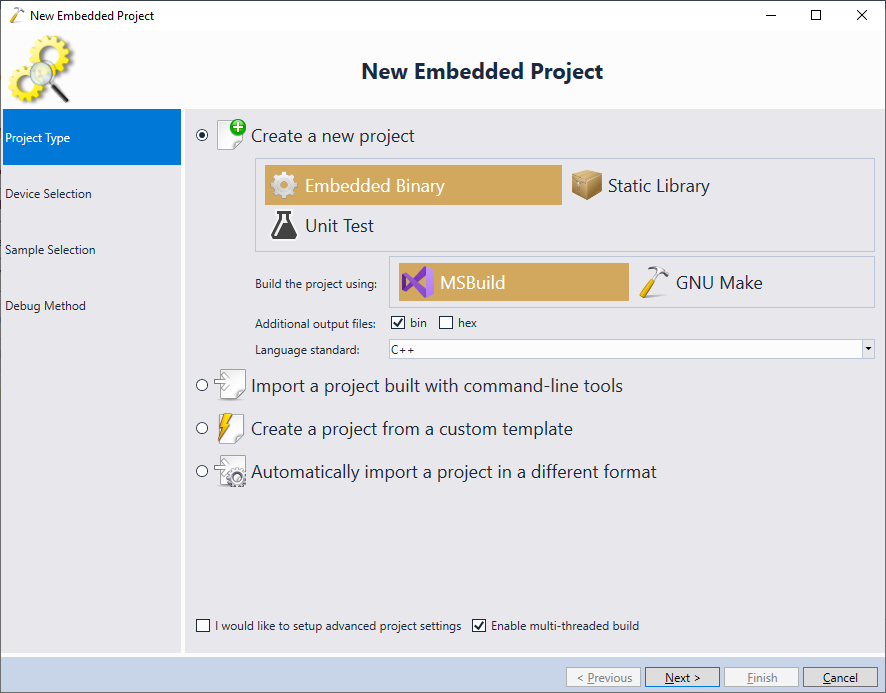
- For most new projects we recommend choosing the MSBuild system, as it results in much faster builds compared to GNU Make:
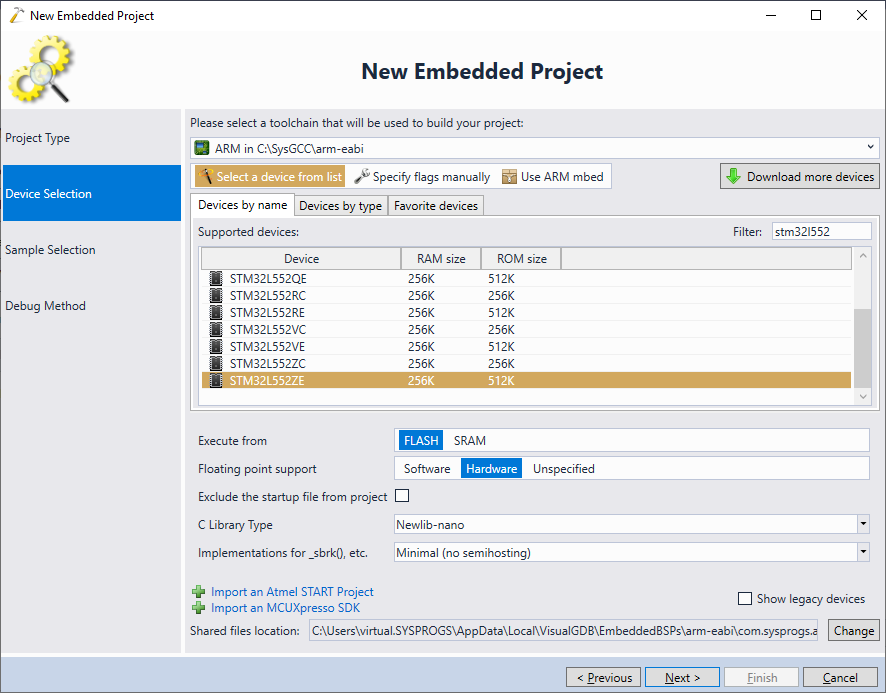
- Select the ARM toolchain and pick your STM32L5 device from the list. If the device does not appear, make sure you have installed the latest STM32 and OpenOCD packages via Tools->VisualGDB->Manage VisualGDB Packages:
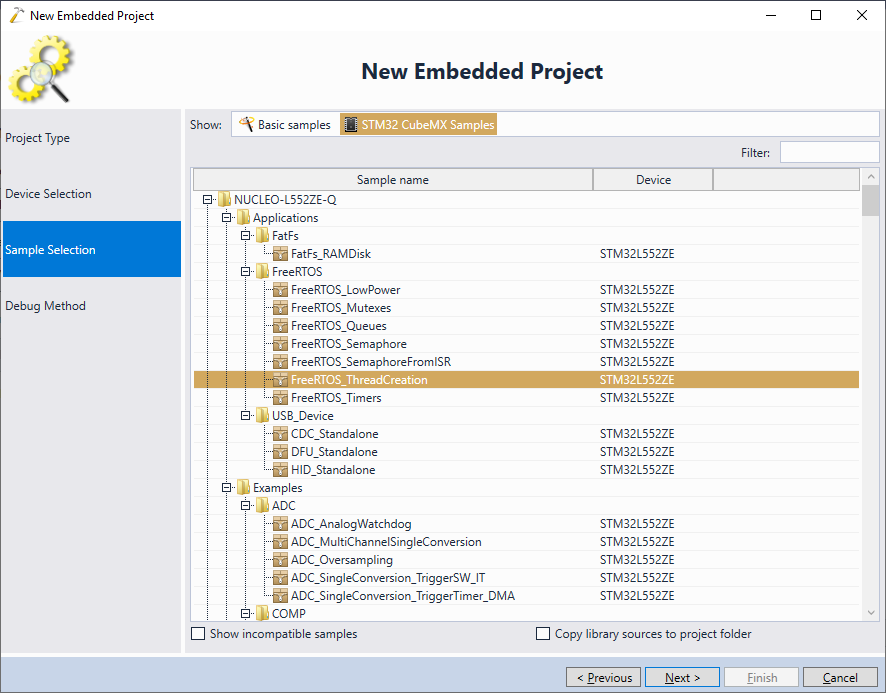
- On the next page select “Show: STM32CubeMX Samples”. VisualGDB will display the sample projects included in the STM32L5 SDK. Each project is pre-parsed and will build out-of-the-box once you clone it. In this tutorial we will use the FreeRTOS_ThreadCreation sample:
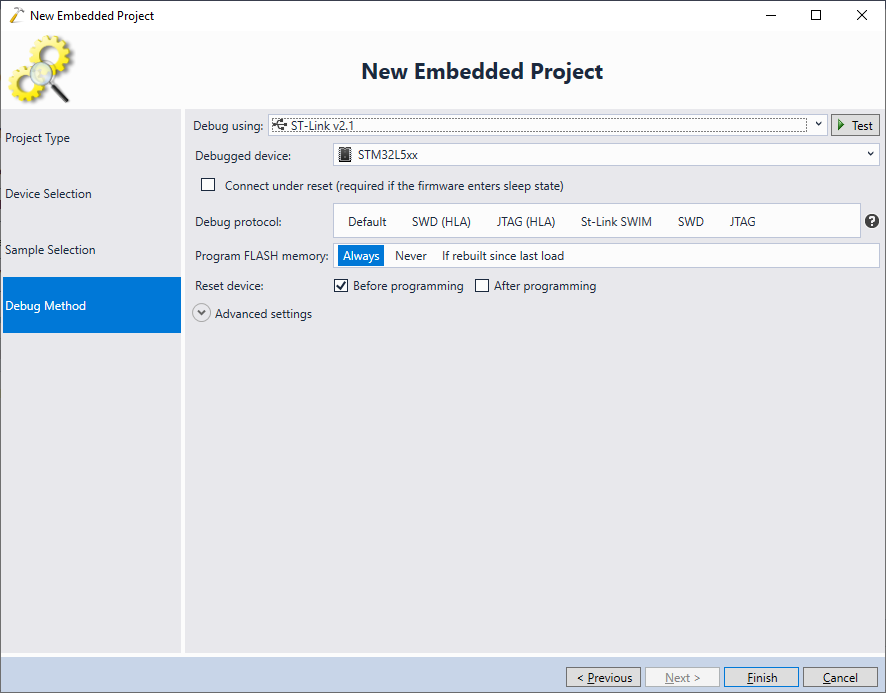
- On the last page of the wizard select the debugger configuration that matches your setup. In most of the cases, VisualGDB can automatically detect the necessary settings and install the required drivers:
- Press “Finish” to create the project. Once it is loaded, build it via Build->Build Solution:
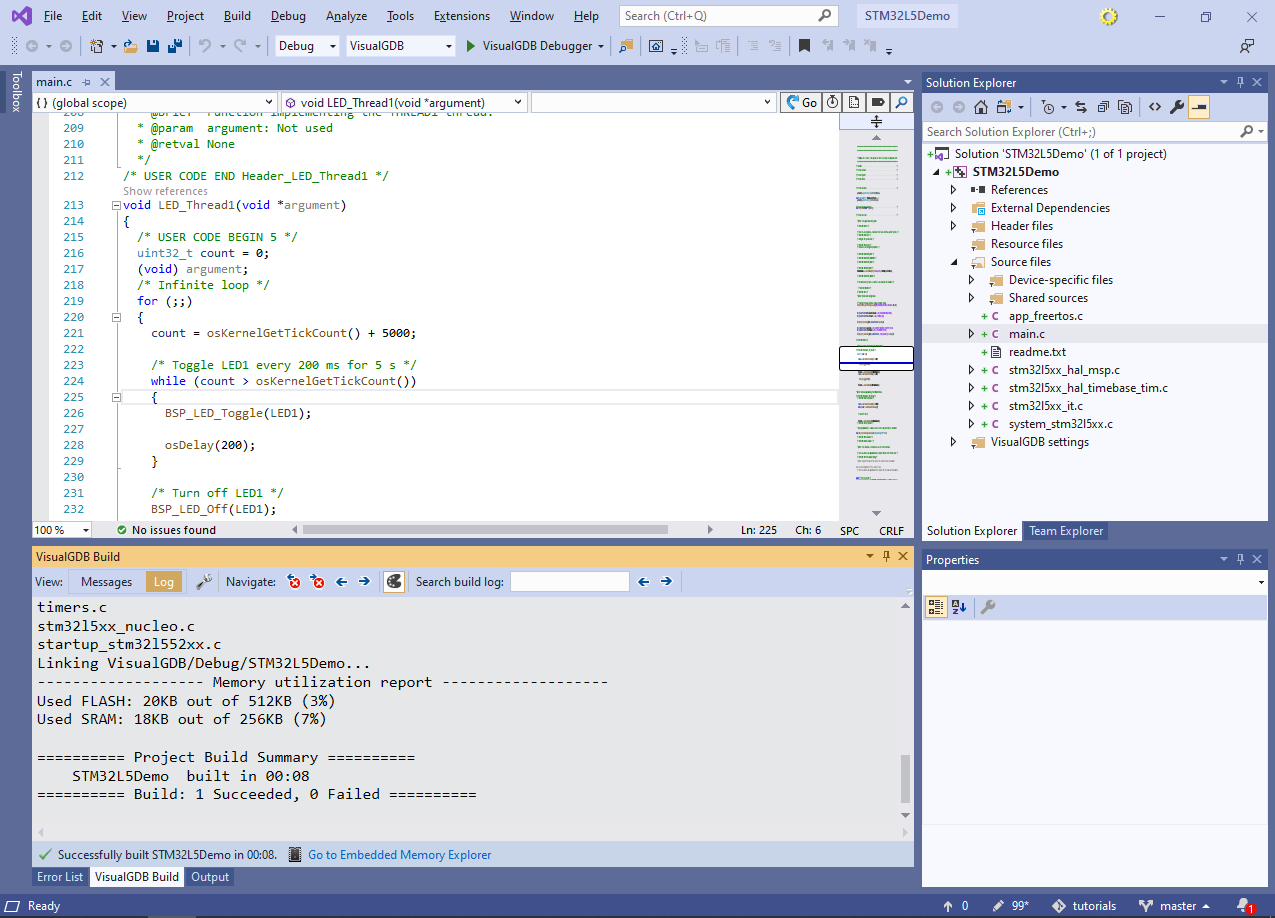
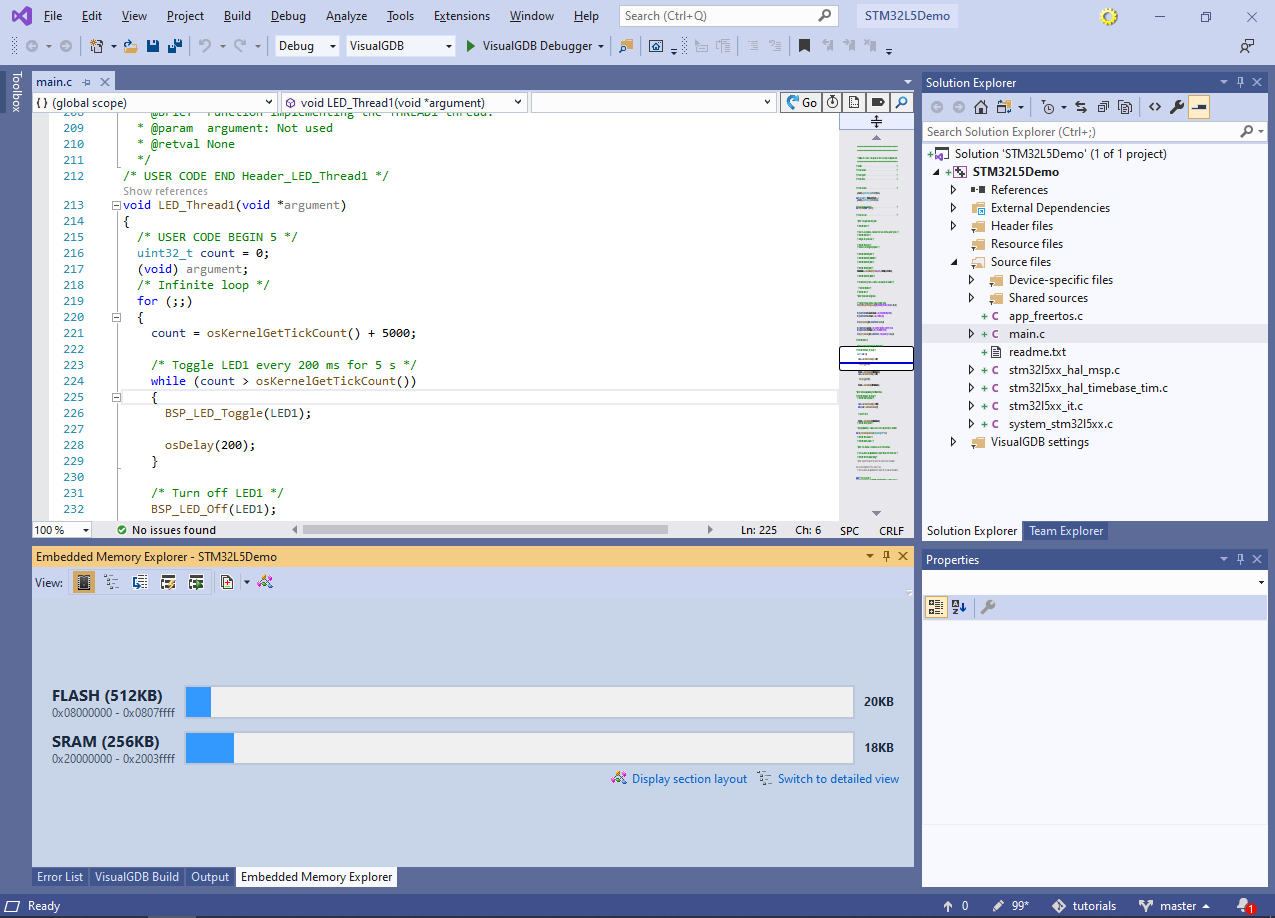
- You can use the Embedded Memory Explorer window to get an overview of FLASH/RAM utilization, or explore a detailed per-function report:
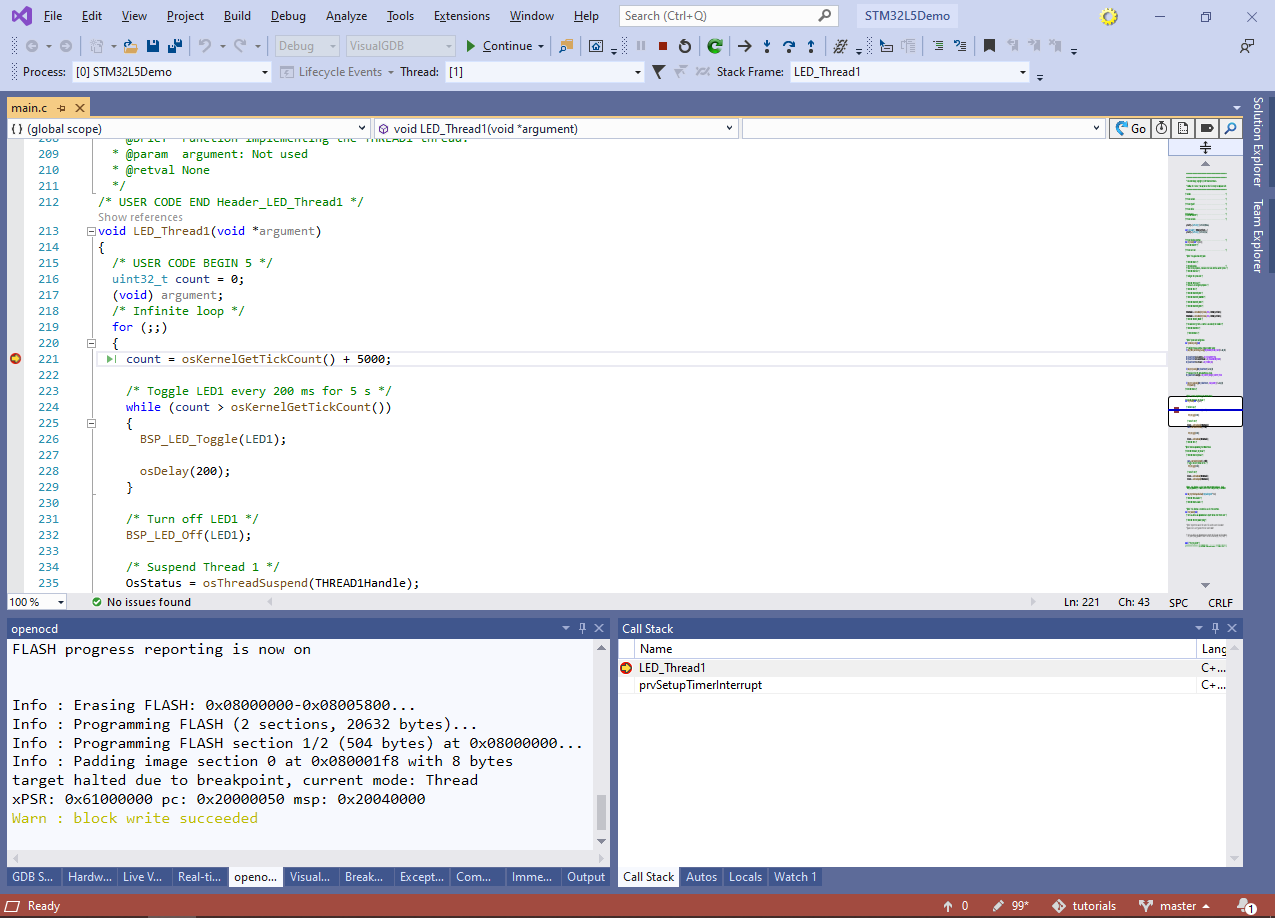
- Set a breakpoint in the LED_Thread1() function and press F5. VisualGDB will automatically program the FLASH memory of the board and will launch the program on it. Once the breakpoint hits, you will be able to debug the program as usual:
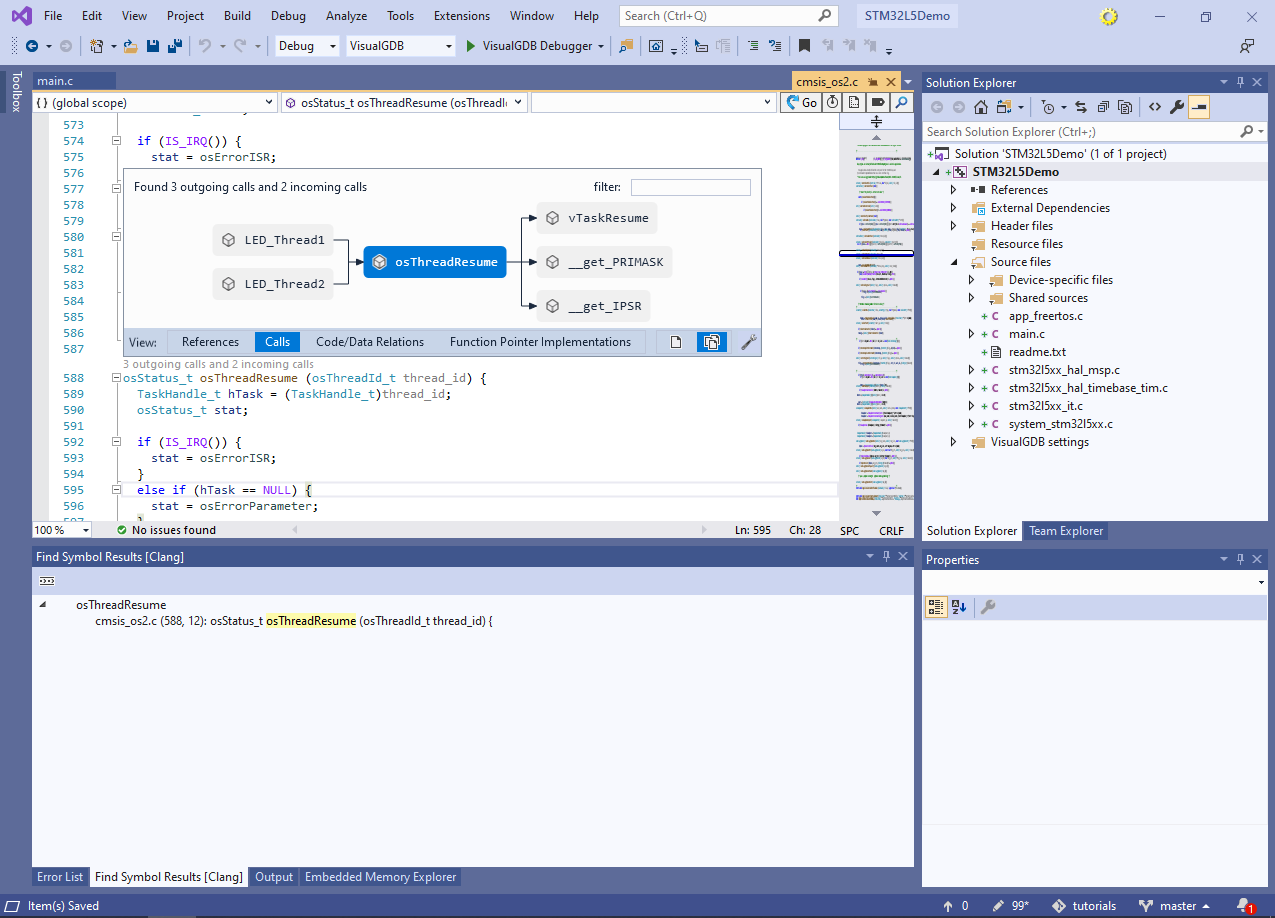
- You can use the CodeJumps links on top of various functions to explore relations between them. E.g. see how the osThreadResume() function is called by both LED_Thread1() and LED_Thread2():