Developing STM32WB Projects with Visual Studio
This tutorial shows how to create, build and debug a basic Bluetooth LE project for the STM32WB Nucleo board using Visual Studio and VisualGDB.
Before you begin, install VisualGDB 5.4R10 or later.
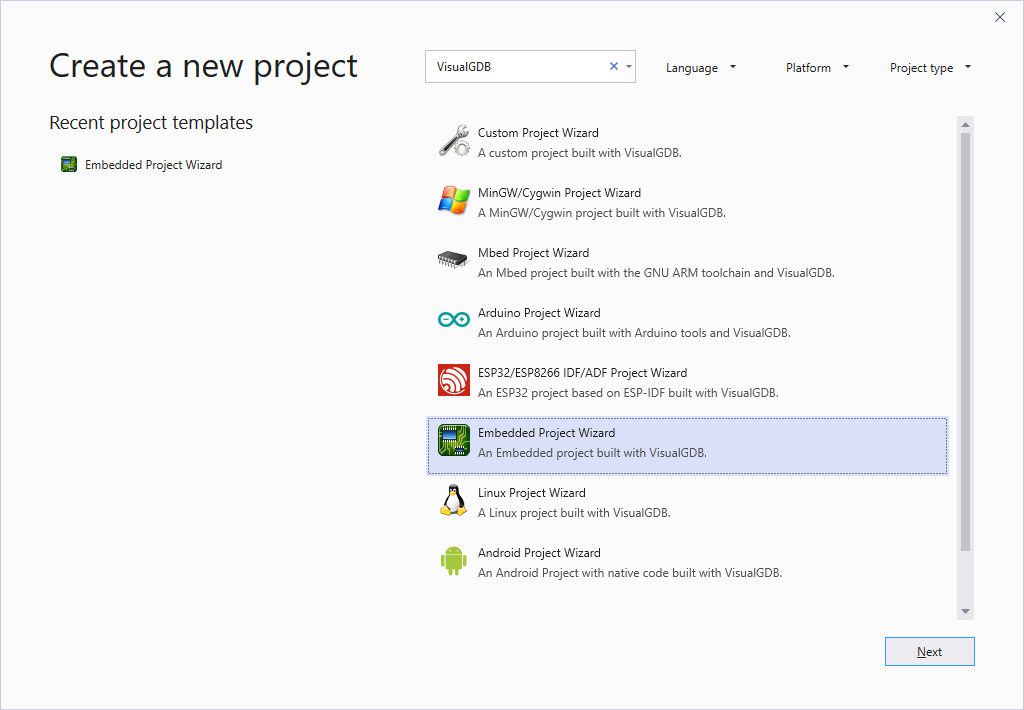
- Open Visual Studio, select File->New->Project and locate the VisualGDB Embedded Project Wizard:
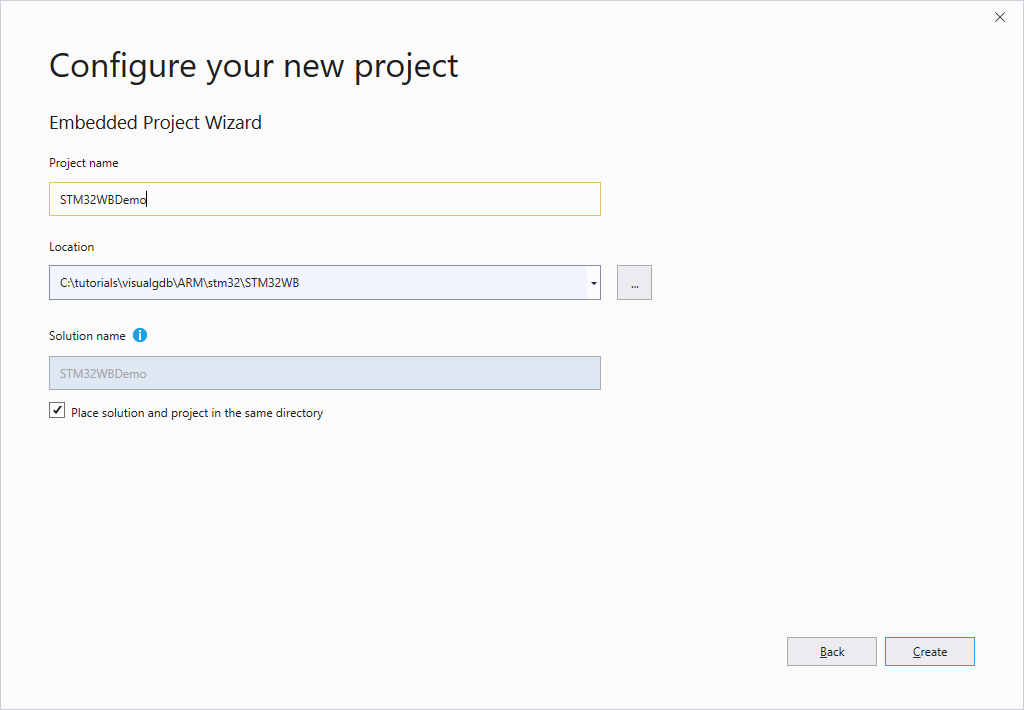
- Specify the name and location for your project and press “Create” to launch the VisualGDB’s wizard:
- On the first page of the wizard select Create a new project -> Embedded Binary -> MSBuild and press “Next”:
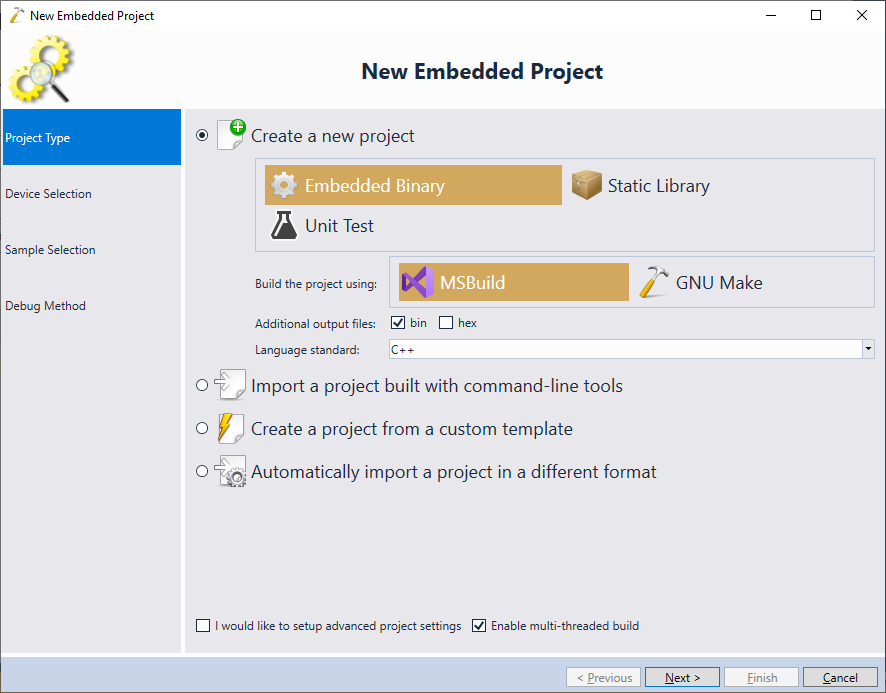 Note that due to the excessive amounts of the include directories used by the STM32WB SDK, the GNU Make will not be able to build most STM32WB projects correctly. Hence, please ensure you use the MSBuild subsystem instead.
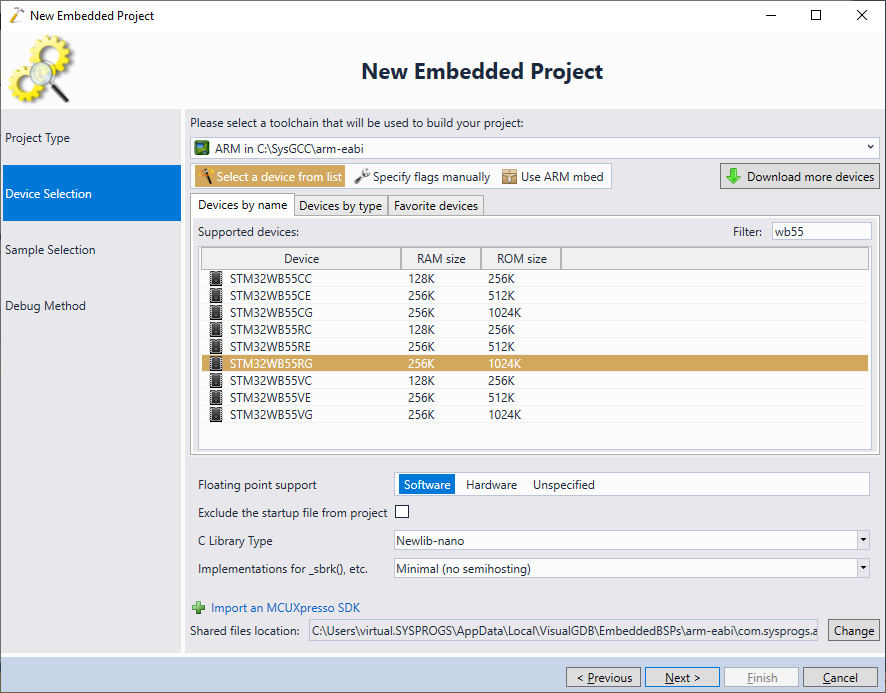
 - On the next page select an ARM toolchain and pick your STM32WB device from the list. The STM32WB-Nucleo board features the STm32WB55RGV6 device, so we select it from the list:
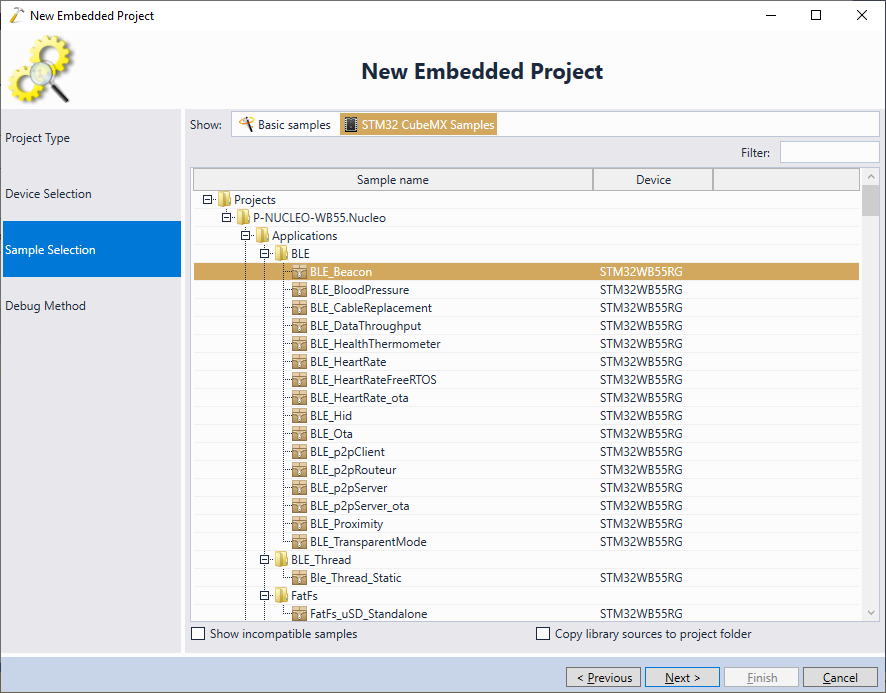
- The next page of the wizard allows selecting a project sample that will be cloned into the newly created project. ST provides numerous samples demonstrating various functionality of the STM32WB devices, so select “STM32CubeMX Samples” and pick a sample to clone. In this tutorial we will clone the BLE_Beacon sample:
- On the next page select the debugging settings for your device. If you are using the STM32WB-Nucleo board, simply plug it into the USB port (ensure you use the ST-Link’s USB port) and let VisualGDB detect the settings automatically. As many STM32WB examples use the sleep mode to reduce power usage that disables SWD functionality, enable the “Connect under reset” checkbox:

- Press “Finish” to generate the project. Once it is generated, build it by pressing Ctrl-Shift-B. Then locate and open the readme.txt file showing the instructions for trying out this specific sample:

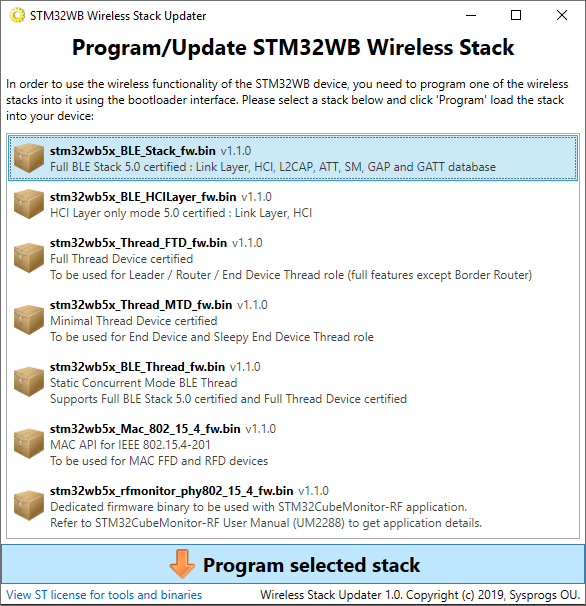
- In order to use the wireless functionality of the STM32WB devices, you will need to program a wireless co-processor stack into the FLASH memory. As of July 2019, this cannot be done via ST-Link and requires connecting the device in the bootloader mode. Use our Wireless Stack Updater tool to program the correct wireless stack binary into your device (including the FUS binary update):
 You can find instructions on connecting your STM32WB Nucleo board in bootloader mode on this page.
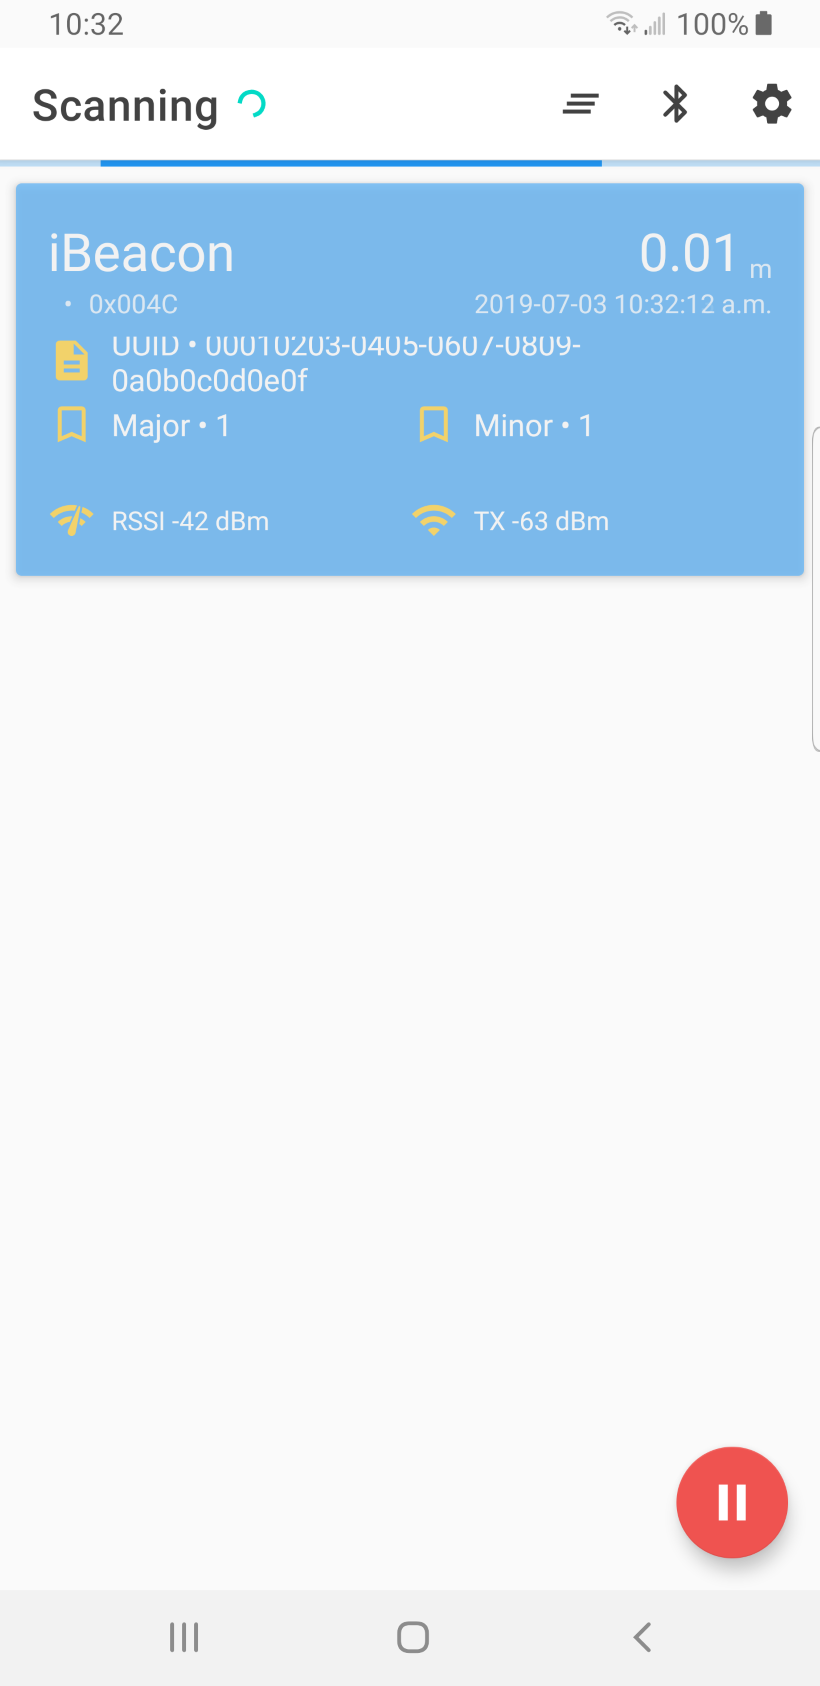
 - Once the wireless stack has been programmed, connect the board in ST-Link mode and press F5 to start debugging. The board will begin advertising itself as an iBeacon-compatible Bluetooth LE beacon. You can use the Beacon Scanner app on your Android device to verify that the board is working as intended:
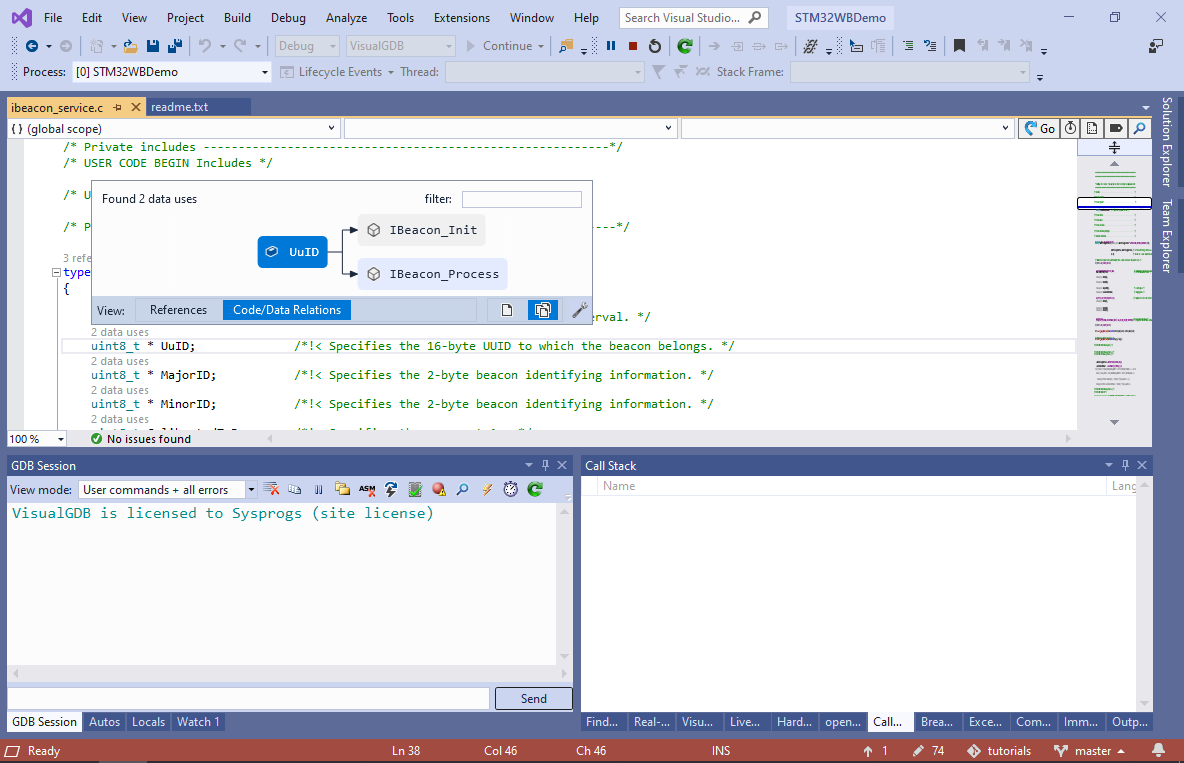
- Now we will change the ID transmitted by the beacon example. Open the ibeacon_service.c file, locate the UuID field on top of the file and use CodeJumps to display functions using that field:
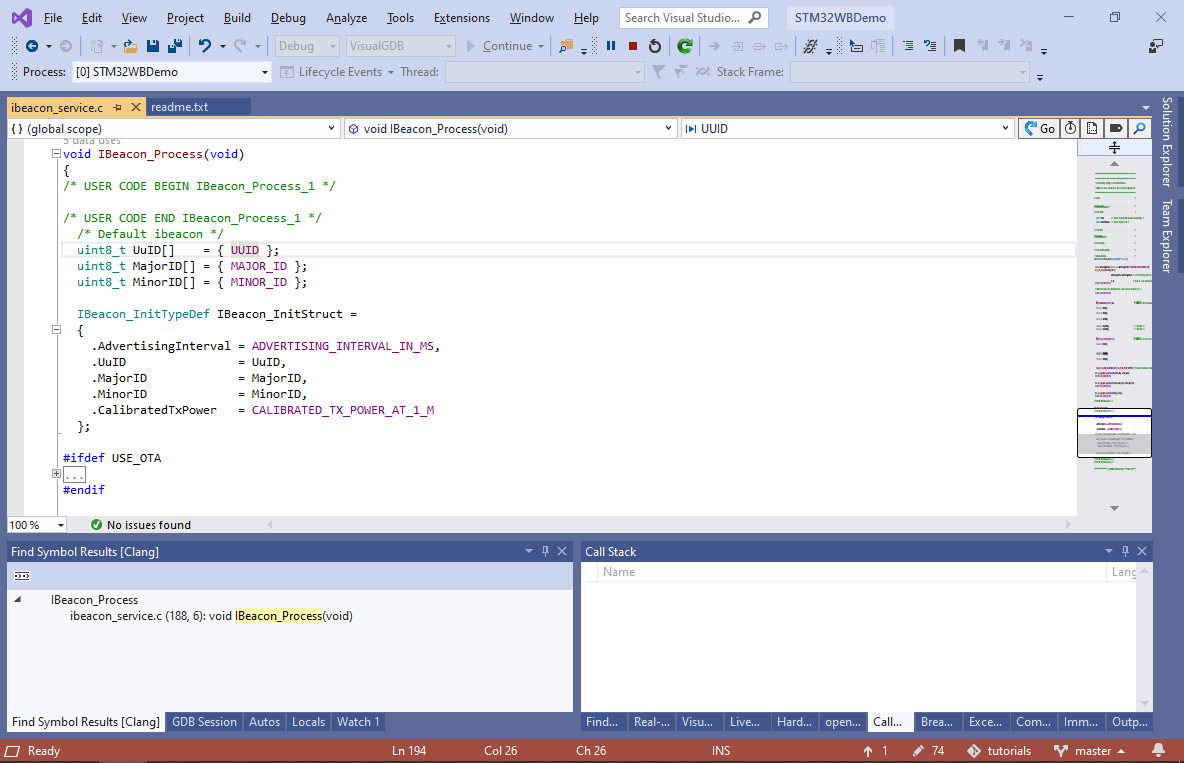
- Click on the IBeacon_Process() function to go to its definition. Note how the ID is assigned from the UUID macro. Click on the macro and press F12 to locate the macro definition:
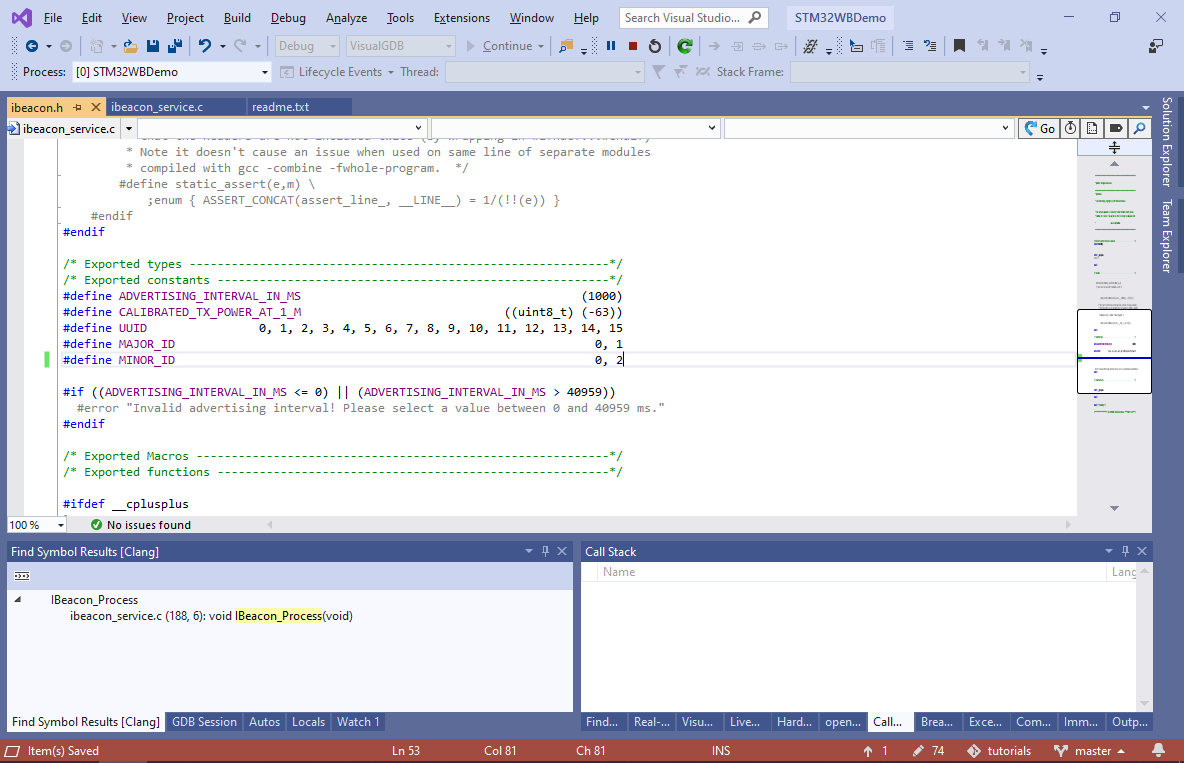
- VisualGDB will open the ibeacon.h file that contains definitions for various beacon configuration parameters. Replace the MINOR_ID with “0, 2”, stop the debug session and press F5 again to begin debugging the updated code:
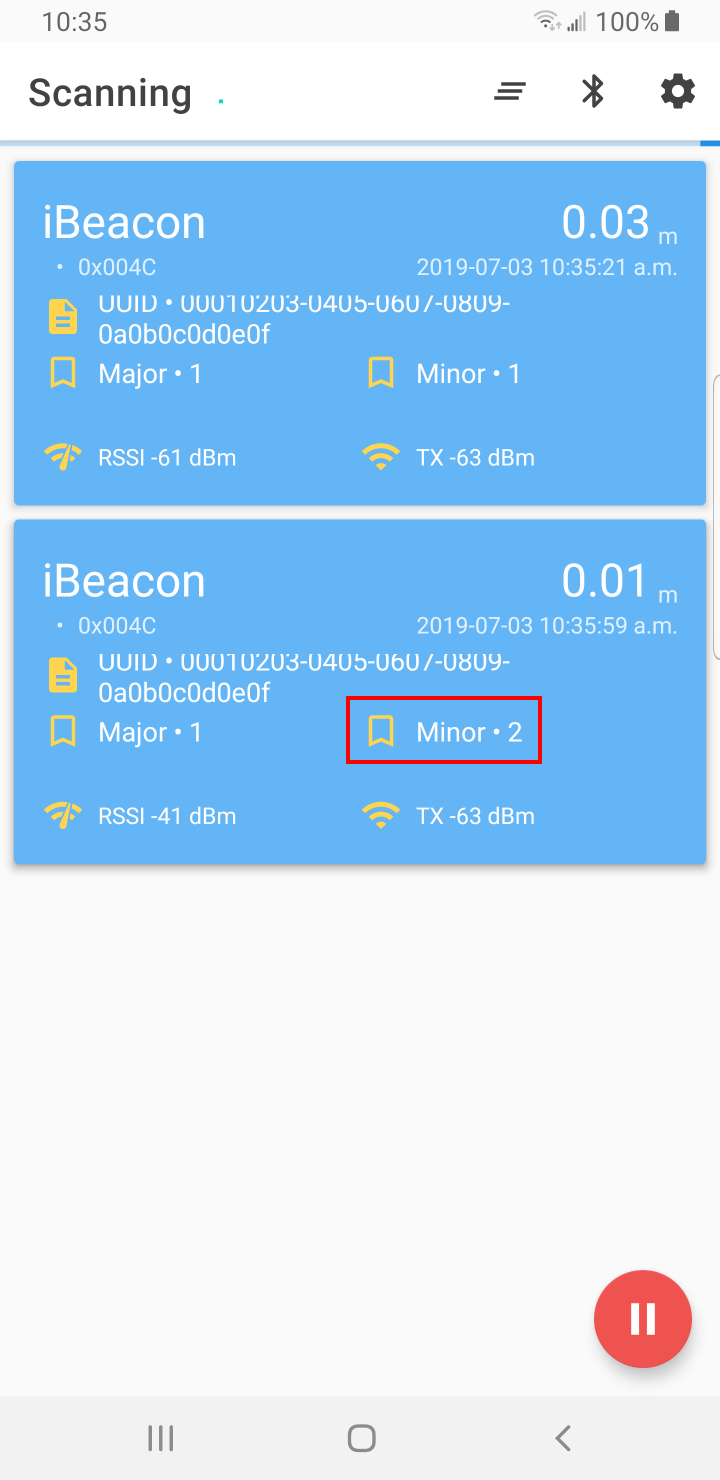
- The Beacon Scanner app will now show another beacon with the minor ID of 2:
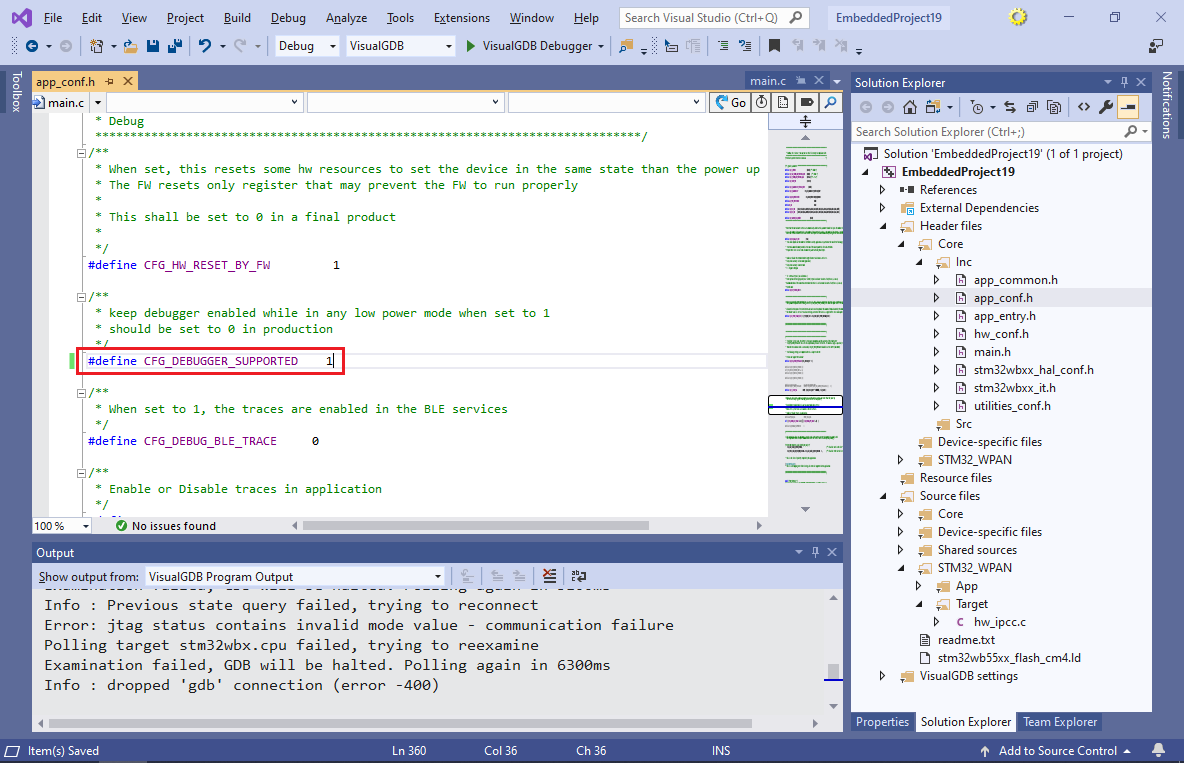
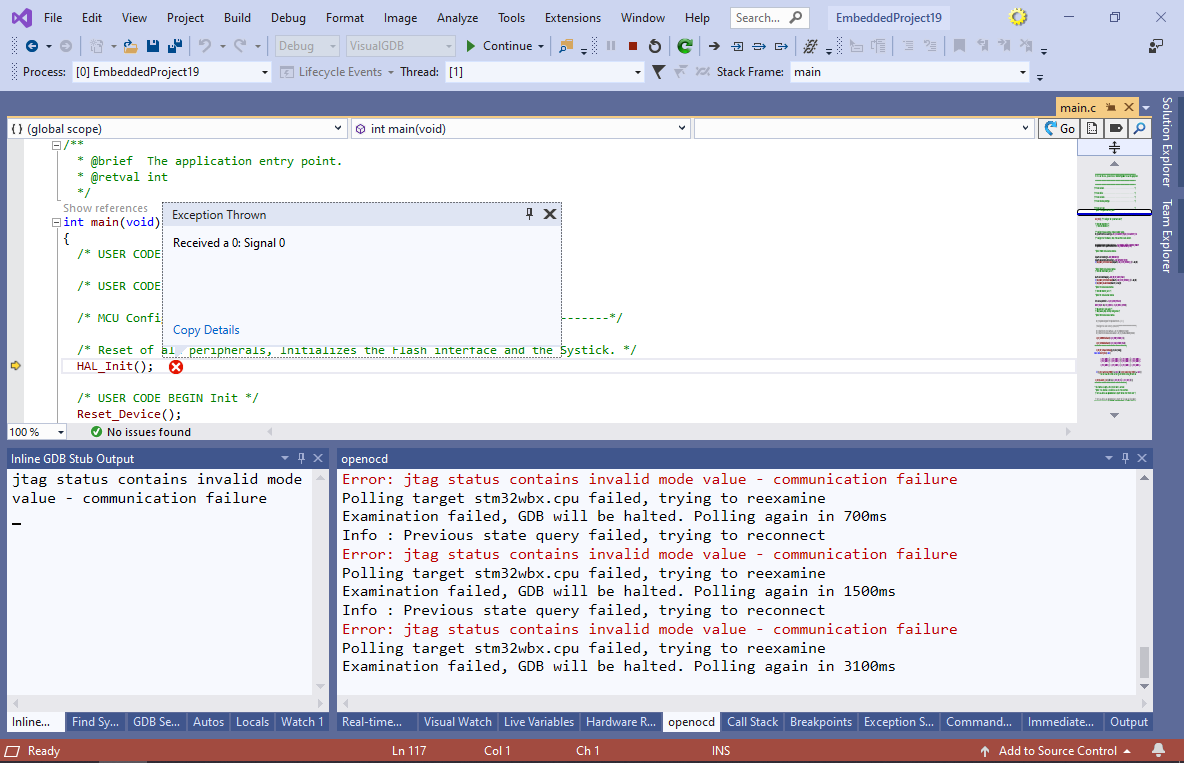
- If you clone a different sample project, you may encounter a “Received a 0: Signal 0” error accompanied by the “jtag status contains invalid mode value” message in the OpenOCD window:
- This happens because some samples put the CPU to sleep (disabling JTAG/SWD functionality) in order to reduce the power usage. You can disable this by locating the CFG_DEBUGGER_SUPPORTED macro in the app_conf.h file and changing it to 1: