Developing firmware for EFM32 devices with Visual Studio
This tutorial shows how to develop firmware for the EFM32 devices with Visual Studio and VisualGDB. Before you begin, install
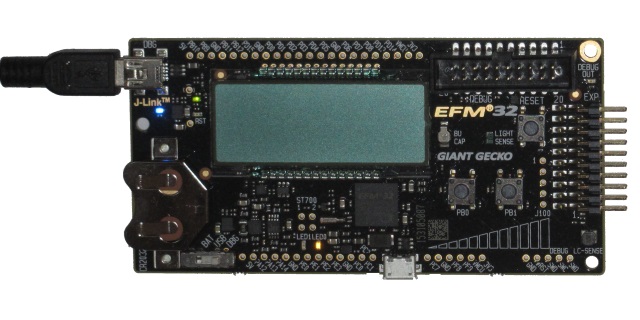
This tutorial shows how to develop firmware for the EFM32 devices with Visual Studio and VisualGDB. Before you begin, install
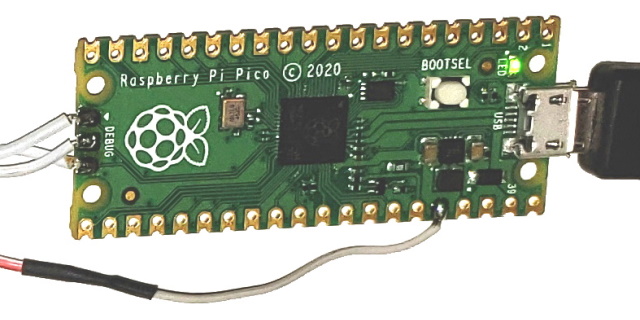
This tutorial shows how to create, build and debug a basic project for the Raspberry Pi Pico device (RP2040) using
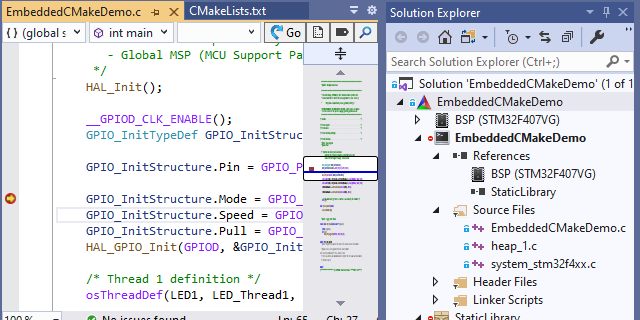
This tutorial shows how to create, build, debug and edit Embedded CMake projects with VisualGDB. We will create a basic
In this tutorial we will use AI edits to modify the ESP32 HTTP server example to handle a rotary encoder
Read moreThis tutorial shows how to use AI to fix build errors caused by switching from ESP-IDF 4.x to 5.x. We
Read moreOverview Starting Sessions Iterating Best Practices with Prompts Practical Example Overview Moving code between projects, or switching to a newer
Read more