Diagnosing ESP32 FLASH memory programming issues
This tutorial shows how to diagnose FLASH memory programming issues using ESP32 and OpenOCD. We will give an overview of various FLASH settings and show the common errors and ways of resolving them.
- To begin diagnosing the FLASH problems, create a new “Blinking LED” project for your board by following this tutorial.
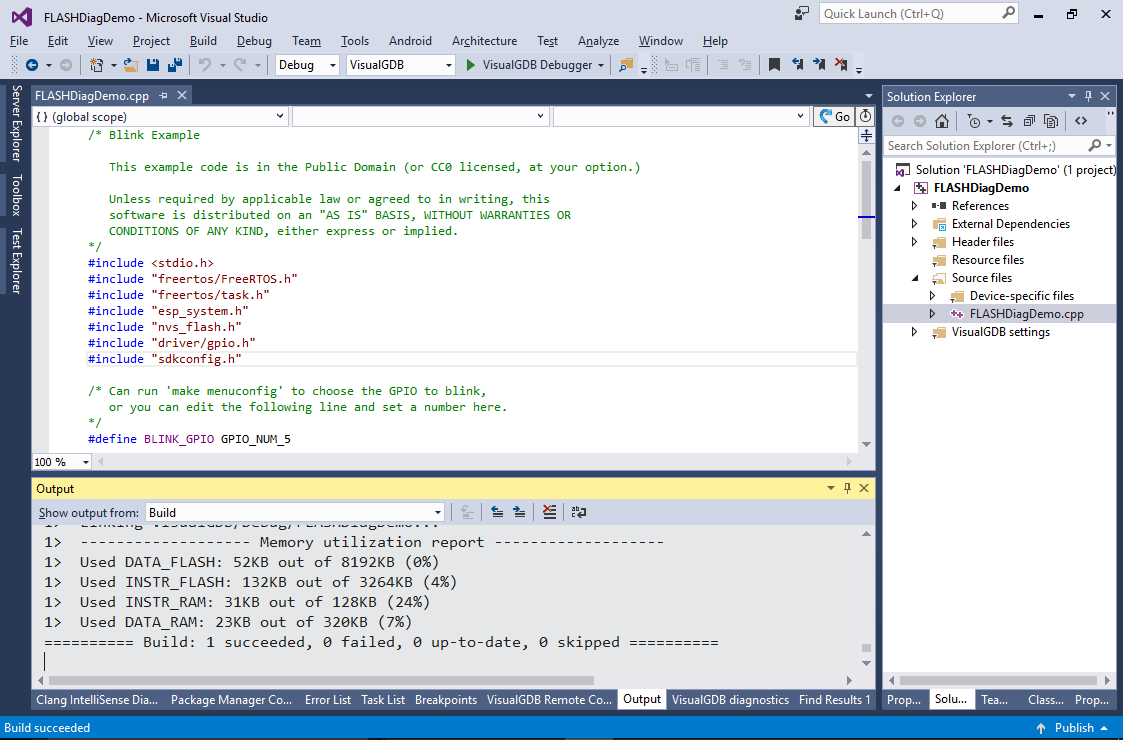
- In order for your program to run and be debugged correctly, 3 conditions must be satisfied:
- The program should be compiled using correct settings (including FLASH settings).
- The actual FLASH programming should succeed.
- The JTAG connection should be reliable enough to debug.
The easiest thing to check is the last condition. Simply program your “blinking LED” firmware (ensure you are using the correct GPIO pin), then disconnect the JTAG debugger and reset the board. If the LED begins blinking, but doesn’t work under debugger, the FLASH memory got programmed correctly and the problem is most likely caused by JTAG wiring.
- If the LED doesn’t blink after you restart the board without debugging, try programming it via the serial port instead. Disconnect the JTAG programmer completely, then configure VisualGDB to program your board via the serial port (VisualGDB will use the original esptool.py tool from Espressif):
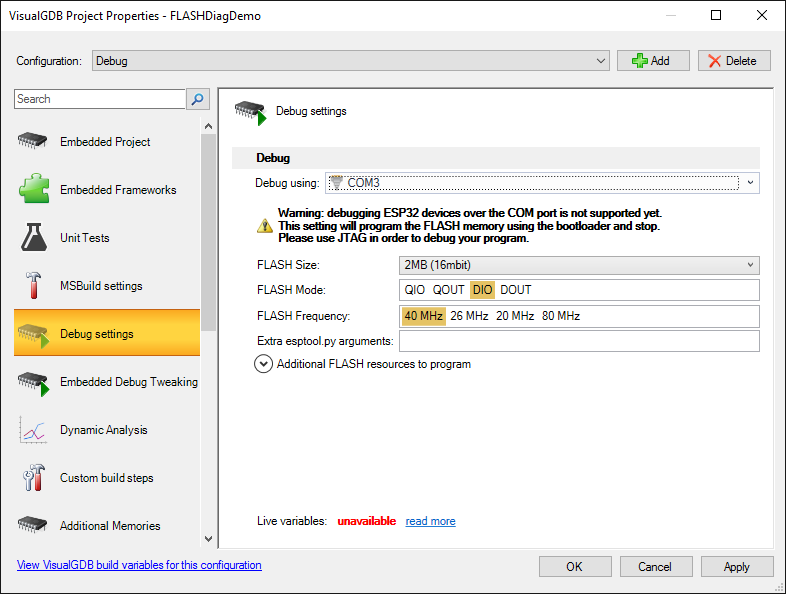
- This method won’t allow you to debug the program, but will try to program the FLASH memory using a completely different mechanism:
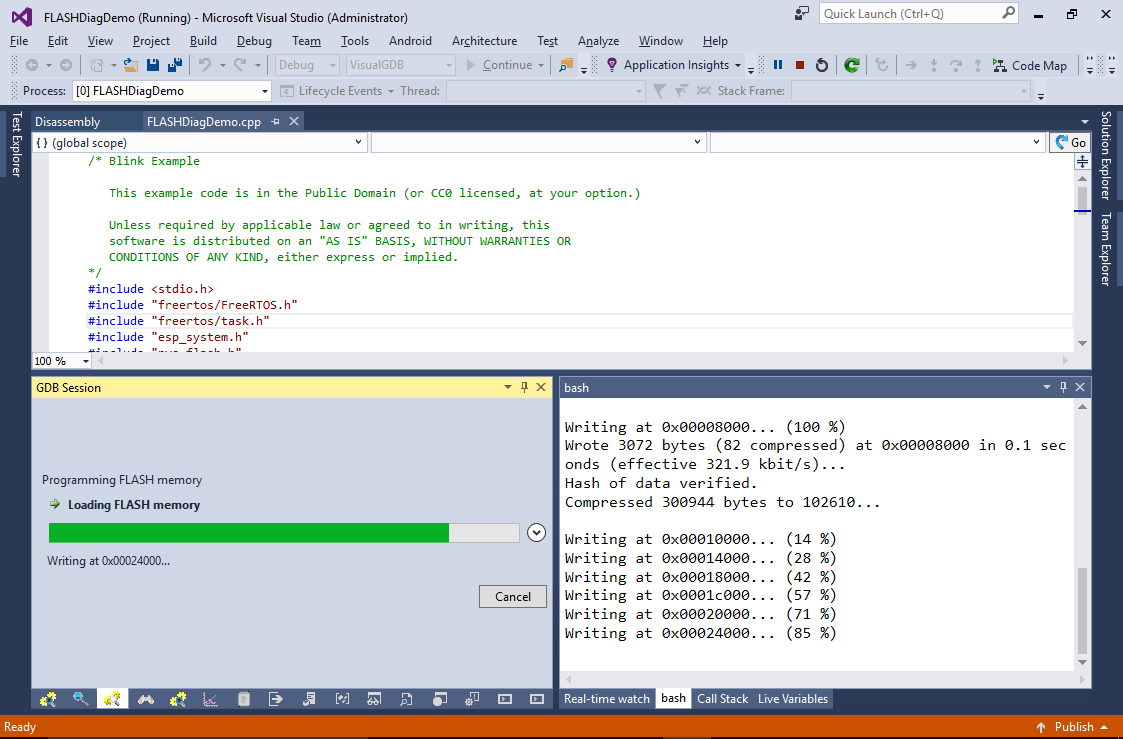 Reset your board after the programming is complete. If the LED starts blinking now, the problem was caused by JTAG-related settings. Again double-check your wiring and try lowering the JTAG frequency. You can also try switching debug settings back to use JTAG and then select Debug->Attach to Running Embedded Firmware to see if debug will work now.
 - If programming over a serial port doesn’t work either, the problem could be caused by incompatible FLASH settings:
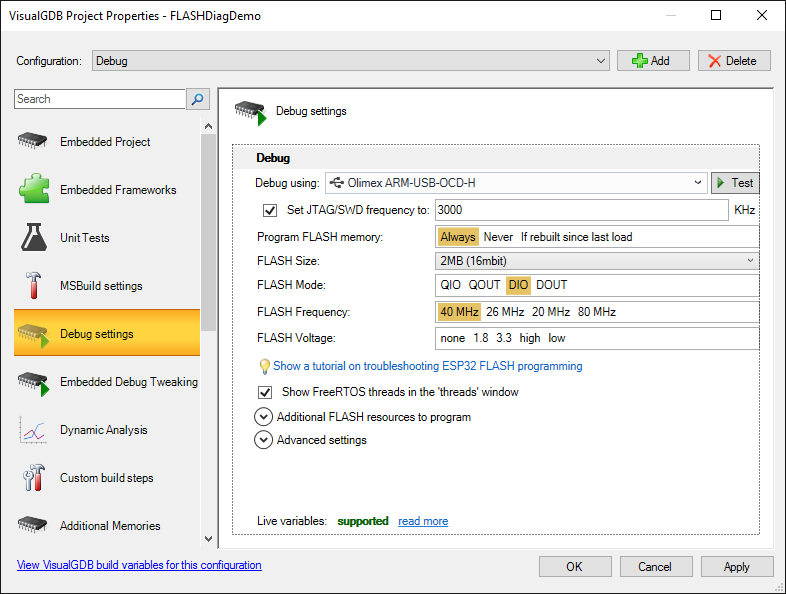 ESP32 uses 3 main settings to specify the type of the FLASH memory connected to the chip:
- FLASH size specifies the size of the external FLASH chip. Setting it to a higher value than the actual chip on your board would make the bootloader read wrong areas of the chip and would prevent your program from starting.
- FLASH mode specifies how many pins should the device use to access the FLASH ship. The fastest mode is QIO, however it may not be supported by all FLASH devices. You can find more information on different FLASH modes in this post.
- FLASH frequency specifies the frequency used to read the memory. Setting a too high value may prevent the ESP32 from reading the chip properly.
- To diagnose the FLASH settings, follow the steps below:
- Try switching FLASH size to the lowest possible value.
- Try switching the FLASH mode to DIO and then DOUT.
- Try setting FLASH frequency to the lowest possible value.
- If you are using the latest ESP32 toolchain, VisualGDB will try to detect wrong FLASH size values and will show a warning:
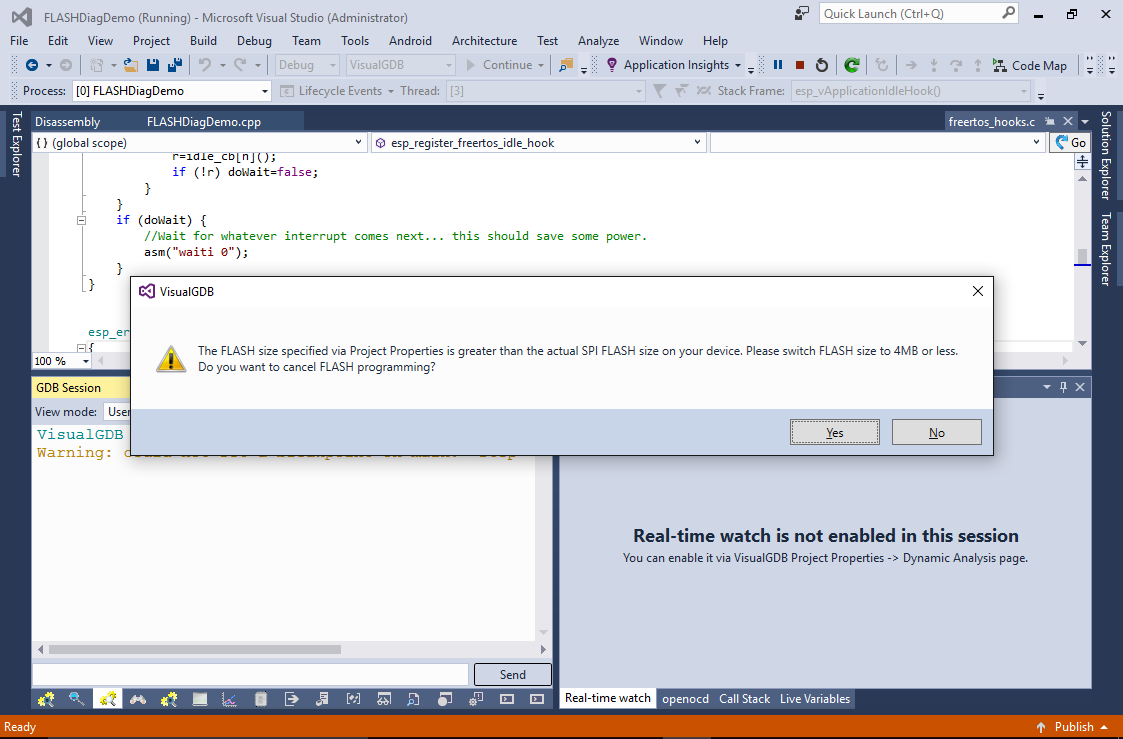
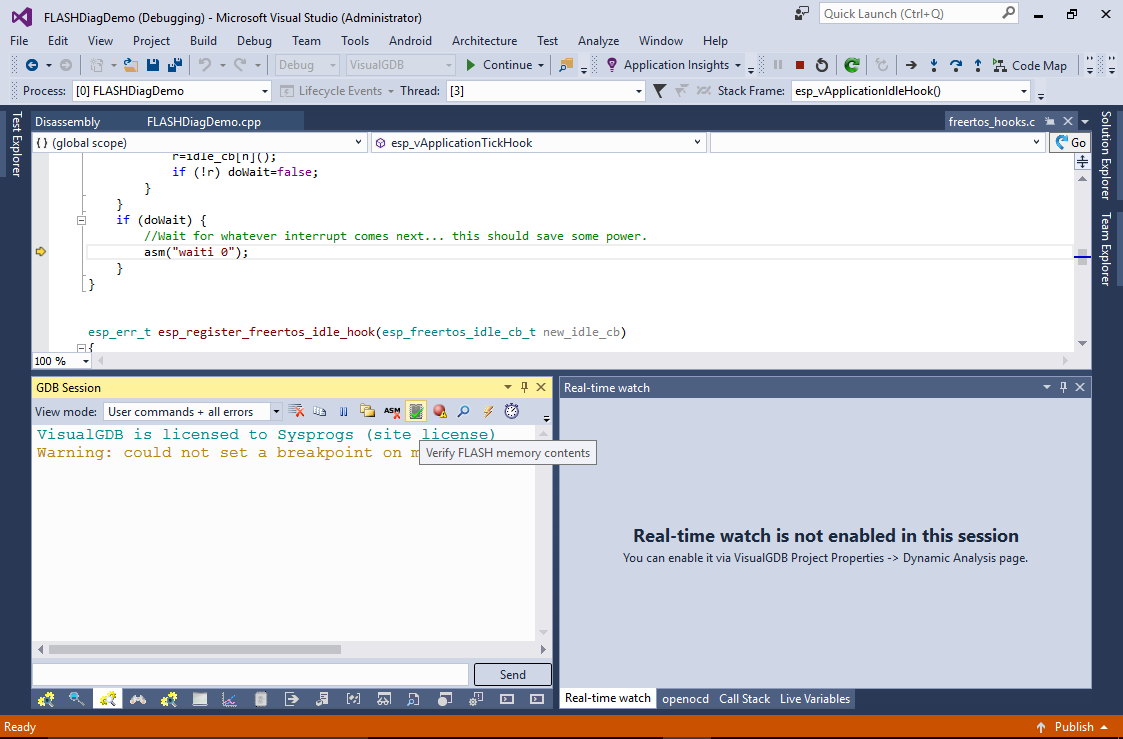
- If nothing helps, try stopping the debug session and click the “Verify FLASH memory contents” button:
- VisualGDB will display the differences between the ELF file and the actual device. Ignore the differences in the .dram0.data section as it is modified after the program starts:
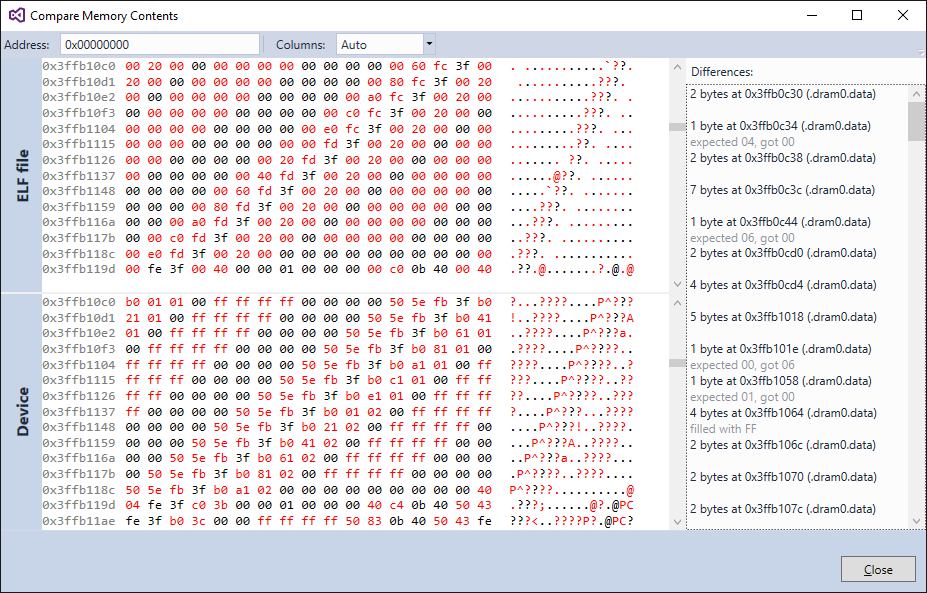 If you see that the FLASH memory contains 0xFFs or 0x00s instead of the actual data, this is likely a wiring problem between the ESP32 chip and the FLASH chip. If you see truncated or repeating patterns in the actual FLASH memory, this could be caused by a wrong FLASH type (e.g. QIO instead of DIO).
 - If the FLASH appears to be programmed correctly, but the program doesn’t run either, try building the project directly using ESP-IDF as shown in this tutorial. Regular VisualGDB projects are built using MSBuild (or GNU Make) using rules extracted from the original ESP-IDF. In some corner cases those rules may not 100% match the original ESP-IDF build rules, introducing hard-to-diagnose problems. If the same project builds correctly under ESP-IDF and doesn’t build using a VisualGDB MSBuild project, try using the bootloader binary from the ESP-IDF project and copying the sdkconfig.h file from it. If this doesn’t help, let us know more via our support form and we will investigate this and release a workaround.
