Building Projects with Toolchains from Docker Containers
This tutorial shows how to build and debug a basic Raspberry Pi project using a toolchain running in a Docker container.
Before you begin, follow this tutorial to create a container, configure it to run SSH server, and install the compatible toolchain inside it.
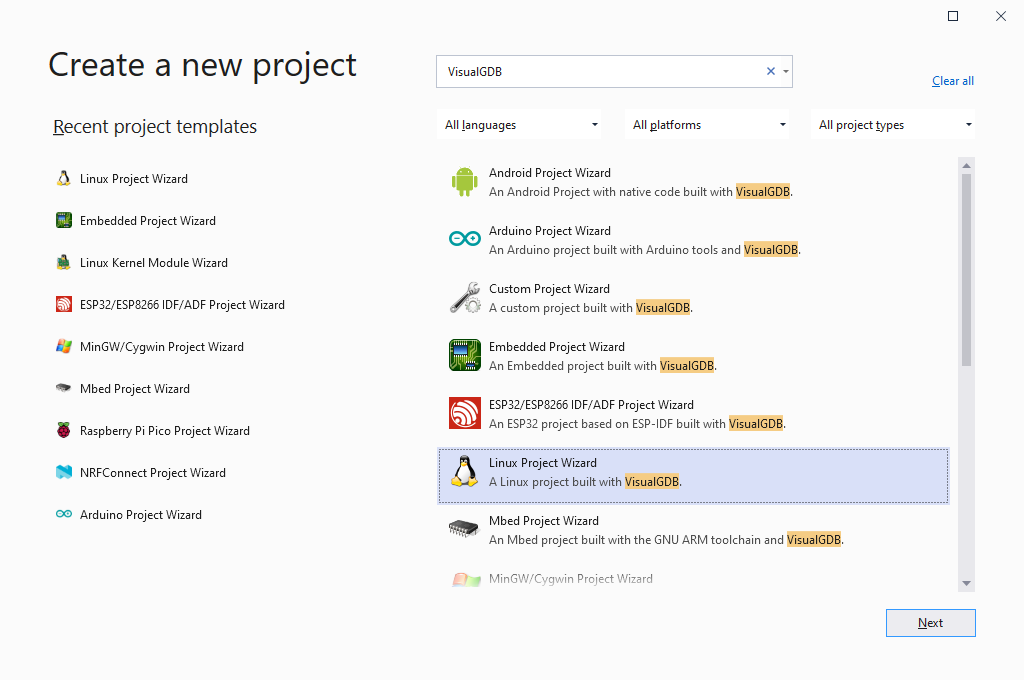
- Start Visual Studio and locate the VisualGDB Linux Project Wizard:
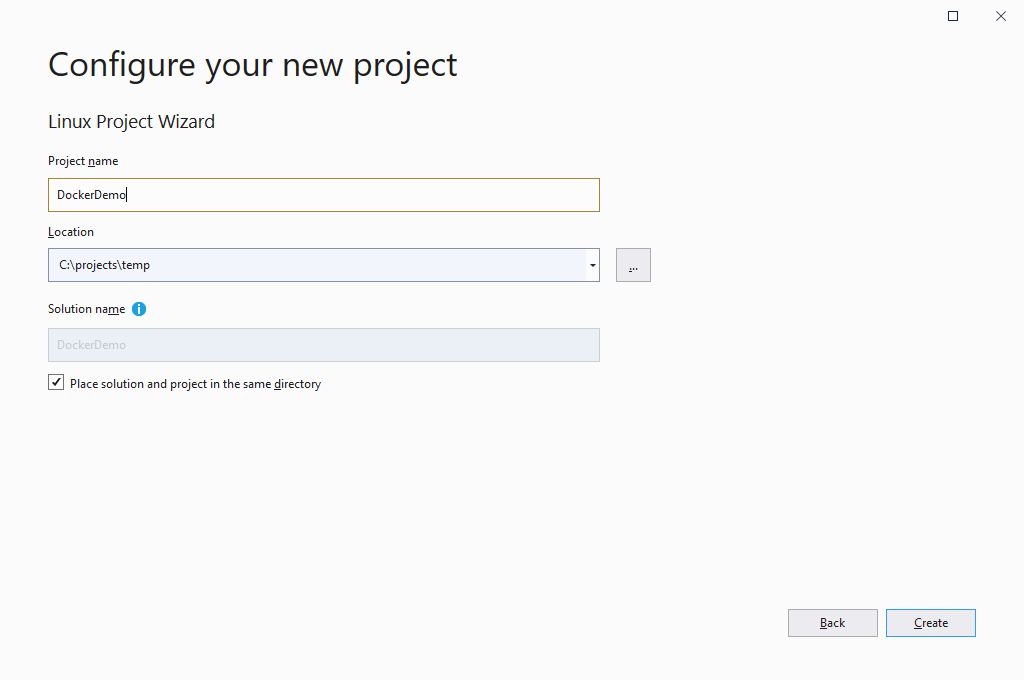
- Specify the name and location for your project:
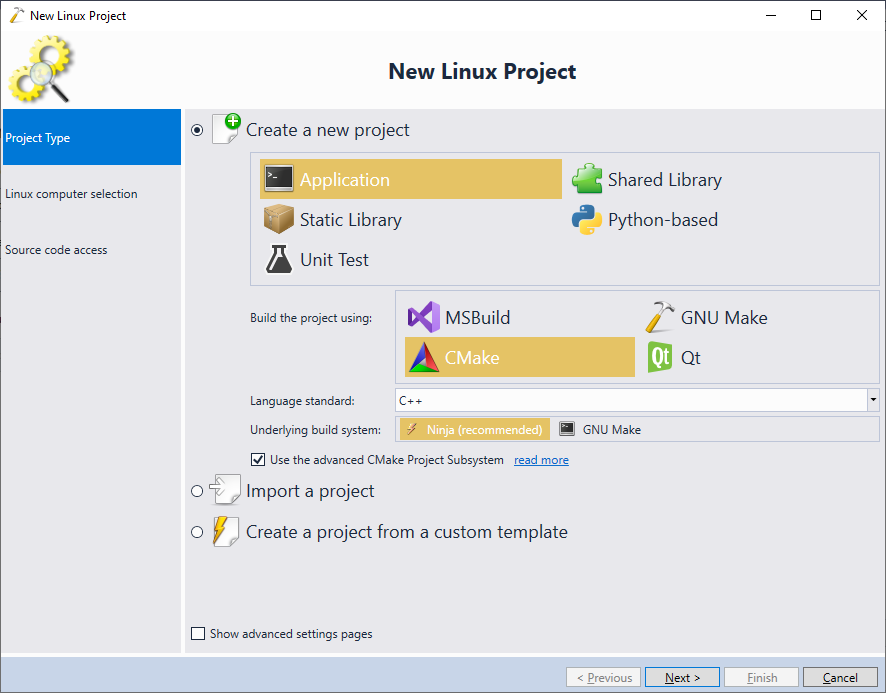
- Proceed with creating a basic application using CMake. Other build systems (e.g. MSBuild or GNU Make) will work as well, although Advanced CMake provides better integration into Solution Explorer a few other features:
- The Linux Computer Selection page allows choosing the machine to run the build tools. However, if you just select the host running docker, VisualGDB would expect the tools to be installed directly on that host. Instead, click the “Create a new SSH connection” option to setup a connection to the container:

- Configure the following settings for the new SSH connection:
Setting Value Example Host name <host name where Docker is running>:<redirected SSH port> dockerhost:2222 User name root (as long as PermitRootLogin was enabled) root Password Password set for the user by running “passwd” inside the container test 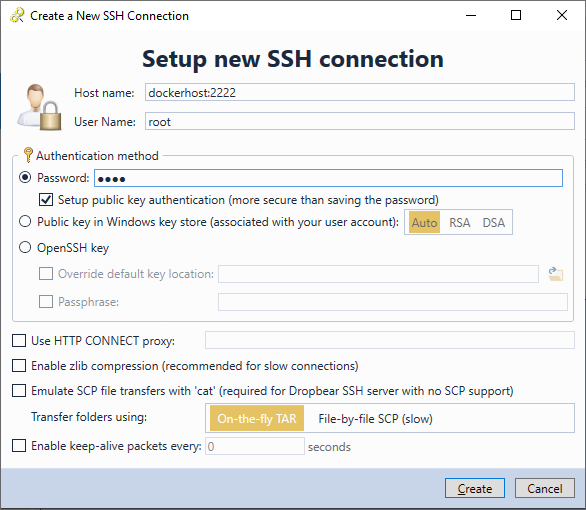
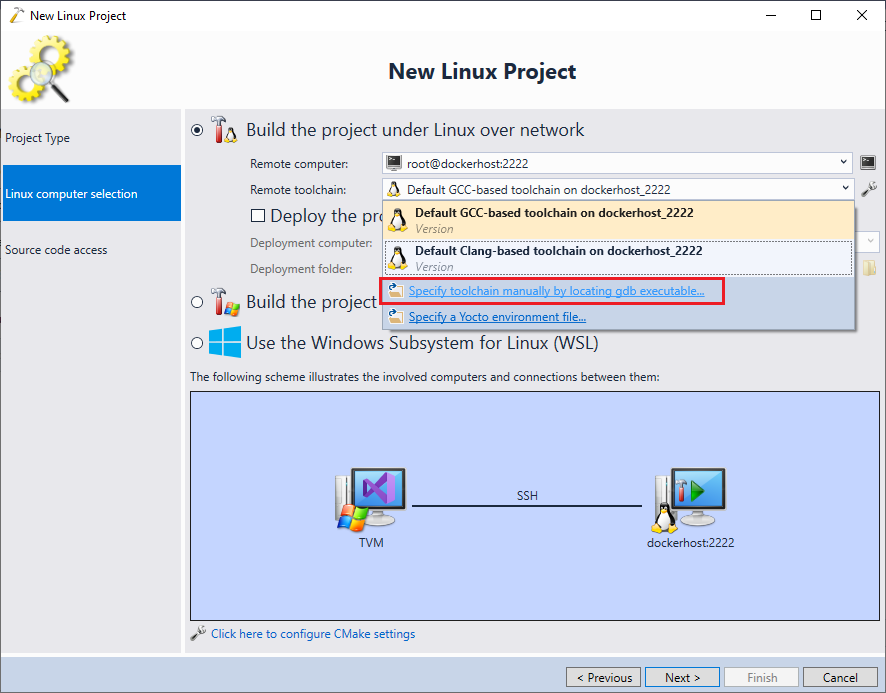
- Now we will select the toolchain that VisualGDB should use for building the projects. Open the toolchain dropdown and click “Specify toolchain manually”:
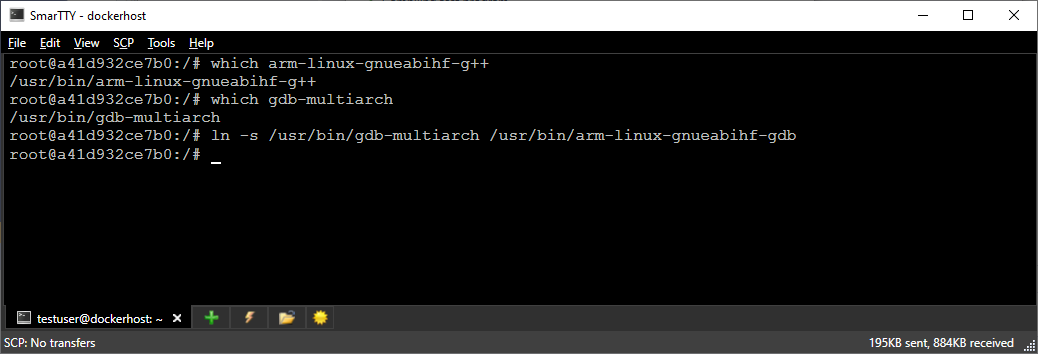
- In this example, we are using the arm-linux-gnueabihf toolchain installed via a Debian package, and a separately installed gdb-multiarch. VisualGDB would normally expect gdb to be named and placed similarly to the other tools (e.g. gcc), so we can achieve this by creating a symbolic link. Run the following commands inside the container:
which arm-linux-gnueabihf-g++
which gdb-multiarch
They will show the full path to the multiarch gdb (normally /usr/bin/gdb-multiarch) and the ARM gcc (normally /usr/bin/arm-linux-gnueabihf-g++). Replace “g++” with “gdb” in the gcc path and create a symbolic link there pointing to the original gdb-multiarch, e.g.:
ln -s /usr/bin/gdb-multiarch /usr/bin/arm-linux-gnueabihf-gdb
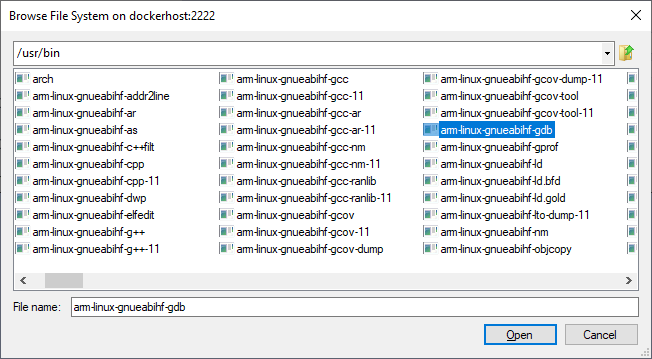
- Now you point VisualGDB to the location of the created symlink:
- VisualGDB will automatically locate the other tools based on the name of the gdb executable, so you won’t need to configure them manually:

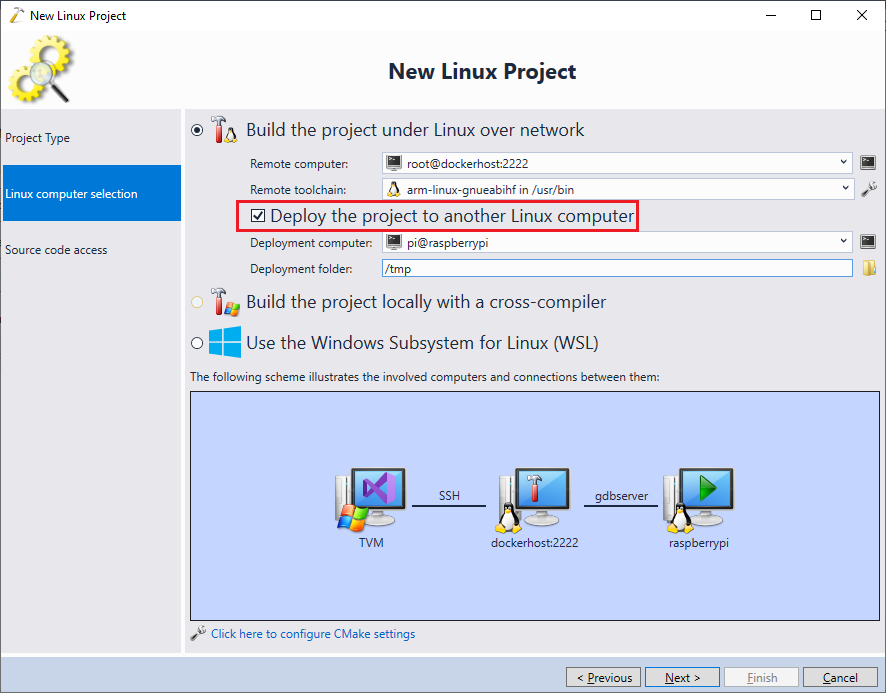
- Enable the “Deploy the project to another Linux computer” checkbox and select the machine where you want to deploy the built executables:
- Once you click “Next”, VisualGDB will automatically verify the imported toolchain and will make sure it produces binaries that can run on the deployment target:
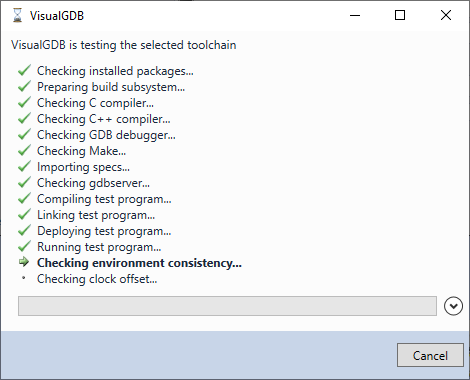 If the test fails, double-check that your toolchain is compatible with the target (i.e. comes from the same Linux distro, same version, and is intended for the same target).
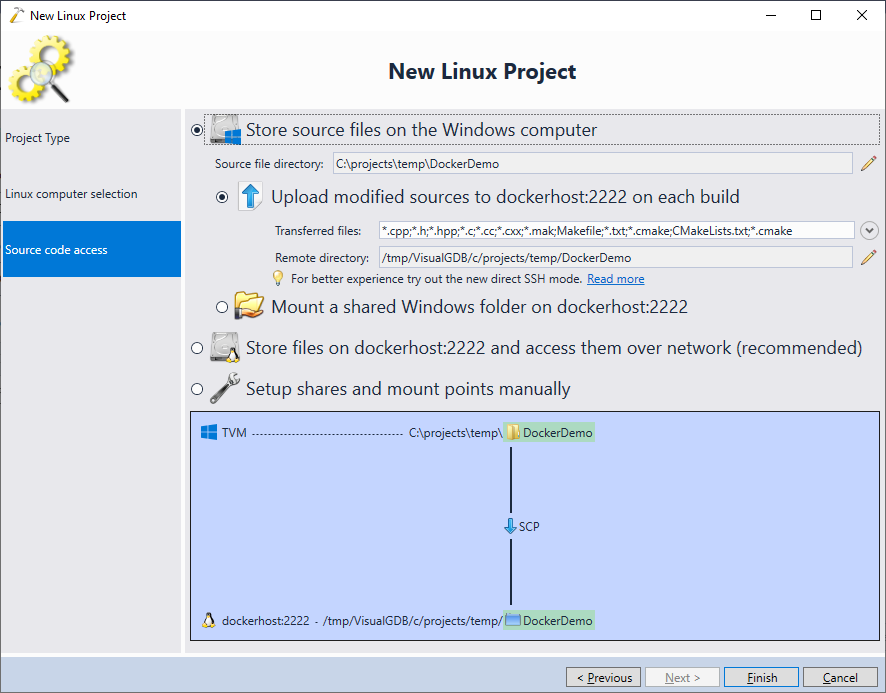
 - Finally, select where you would like to keep the source files. Advanced CMake projects allow keeping the entire source code directly on the target and accessing it via SSH, however, it may not be practical when using Docker containers, since the container contents gets reset each time it is re-created. Instead, we will select “Store sources on the Windows computer” and “Upload modified sources on each build”:
 You can also use the –mount parameter to mount a directory from the docker host directly inside the container, and keep the source code there.
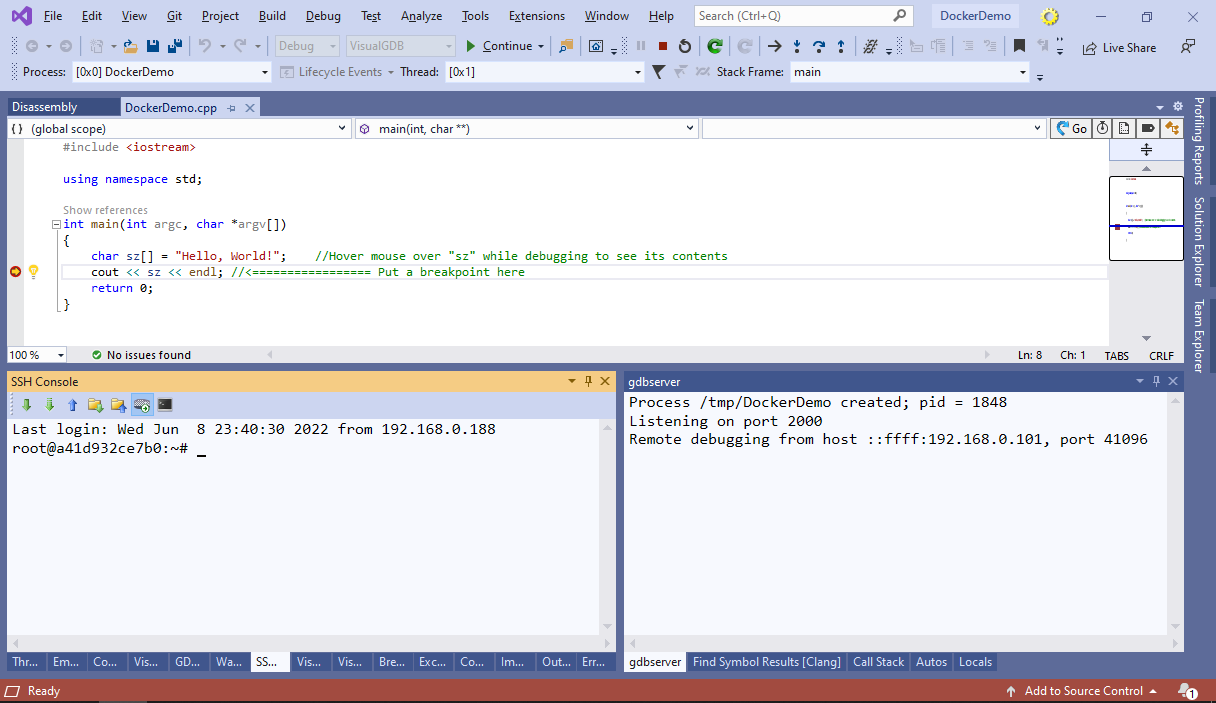
 - Press “Finish” to create the project. You will now be able to build and debug it as usual:
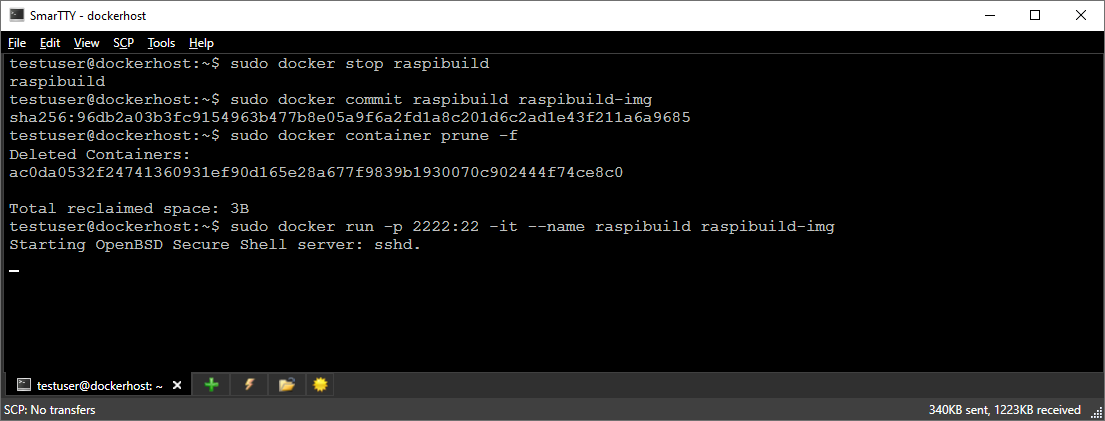
- If you have made any changes to the container in order to get VisualGDB working (e.g. symlinking gdb-multiarch), we advise committing them to the container image, so they won’t be lost next time you start the container, e.g.:
sudo docker stop raspibuild
sudo docker commit raspibuild raspibuild-img
sudo docker container prune -f
sudo docker run -p 2222:22 -d --name raspibuild raspibuild-img