Importing Keil projects into VisualStudio with VisualGDB
This tutorial shows how to use the new Keil Project Importer to automatically convert Keil ARM projects into VisualGDB projects built with MSBuild and GCC. Before you begin, install VisualGDB 5.3 or later.
We will show how to convert an STM32 demonstration project for the STM32F746-Discovery board (shipped with the STM32CubeMX SDK). Although most of the conversion is performed automatically, the project would need several minor adjustments in order to get it to work. We will overview those adjustments and explain why they are needed.
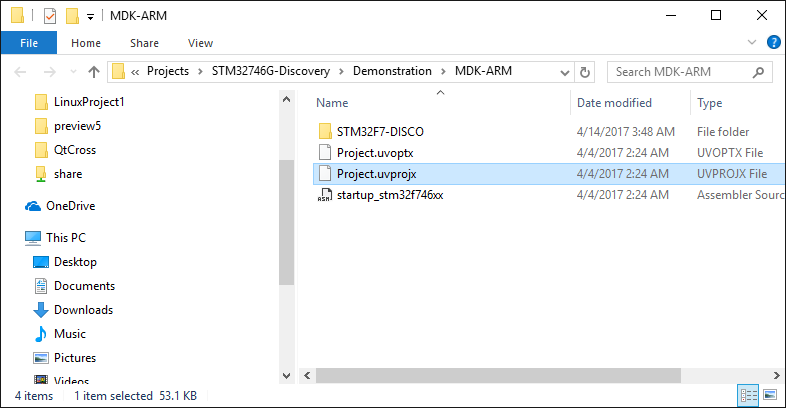
- Download and unpack the STM32Cube SDK for STM32F7 and locate the demonstration project file for Keil (normally under STM32Cube_FW_F7_Vx.y.z\Projects\STM32746G-Discovery\Demonstration\MDK-ARM):
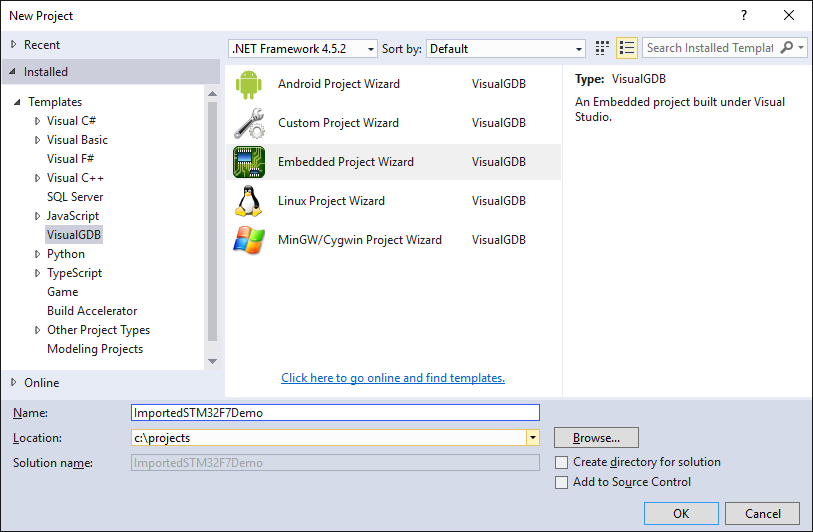
- Start Visual Studio and open the VisualGDB Embedded Project Wizard:
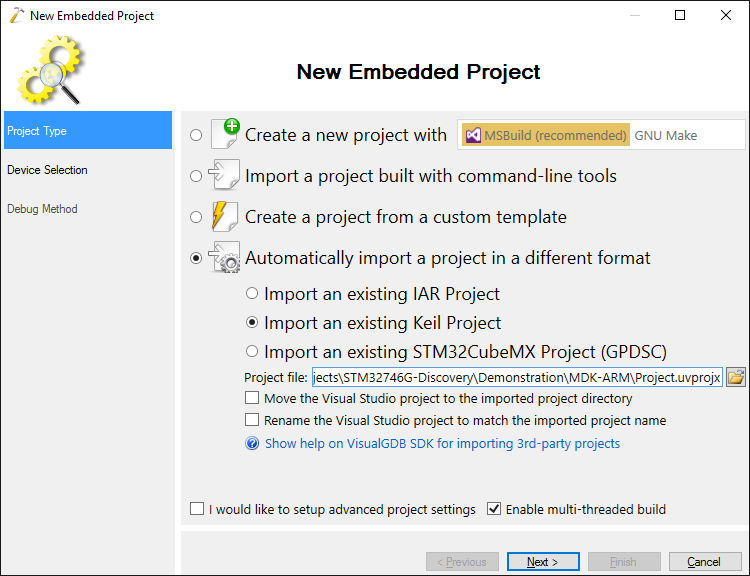
- Select “Automatically import a project in a different format -> Import an existing Keil project”. Then specify the .uvprojx file located earlier:
- Once you click “Next”, VisualGDB will automatically detect the device type from the project and select the corresponding device, so you can click “Next” to proceed:

- Connect your board to the USB port. VisualGDB will automatically detect the ST-Link type and show it on the Debug Method page:

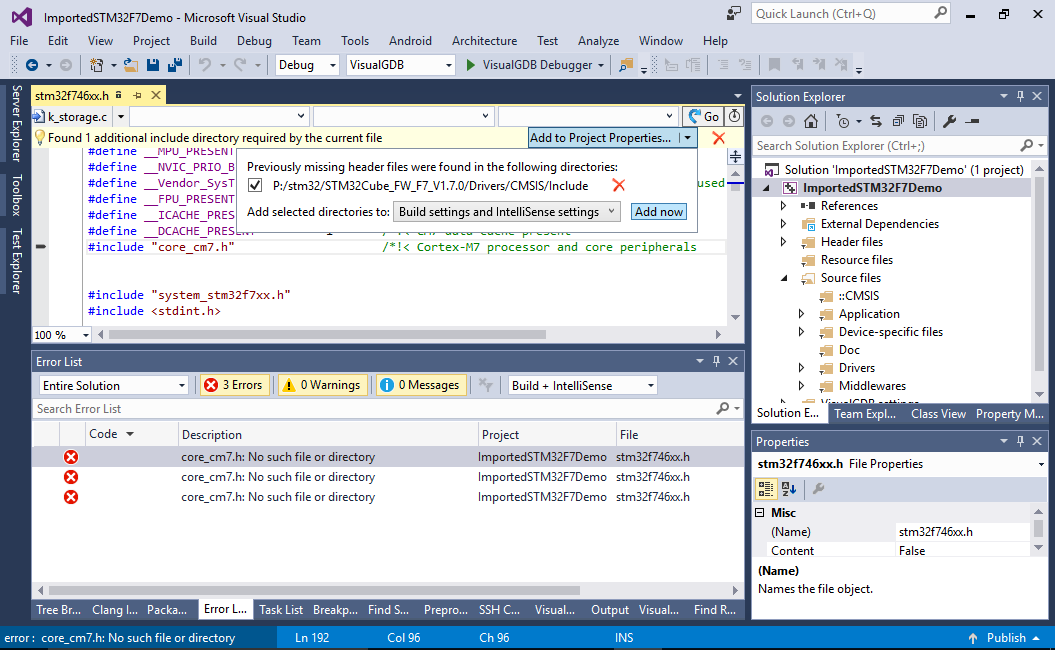
- Press “Finish” to generate the project. VisualGDB will automatically import the source files, include directories and preprocessor macros from the Keil project. However the STM32F746NG-Discovery demonstration project file is missing one include directory, so the initial build will fail. VisualGDB will however automatically discover the missing directory and let you add it to the settings by simply pressing “Add now”:
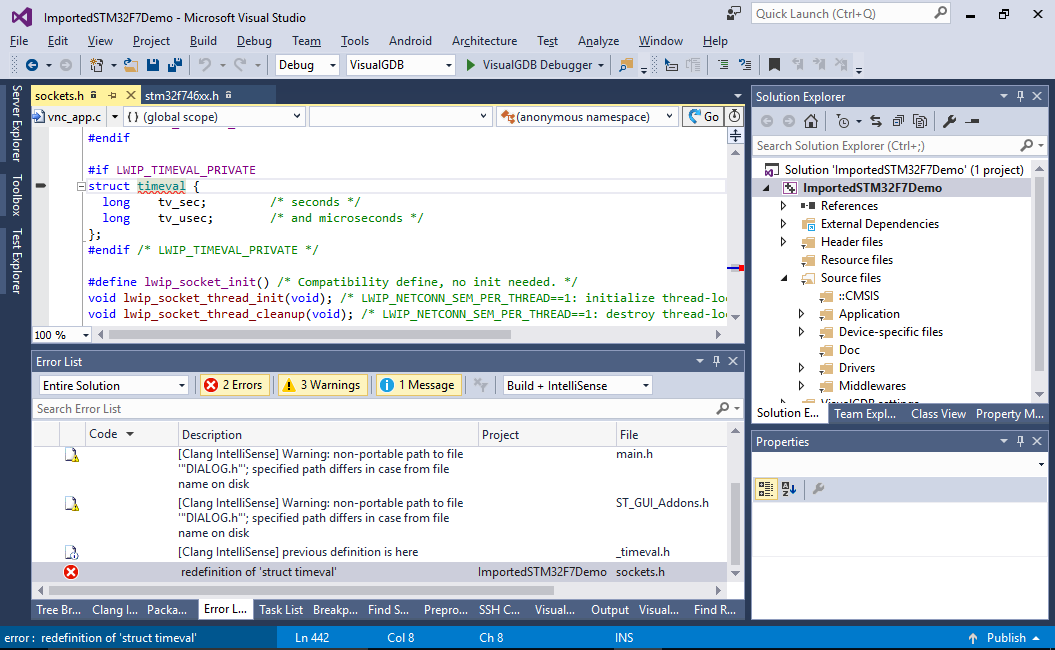
- Another error would be caused by the lwIP library redefining the timeval structure that is already defined by gcc:
- This is easily fixed by setting LWIP_TIMEVAL_PRIVATE to 0 via VisualGDB Project Properties -> MSBuild Settings:

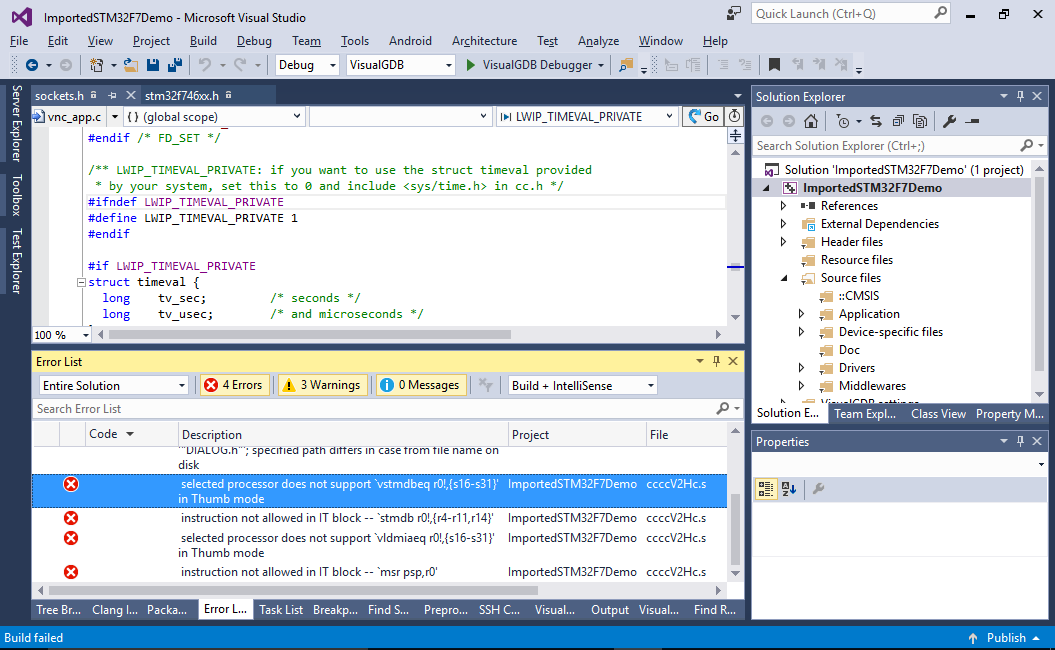
- Another build error will be caused by an incompatibility between the default software floating-point mode and the FreeRTOS port included in the project:
error :  selected processor does not support `vstmdbeq r0!,{s16-s31}' in Thumb mode
error :  instruction not allowed in IT block -- `stmdb r0!,{r4-r11,r14}'
error :  selected processor does not support `vldmiaeq r0!,{s16-s31}' in Thumb mode
error :  instruction not allowed in IT block -- `msr psp,r0'
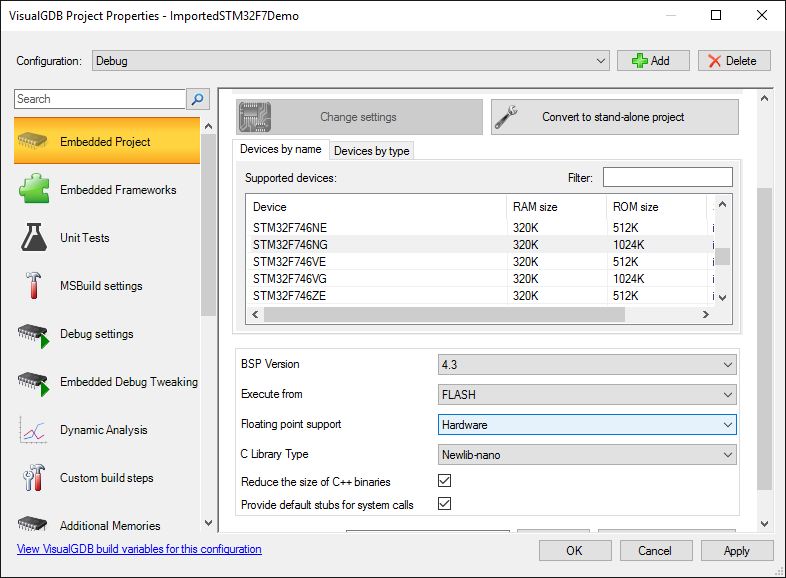
- To fix this, set “Floating point support” to “Hardware” via VisualGDB Project Properties:
- Finally linking the original project will result in a “FLASH overflow” error:
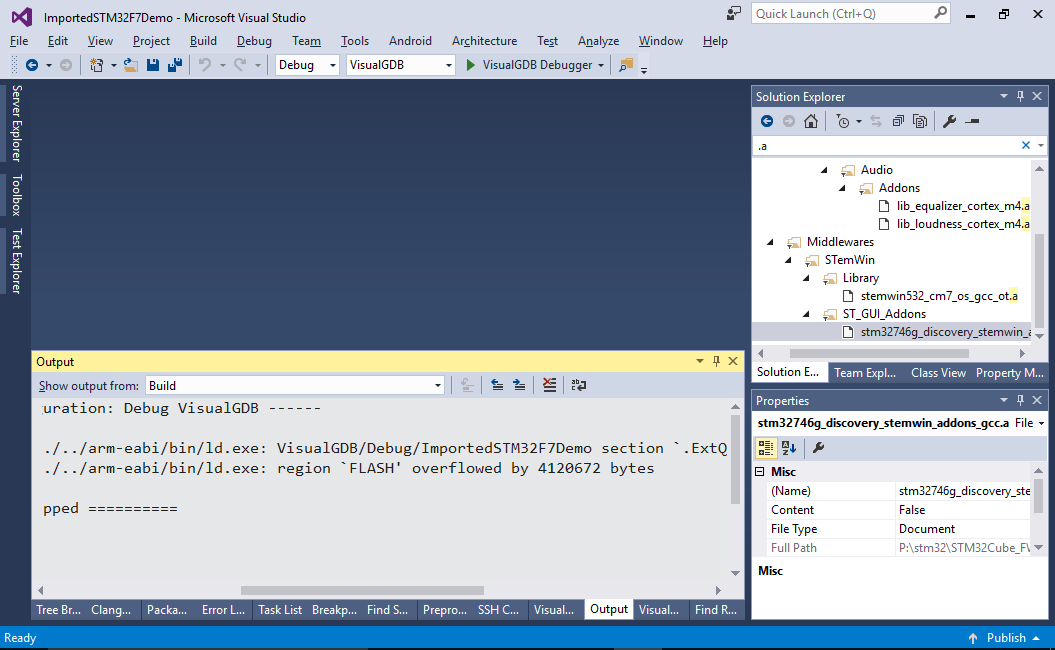 This happens because the project includes a special data section that needs to be placed into the QSPI memory and the Keil importer cannot automatically convert this.
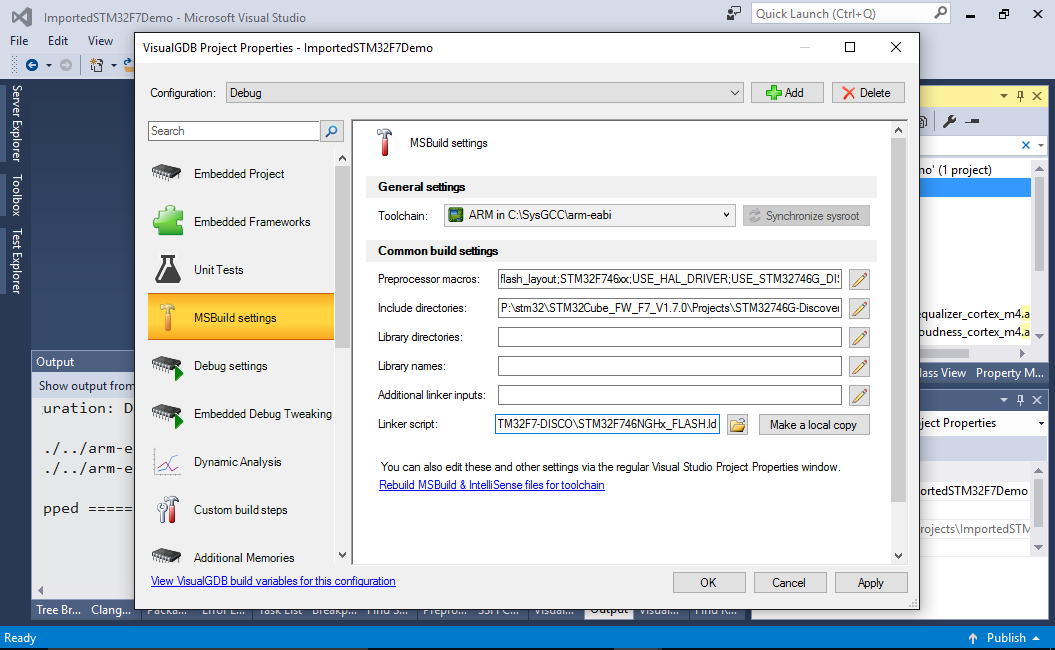
 - One way to fix this would be to use the Additional Memories page of VisualGDB Project Properties to let VisualGDB edit the linker script automatically, however as the ST demonstration project already includes a GCC linker script in the correct format, we can simply point VisualGDB to its location (normally Projects\STM32746G-Discovery\Demonstration\SW4STM32\STM32F7-DISCO\STM32F746NGHx_FLASH.ld):
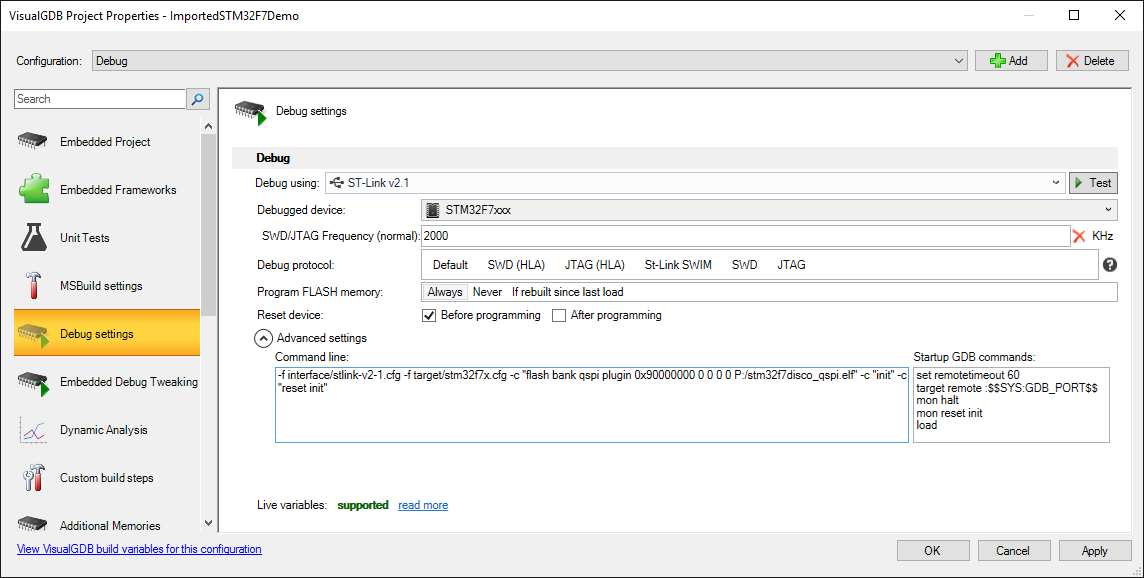
- Finally we need to configure VisualGDB to program the QSPI memory contents automatically. This is done by using the VisualGDB FLASH programming plugins described in this tutorial. Add the command loading the FLASH plugin as described in the FLASH plugin tutorial to the OpenOCD command line and press “OK” to save the settings:
- Now you can simply hit F5 and VisualGDB will automatically load the project into the board:
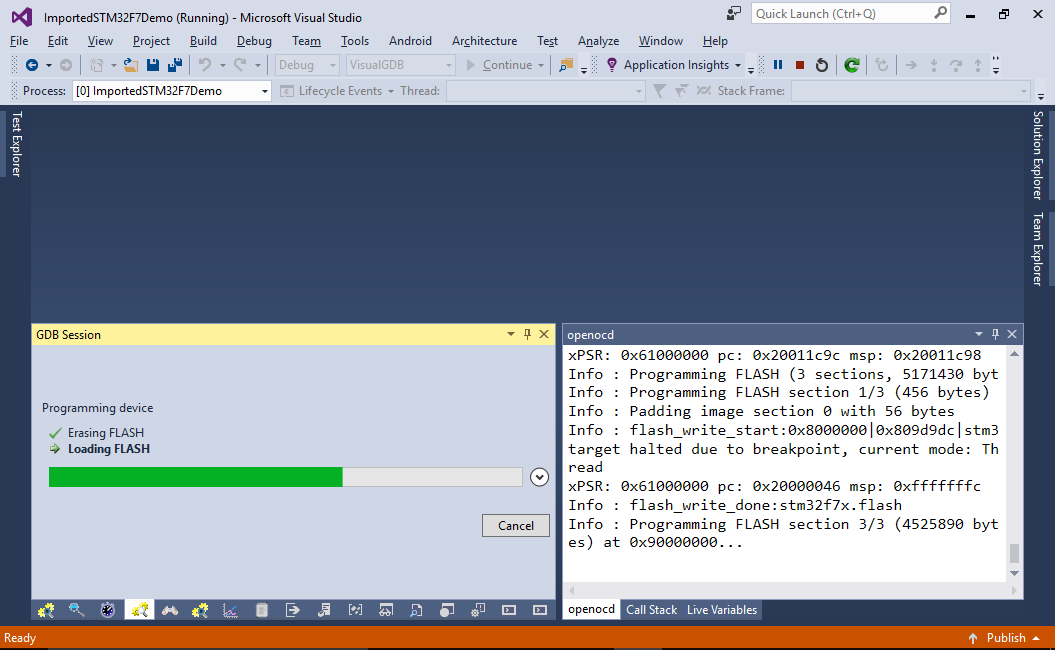
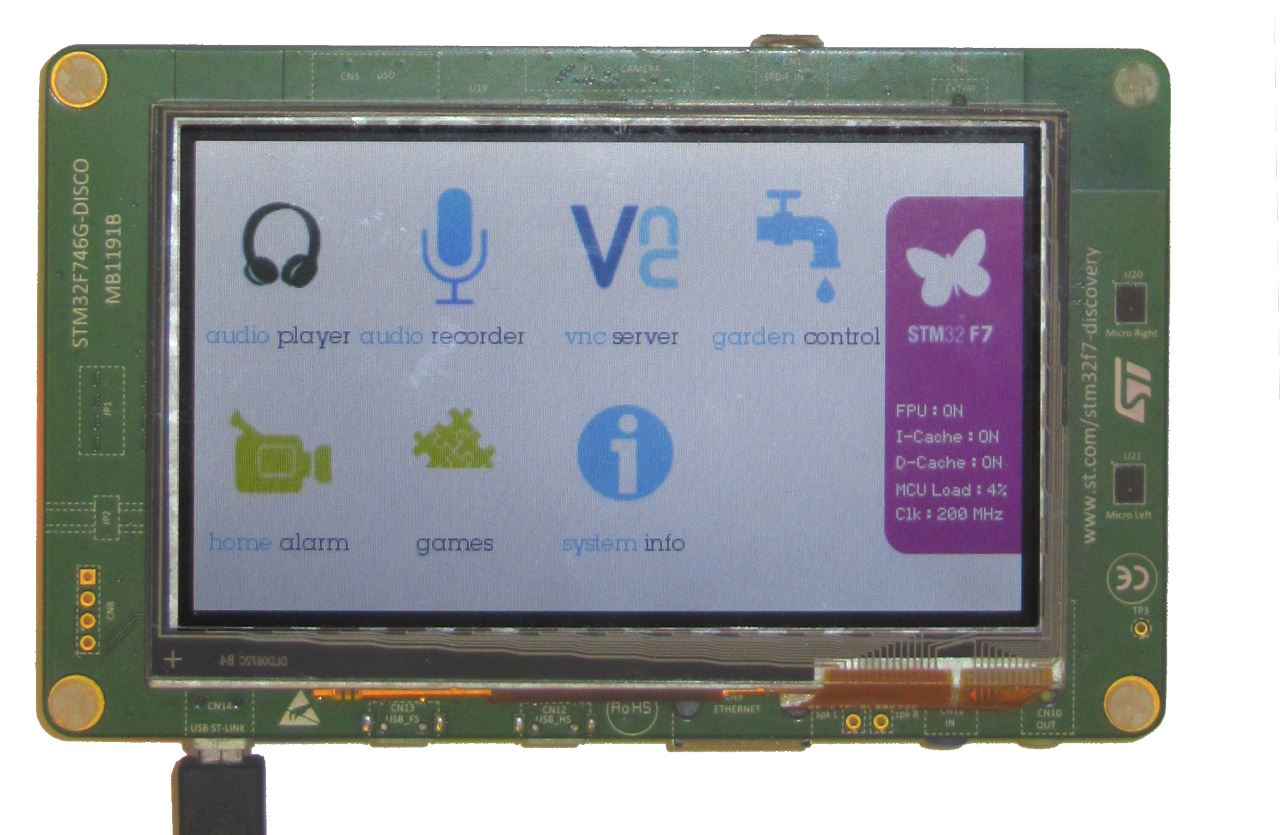
- Once the load is complete, you should see the STM32 demonsration program on your device screen: