Debugging RTX-based projects with VisualGDB
This tutorial shows how to create a basic project using the Keil compiler and the RTX OS using VisualGDB. We will create a basic “Blinking LED” project for the STM32F4Discovery board and will show to to view the state of the threads using the RTX thread plugin. Before you begin, install VisualGDB 5.4 Preview 10 or later.
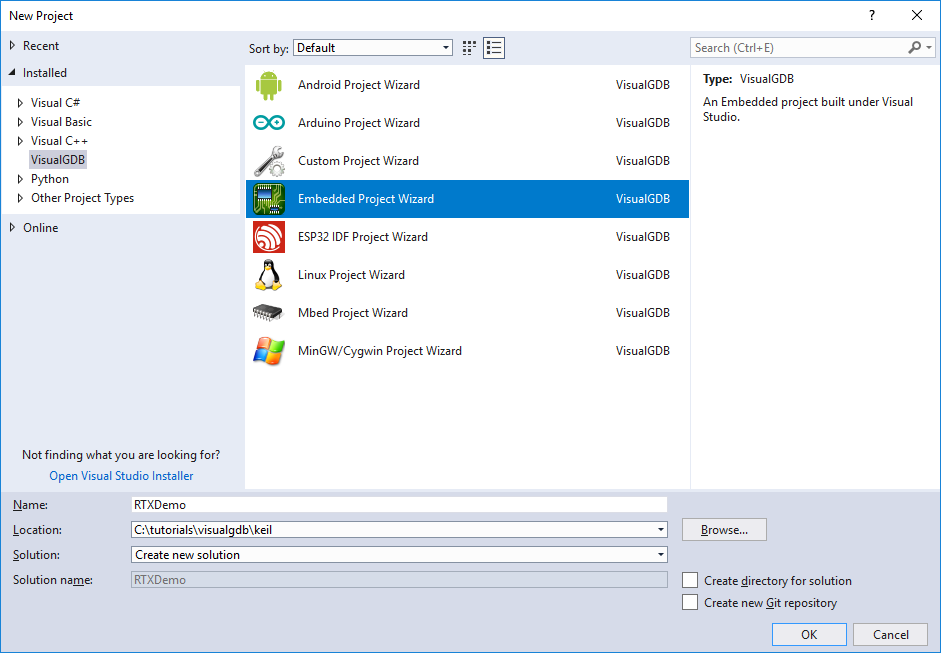
- Start Visual Studio and open the VisualGDB Embedded Project Wizard:
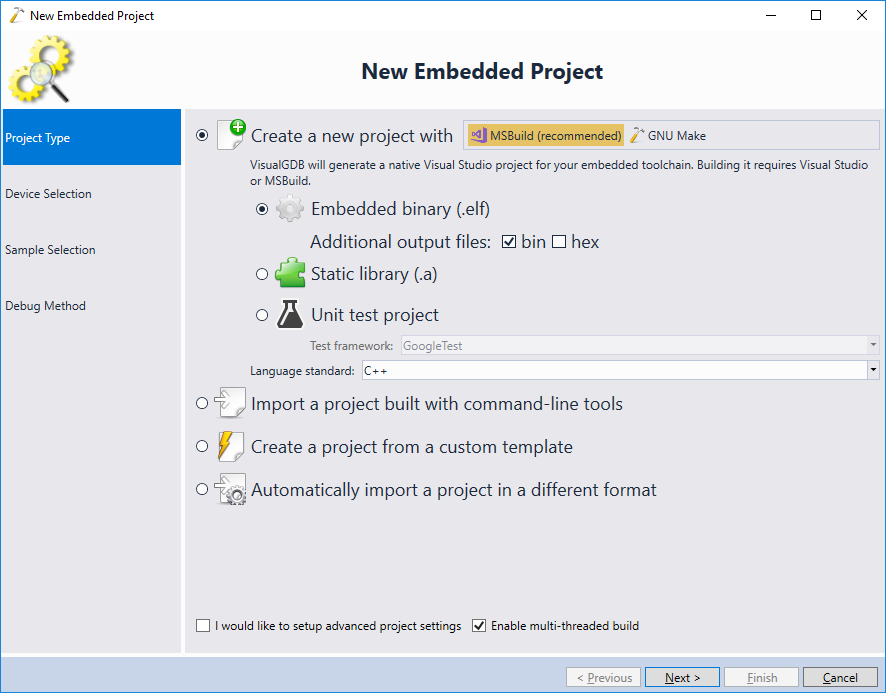
- Proceed with the default settings on the first page:
- On the next page select your Keil toolchain and the device you want to target:
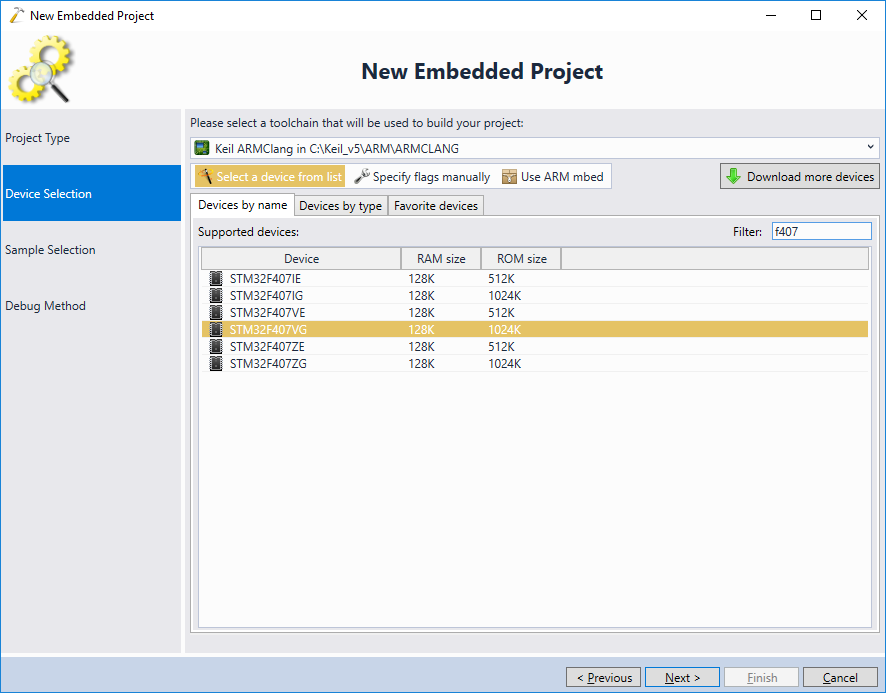 If the toolchain does not appear, follow this tutorial to create a basic project first.
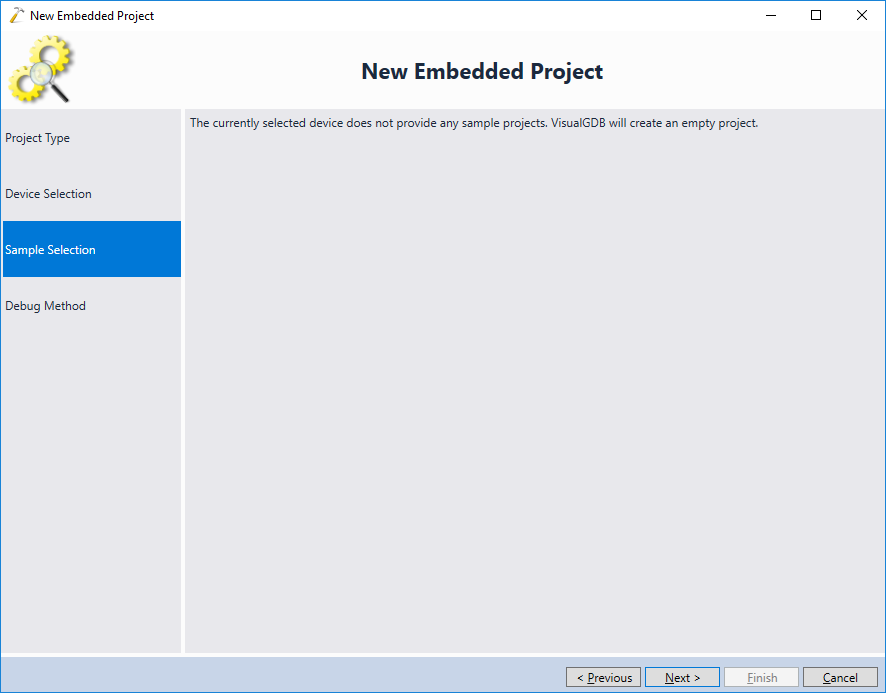
 - Keil-based projects are always created empty, so press “Next” in the Sample Selection page:
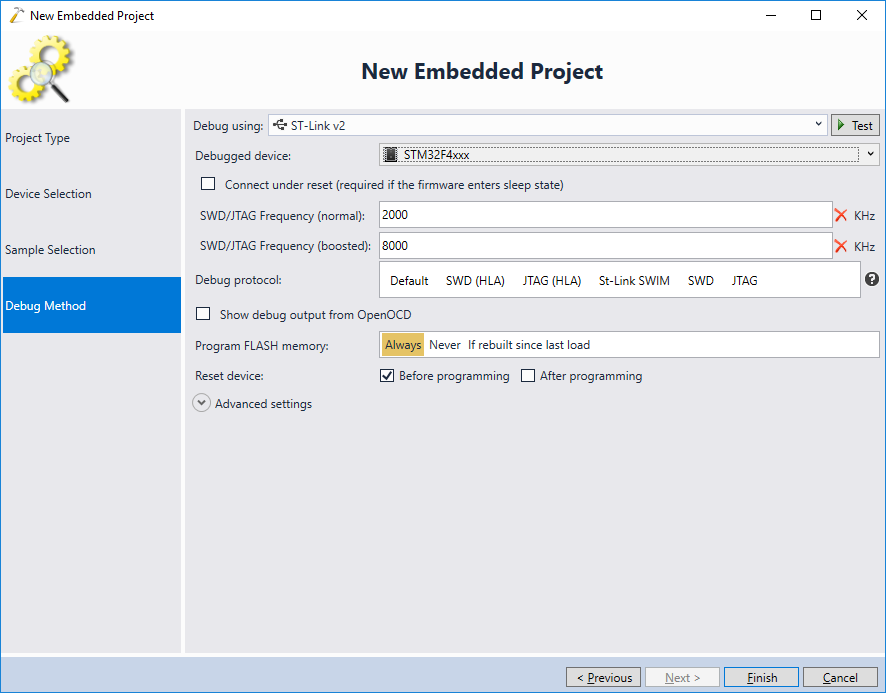
- On the Debug Method page select the debug method you want to use with your board:
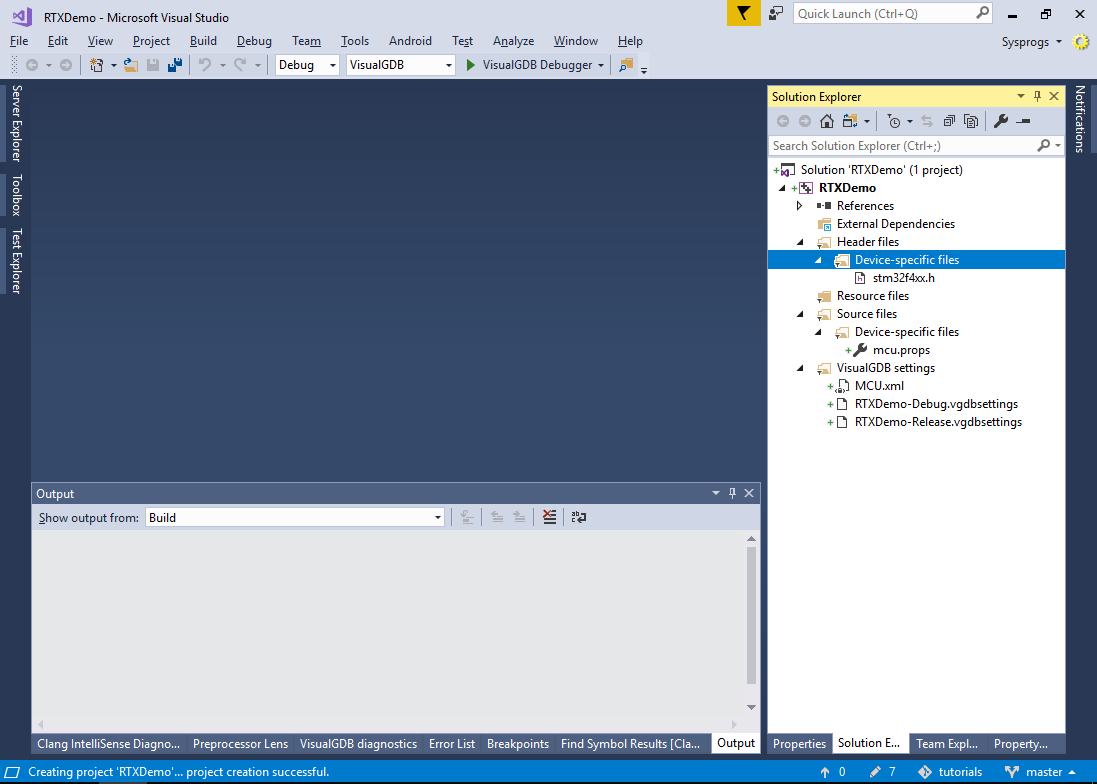
- Press “Finish” to create the project. VisualGDB will create an empty MSBuild-based project using the selected Keil compiler:
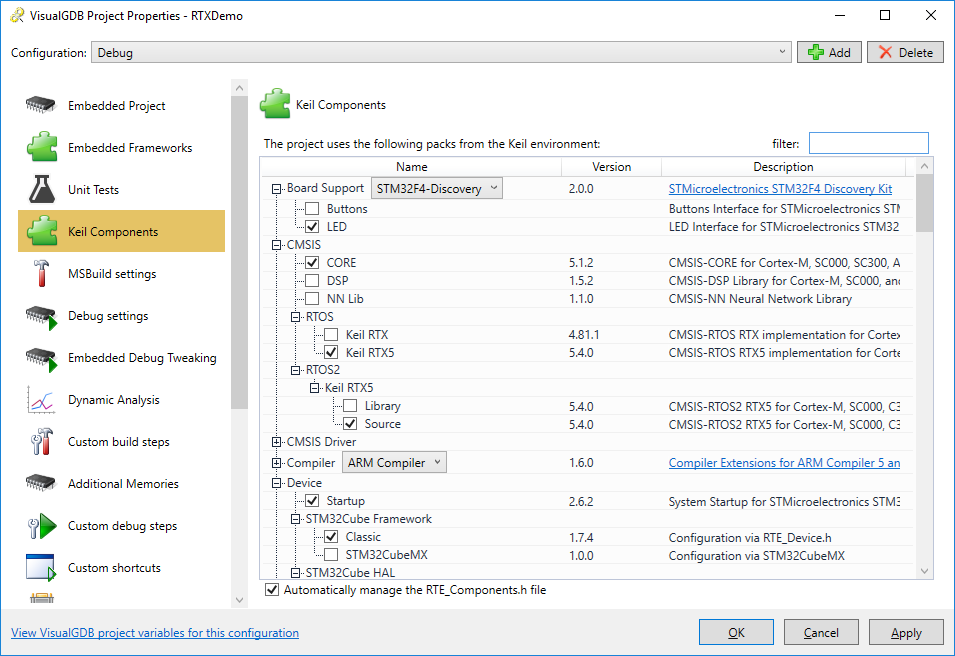
- If you are using the Custom edition of VisualGDB or higher, you can automatically add the RTX project template and all necessary components from the Keil packs using the Keil Components page of VisualGDB Project Properties. Select your board in the “Board Support” field, then check the following components:
- Board Support -> LED
- CMSIS -> RTOS -> Keil RTX5
- CMSIS -> RTOS2 -> Source
- Device->STN32Cuce HAL -> GPIO
 Once you select the components listed above, VisualGDB will automatically discover their dependencies and will suggest referencing them automatically.
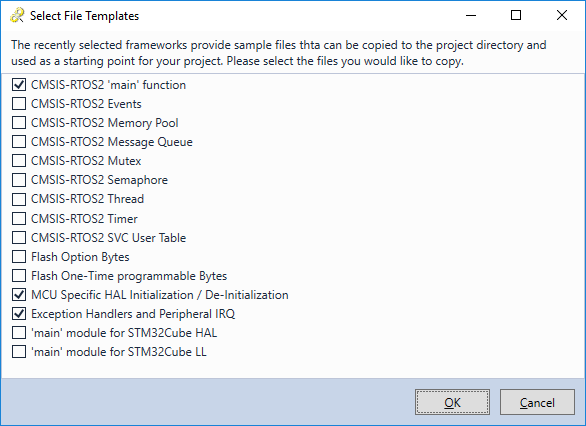
 - Press “OK”. VisualGDB will check the newly referenced packages for template files and will suggest copying them to the project. Select the templates shown below and click “OK”:
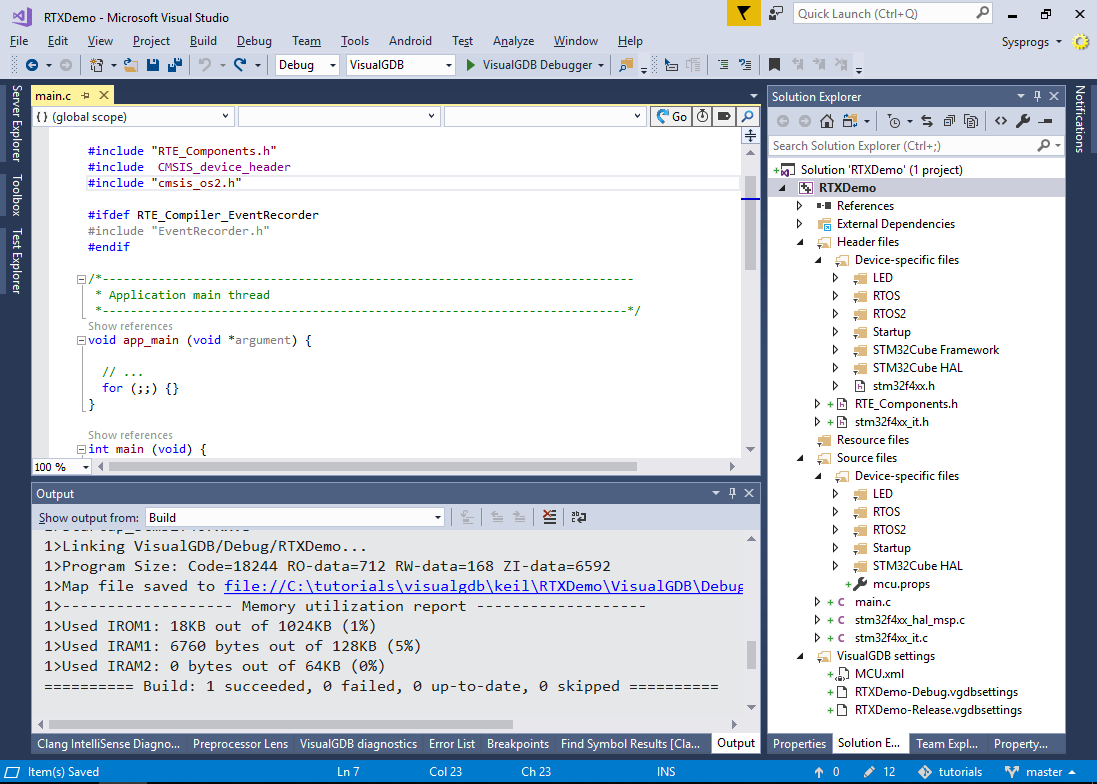
- VisualGDB will add the necessary files to your project, so you will be able to build it:
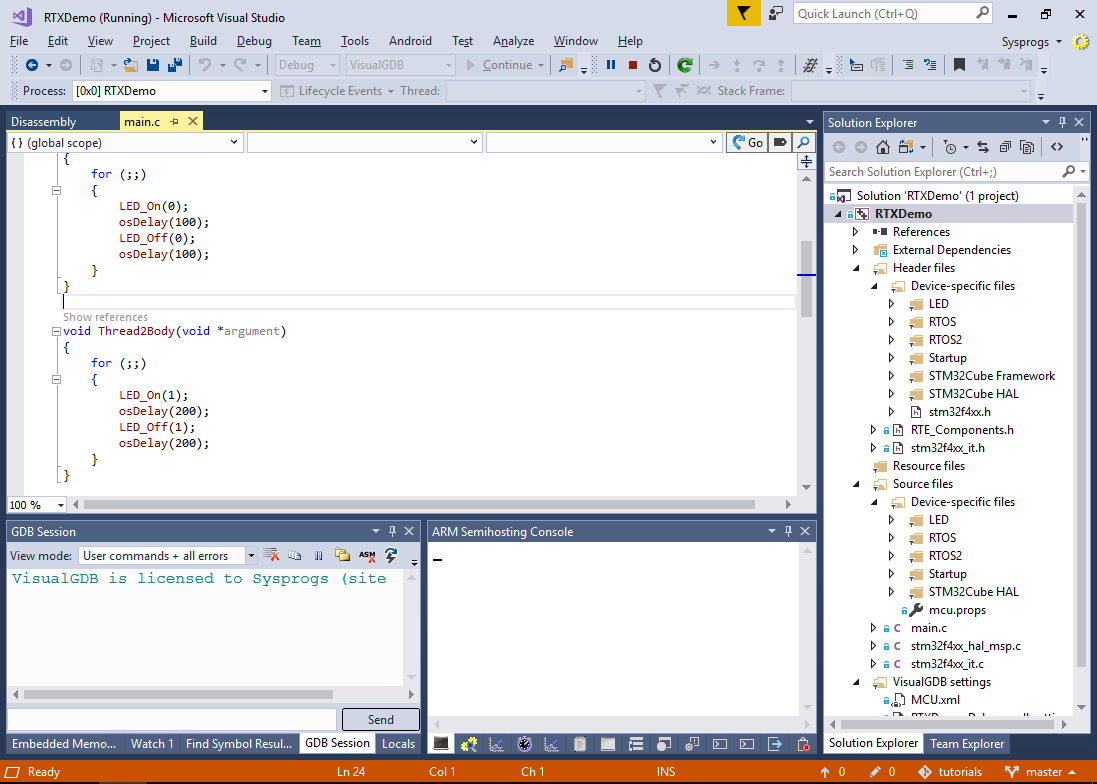
- Replace the contents of the main.c file with this. It will create 2 parallel threads, each one controlling one on-board LED. Build the project and press F5 to start debugging:
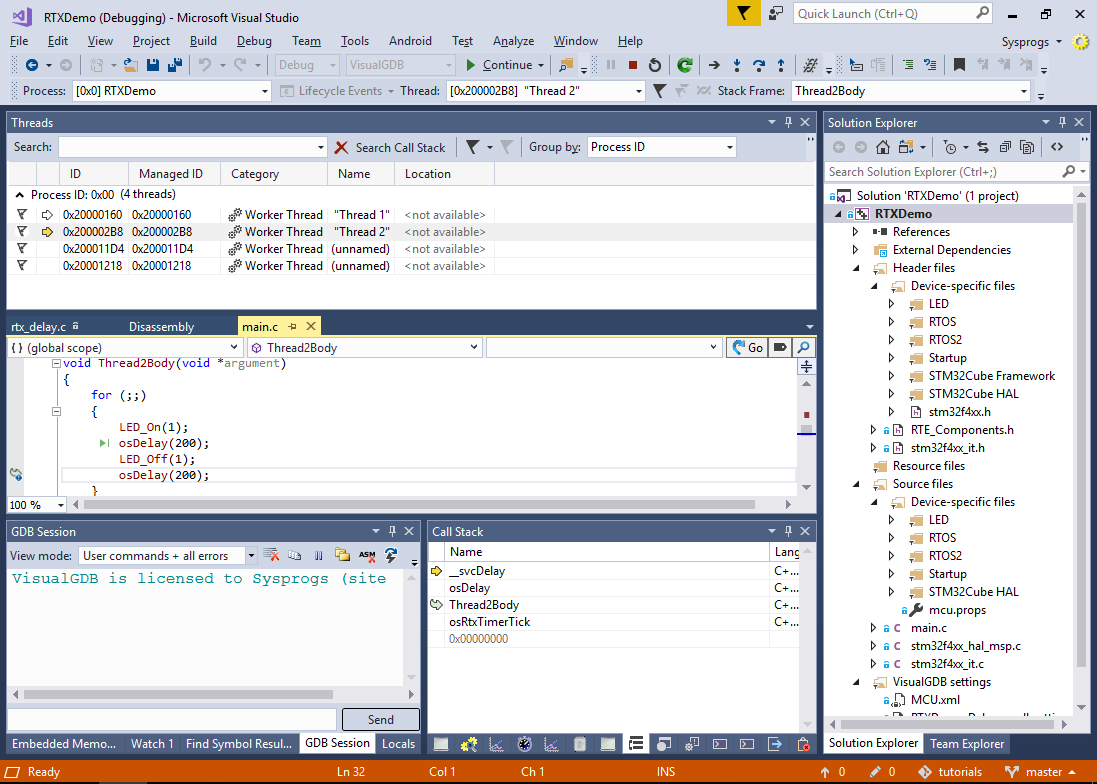
- Check that both on-board LEDs are blinking and set a breakpoint in one of the thread functions. Once the breakpoint triggers, open the Debug->Windows->Threads window:
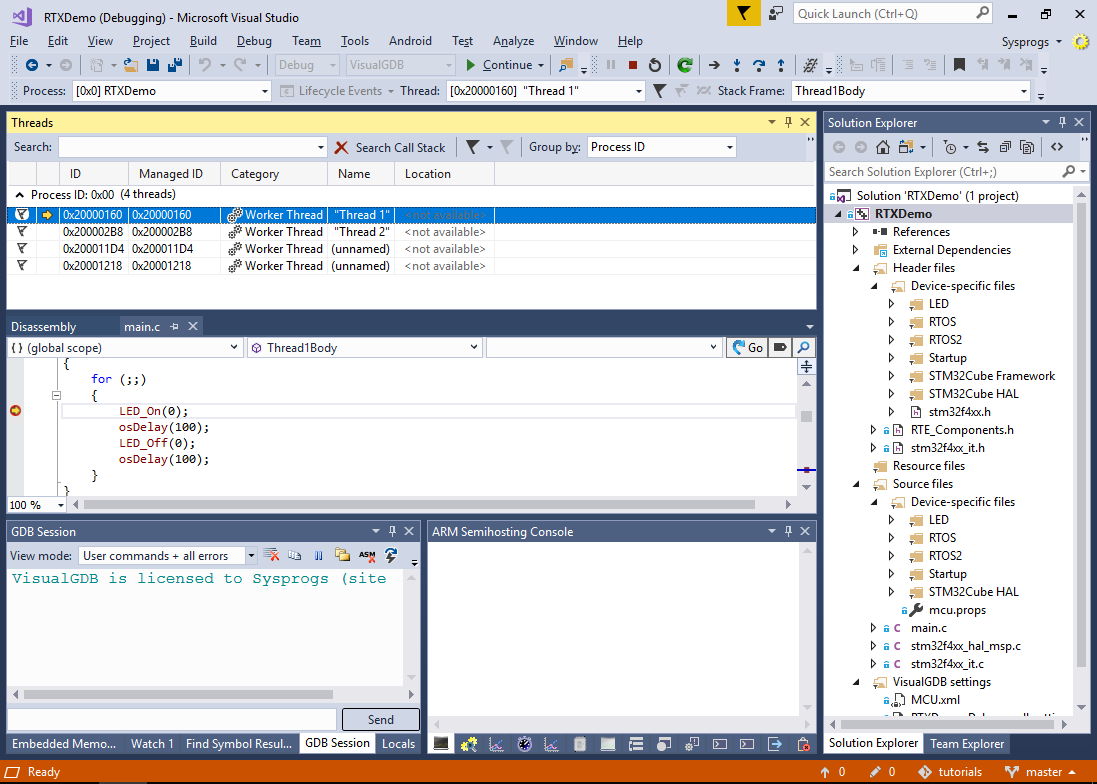
- Visual Studio will display the currently running RTX threads in the Threads window. Switch to the other thread to see that it is waiting in the osDelay() function: