Using RefactorScript to Generate Boilerplate Code
This tutorial shows how to use RefactorScript to automatically generate boilerplate code – repetitive code constructs, such as initialization of all class fields, or printing of their values to a stream.
We will create a simple C++ program that reads rows from a CSV file, sorts them, and outputs the results to stdout. We will manually create a class representing a row and will use RefactorScript to generate the constructor, comparison operator, and the code for printing the field values.
Before you begin, install VisualGDB 5.6 or later and make sure you are using the Custom edition or higher.
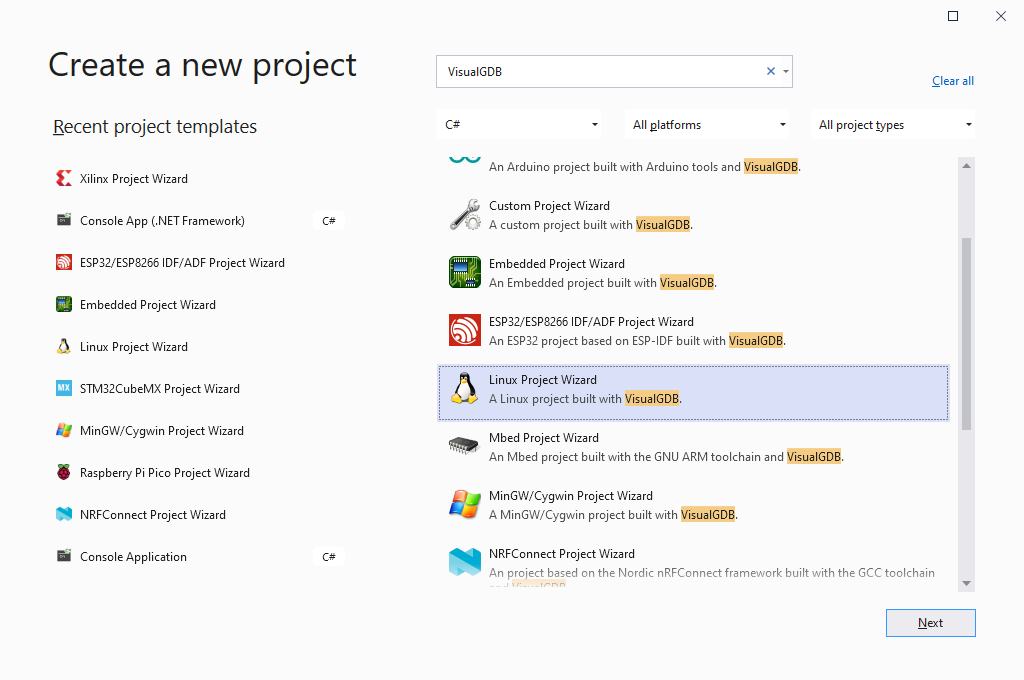
- Start Visual Studio and launch the VisualGDB Linux Project Wizard:
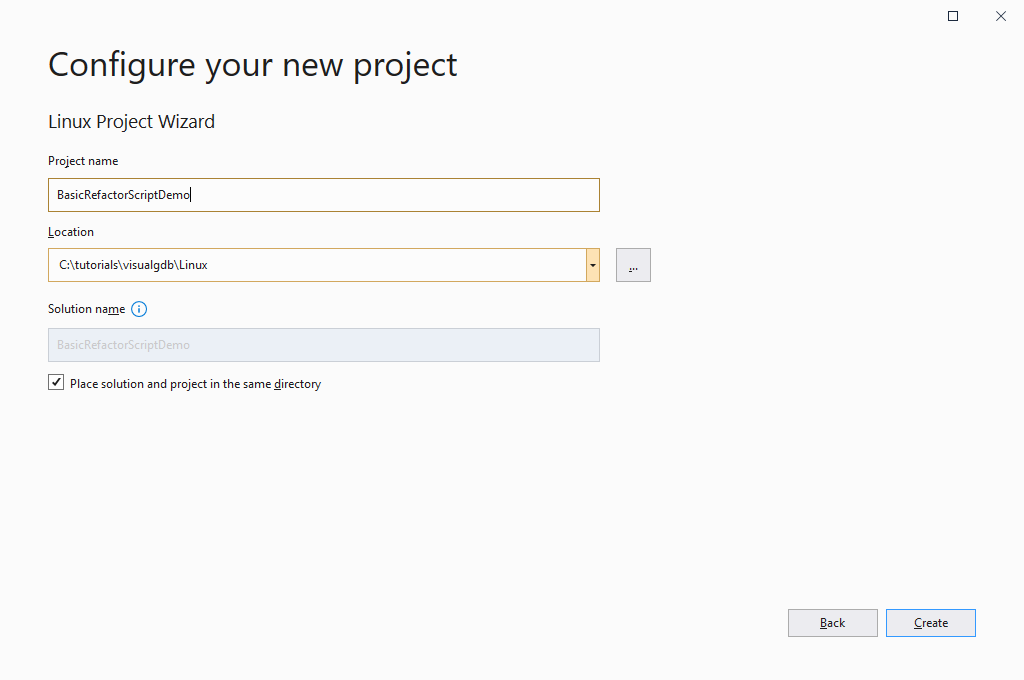
- Enter the name and location for your project:
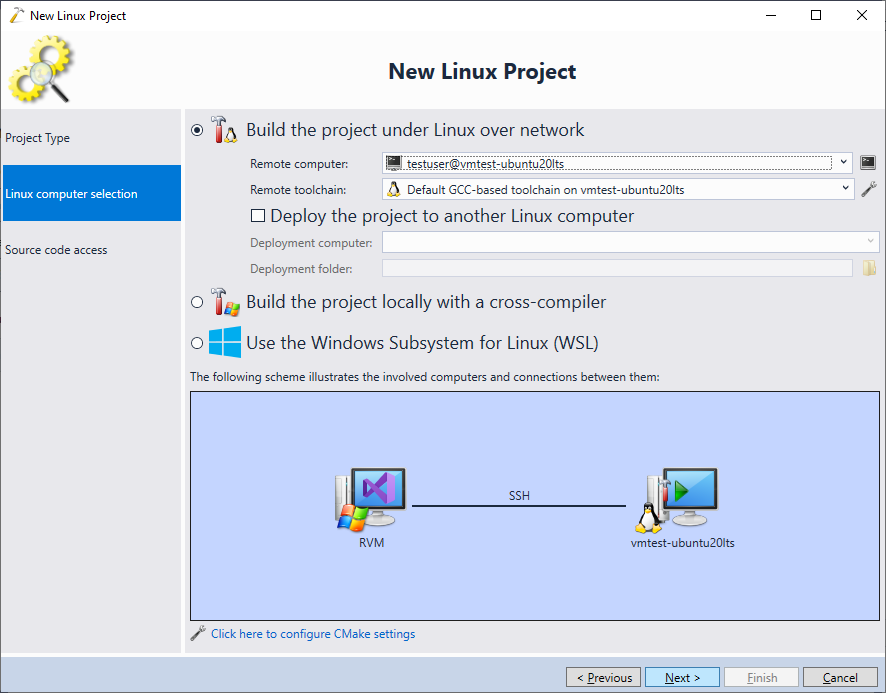
- Press the “Create” button to launch VisualGDB-specific part of the wizard. In this tutorial we will create a new Linux application using the Advanced CMake project subsystem, however RefactorScript will work for any project type that is using Clang IntelliSense:

- On the second page of the wizard select the computer and the toolchain that should be used for building the code:
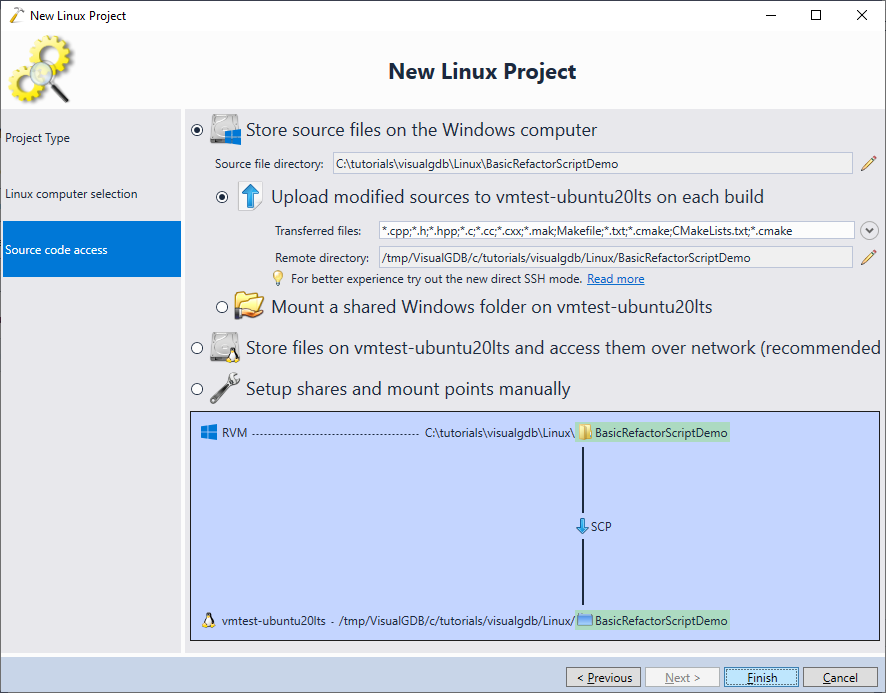
- Finally, select how VisualGDB should manage the source files for this project. In this tutorial we will keep them on the Windows side and will upload the changes remotely on each build, however you can also configure VisualGDB to access them directly via SSH:
- Press “Finish” to create the project. Once it is created, replace the contents of the main file with the following code:
#include <iostream>
#include <vector>
#include <string>
#include <fstream>
#include <sstream>

using namespace std;

vector<int> ReadCSVLine(istream& str)
{
    vector<int> result;
    string line;
    getline(str, line);

    stringstream lineStream(line);
    string tmp;

    while (getline(lineStream, tmp, ';'))
        result.push_back(atoi(tmp.c_str()));

    return move(result);
}

int main(int argc, char *argv[])
{
    ifstream stream("data.csv");

    while (!stream.eof())
    {
        auto line = ReadCSVLine(stream);
        asm("nop");
    }

    return 0;
}
- Add the following data.csv file to your project directory on the Windows machine:
3;10;100
3;20;200
2;30;300
1;40;400
Then, use VisualGDB Project Properties to create the following upload action:
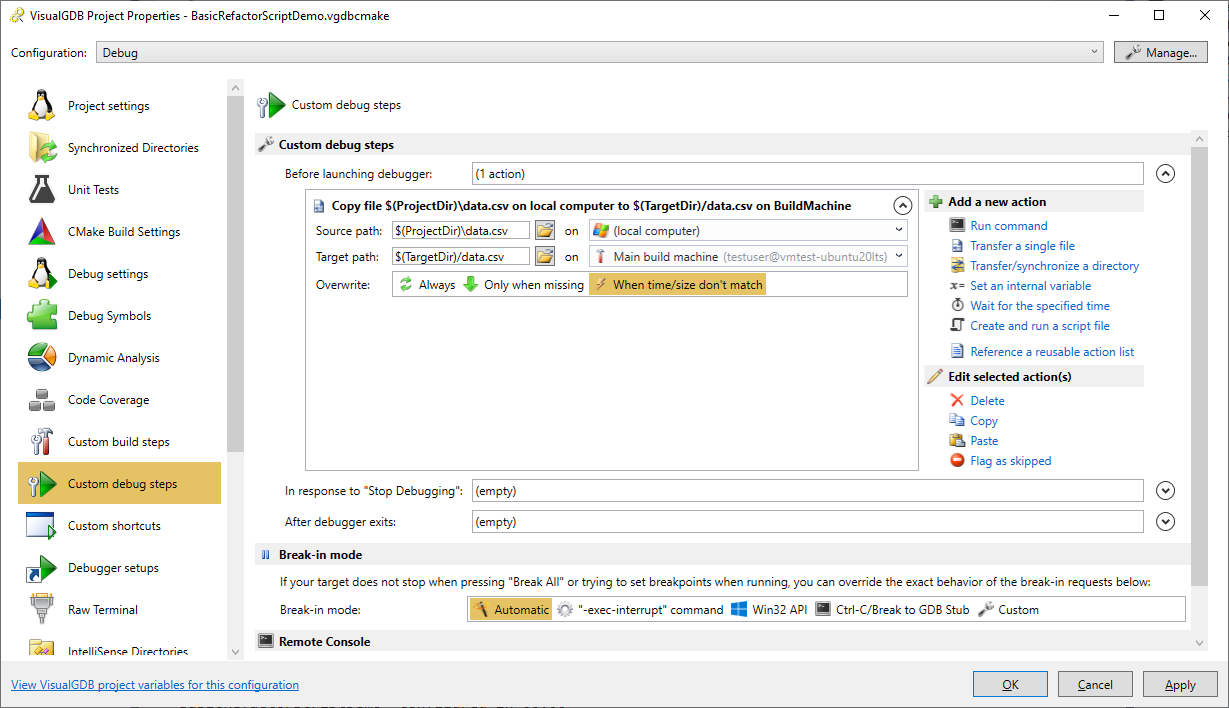 This will upload data.csv to the target directory before debugging the project.
 - Set a breakpoint in the asm(“nop”) line and make sure the first line of the file was read successfully:

- Now we will define a class encapsulating a single data row. Add the following code to the main source file:
struct DataRow
{
    int Col1, Col2, Col3;
};
Also, add a vector of the DataRow objects to the main function and update the main loop to add items to it:
std::vector<DataRow> rows;

while (!stream.eof())
{
    auto line = ReadCSVLine(stream);
    if (line.size() >= 3)
        rows.push_back(DataRow(line[0], line[1], line[2]));
}
- This code will not work because DataRow is missing a constructor accepting 3 arguments. We will now use RefactorScript to generate it automatically. Go inside the DataRow struct (make sure the cursor is aligned with the “int” word) and press “Ctrl+.”. Then, select “Run a RefactorScript… -> Generate a constructor“:
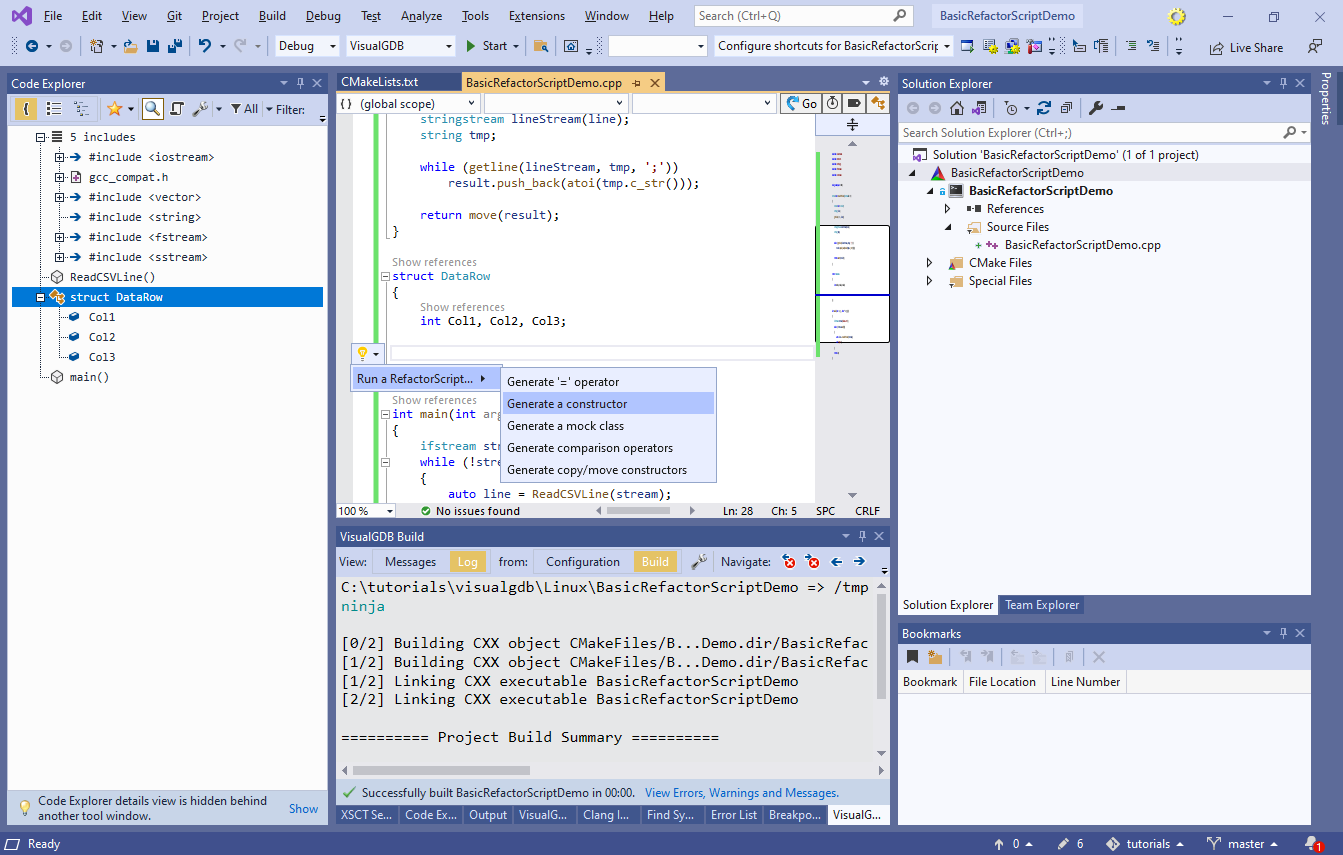 Note: RefactorScript smart tags are supported starting from Visual Studio 2015. You can run RefactorScript on earlier Visual Studio versions via a button in Code Explorer.
 - VisualGDB will open the RefactorScript window showing the current context (struct DataRow) and the currently selected script:
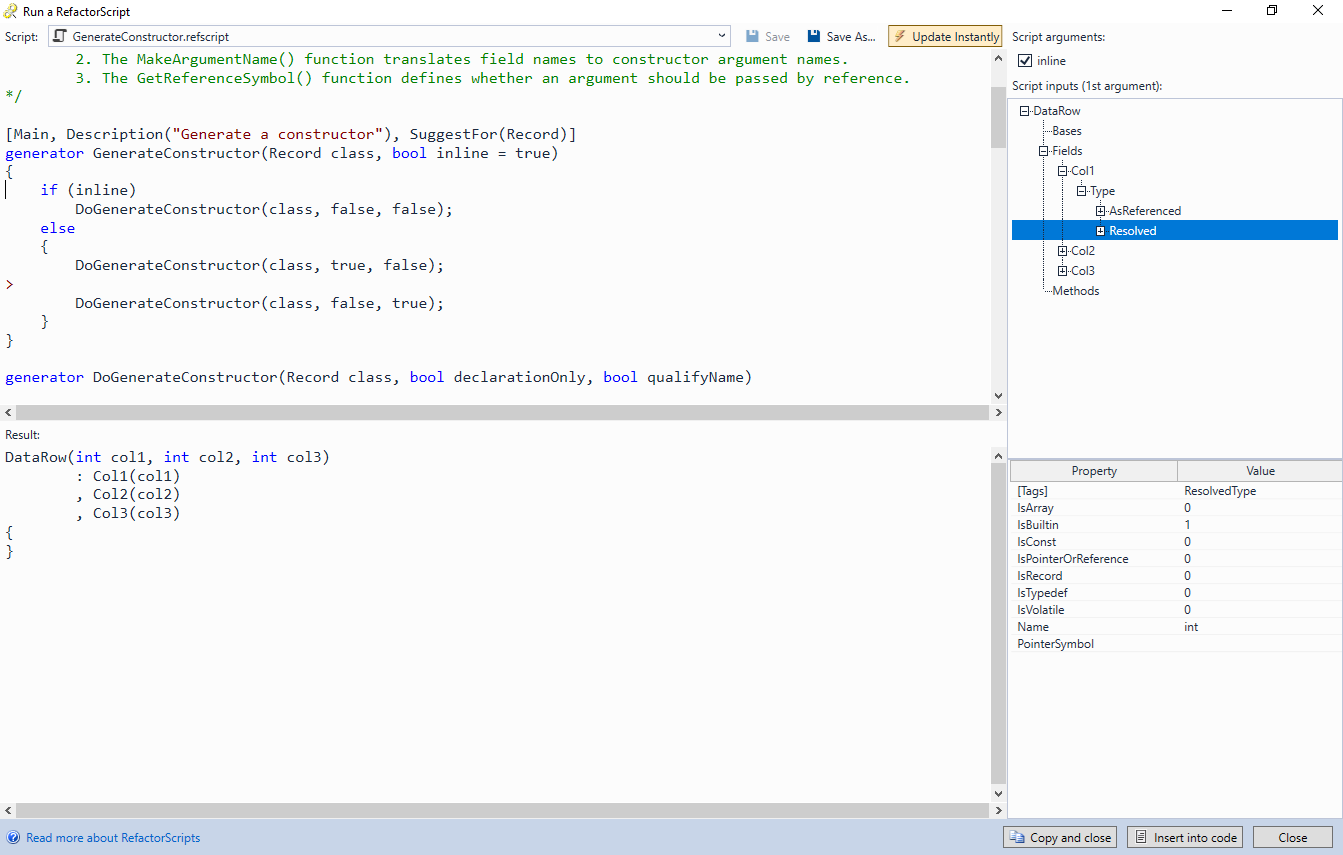 In this example, the script will work out-of-the-box, generating a constructor. You could also tweak every aspect of the generated code (e.g. decide which parameters to pass by reference) by editing the script. See the RefactorScript reference for a comprehensive description of the RefactorScript language. We will also show a simple custom RefactorScript at the end of this tutorial.
 - Press “Insert into code” to automatically insert the generated constructor. The code will now work as expected, producing a vector of DataRow instances:
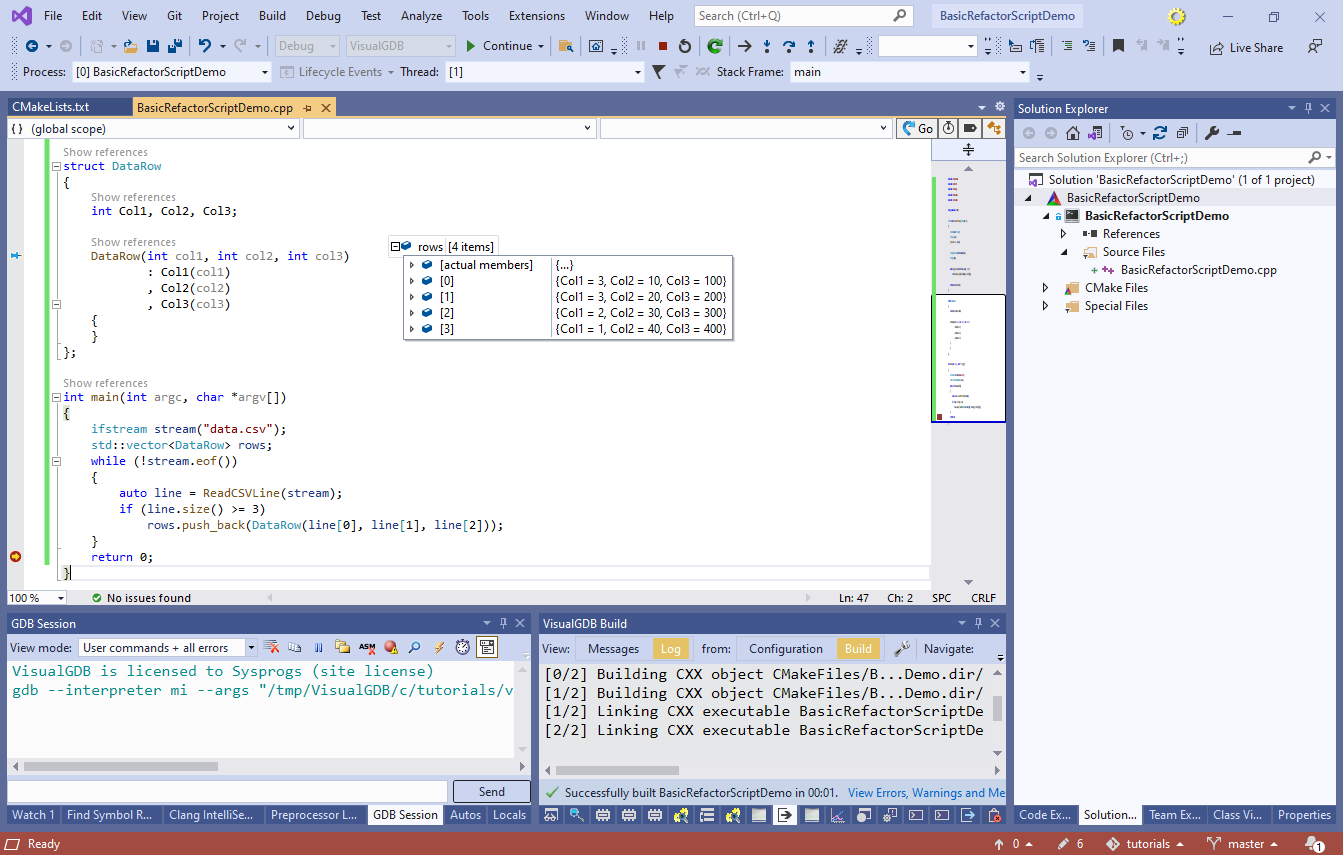
- Now we will try sorting the rows. Add the following line to the main() function after the loop:
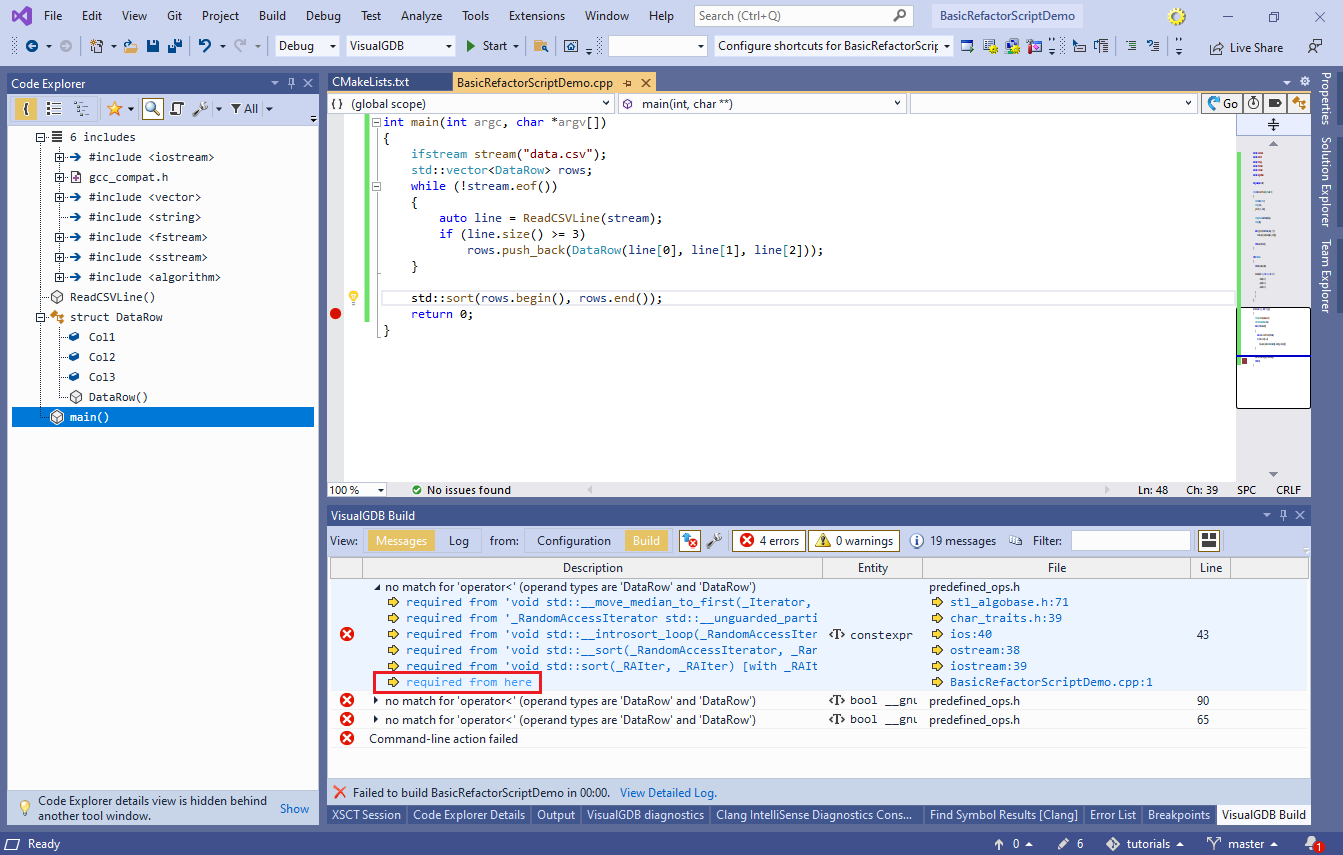
std::sort(rows.begin(), rows.end());
Note that it will result in a build error because DataRow does not have a comparison operator:
- We will now generate one automatically using RefactorScript. Go back to the DataRow struct, press “Ctrl+.” and select the “Generate comparison operators” script:
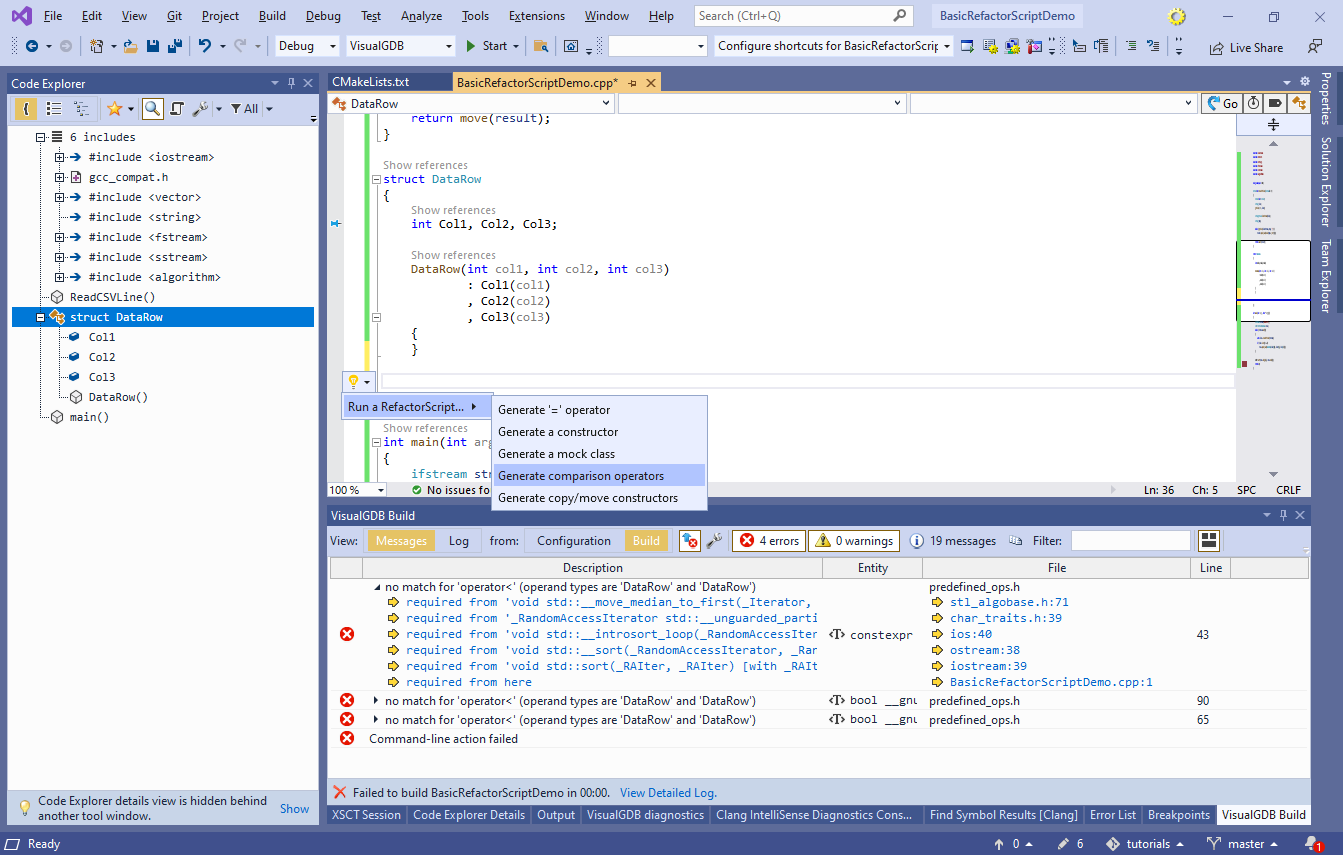
- This script will also work out-of-the-box . Note that you can select which operators to generate using the “script arguments” section at the top right of the window:

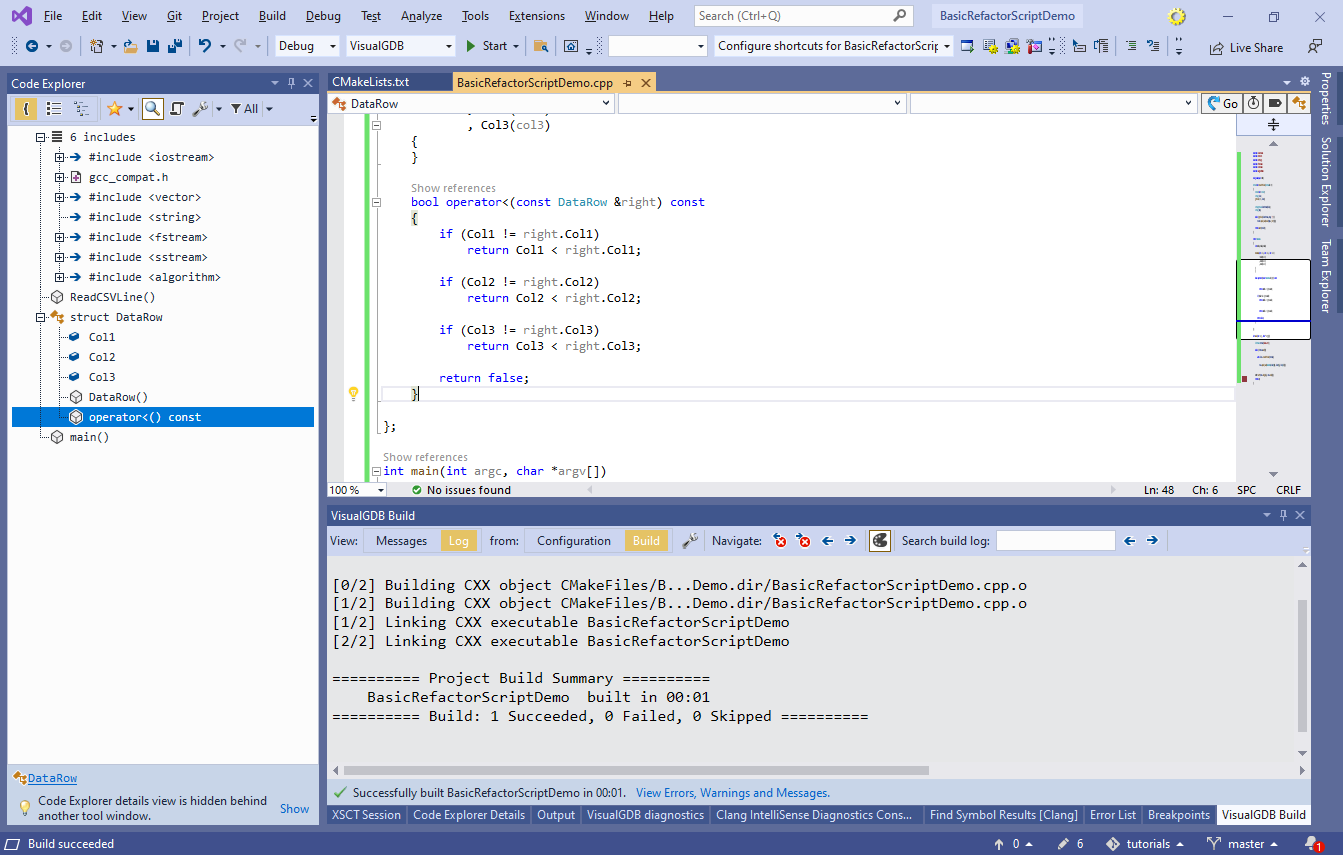
- Press Ctrl-Enter to insert the generated operator in the code. The project will now compile and work as expected:
- Finally, we will show how to create a simple RefactorScript from scratch. Add the following code to the end of the main() function:
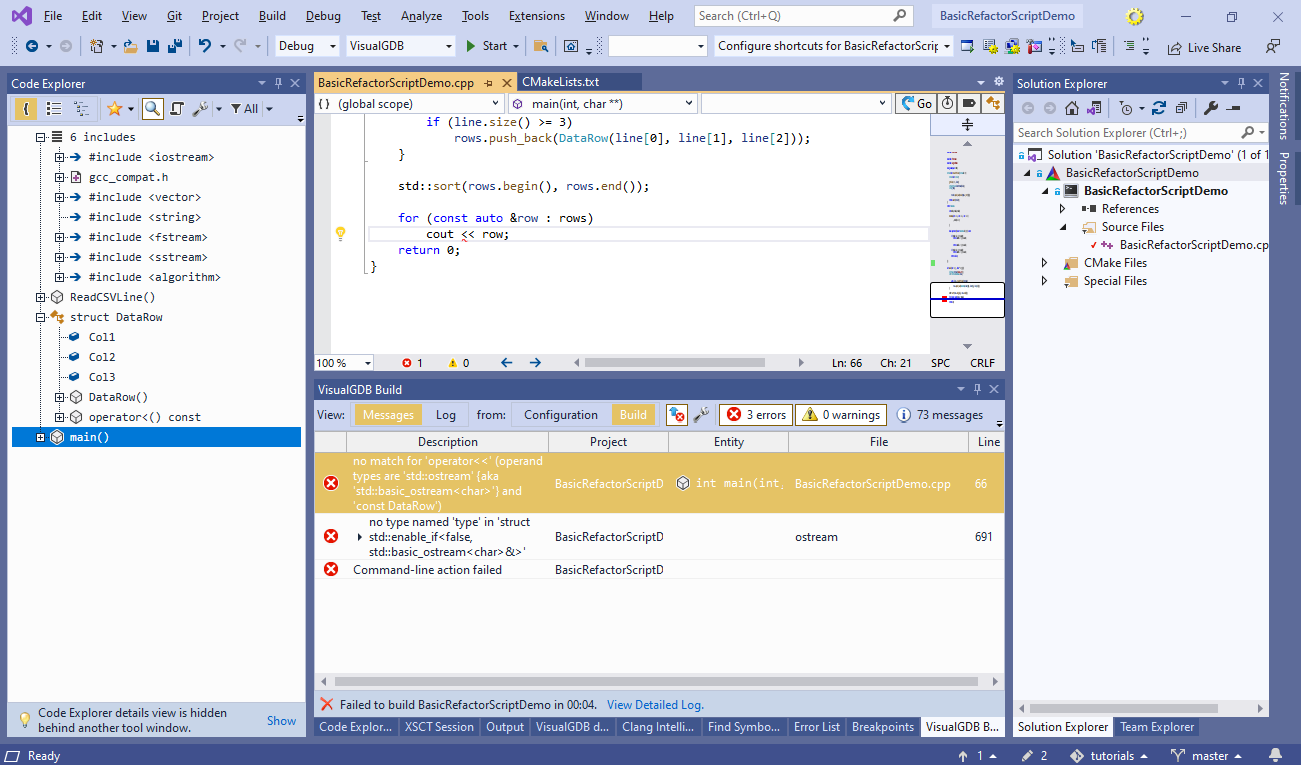
for (const auto &row : rows)
    cout << row;
As before, it will not not compile due to the missing “<<” operator:
- To fix the error, add an empty operator before the main() function:
template<class _Traits> inline basic_ostream<char, _Traits>&
    operator<<(basic_ostream<char, _Traits>& stream, const DataRow &row)
{
    return stream;
}
The code will now build, but won’t output anything yet:

- Make sure “DataRow” is selected in the Code Explorer and click the “Run a RefactorScript” button:

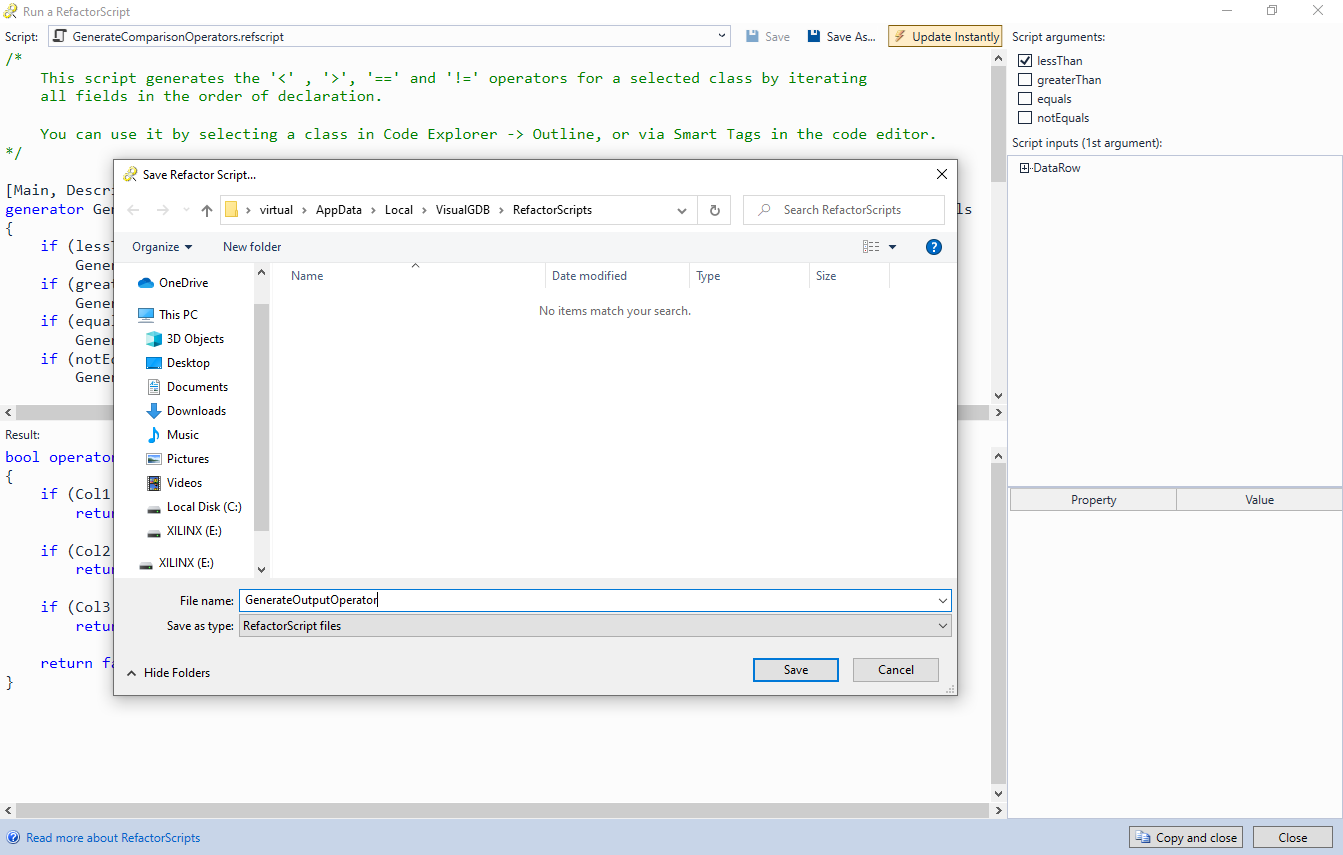
- Select any of the existing scripts and click “Save as”. Then, pick a new name for your script. In this tutorial, we will call it “GenerateOutputOperator.refscript“:
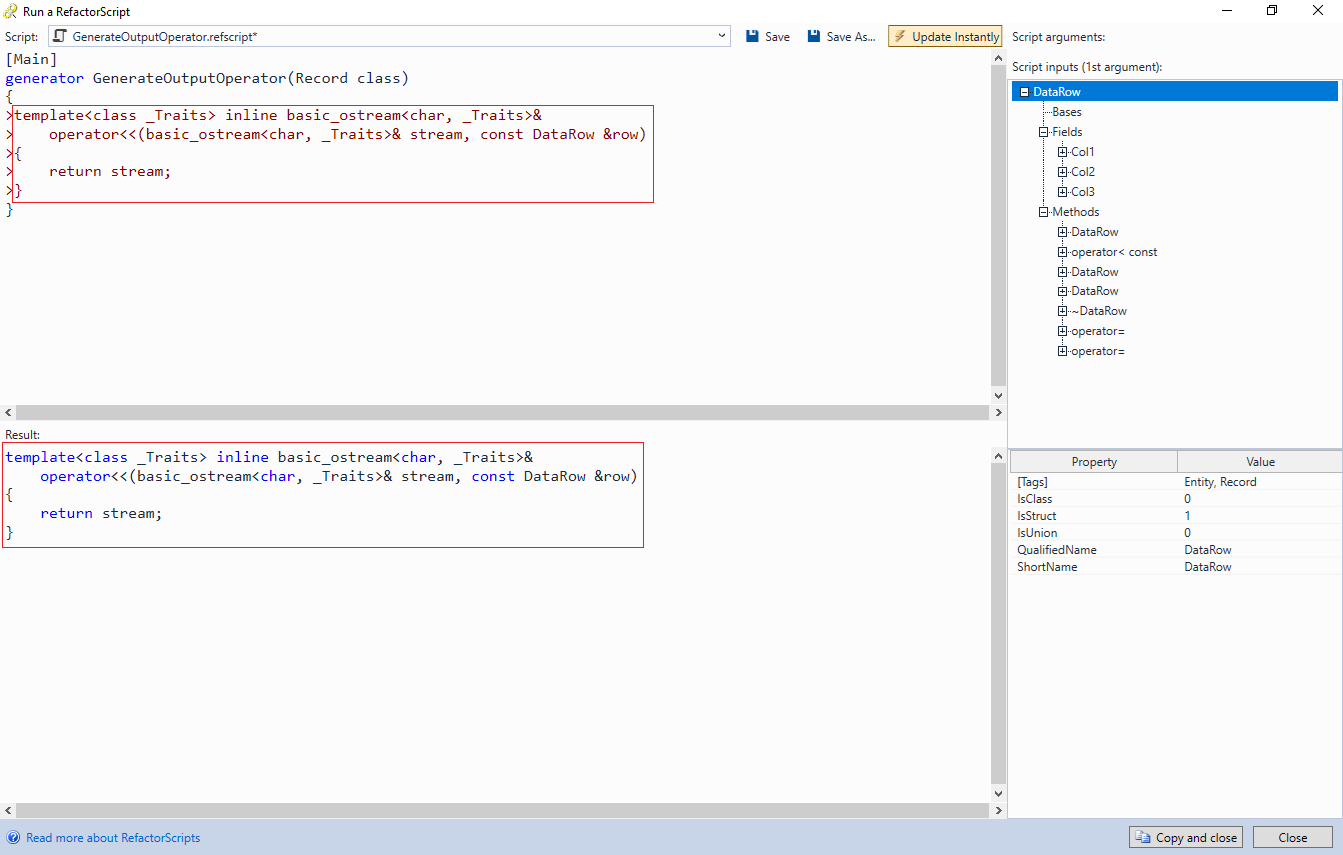
- Replace the contents of the script with the following code:
[Main]
generator GenerateOutputOperator(Record class)
{
>template<class _Traits> inline basic_ostream<char, _Traits>&
>    operator<<(basic_ostream<char, _Traits>& stream, const DataRow &row)
>{
>    return stream;
>}
}
It consists of a single generator that accepts an instance of the Record object and outputs a fixed block of code. The “Result” section at the bottom of the window will confirm that it matches the manually created operator:
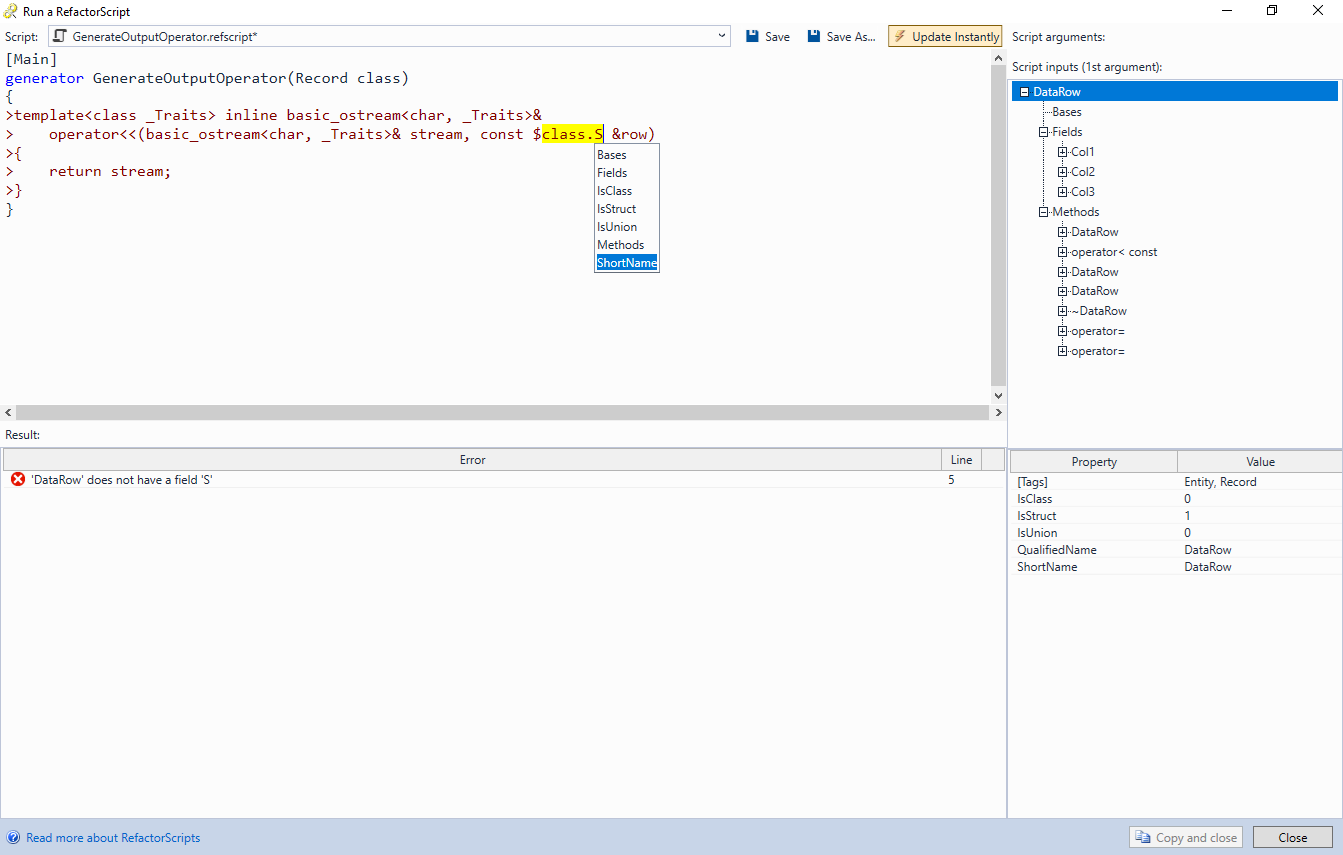
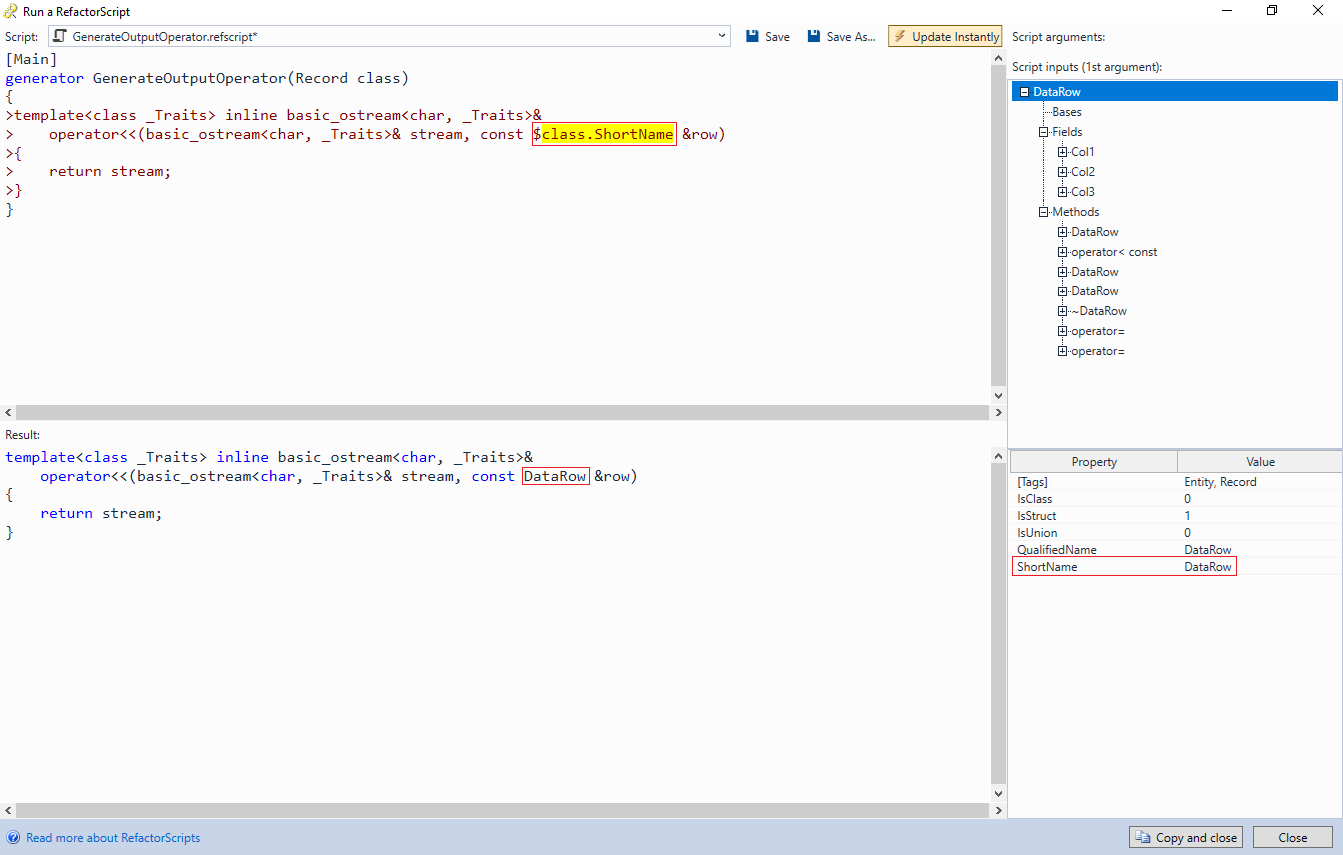
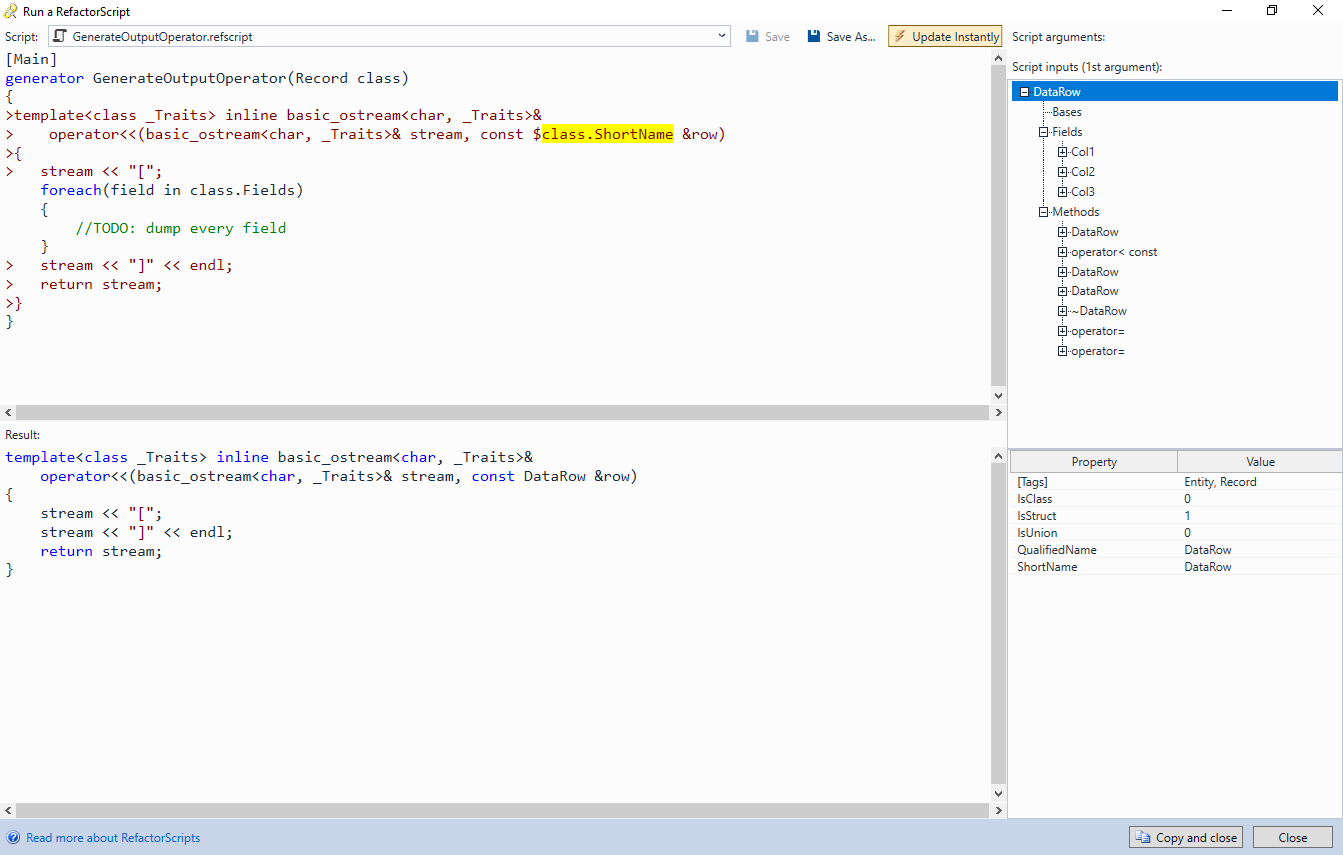
- We will now modify the script to use the real class name instead of hardcoding “DataRow“. Replace “DataRow” with “$class.ShortName” note how the RefactorScript window suggests “ShortName” from the context:
- Once you have replaced it, the Result section will immediately reflect this:
- Add the following lines inside the main generator:
>	stream << "[";
	foreach(field in class.Fields)
	{
		//TODO: dump every field
	}
>	stream << "]" << endl;
>	return stream;
Make sure the script still runs without errors:
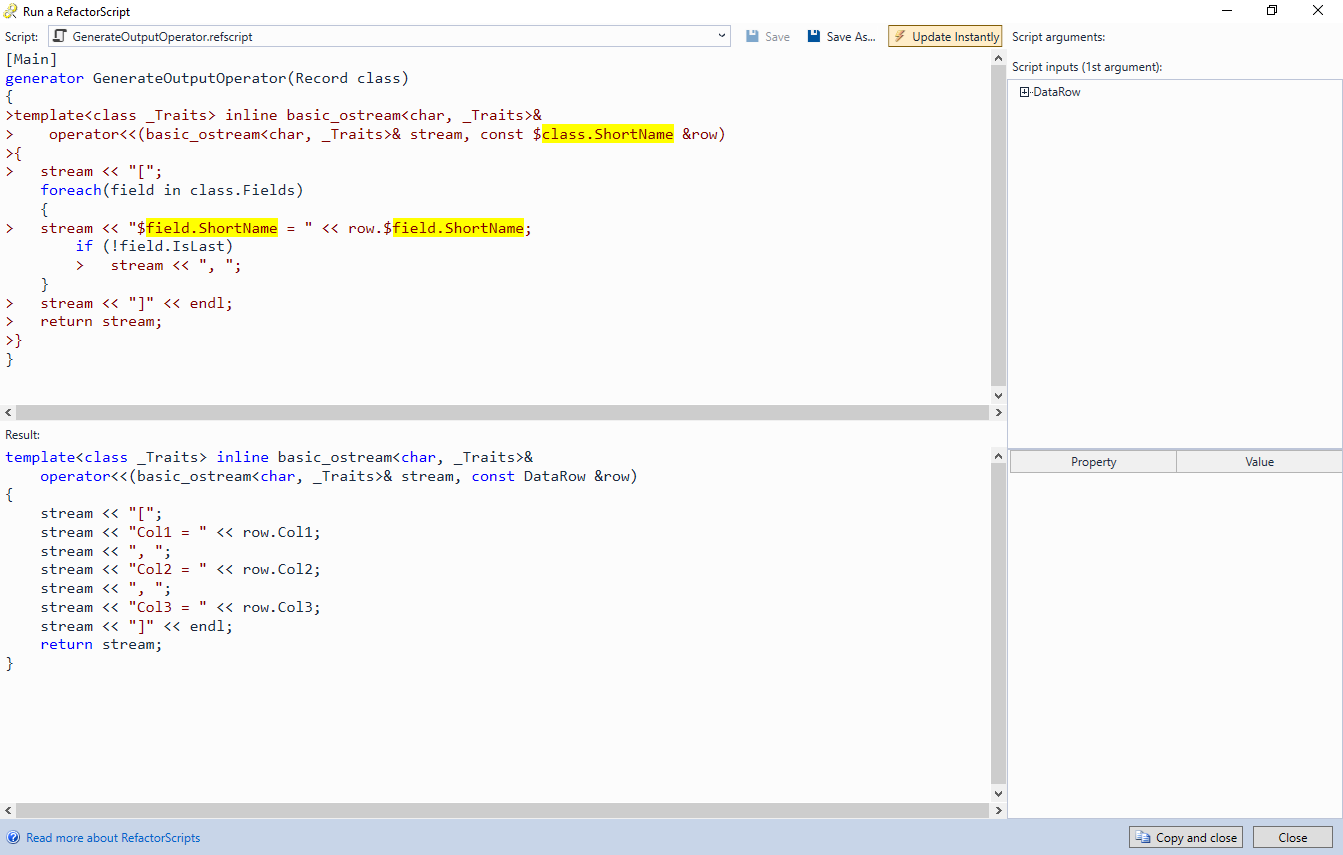
- All we need to do now is to output each field of the class is to add another “>” line inside the foreach block:
> stream << "$field.ShortName = " << row.$field.ShortName
The line will be automatically repeated for each field of the class:

- To improve readability, we can print ” ,” after each field except the last one:
if (!field.IsLast)
	> stream << ", "
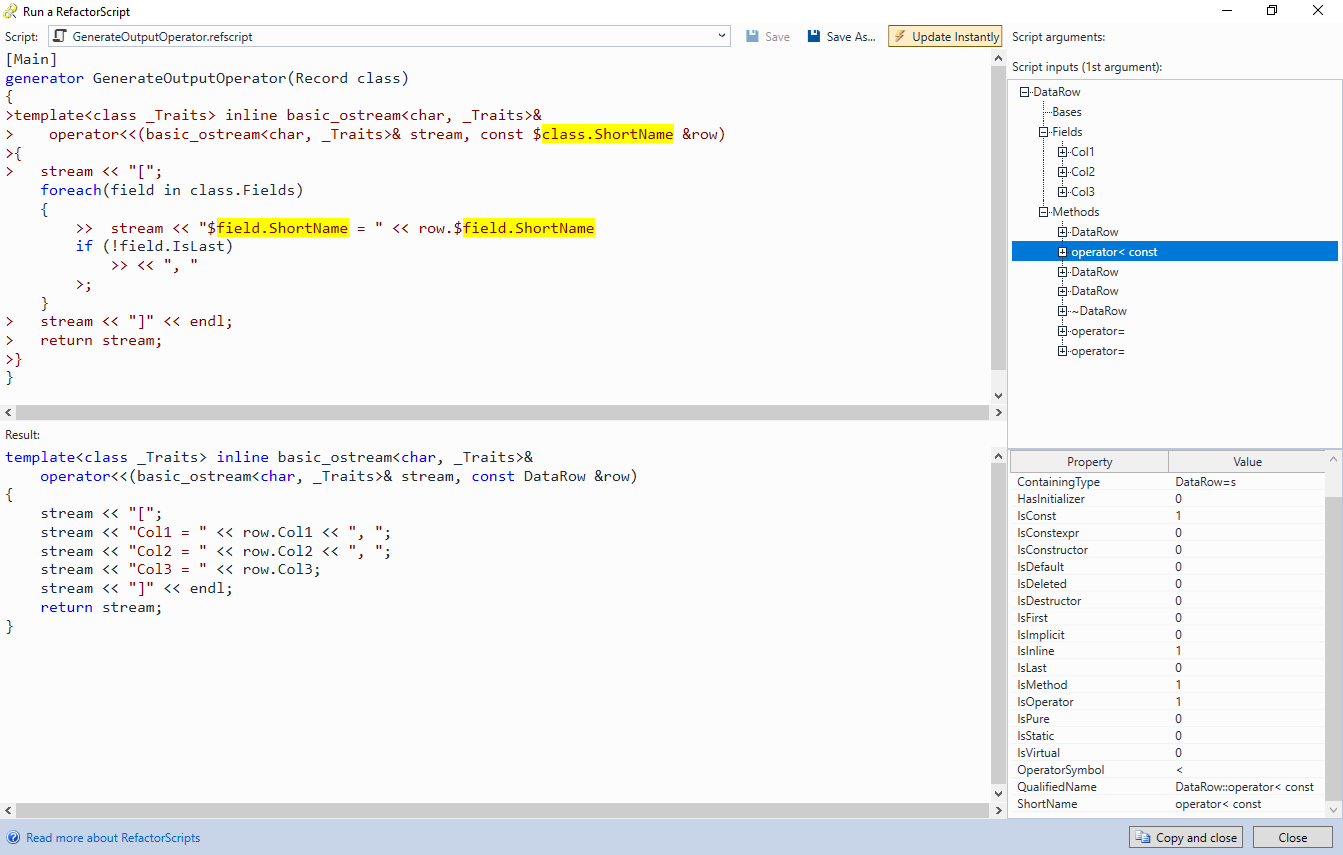
- One last thing we can do is move the “, ” part on the same line as the field output. To do this, replace the “>” in the 2 lines within the foreach() loop with “>>”. This will suppress the end-of-line character after them. Add another line at the end of the loop to actually output the semicolon and end of line:
>;
Now the generated operator contains everything needed to display the field values:

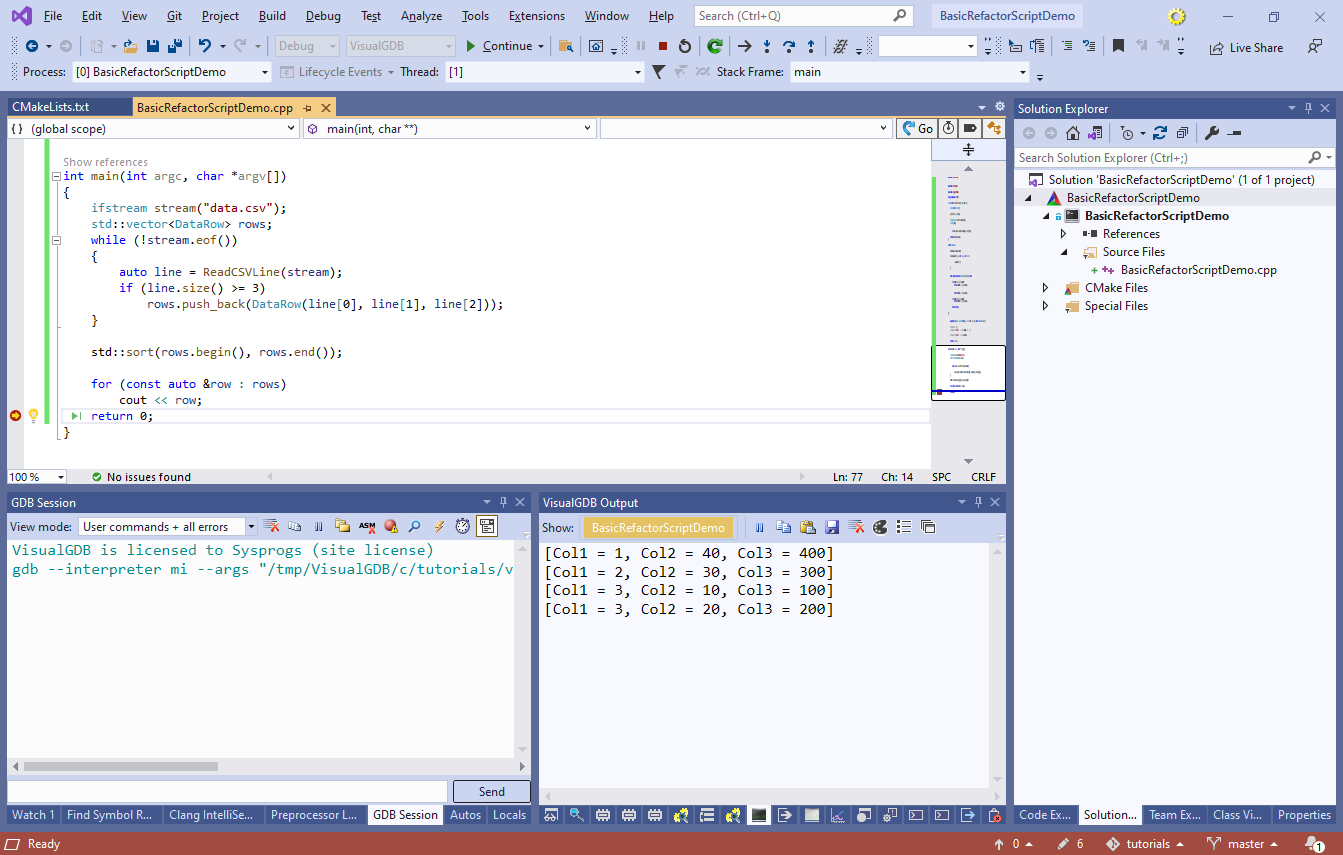
- Press “Copy and close” and insert the generated operator in the code. The sorting and outputting of rows will now work as expected:
- You can tweak every aspect of the generated code by checking numerous properties of the RefactorScript objects. E.g., you may want to skip static fields, add NULL pointer checks, or output field types along with their values. Use the right side of the RefactorScript window to explore the properties of the objects passed to the script:
You can find the code shown in this tutorial in our tutorial repository on GitHub.
A detailed list of RefactorScripts shipped with VisualGDB, along with sample inputs and outputs is available here.