Developing Raspberry Pi Pico Projects with Visual Studio
This tutorial shows how to create, build and debug a basic project for the Raspberry Pi Pico device (RP2040) using Visual Studio. Before you begin, install VisualGDB 5.6 or later.
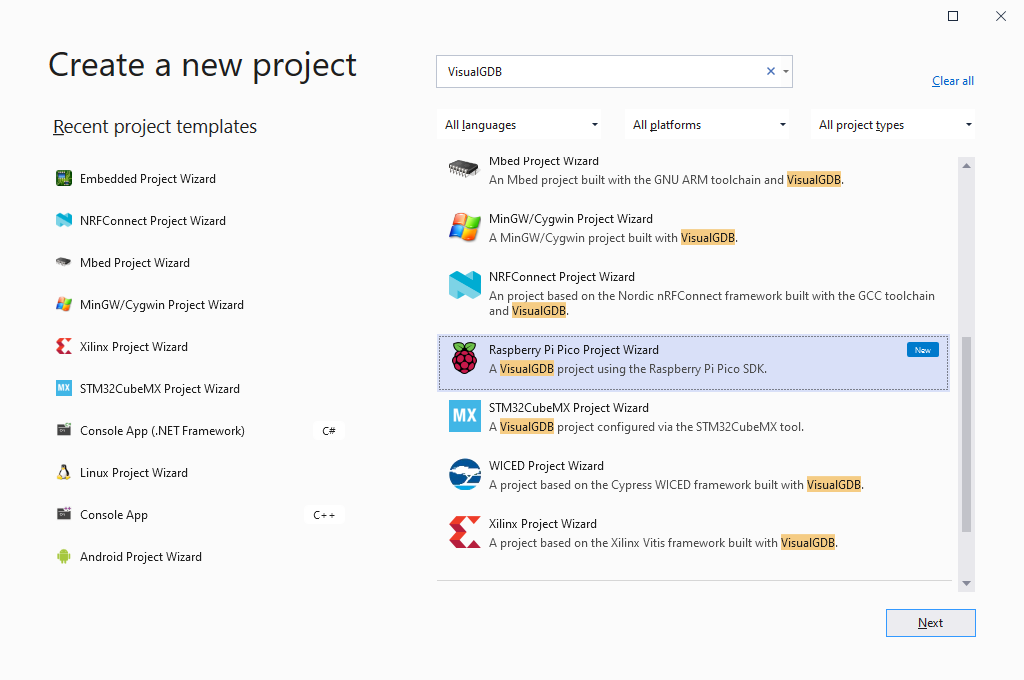
- Start Visual Studio and locate the VisualGDB Raspberry Pi Pico Project Wizard:
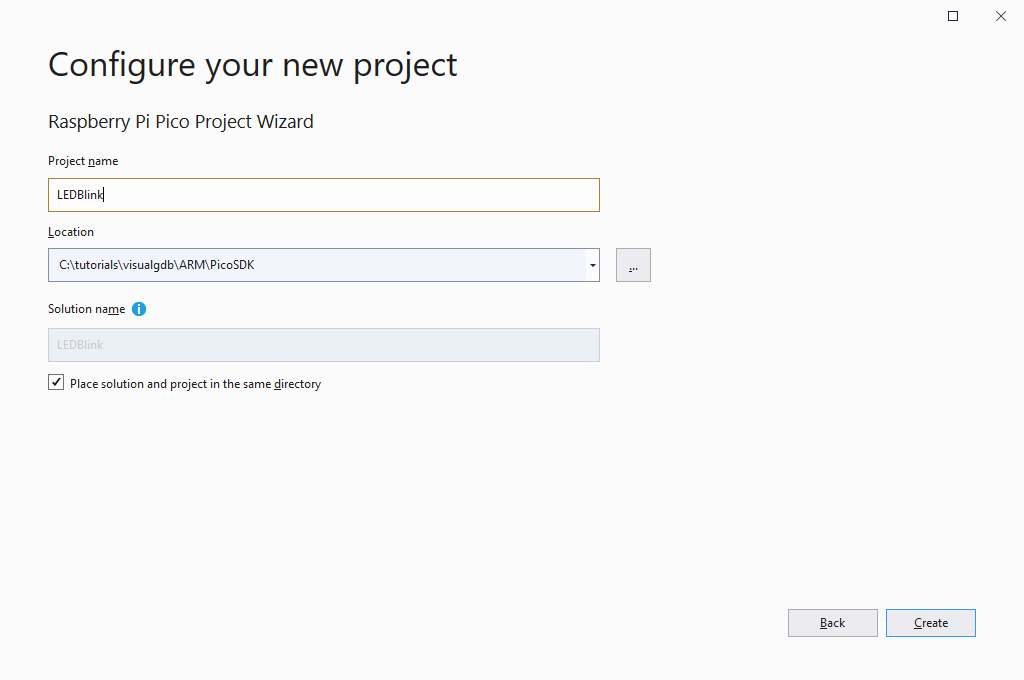
- Enter the name and location for the newly created project, then press “Create” to open VisualGDB-specific part of the wizard:
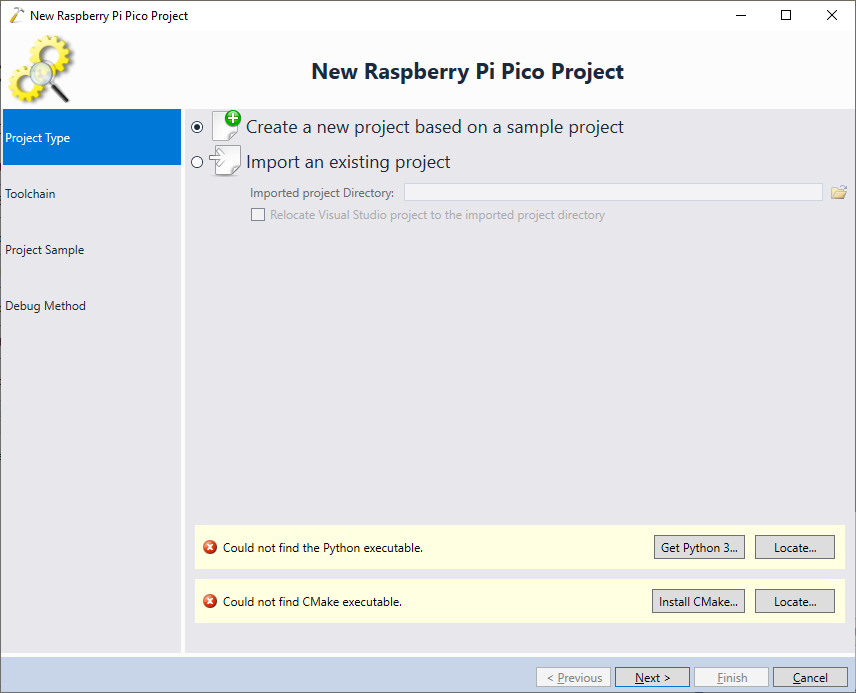
- The Raspberry Pi Pico Project wizard allows creating new projects from scratch, or importing existing projects into Visual Studio. In this tutorial we will simply clone the “blinky” example, so proceed with the default settings. If you are missing some of the tools required by the Raspberry Pico SDK, use the buttons at the bottom of the page to automatically install them:
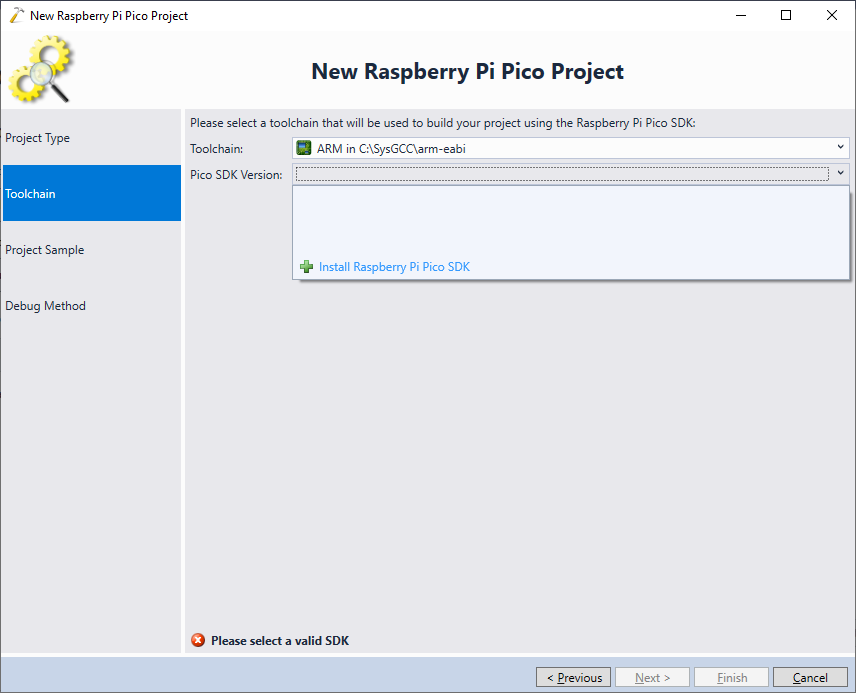
- The next page of the wizard allows selecting a toolchain and an SDK version. Unlike the regular Raspberry Pi board that runs Linux, Raspberry Pi Pico (RP2040) does not require any operating system and hence can use the same ARM toolchain that is used for other barebone devices (e.g. STM32). We recommend using our ARM toolchain that is based on the official GNU toolchain from ARM. If you have not installed the Pico SDK yet, simply click “Install Raspberry Pi Pico SDK” at the bottom of the SDK selector:
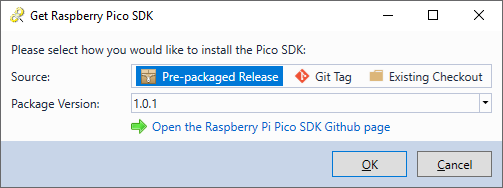
- VisualGDB can download a pre-packaged SDK from our server, or clone the specified git tag from the official SDK repository. We advise installing the pre-packaged version, as it has been explicitly tested with VisualGDB:
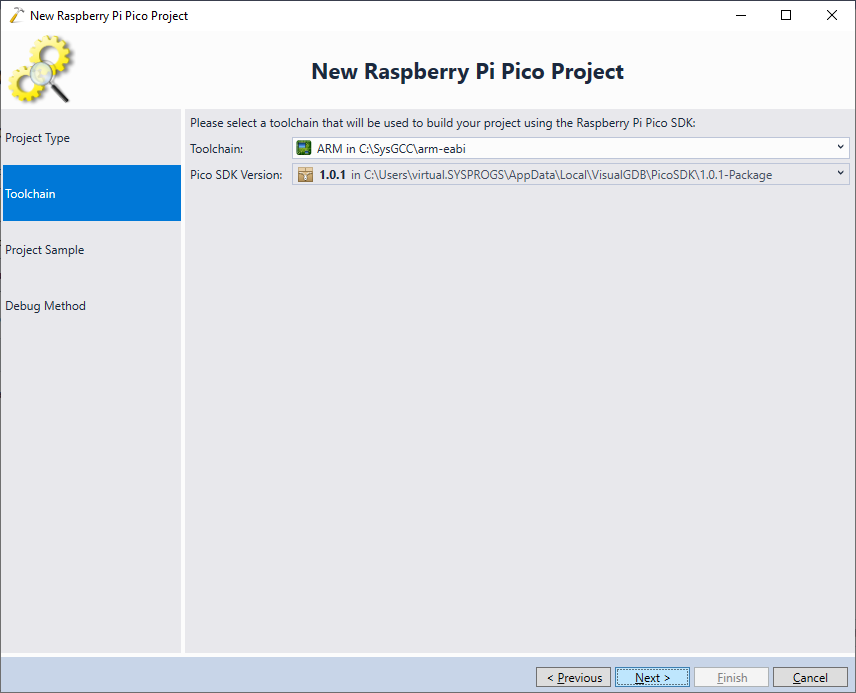
- Once the SDK has been downloaded and installed, make sure it is selected and click “Next”:
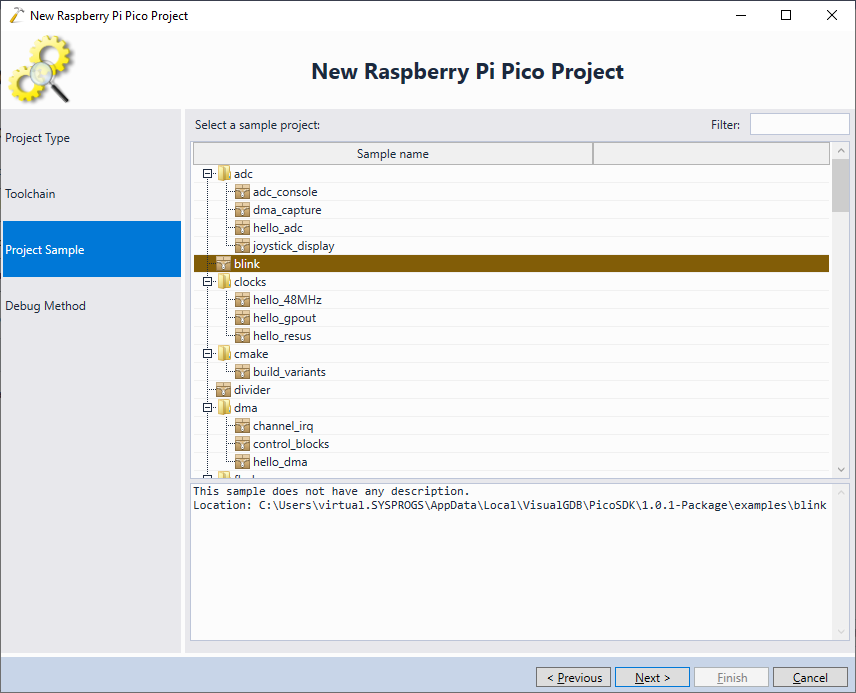
- Now we will select the project template to use for the new project. In this tutorial we choose the simplest “blink” template:
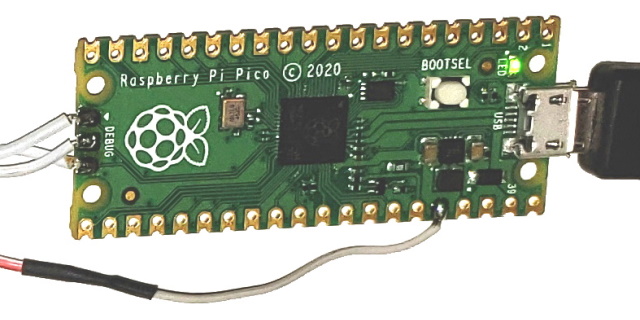
- The last page of the wizard allows configuring the debug settings and typically involves soldering the SWD pins on the board. See this page for detailed wiring instructions and an overview of supported debug methods. If you are not planning to debug your board, simply choose the simulator or “custom” mode here (note that the gdb simulator won’t work for ARM devices such RP2040):

- If you do have a working SWD connection, use the “test” button to verify that everything is working:
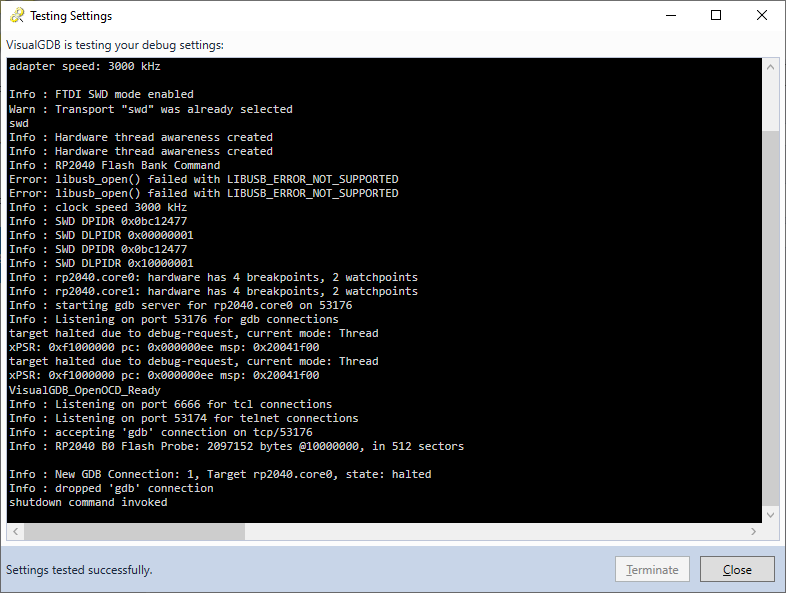 If RP2040 does not appear in the OpenOCD device list, make sure you have the latest OpenOCD package installed via Tools->VisualGDB->Manage VisualGDB Packages.
 - Click “Finish” to create the project. Once VisualGDB finishes creating it, you can build it by pressing Ctrl-Shift-B:

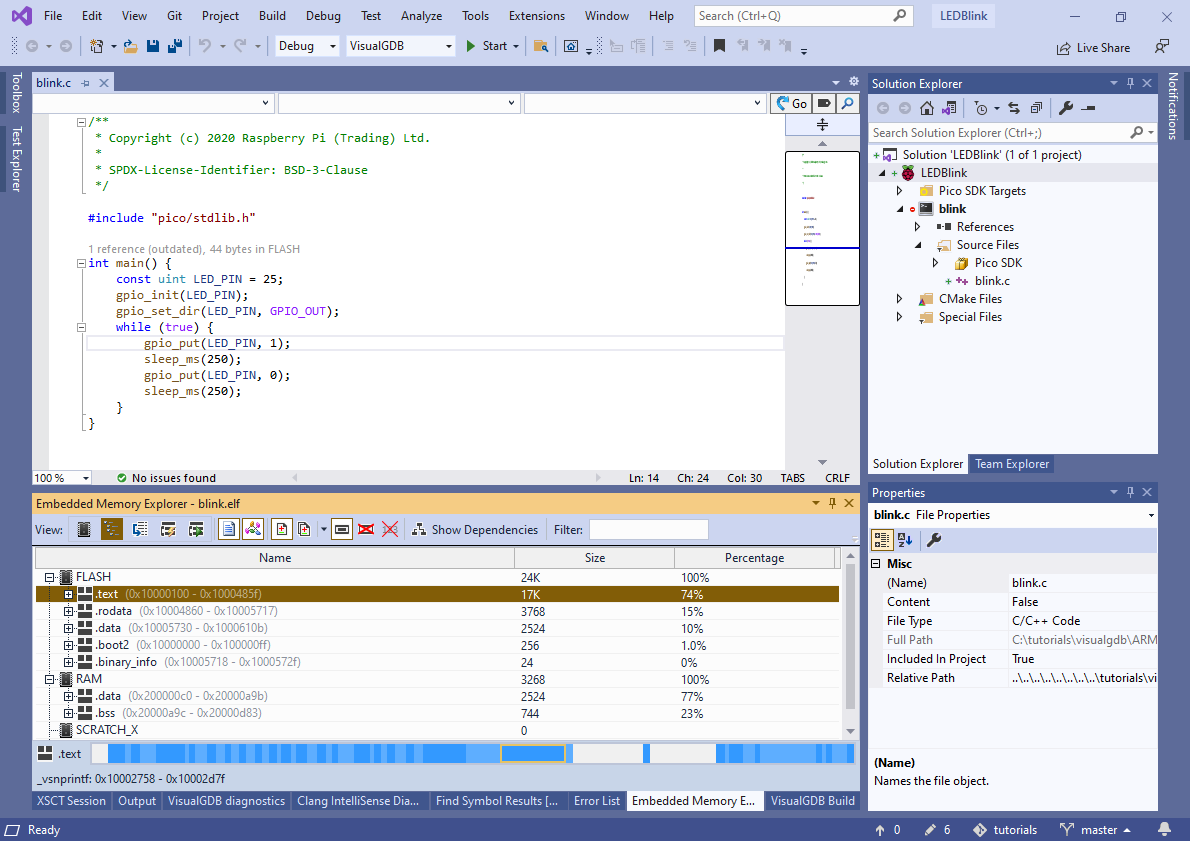
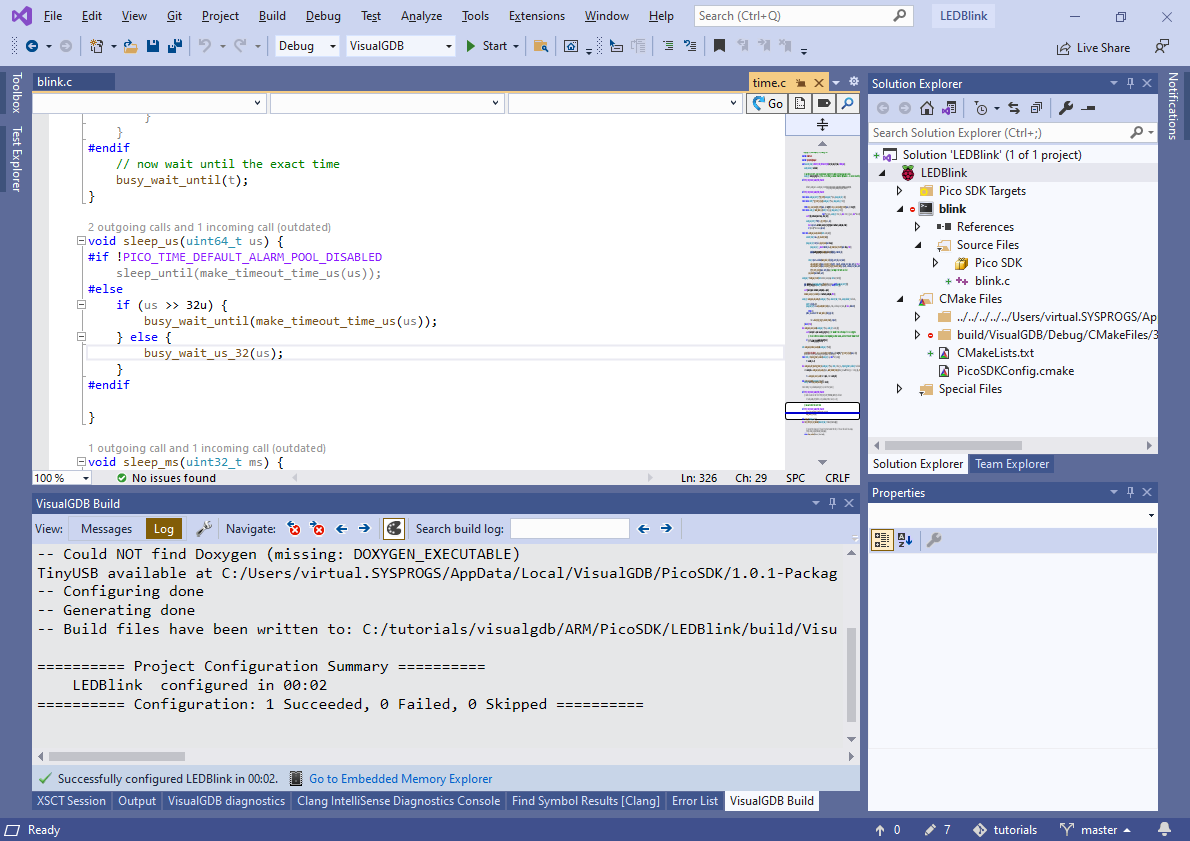
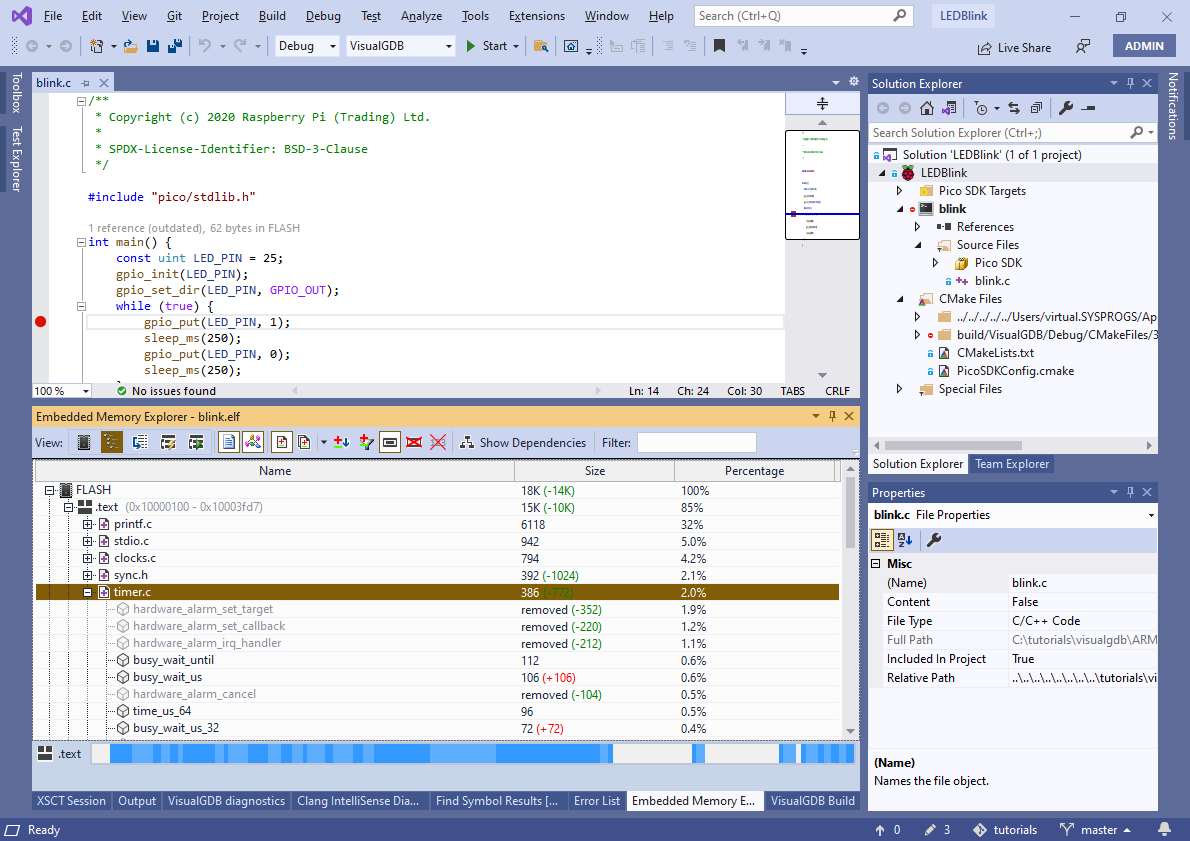
- The Raspberry Pi Pico SDK projects are based on the Advanced CMake Project Subsystem. They conveniently allow defining multiple targets, setting custom target properties and even stepping through the CMake scripts. Internally, the use the build scripts that come with the original Pico SDK, so you can always build your project outside Visual Studio as well. Once the project is built, check the Embedded Memory Explorer for a detailed memory utilization report:
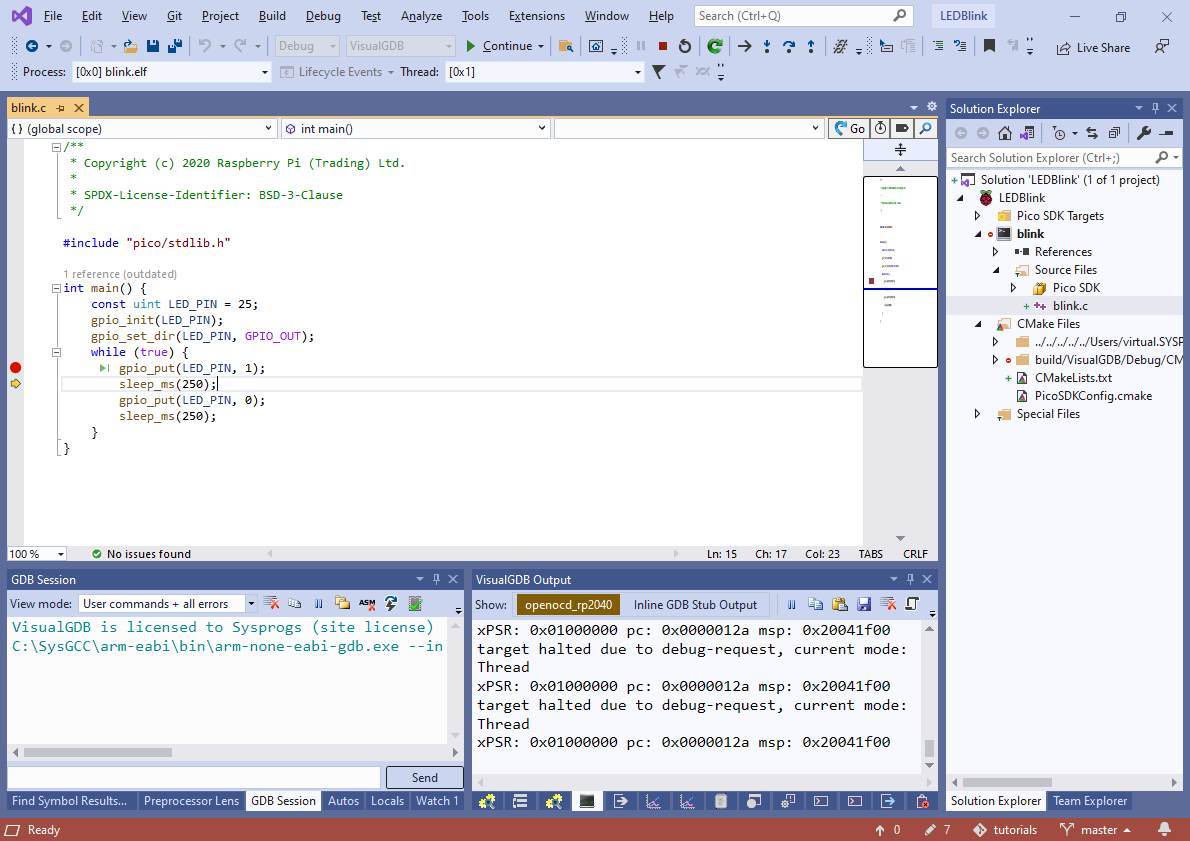
- Set a breakpoint on the first call to gpio_put() and press F5. VisualGDB will automatically program the FLASH memory and begin running the program. The breakpoint will soon get triggered:

- Press F10 to step over the gpio_put() call:
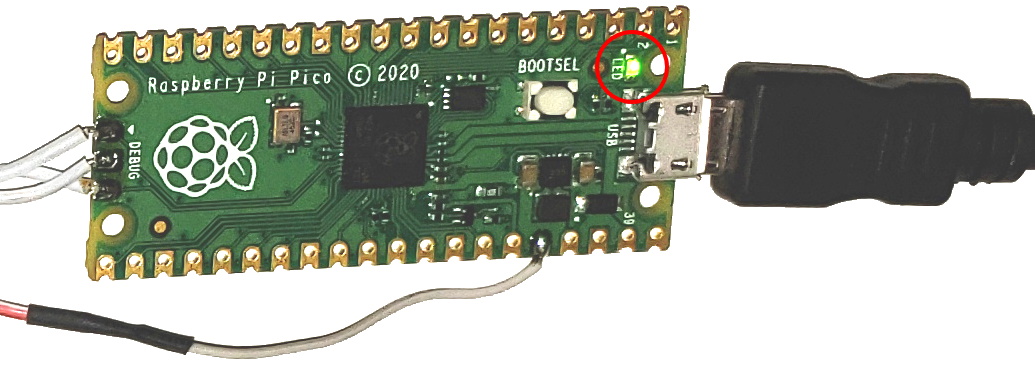
- Observe how the on-board LED turns on:
- VisualGDB automatically discovers and parses the relevant source and header files inside the Raspberry Pi Pico SDK, so you can use various IntelliSense functionality to navigate it. E.g. try selecting “Go to definition” on the sleep_ms() function and then exploring the call graph on the sleep_us() called by it:

- Note the “#if !PICO_TIME_DEFAULT_ALARM_POOL_DISABLED” line in sleep_us(). It changes the behavior of sleep() is based on the PICO_TIME_DEFAULT_ALARM_POOL_DISABLED configuration variable. The configuration variables supported by the Pico SDK are conveniently annotated inside the source files, so VisualGDB can automatically discover them and let you configure them via VisualGDB Project Properties:
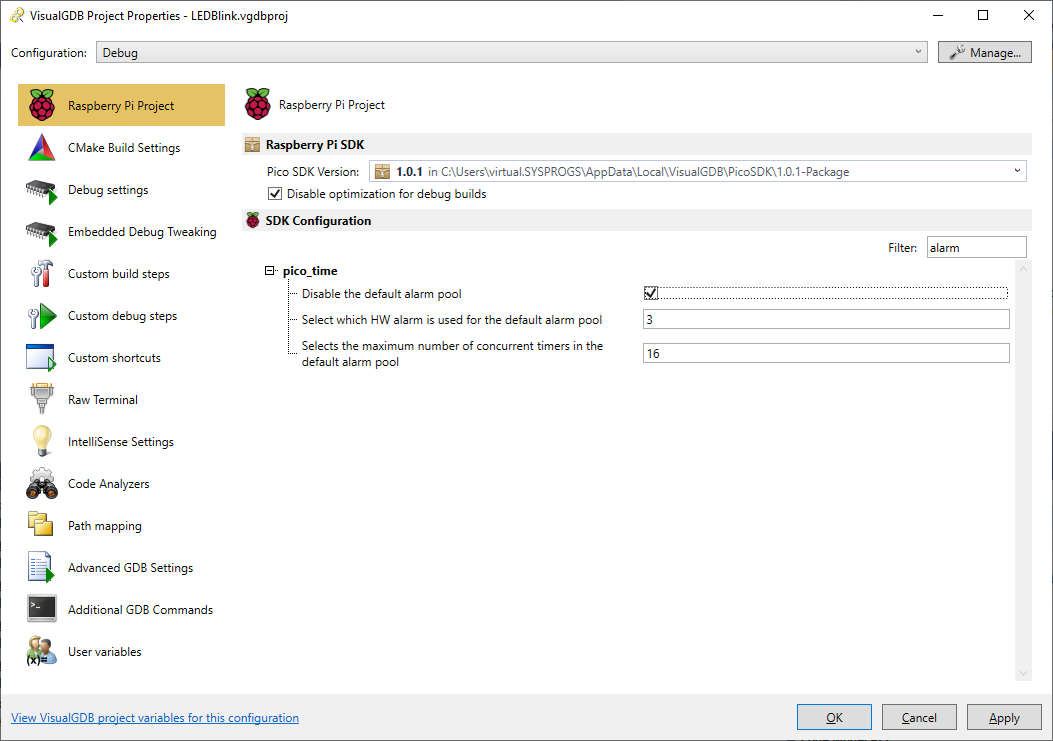
- Try setting the “Disable the default alarm pool” parameter and check how the opposite part of sleep_us() becomes active:
 The configuration parameters will be stored in the PicoSDKConfig.cmake file in the project directory. Make sure you check it into source control together with the rest of the project.
 - You can use the Embedded Memory Explorer to quickly understand impact of changing various parameters. E.g. disabling the default alarm pool considerably reduces the FLASH memory footprint by eliminating multiple alarm-related functions:
- If you are using VisualGDB Linux Edition or higher, you can use a regular Raspberry Pi board as a JTAG debugger. Simply choose “OpenOCD (run remotely)” as the debug method and point VisualGDB to your Raspberry Pi hostname. VisualGDB will automatically build, install and launch the correct port of OpenOCD on your target:
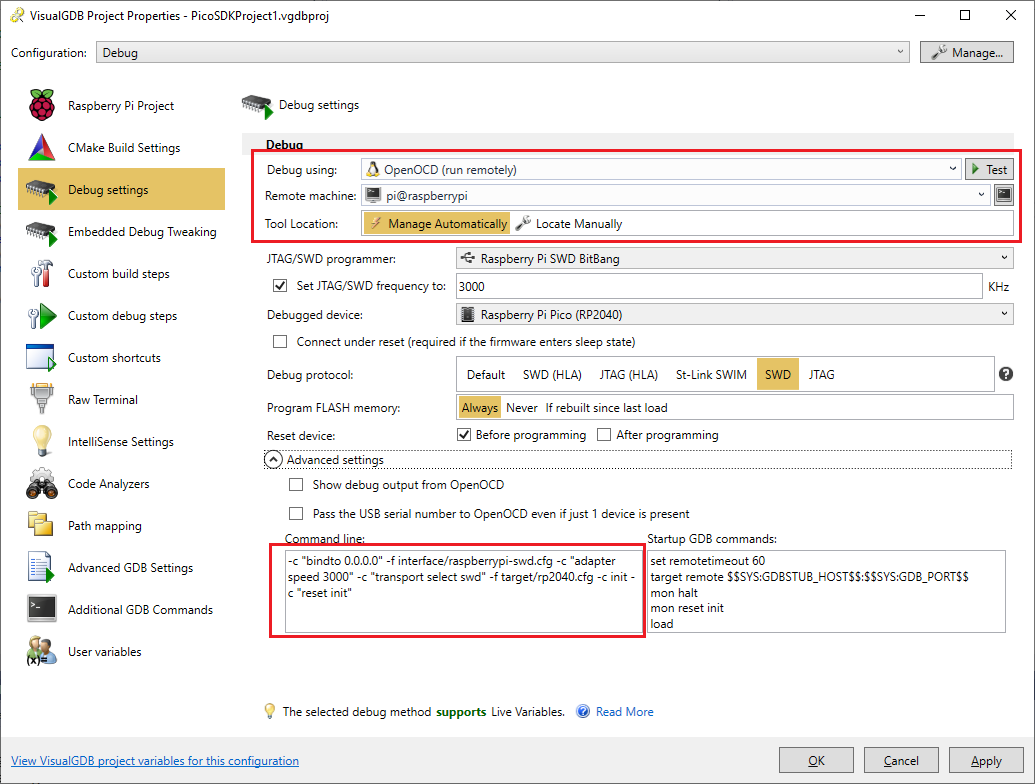 If you are using special scripts, you can modify the OpenOCD command line used by VisualGDB by expanding the “Advanced Settings” view at the bottom of the OpenOCD settings.